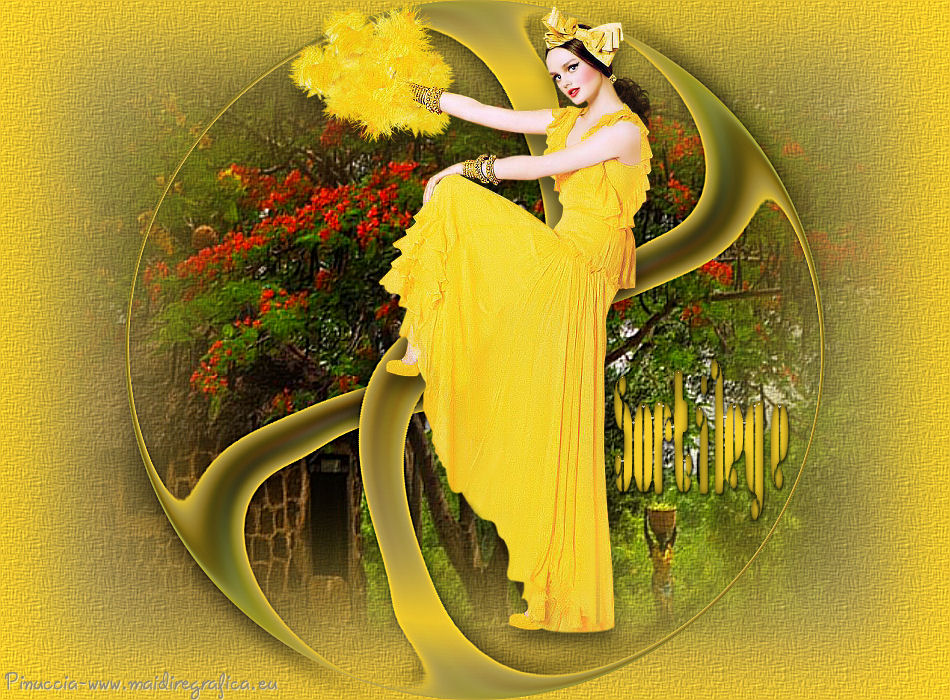
This tutorial was created with PSPX7 and translated with Corel X3, but it can also be made using other versions of PSP.
Since version PSP X4, Image>Mirror was replaced with Image>Flip Horizontal,
and Image>Flip with Image>Flip Vertical, there are some variables.
In versions X5 and X6, the functions have been improved by making available the Objects menu.
In the latest version X7 command Image>Mirror and Image>Flip returned, but with new differences.
See my schedule here
Italian translation here
French translation here
Your versions here
For this tutorial, you will need:
Woman tube of yours.
The reste of the material here
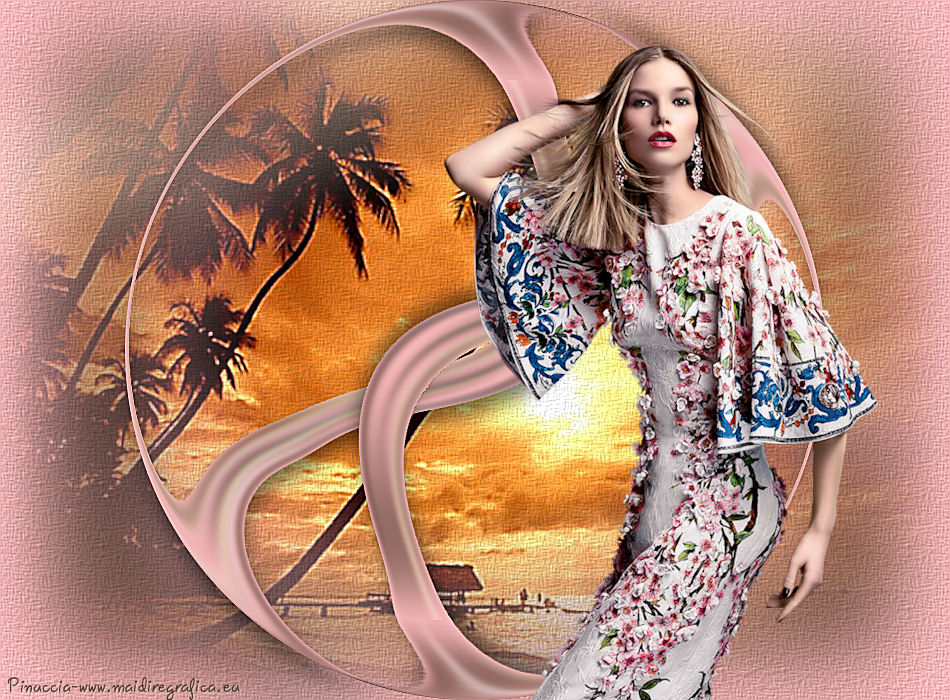
The woman tube is by Tocha.
The landscape is by Luz Cristina.
Plugins
consult, if necessary, my filter section here
Mura's Meister - Pole Transform here
Flaming Pear - Flexify 2 here
Filters Simple can be used alone or imported into Filters Unlimited.
(How do, you see here)
If a plugin supplied appears with this icon  it must necessarily be imported into Unlimited

You can change Blend Modes and opacity of the layer, according to your colors.
Copy the Gradient in the Gradient Folder.
1. Set your foreground color to #f8cf27,
and your background color to #8f8772.
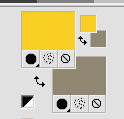
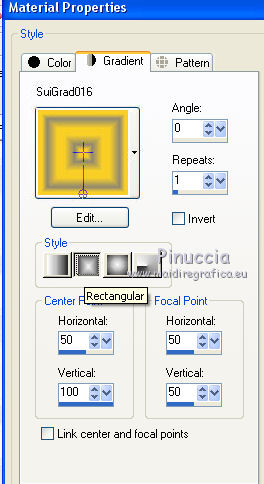
2. Set your foreground color to Gradient, and select the gradient SuiGrad16, style Rectangular.
3. Open a new transparent image 950 x 700 pixels,
Flood Fill  with your Gradient.
4. Selections>Select All.
Open the tube 2556 De Luz Cristina - Edit>Copy.
Go back to your work and go to Edit>Paste into selection.
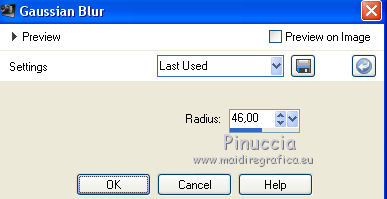
5. Adjust>Blur>Gaussian blur - radius 46.
6. Layers>Duplicate.
Effects>Geometric Effects>Perspective Horizontal

Image>Mirror.
Repeat Effects>Geometric Effects>Perspective Horizontal

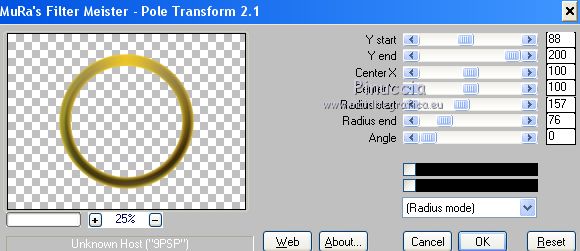
7. Effects>Plugins>Mura's Meister - Pole Transform.
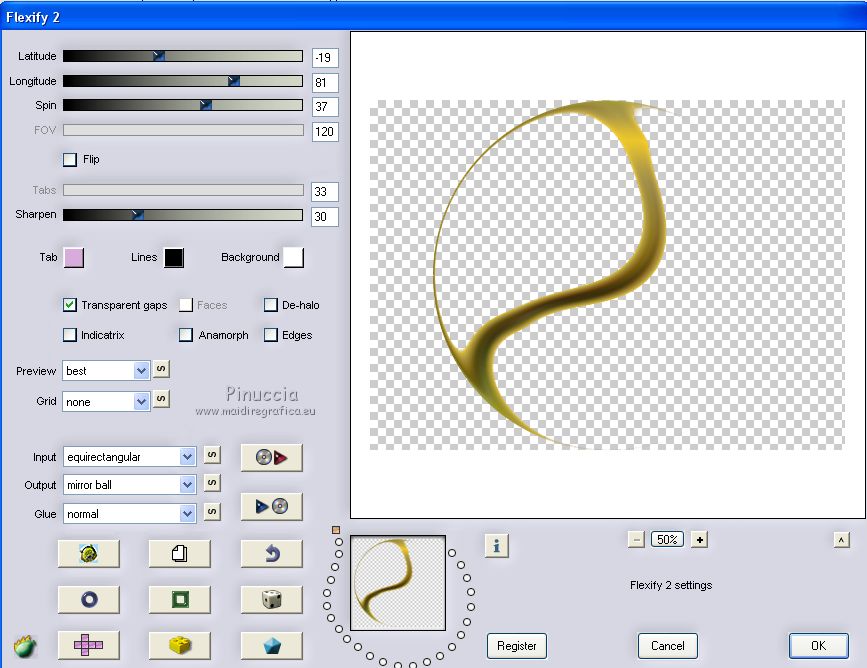
8. Effects>Plugins>Flaming Pear - Flexify 2.
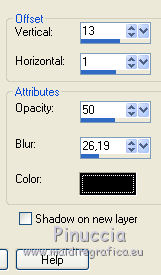
9. Effects>3D Effects>Drop Shadow.
10. Layers>Duplicate.
Image>Mirror.
Image>Flip.
11. Activate the layer Raster 1.
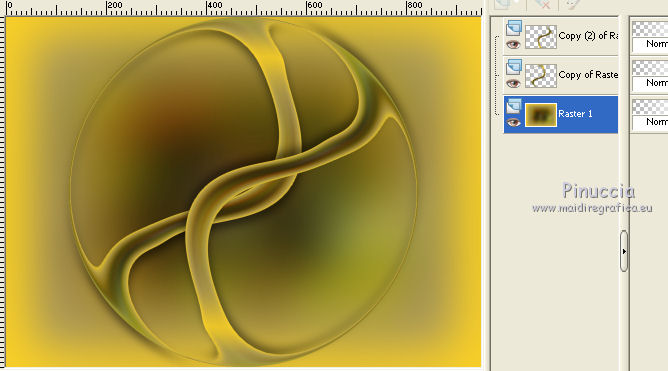
Edit>Paste into selection (the landscape tube is still in memory).
Selections>Select None.
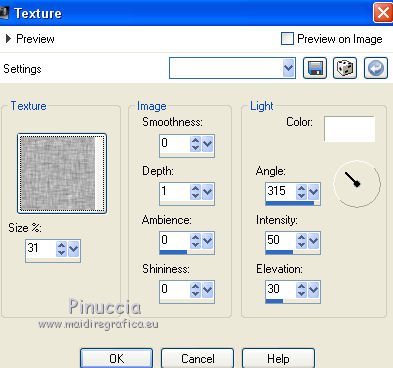
12. Effects>Texture Effects>Texture, select the texture Canvas coarse or Corel_15_013.
13. Layers>Merge>Merge visible.
14. Adjust>Sharpness>Sharpen More.
15. Open your tube - mine Tocha 24064 - - Edit>Copy.
Go back to your work and go to Edit>Paste as new layer.
16. If you want, write a text (in the zip there is the font).
17. Layers>Merge>Merge All.
Sign your work and save as jpg.
The tubes of this version are by Tocha and Thafs.

If you have problems or doubt, or you find a not worked link, or only for tell me that you enjoyed this tutorial, write to me.
2 June 2016
