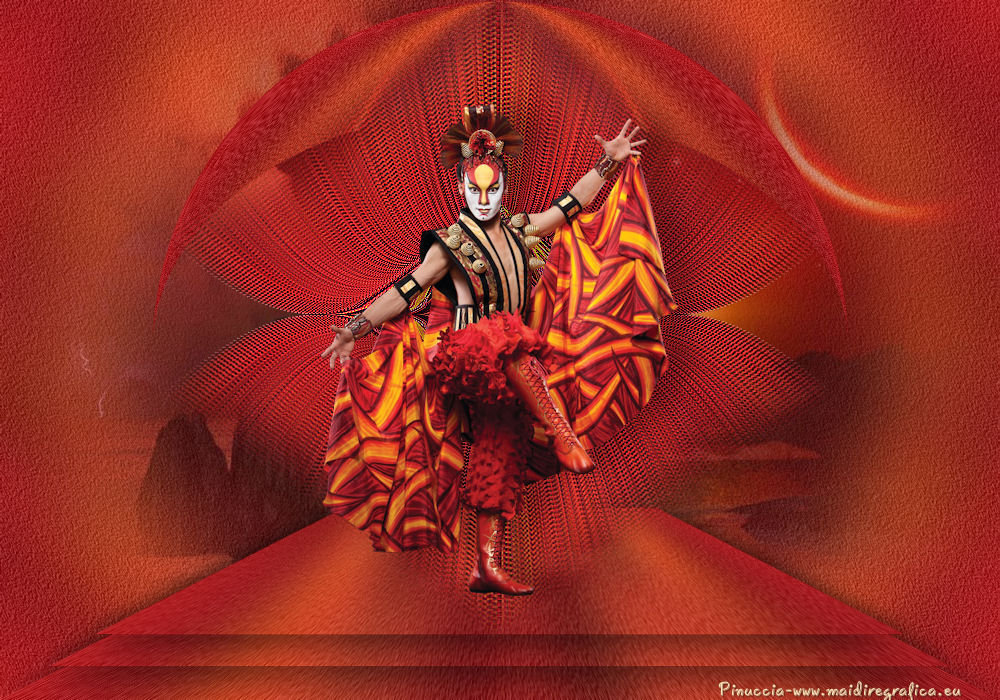
This tutorial was created with PSPX8 but it can also be made using other versions of PSP.
Since version PSP X4, Image>Mirror was replaced with Image>Flip Horizontal,
and Image>Flip with Image>Flip Vertical, there are some variables.
In versions X5 and X6, the functions have been improved by making available the Objects menu.
In the latest version X7 command Image>Mirror and Image>Flip returned, but with new differences.
See my schedule here
Italian translation here
French translation here
Your versions here
For this tutorial, you will need:
Material here
Tube Tocha 23862
Tube Ana Ridzi 8
Plugins
consult, if necessary, my filter section here
Mura's Meister - Copies qui
Filters Unlimited 2.0 qui
VM Instant Art - Round and Round qui
Filters VM Instant Art can be used alone or imported into Filters Unlimited.
(How do, you see here)
If a plugin supplied appears with this icon  it must necessarily be imported into Unlimited

You can change Blend Modes and opacity of the layer, according to your colors.
Copy the preset Emboss 3 in the Presets Folders.
1. Set your foreground and your background color to #f7e2b8.
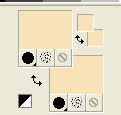
2. Open a new transparente image 1000 x 700 pixels,
Flood Fill  with your color.
3. Selections>Select All.
Open the tube Tocha 23852 - Edit>Copy.
don't close the tube; you'll use it again
Go back to your work and go to Edit>Paste into Selection.
Selections>Select None.
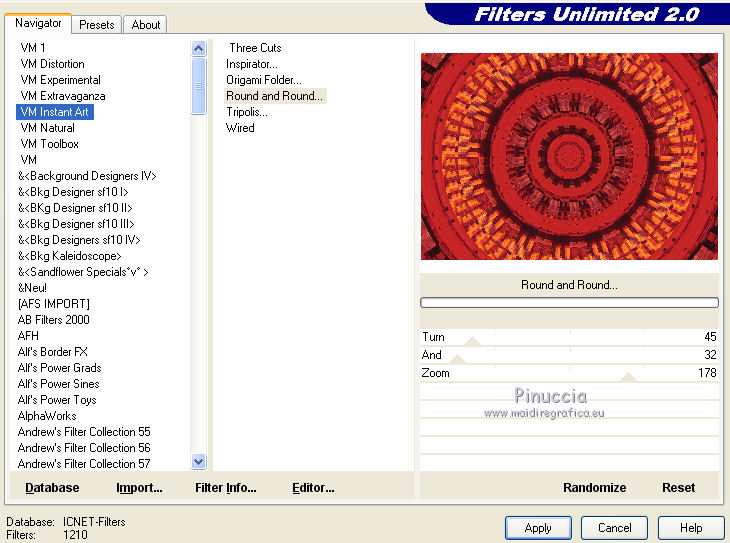
4. Effects>Plugins>Filters Unlimited 2.0 - VM Instant Art - Round and Round.
5. Selection Tool 
(no matter the type of selection, because with the custom selection your always get a rectangle)
clic on the Custom Selection 
and set the following settings.
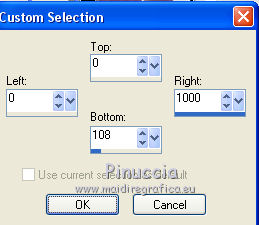
Selections>Promote selection to layer.
Selections>Select None.
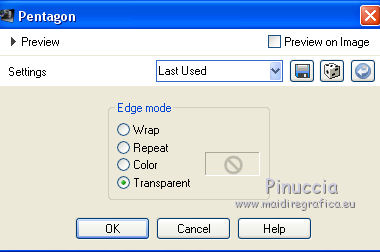
6. Effects>Geometric Effects>Pentagon.
7. Close the layer Raster 1, and keep selected the top layer.
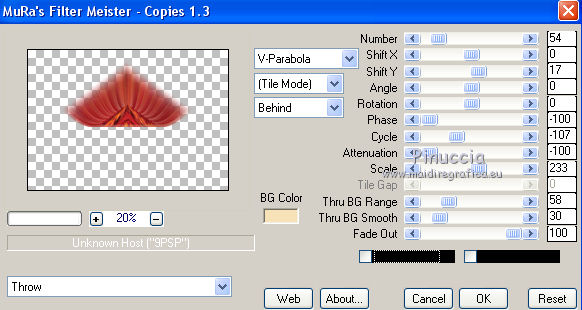
8. Effects>Plugins>Mura's Meister - Copies.
9. Move  the image to the top.
(With Corel X7/X8: Objects>Align>Top.
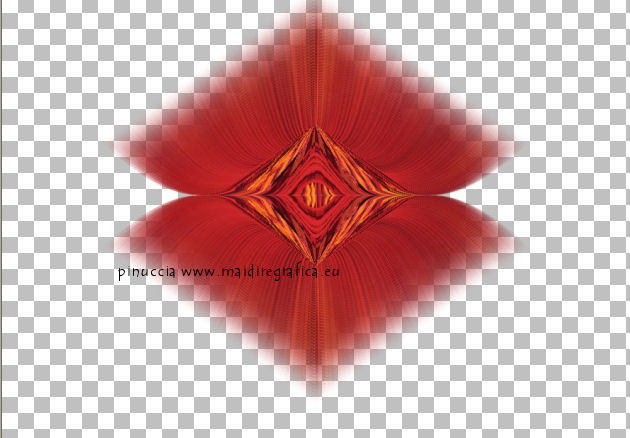
10. Layers>Duplicate.
Image>Flip.
Move  the layer against the original.
11. Layers>Merge>Merge down.
Effects>Edge Effects>Enhance more.
12. Open again and activate the layer Raster 1.
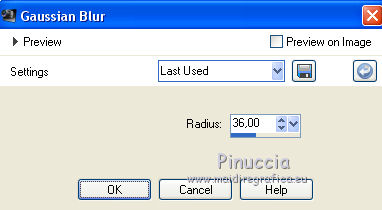
Adjust>Blur>Gaussian blur - radius 36.
13. Adjust>Add/Remove Noise>Add noise.
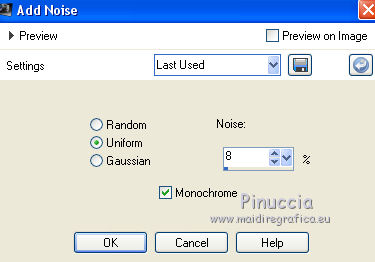
14. Effects>User Defined Filter - select the preset Emboss 3 and ok.

15. Selections>Select All.
Open the tube Ana Ridzi 8, Edit>Copy.
Go back to your work and go to Edit>Paste into selection.
Torna al tuo lavoro e vai a Modifica>Incolla nella selezione.
Selections>Select None.
16. Activate the top layer.
Open again the tube Tocha 23862, Edit>Copy.
Go back to your work and go to Edit>Paste as new layer.
Image>Resize, to 50%, resize all layers not checked.
17. Effects>3D Effects>Drop Shadow.
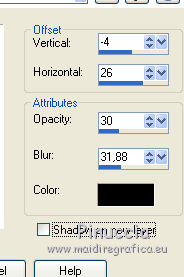
18. Activate the layer Raster 1.
Custom Selection 
and set the following settings.
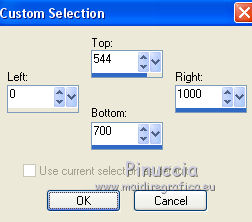
Selections>Promote selection to layer.
Selections>Select None.
19. K key to activate the Pick Tool 
with PSP 9 D key to activate Deformation Tool 
mode Perspective  ,
,
push the left node at the top (the opposite node will move symmetrically) to the right side
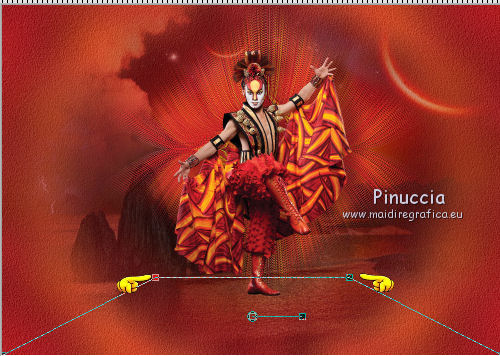
20. Effects>3D Effects>Drop Shadow.
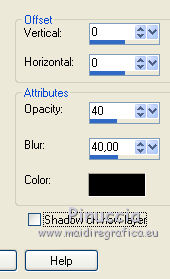
21. Layers>Duplicate.
Image>Resize, to 90%, resize all layers not checked.
22. Effects>3D Effects>Drop Shadow.
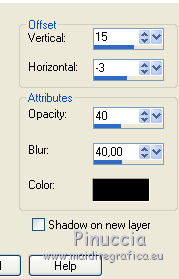
23. Again: Layers>Duplicate.
Image>Resize, to 90%, resize all layers not checked.
24. Again activate the layer Raster 1.
Custom Selection 

Selections>Promote selection to layer.
Selections>Select None.
27. Effects>Geometric Effects>Circle.

28. Effects>Reflections Effects>Rotating Mirror, default settings.

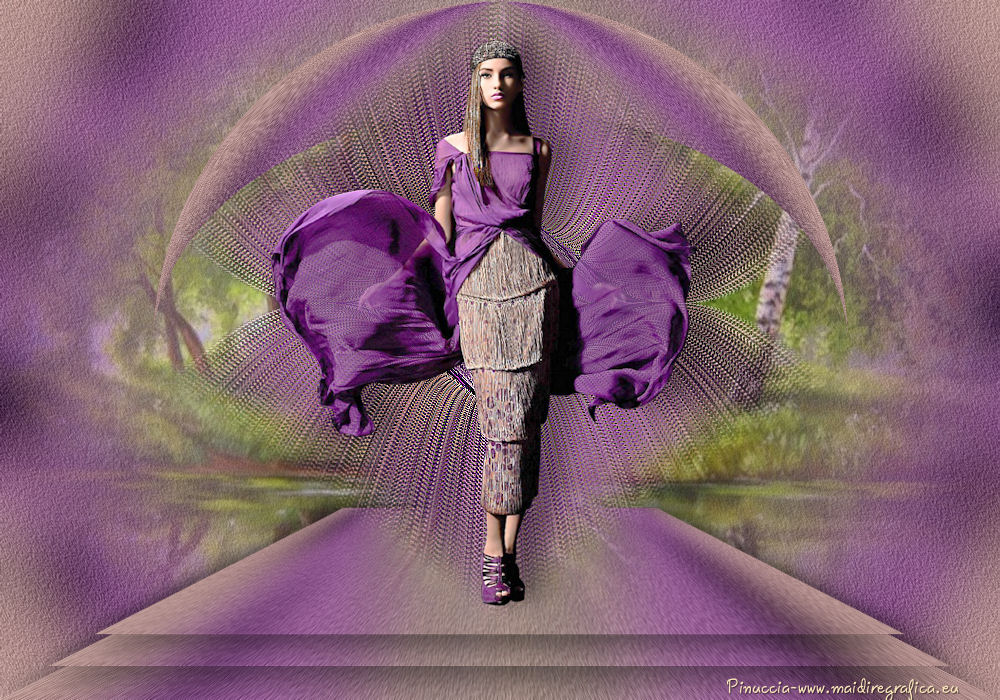
29. Layers>Merge>Merge All.
Sig your work and save as jpg.
Les tubes of this version are by Tocha e Thafs.

If you have problems or doubt, or you find a not worked link, or only for tell me that you enjoyed this tutorial, write to me.
2 May 2016
