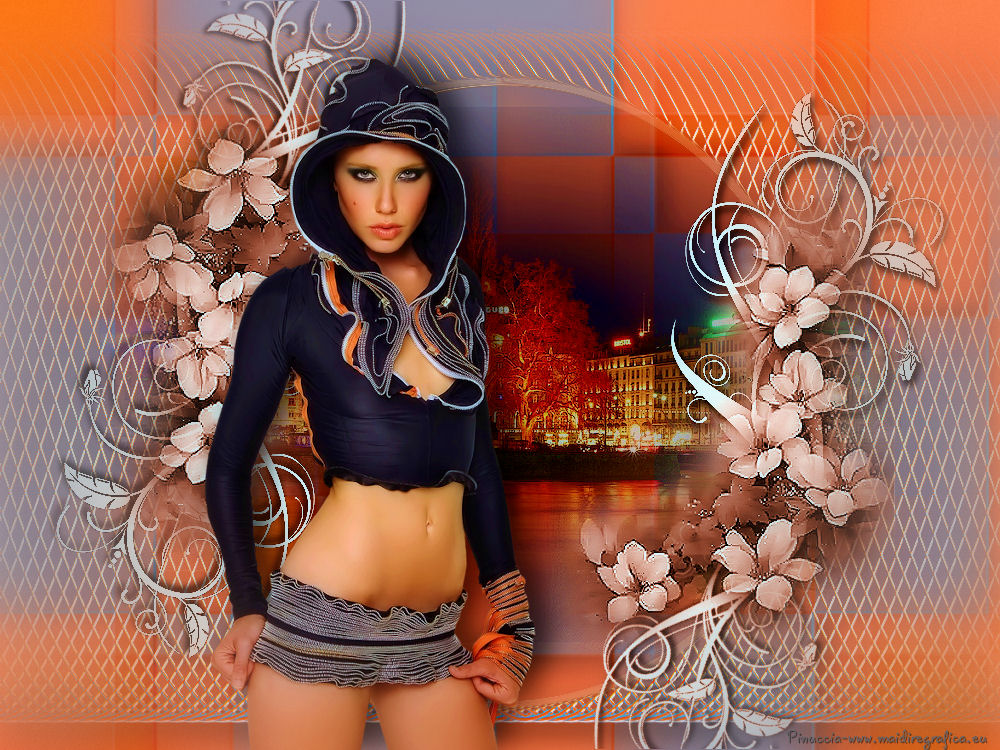
This tutorial was created with PSPX7 but it can also be made using other versions of PSP.
Since version PSP X4, Image>Mirror was replaced with Image>Flip Horizontal,
and Image>Flip with Image>Flip Vertical, there are some variables.
In versions X5 and X6, the functions have been improved by making available the Objects menu.
In the latest version X7 command Image>Mirror and Image>Flip returned, but with new differences.
See my schedule here
Italian translation here
French translation here
Your versions here
For this tutorial, you will need:
Material here
Tube Karine Dreams-Miss Fashion-21672-Marz 2012
Tube Ana Ridzi AR66
Tube Deco_Zen_2015_6
Plugins
consult, if necessary, my filter section here
Mura's Meister - Copies here
Filters Unlimited 2.0 here
&<Bkg Kaleidoscope> - Zandflower (da importare in Unlimited) here
Xero XL - Porcelain here
Nik Software - Color Efex here

You can change Blend Modes and opacity of the layer, according to your colors.
Copy the preset Emboss 3 in the Presets Folder.
Copy the mask in the Masks Folder.
1. Set your foreground color to #c5572d,
and your background color to #656468.

2. Open a new transparent image 1000 x 750 pixels,
Flood Fill  with your foreground color #c55e2d.
3. Layers>New Raster Layer.
Flood Fill  with your background color #656468.
4. Layers>Load/Save Mask>Load Mask from disk.
Look for and Load the mask SN997-Verinha.

Layers>Merge>Merge Group.
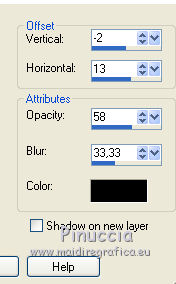
5. Effects>3D Effects>Drop Shadow.
6. Effects>Effects d'image>Seamless Tiling, default settings.

7. Layers>Merge>Merge All.
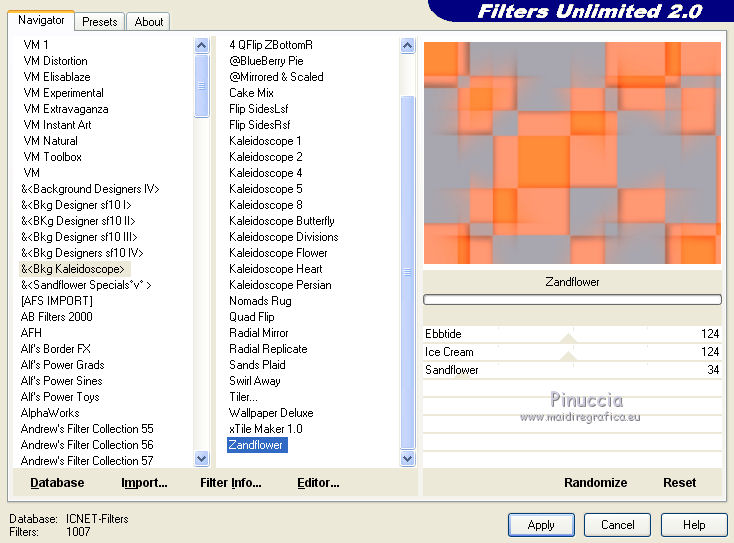
8. Effects>Plugins>Filters Unlimited 2.0 - BKG Kaleidoscope - Zandflower.
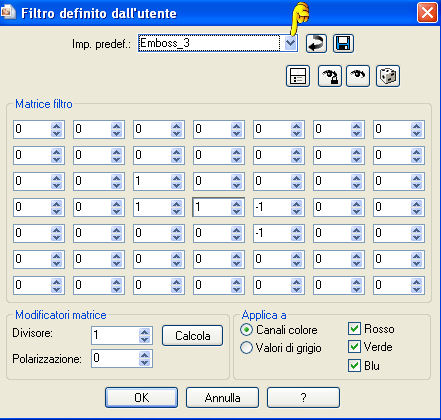
9. Effects>User Defined Filter - select the preset Emboss 3 and ok.

10. Open the tube by Ana Ridzi AR66, Edit>Copy.
Go back to your work and go to Edit>Paste as new layer.
11. Activate the bottom layer.
Layers>Duplicate.
Layers>Arrange>Bring to Top.
12. Image>Free Rotate - 90 degrees to right.

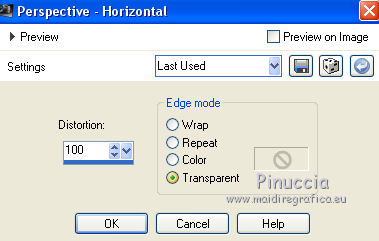
13. Effects>Geometrics Effects>Perspective horizontal.
Image>Mirror.
Again Effects>Geometrics Effects>Perspective horizontal.

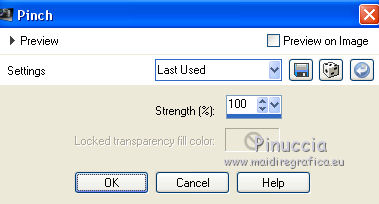
14. To reduce the line: Effects>Distortion Effects>Pinch.
15. Effects>Distortion Effects>Wave.

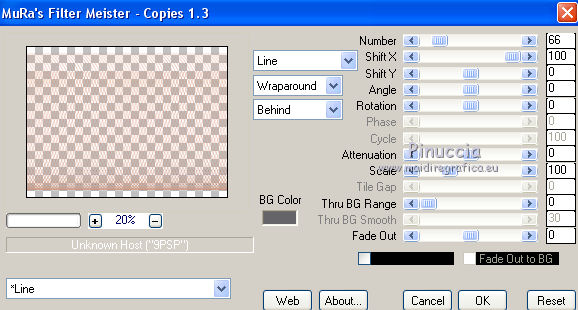
16. Effects>Plugins>Mura's Meister - Copies.
17. Effects>User Defined Filter - Emboss 3.
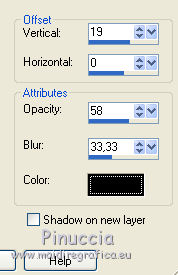
18. Effects>3D Effects>Drop shadow.
19. Activate the Warp Brush  avec ces règlages
attention: mode bord Fixed or Wraparound

Place the mouse about as in the screen.
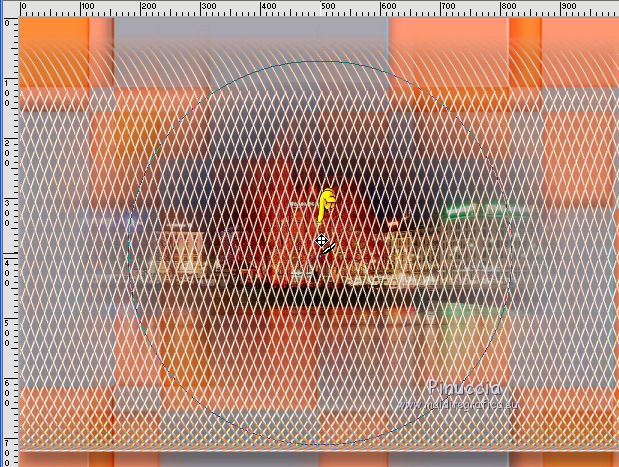
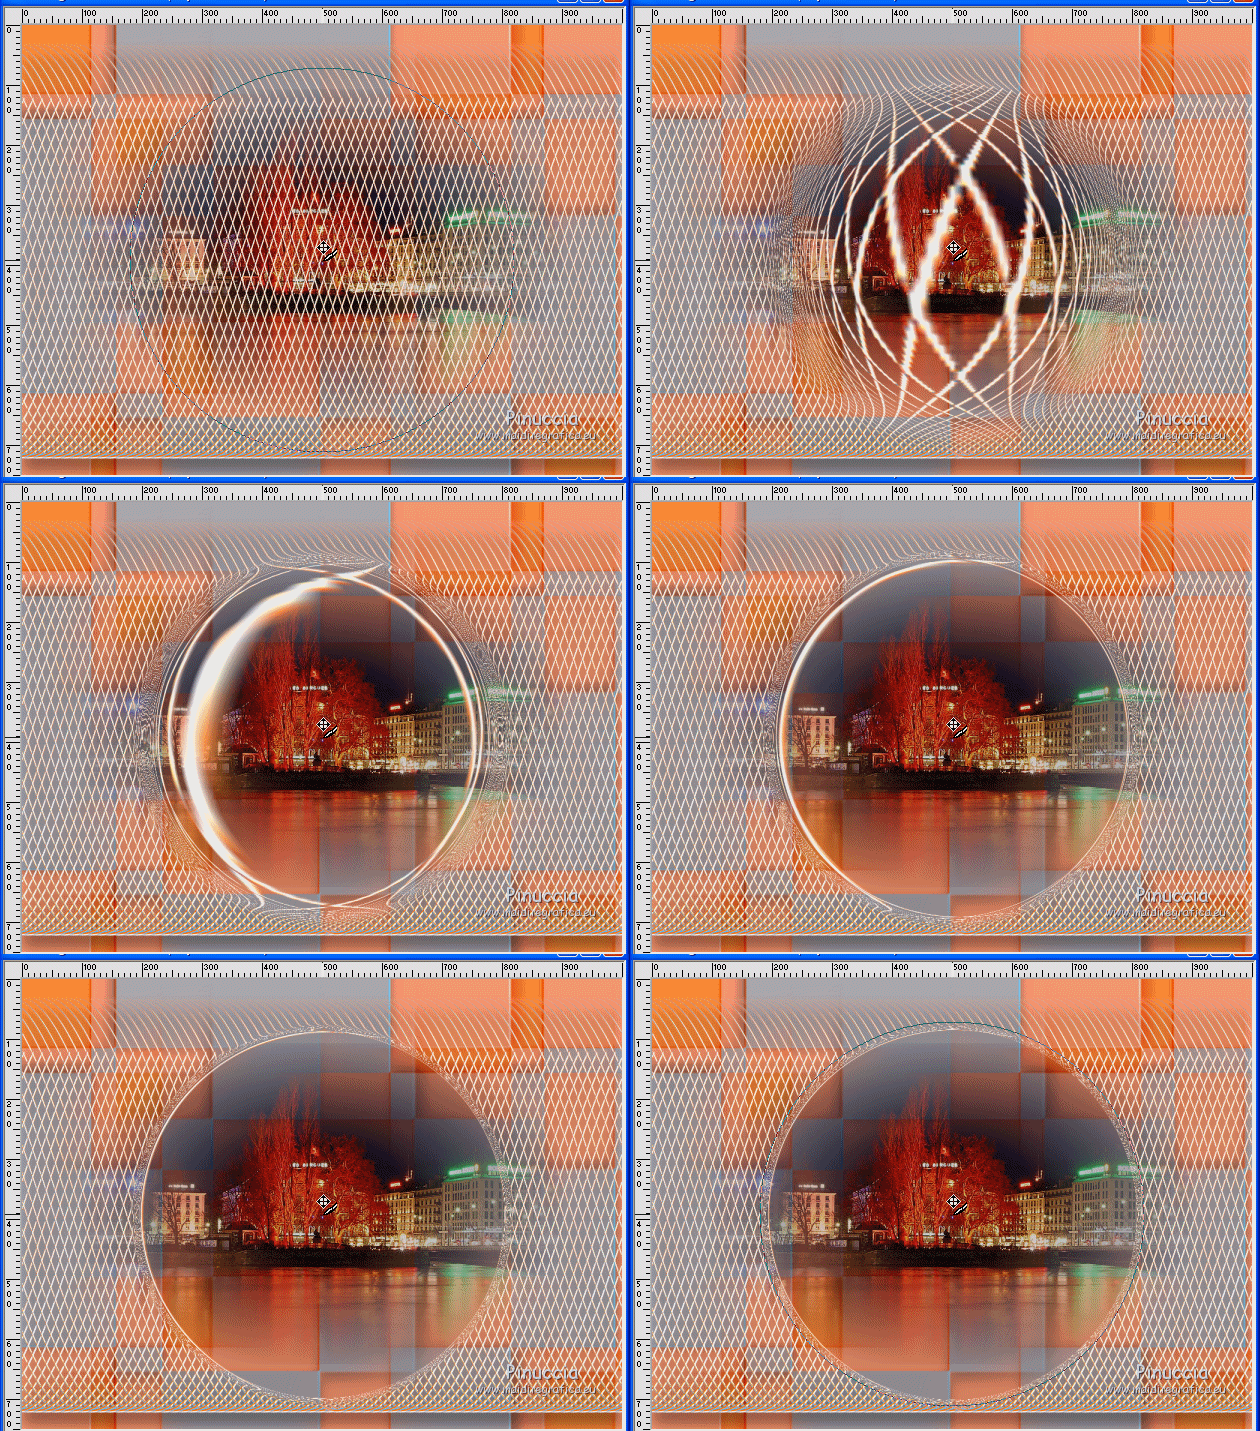
Hold down the left mouse button and, without moving, rotate the grid as in the screen.
To apply the rotation clic on the green check mark 
20. Open the tube Deco_Zen_2015_6, Edit>Copy.
Go back to your work and go to Edit>Paste as new layer.
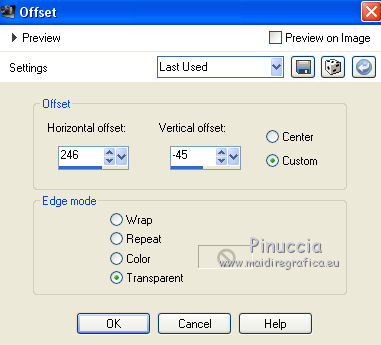
21. Effects>Image Effects>Offset.
22. Layers>Duplicate.
Layers>Merge>Merge down.
23. Layers>Duplicate.
Image>Mirror.
Image>Flip.
24. Open the tube Karine Dreams-Miss Fashion-21672-Marz 2012, Edit>Copy.
Go back to your work and go to Edit>Paste as new layer.
Image>Resize, to 85%, resize all layers not checked.
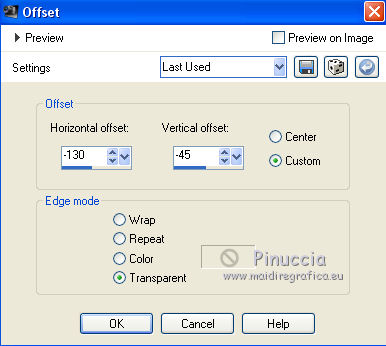
25. Effects>Image Effects>Offset.
26. Effects>3D Effects>Drop Shadow.
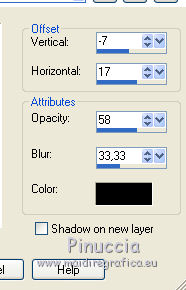
27. Layers>Merge>Merge All.
28. Effets>Plugins>Xero - Porcelain.
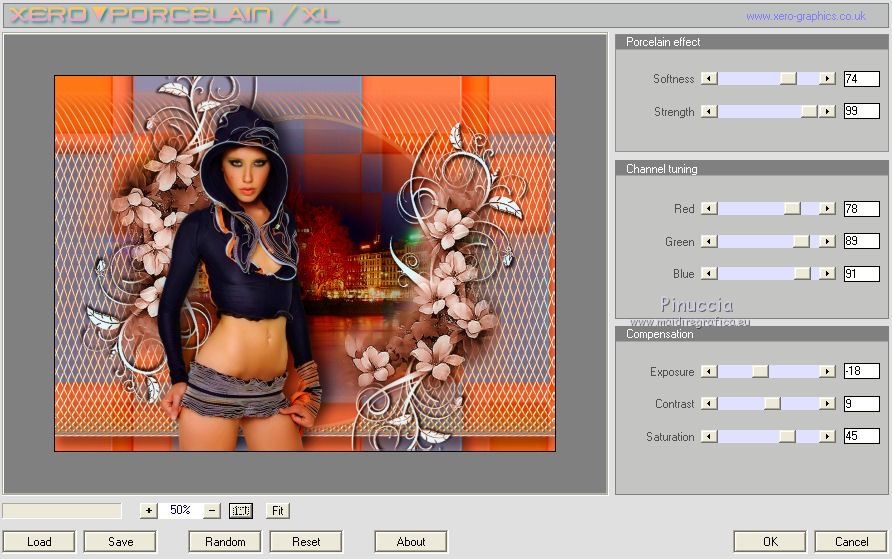
29. Effets>Plugins>Nik Software - Color Efex Pro - Vignette Blur.
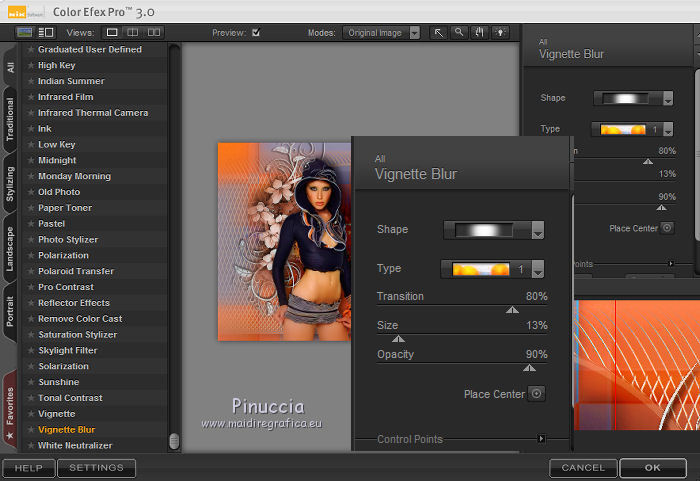
30. Sign your work and save as jpg.

If you have problems or doubt, or you find a not worked link, or only for tell me that you enjoyed this tutorial, write to me.
12 September 2015
