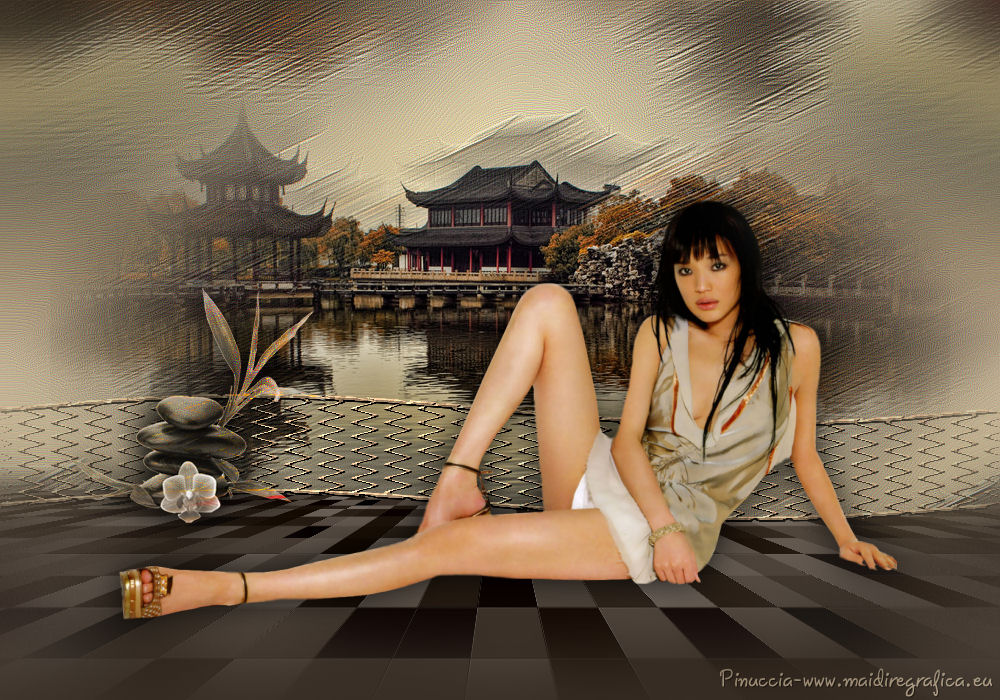
This tutorial was created with PSPX8 but it can also be made using other versions of PSP.
Since version PSP X4, Image>Mirror was replaced with Image>Flip Horizontal,
and Image>Flip with Image>Flip Vertical, there are some variables.
In versions X5 and X6, the functions have been improved by making available the Objects menu.
In the latest version X7 command Image>Mirror and Image>Flip returned, but with new differences.
See my schedule here
Italian translation here
French translation here
Your versions here
For this tutorial, you will need:
Material here
Tube Propriete.chinoise.by.lin-yao.tube2013
Tube shu-qi.by.lin-yao tube 2014
I don't know the author of the tube "Flores".
Plugins
consult, if necessary, my filter section here
Mura's Meister - Perspective Tiling here
Mura's Meister - Copies here
Xero - Fritillary here
Nik software - Color Efex Pro here

You can change Blend Modes and opacity of the layer, according to your colors.
In the newest versions of PSP, you don't find many tools of the old versions.
If you don't get the texture Paper or Corel_08_056, copy the texture supplied in the Textures Folder.
Copy the mask in the Masks Folder.
1. Set your foreground color to #c2b094
Set your background color to #372d24.
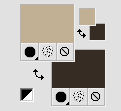
2. Open a new transparent image 1000 x 700 pixels.
Flood fill  with your foreground color.
3. Selections>Select all.
Open the tube Propriete.chinoise.by.lin-yao.tube2013 - Edit>Copy.
Go back to your work and go to Edit>Paste into Selection.
Selections>Select None.
4. Effects>Image Effects>Seamless Tiling, default settings.

5. Adjust>Blur>Motion Blur.
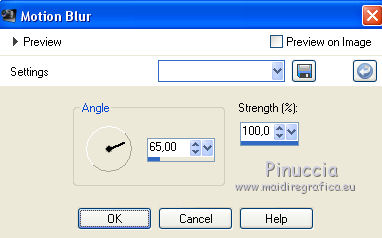
Effects>Edge Effects>Enhance More - 2 times.
Result
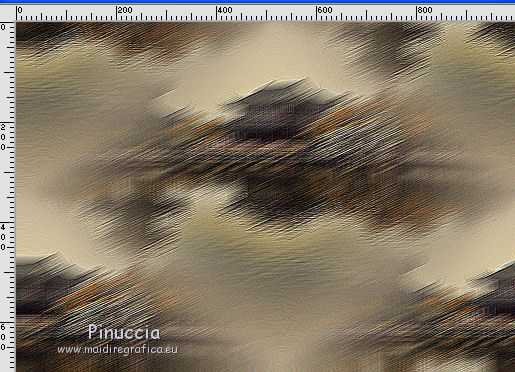
6. Edit>Paste as new layer (the tube Propriete.chinoise.by.lin-yao.tube2013 is still in memory).
7. Layers>Merge>Merge All.
8. Layers>New raster layer.
Flood Fill  with your background color #372d24.
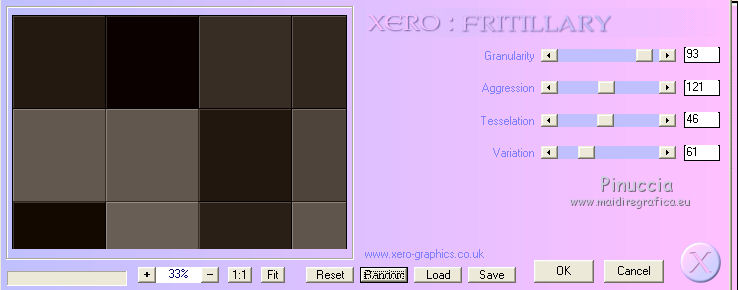
10. Effects>Plugins>Xero - Fritillary.
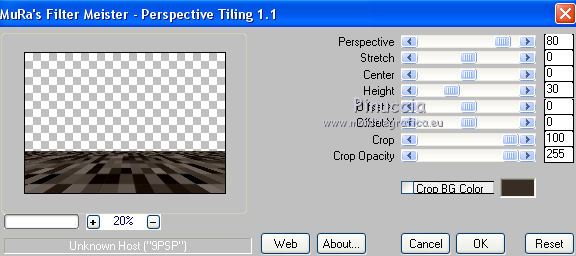
11. Effects>Plugins>Mura's Meister - Perspective Tiling.
12. Selection Tool 
(no matter the type of selection, because with the custom selection your always get a rectangle)
clic on the Custom Selection 
and set the following settings.
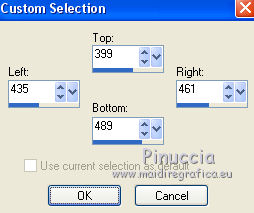
Selections>Promote Selection to Layer.
13. Selections>Modify>Select Selection Borders.
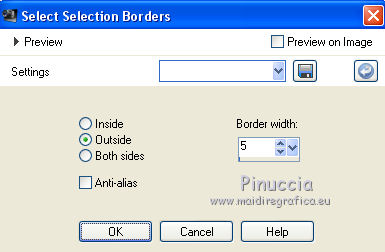
Flood Fill  with your foreground color #c2b094.
Selections>Select None.
14. Effects>Plugins>Mura's Meister - Copies.
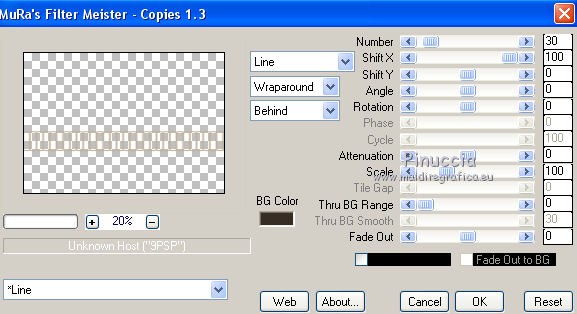
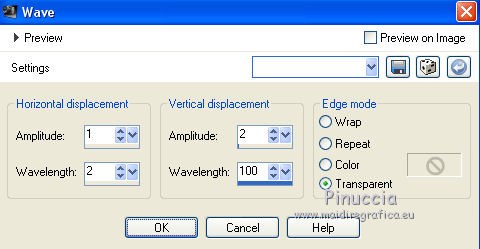
15. Effects>Distorsion Effects>Wave.
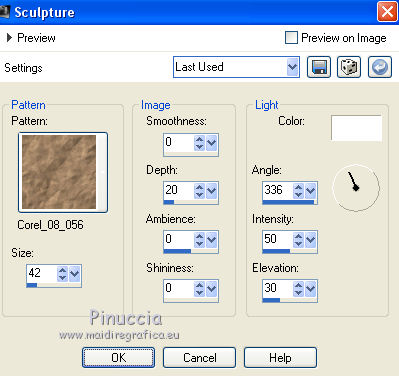
16. Effects>Texture Effects>Sculpture, select the texture Paper or Corel_08_56, whit these settings.
17. You should have this
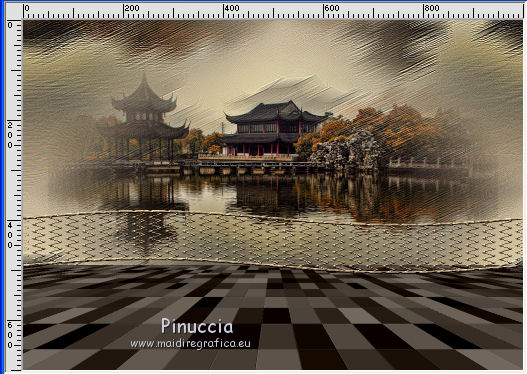
18. Move  the image a bit down, as below.
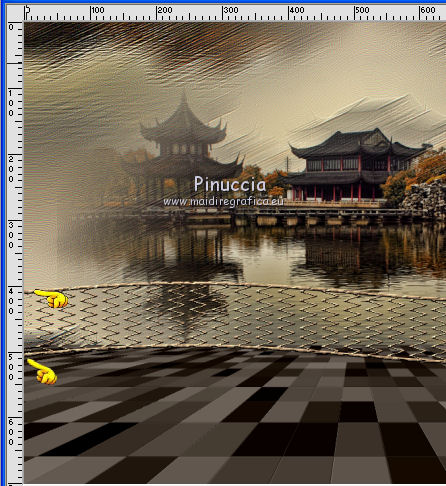
19. Activate the layer Raster 1.
Layers>Arrange>Bring to Top.
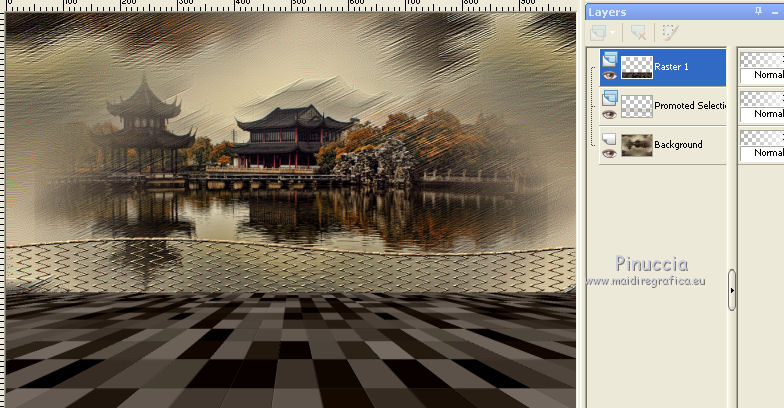
20. Activate the layer Promoted Selection.
Layers>Duplicate.
Layers>Arrange>Bring to Top.
21. Again Activate the layer Raster 1.
Activate the Eraser Tool  with these settings

with caution, erase the visible part of the "floor".
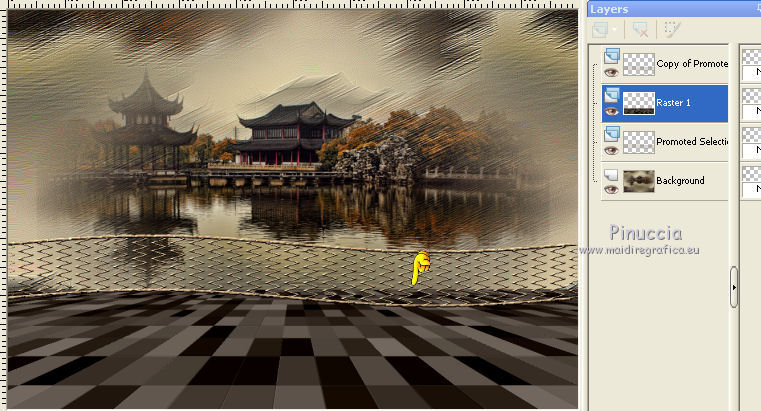
Result
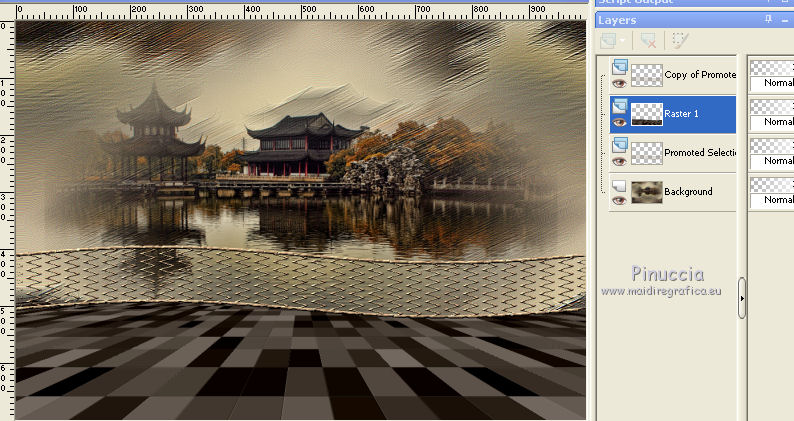
22. Layers>Merge>Merge all.
23. Effects>Plugins>Nik Software - Color Efex Pro - Vignette Blur.
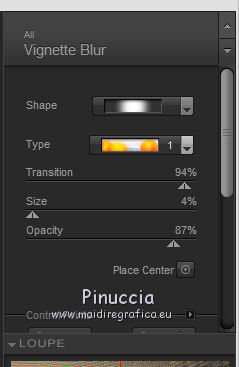
24. Open the tube shu-qi.by.lin-yao tube 2014 - Edit>Copy.
Go back to your work and go to Edit>Paste as new layer.
25. Effects>Image Effects>Offset.
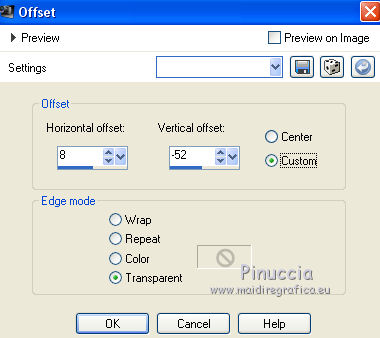
Effects>3D Effects>Drop Shadow.
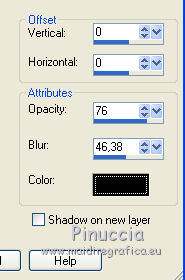
26. Open the tube "flores" - Edit>Copy.
Go back to your work and go to Edit>Paste as nes layer.
27. Effects>Image Effects>Offset.
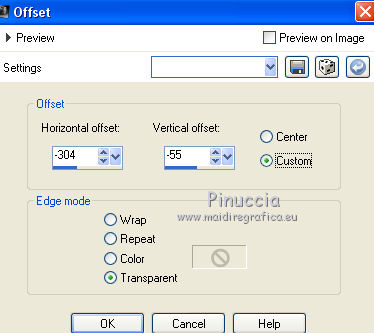
Change the opacity of this layer to Luminance.
Effects>3D Effects>Drop Shadow, same settings.

28. Layers>Merge>Merge visible.
29. Layers>Load/Save Mask>Load Mask from Disk.
Look for and load the mask ket-fadesuave.
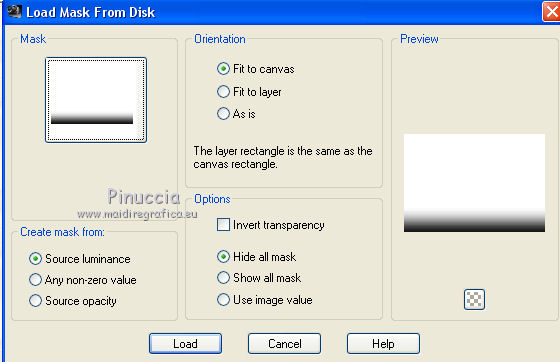
Layers>Merge>Merge Group.
30. Layers>New Raster Layer.
Flood Fill  with your background color #372d24.
Layer>Merge>Send to Bottom.
31. Sign your work.
Layers>Merge>Merge All and save as jpg.
The tubes of this version are by Min@ and Guismo.
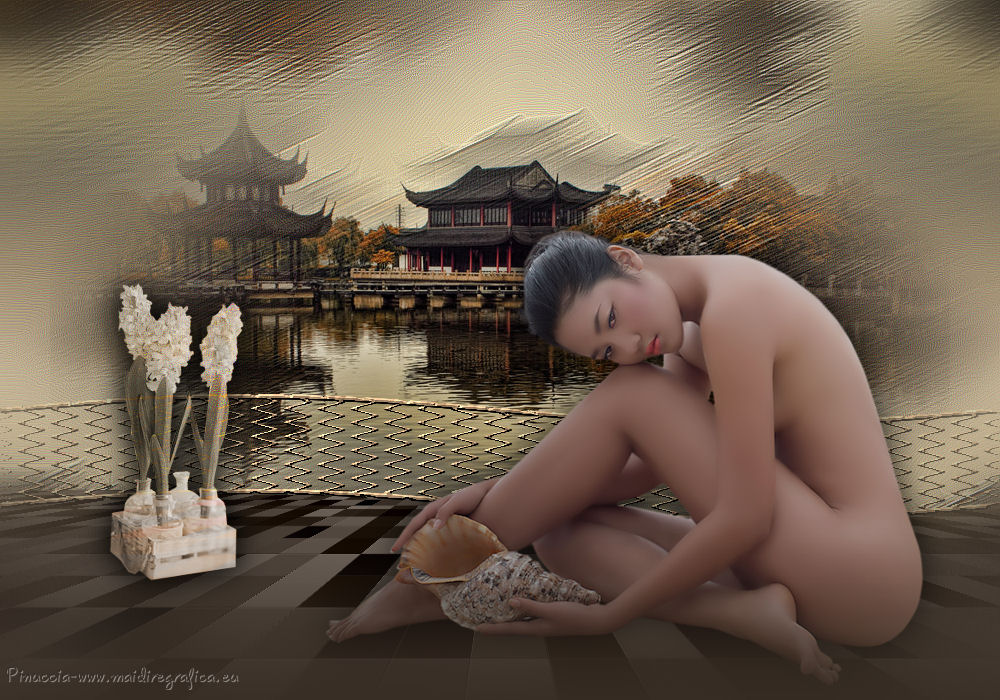
The tubes of this version are by Min@ Sonia and Guismo.
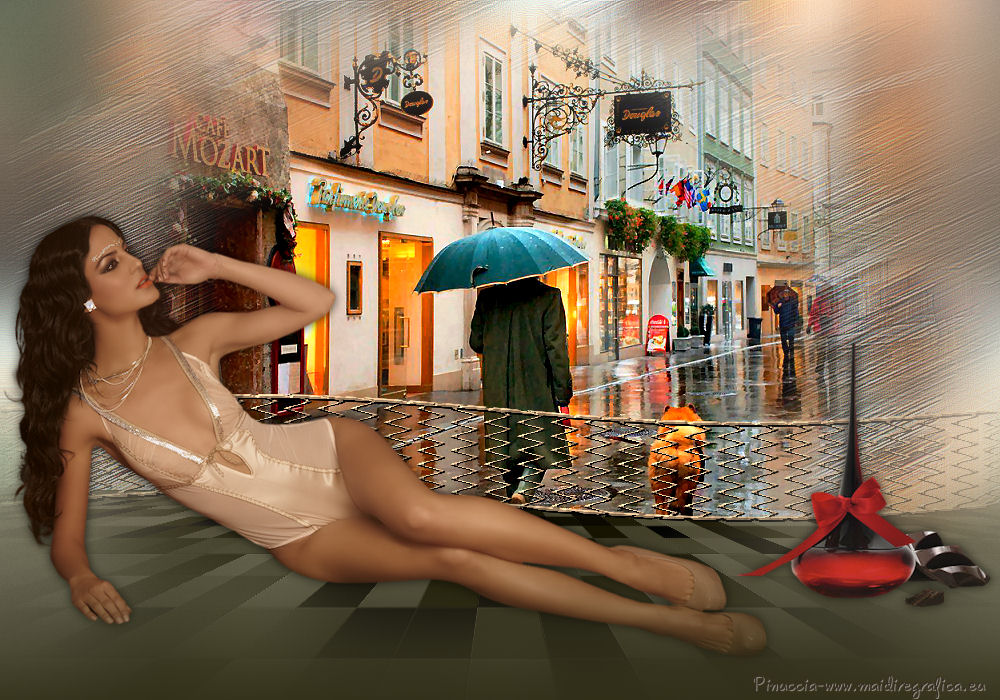

If you have problems or doubt, or you find a not worked link, or only for tell me that you enjoyed this tutorial, write to me.
12 May 2016
