This tutorial was created with PSPX7 but it can also be made using other versions of PSP.
Since version PSP X4, Image>Mirror was replaced with Image>Flip Horizontal,
and Image>Flip with Image>Flip Vertical, there are some variables.
In versions X5 and X6, the functions have been improved by making available the Objects menu.
In the latest version X7 command Image>Mirror and Image>Flip returned, but with new differences.
See my schedule here
Italian translation here
French translation here
Your versions here
For this tutorial, you will need:
Material here
Tube Girl_94_OBG.pspimagea
Tube Grisi_Misted_Paisaje_345.pspimage
Plugins
consult, if necessary, my filter section here
Alien Skin Eye Candy 5 Impact - Perspective Shadow here
Mura's Meister - Copies here

You can change Blend Modes and opacity of the layer, according to your colors.
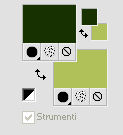
1. Set your foreground color to #183200
Set your background color to #b0c159.
2. Open a new transparent image 1000 x 700 pixels,
Flood Fill  with your foreground color #183200.
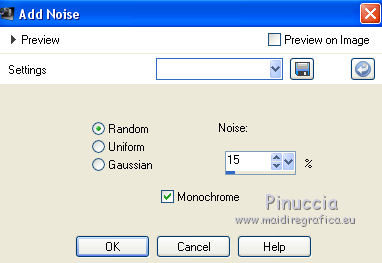
3. Adjust>Add/Remove Noise>Add Noise.
3. Layers>New Raster Layer.
Flood Fill with your background color #b0c159.
Adjust>Add/Remove Noise>Add Noise, same settings.
4. K key to activate the Pick Tool 
with PSP 9 D key to activate Deformation Tool 
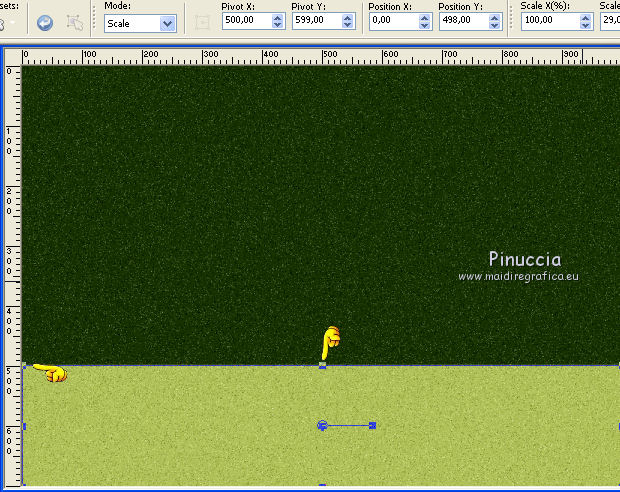
mode Scale 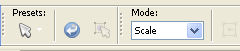 ,
,
push the central node at the top, down to about 500 pixels
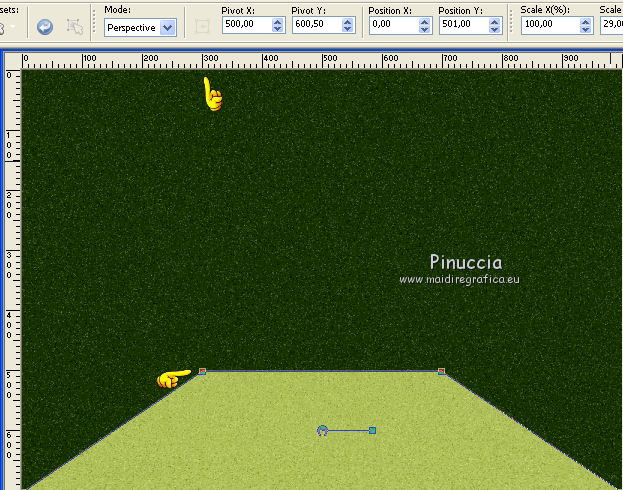
mode Perspective 
push the top node to the right (the opposite node will move symmetrically)
down to 300 pixels.
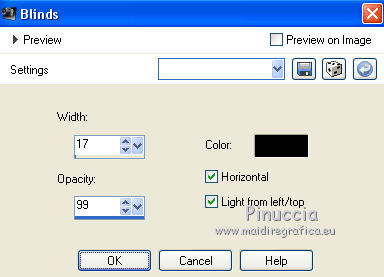
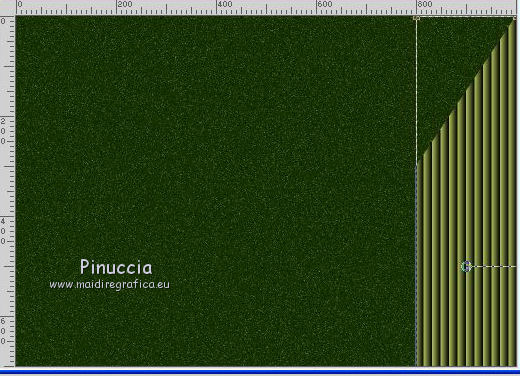
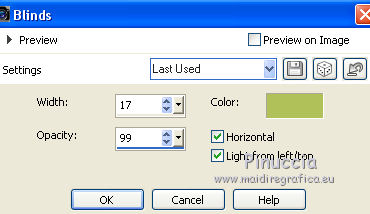
6. Effects>Texture Effects>Blinds.
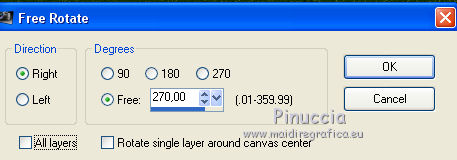
7. Image>Free Rotate - 270 degrees to right.
8. Move  the image at the top right.
(with Corel X17/18: Objects>Align>Top and after Objects>Align>Right)
9. Effects>Distortion Effects>Lens Distortion.
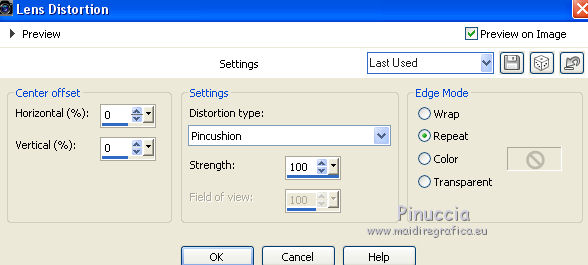
Image>Flip.
10. Effects>Plugins>Mura's Meister - Copies.
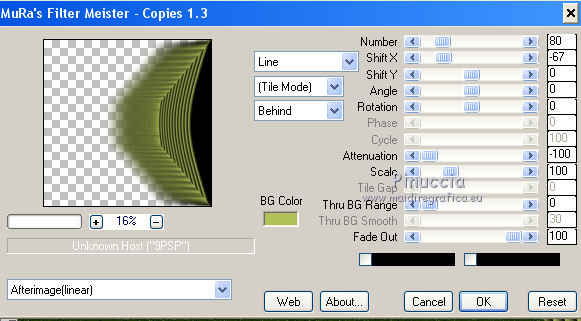
Result
11. Layers>Duplicate.
Image>Mirror.
12. Layers>Merge>Merge down.
13. Open the tube Grisi_Misted_Paisaje_345.pspimage - Edit>Copy.
Go back to your work and go to Edit>Paste as new layer.
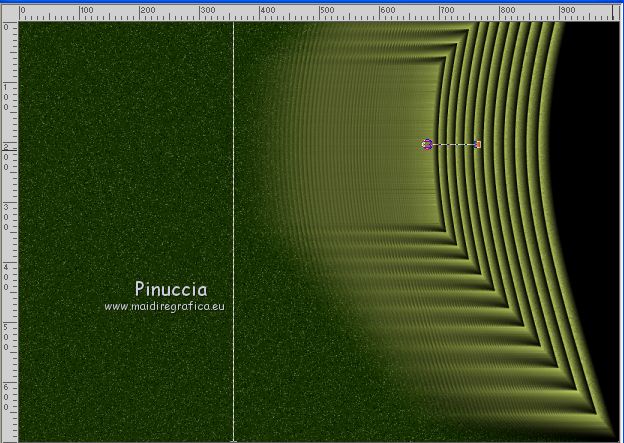
14. Effects>Reflection Effects>Rotating Mirror, default settings.

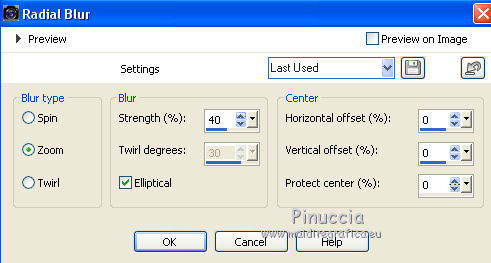
15. Adjust>Blur>Radial Blur.
16. Image>Flip.
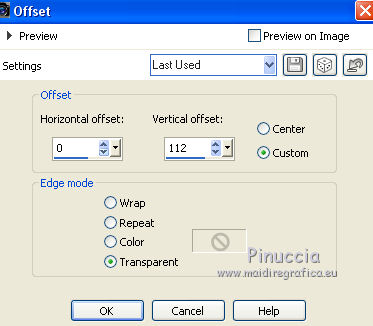
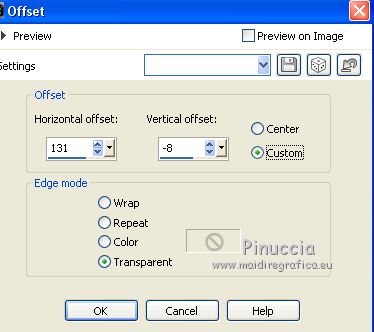
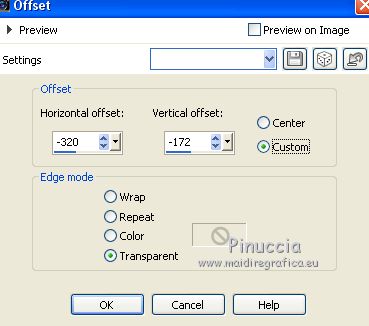
17. Effects>Image Effects>Offset.
18. Edit>Paste as new layer (the tube of Grisi is still in memory).
Image>Resize, to 70%, resize all layers not checked.
19. Layers>Merge>Merge down.
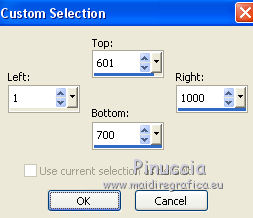
20. Activate the layer Raster 1.
Selection Tool 
(no matter the type of selection, because with the custom selection your always get a rectangle)
clic on the Custom Selection 
and set the following settings.
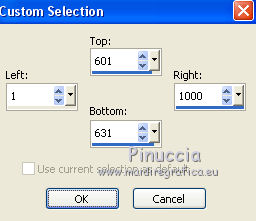
for my exemple I used these settings
21. Effects>Texture Effects>Blinds, same settings but background color #b0c159.
Selections>Select None.
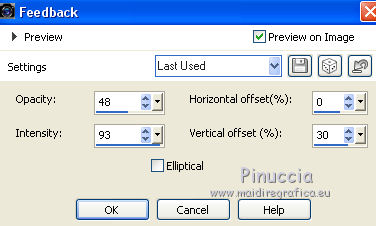
22. Effects>Reflections Effects>Feedback.
23. Layers>Merge>Merge All.
Effects>Edge Effects>Ehnance.
24. Open the tube Girl_94_OBG.pspimage - Edit>Copy.
Go back to your work and go to Edit>Paste as new layer.
Image>Resize, to 80%, resize all layers not checked.
25. Effects>Edge Effects>Offset.
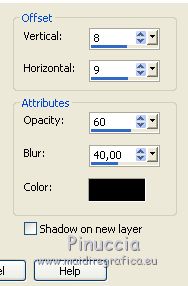
26. Effects>3D Effects>Drop Shadow.
27. Effects>Plugins>Alien Skin Eye Candy 5 Impact - Perspective Shadow.
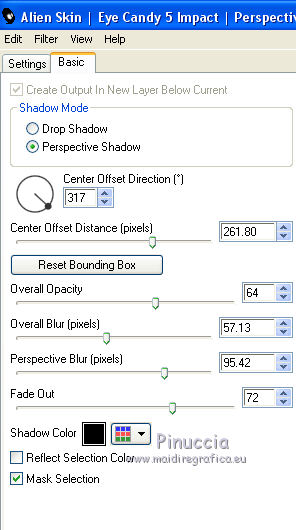
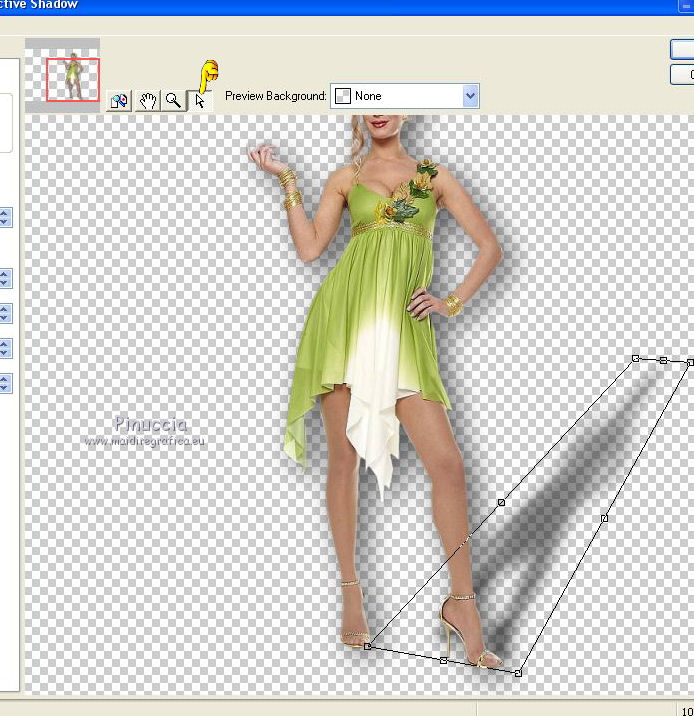
If you want "to fit" the shadow, clic on the white arrow to activate the tool,
and use the nodes to fit the shadow to your tube.
28. Adjust>Brightness and Contrast>Fill Light/Clarity
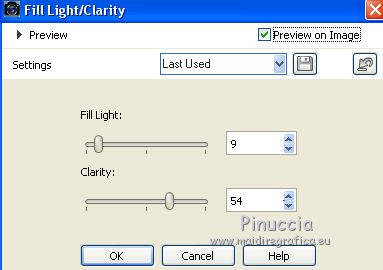
you don't find this effect in the oldest versions of PSP.
If you want, you can apply, according to your version of PSP:
Brightness and Contrast>Local Tone Mapping, or Brightness and Contrast/Clarify,
with the settings according to your tube.
29. Open the tube CFS_Easterit_2012_Grass04, - Edit>Copy.
Go back to your work and go to Edit>Paste as new layer.
Image>Resize, to 60%, resize all layers not checked.
30. Effects>3D Effects>Drop Shadow, same settings.
31. Effects>Image Effects>Offset.
32. Layers>Duplicate.
Image>Resize, to 60%, resize all layers not cheched.
The tube is already rightly placed.

Sign your work.
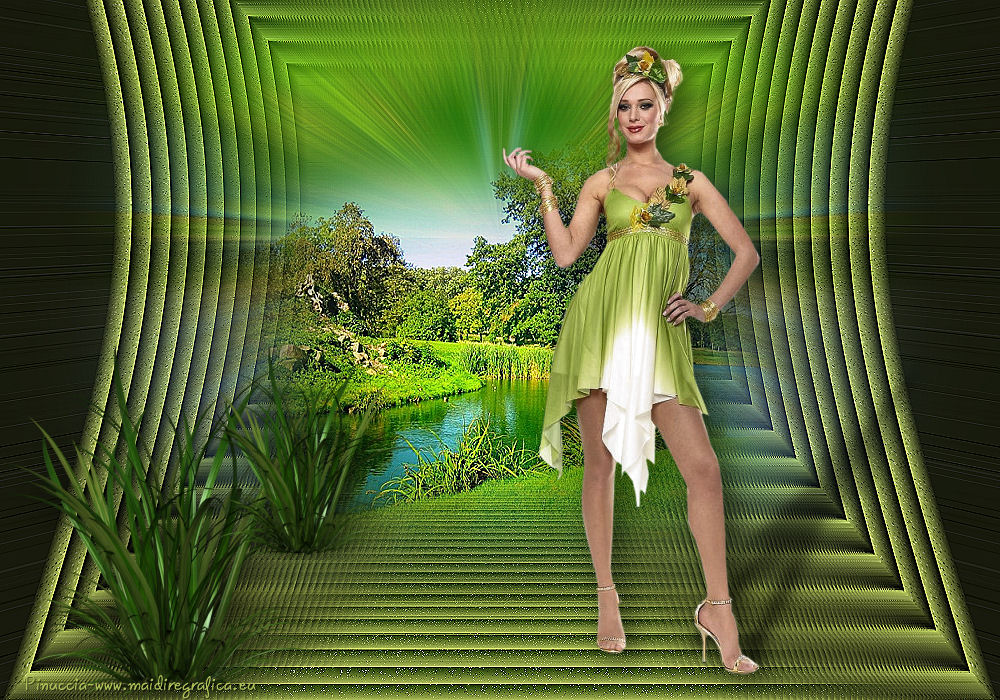
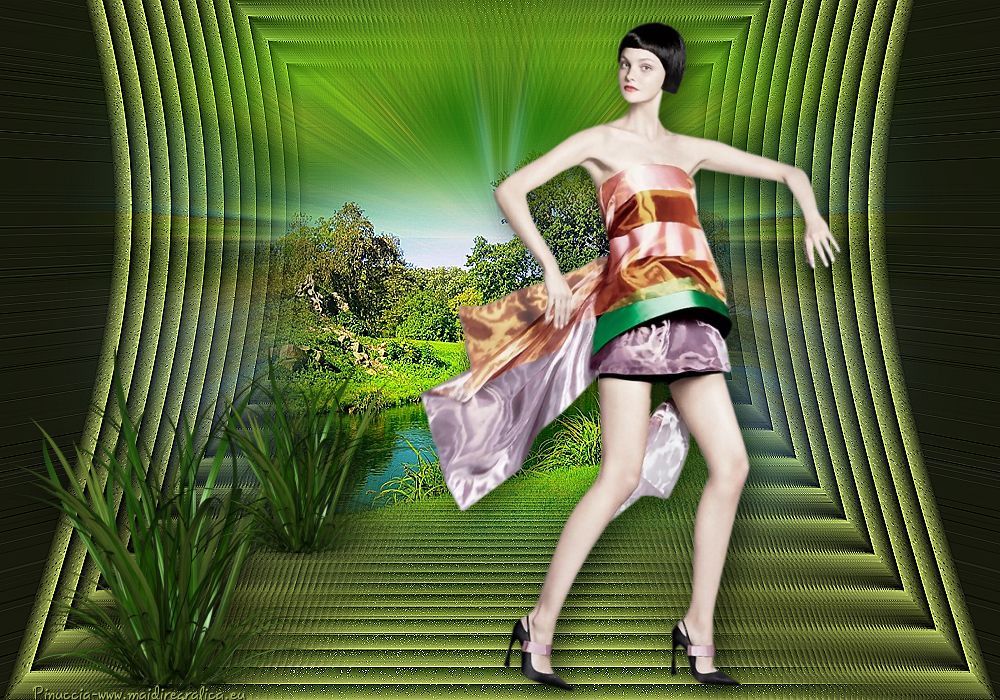
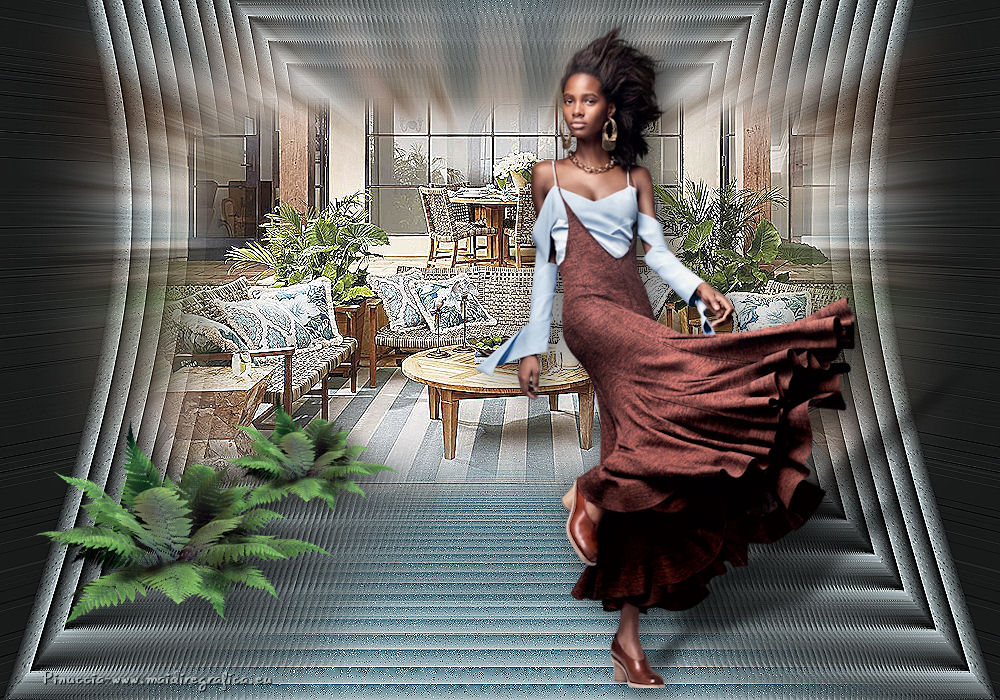
Layers>Merge>Merge all and save as jpg.
The tube of this version is by Libellule
The tubes of this version are by Katjoes and Min@
If you have problems or doubt, or you find a not worked link, or only for tell me that you enjoyed this tutorial, write to me.
18 May 2016