Home |
Home |

Mappa sito |
Mappa sito |
Tutorial |
Tutorial |
Tut tecnici |
Tut tecnici |
Links-Banner |
Links-Banner |
Regali-Award |
Regali-Award |
Informatica |
Informatica |
Archivio |
Archivio |
Mail |
Mail |
Privacy policy |
Privacy policy |
Novità |
Novità |
Home |
Home |
Mappa sito |
Mappa sito |
Tutorial |
Tutorial |
Tut tecnici |
Tut tecnici |
Links-Banner |
Links-Banner |
Regali-Award |
Regali-Award |
Informatica |
Informatica |
Archivio |
Archivio |
Mail |
Mail |
Privacy policy |
Privacy policy |
Novità |
Novità |
|
SISSY  
This tutorial was written with Psp2022 and translated with PspX2020, but it can also be made using other versions of PSP.
For this tutorial, you will need:  For the tubes thanks PqnaAlice (The links of the tubemakers here).  consult, if necessary, my filter section here Filters Unlimited 2.0 here Alien Skin Eye Candy 5 Nature - Water Drops, Corona here Funhouse - Xaggerate here Graphics Plus - Cross Shadow here Italian Editors Effect - Fantasma here Filters Graphics Plus, Funhouse and Italian Editors can be used alone or imported into Filters Unlimited. (How do, you see here) If a plugin supplied appears with this icon  it must necessarily be imported into Unlimited it must necessarily be imported into Unlimited You can change Blend Modes according to your colors.  Copy the Selections in the Selections Folder. 1. Choose 2 colors from your material. Foreground color #6c4421, background color #b4b49a  2. Open a new transparent image 900 x 600 pixels. Flood Fill  the transparent image with your background color. the transparent image with your background color.Selections>Select All. 3. Open the floral misted 068DiversosByPqnaAlice 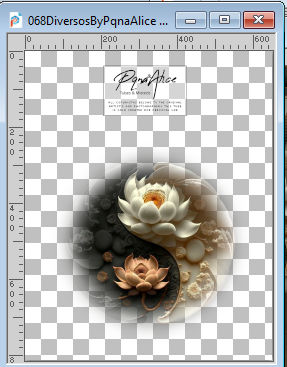 Edit>Copy. Go back to your work and go to Edit>Paste Into Selection. Selections>Select None. 4. Effects>Image Effects>Seamless Tiling.  5. Adjust>Blur>Gaussian Blur - radius 20  6. Selections>Load/Save Selection>Load Selection from Disk. Look for and load the selection Selection261_Xiki1 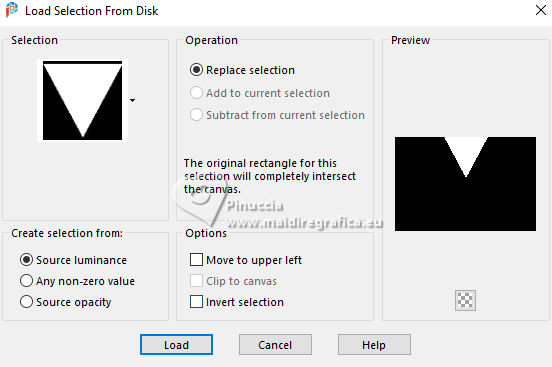 Selections>Promote Selection to Layer. Effects>Texture Effects>Weave weave color: foreground color gap color: background color 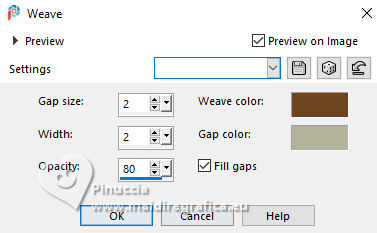 Effects>3D Effects>Chisel, foreground color. 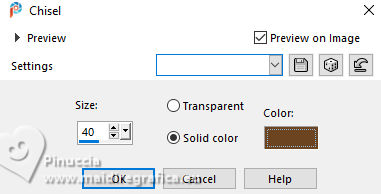 7. Selections>Invert. Effects>Texture Effects>Blinds, background color. 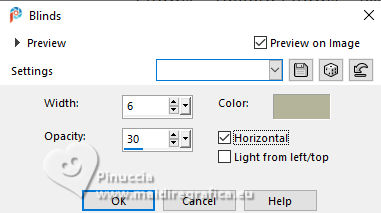 8. Adjust>Sharpness>Sharpen More. Selections>Select None. Effects>3D Effects>Drop Shadow, color black. 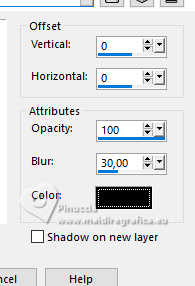 9. Layers>Duplicate. Image>Resize, 50%, resize all layers not checked. Objects>Align>Top. 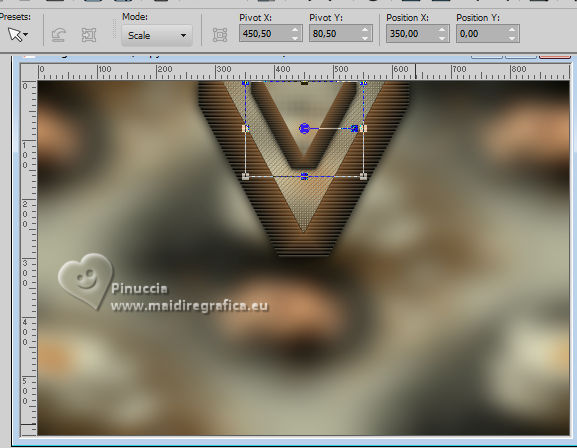 10. Activate the layer Raster 1. Selections>Load/Save Selection>Load Selection from Disk. Look for and load the selection Selection261_Xiki2.  Selections>Promote Selection to Layer. Layers>Arrange>Bring to Top. 11. Effects>Texture Effets>Fur. 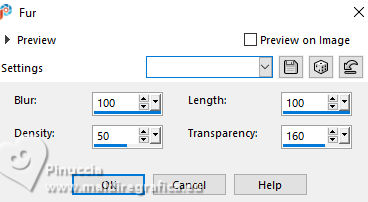 Efffects>3D Effects>Drop Shadow, color black. 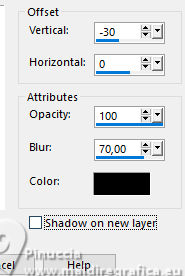 12. Effects>Plugins>Alien Skin Eye Candy 5 Nature - Water Drops Liquid color: foreground color Highlight Color: white. 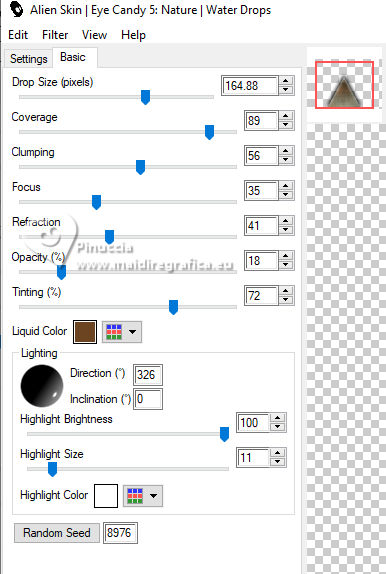 13. Selections>Select None. Activate the layer Raster 1. Selections>Load/Save Selections>Load Selection from Disk. Look for and load the selection Selection261_Xiki3 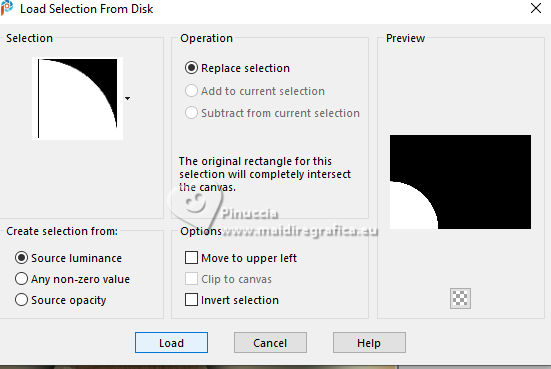 Selections>Promote Selection to Layer. Effects>Plugins>Funhouse - Xaggerate. 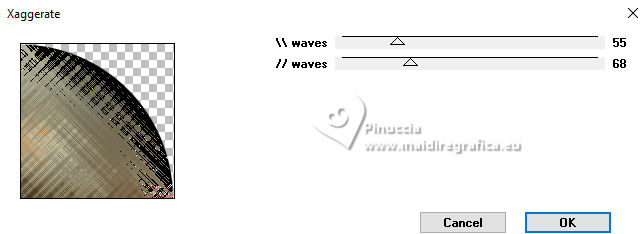 14. Selections>Select None. Layers>Duplicate. Image>Mirror>Mirror Horizontal. Layers>Merge>Merge Down. 15. Effects>Plugins>Alien Skin Eye Candy 5 Nature - Corona. Click on the little square to activate the color palette and set your background and foreground color on the bottom squares 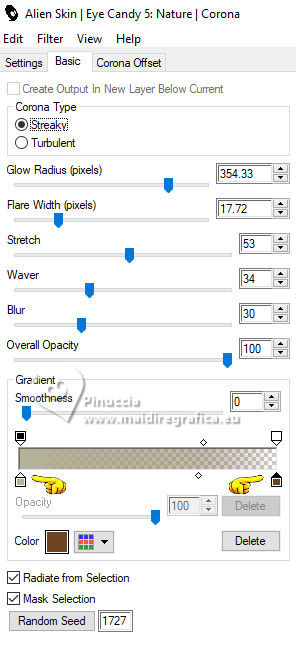 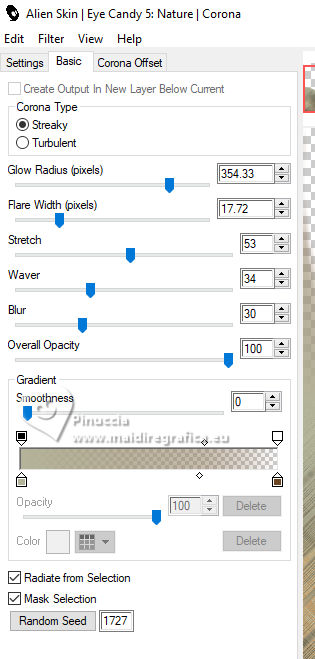 16. Effects>Plugins>Italian Editors Effect - Fantasma. 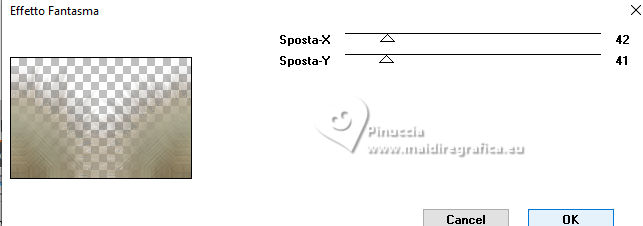 17. Change the Blend Mode of this layer to Hard Light. 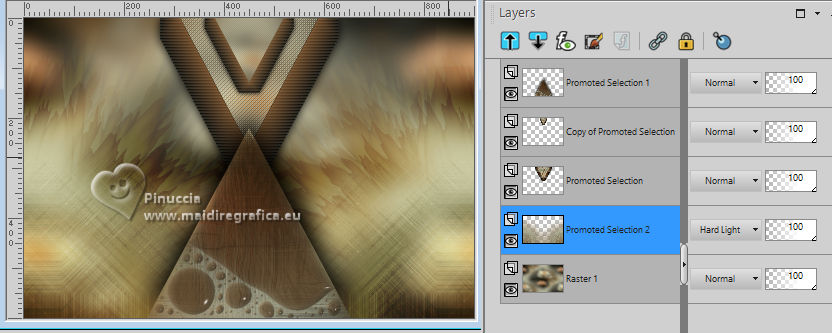 Activate the layer Raster 1. Layers>Duplicate. Effects>Plugins>Mura's Meister - Perspective Tiling. 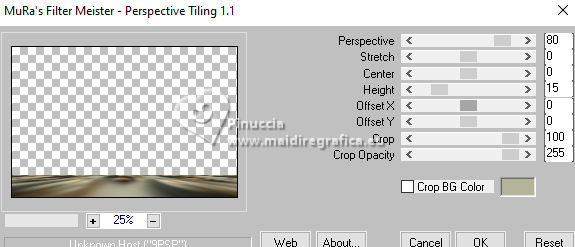 18. Activate your Magic Wand Tool  , tolerance 0 and feather 70 , tolerance 0 and feather 70and click in the transparent part to select it. Click 3 times CANC on the keyboard  Selections>Select None. 19. Layers>Duplicate. Image>Mirror>Mirror Vertical. Effects>Reflection Effects>Feedback. 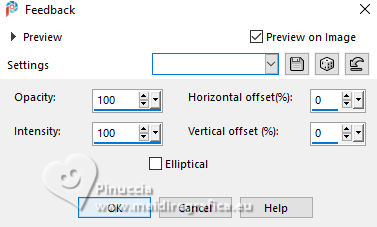 20. Change the Blend Mode of this layer to Overlay. 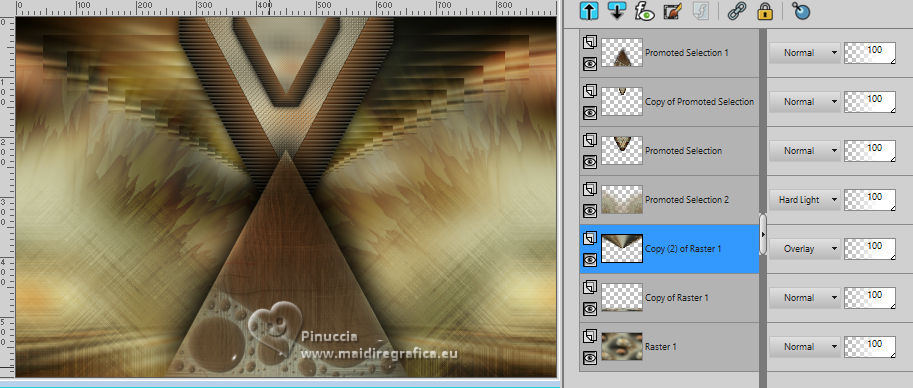 21. Activate the layer Raster 1. Adjust>Add/Remove Noise>Add Noise. 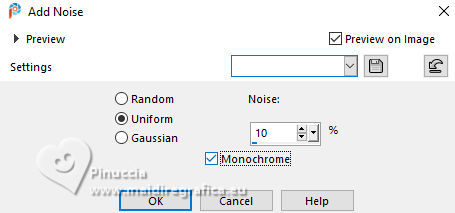 22. Activate your top layer. The misted 068DiversosByPqnaAlice should be still in memory. Edit>Paste as New Layer. For the supplied tube: Image>Resize, to 70%, resize all layers not checked. Pick Tool  Position X: 261,00 and Position Y: 57,00. 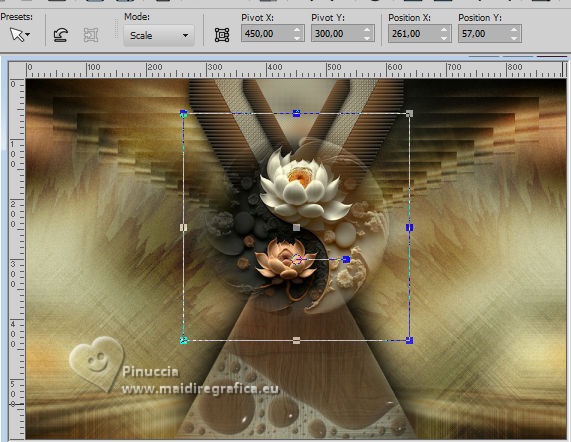 23. Edit>Copy Special>Copy Merged. Image>Add borders, 2 pixels, symmetric, foreground color. Image>Add borders, 2 pixels, symmetric, background color. Image>Add borders, 2 pixels, symmetric, foreground color. Selections>Select All. Image>Add Borders>15 pixels, symmetric, whatever color. Selections>Invert. Edit>Paste Into Selection. 24. Adjust>Blur>Gaussian Blur - radius 20. Effects>Plugins>Graphics Plus - Cross Shadow - default settings. 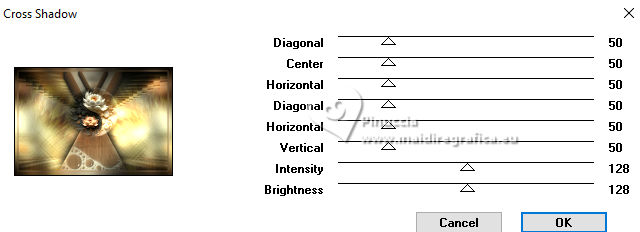 Selections>Select None. 25. Image>Add borders, 2 pixels, symmetric, foreground color. Selections>Select All. Image>Add Borders, 40 pixels, symmetric, whatever color. Selections>Invert. Edit>Paste Into Selection. Adjust>Blur>Gaussian Blur - radius 20. 26. Effects>Texture Effets>Fur. 27. Effects>Plugins>Graphics Plus - Cross Shadow, default settings. 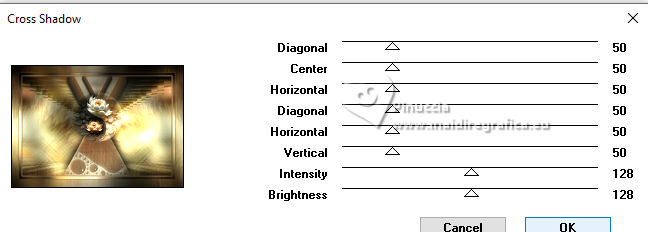 28. Selections>Invert. Effects>3D Effects>Drop Shadow, color black.  (Optional) Edit>Repeat Drop Shadow. Selections>Select None. 29. Open the woman's tube 1042MulherByPqnaAlice 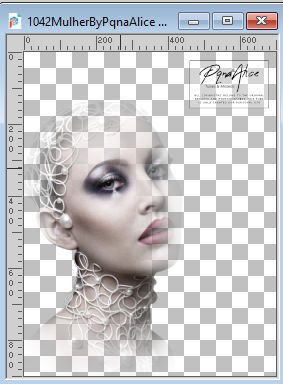 Edit>Copy. Go back to your work and go to Edit>Paste as New Layer. For my example, I resized to 90% Move  the tube to the left side. the tube to the left side.(Optional). Change the Blend Mode of this layer to Overlay. 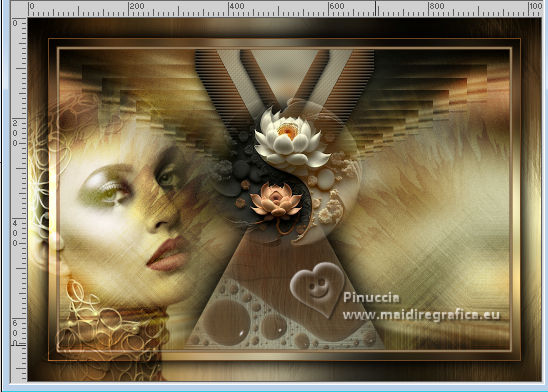 30. Open TituloSissyBySoxikibem 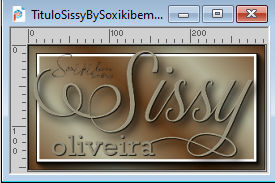 Edit>Copy. Go back to your work and go to Edit>Paste as New Layer. Pick Tool Position X: 660,00 and Position Y: 369,00. 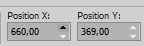 31. Image>Add borders, 2 pixels, symmetric, foreground color. 32. Image>Resize, if you want. Sign your work and save as jpg. For the tubes of this version thanks Mentali . 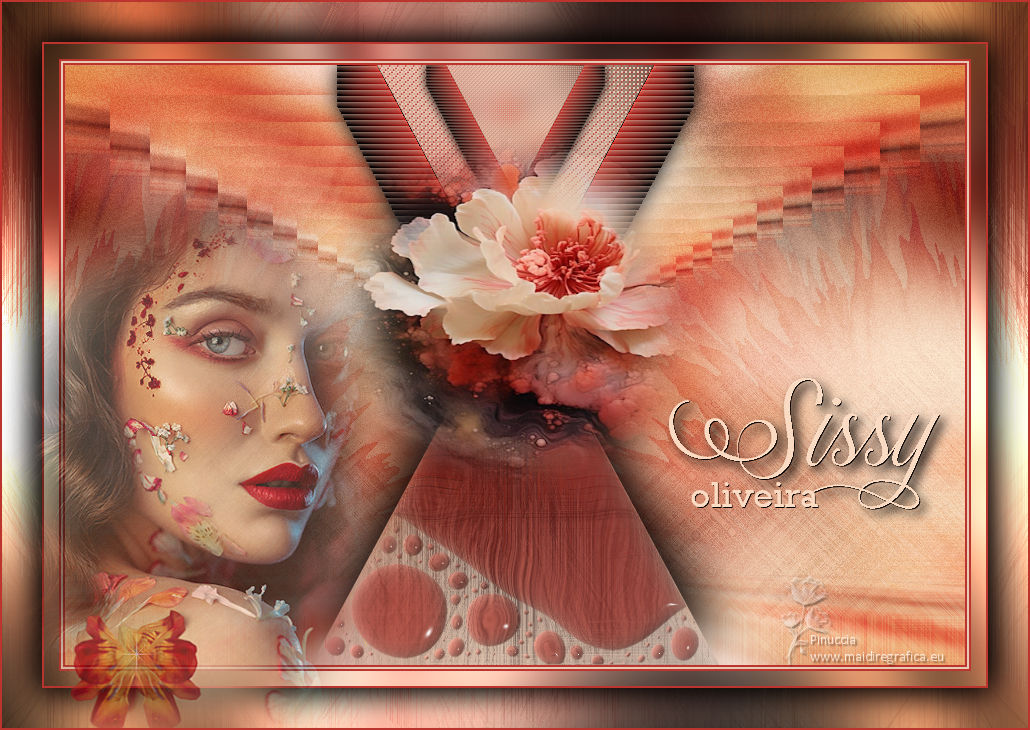  Your versions. Thanks 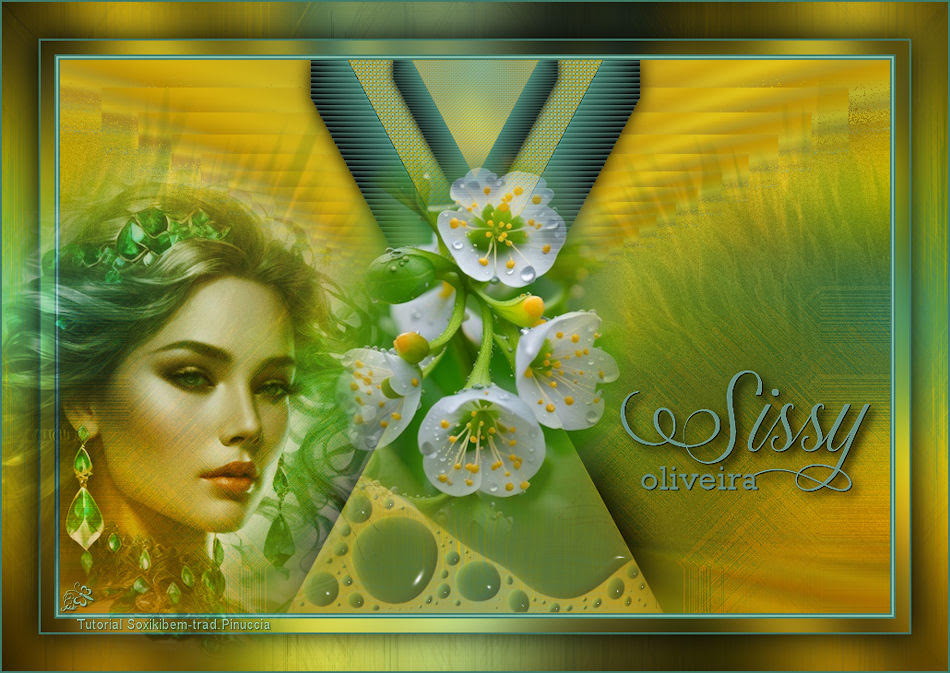 Jolcsi 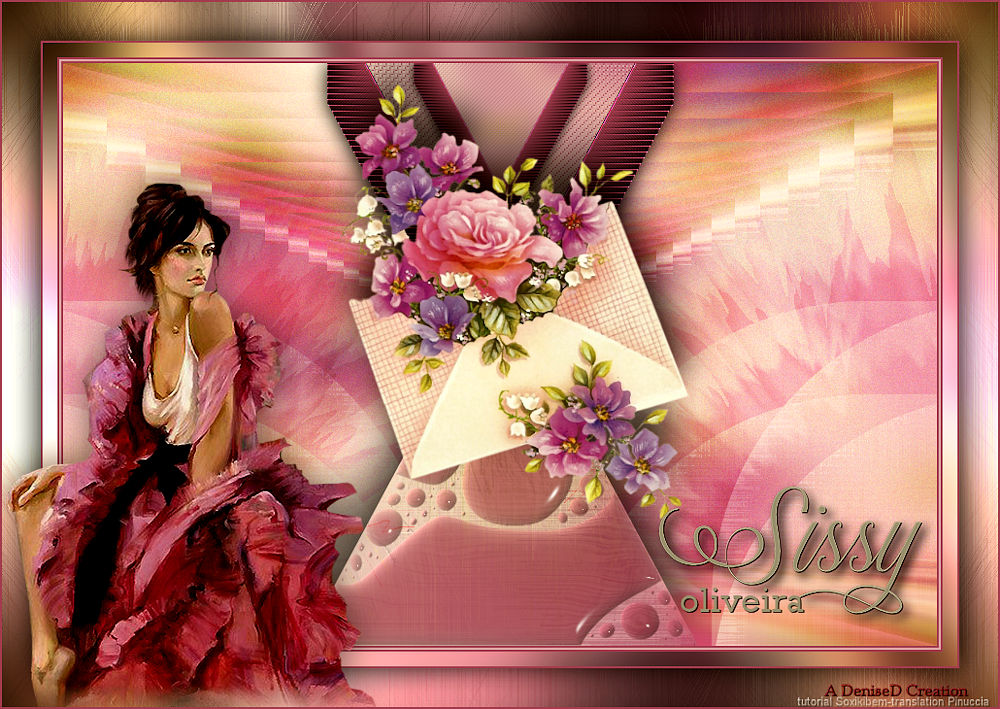 DeniseD 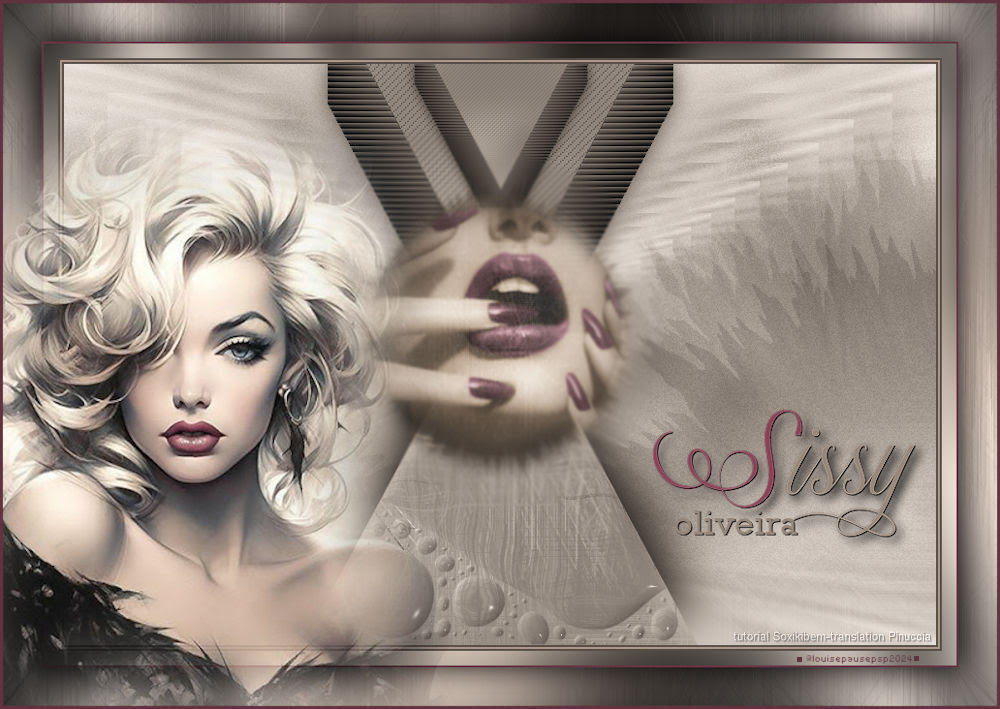 Sissy   If you have problems or doubts, or you find a not worked link, or only for tell me that you enjoyed this tutorial, write to me. 17 May 2024 |