|
LYNNETTE  

This tutorial was written with Psp2022 and translated with PspX17, but it can also be made using other versions of PSP. You can change Blend Modes according to your colors. In the newest versions of PSP, you don't find the foreground/background gradient (Corel_06_029). You can use the gradients of the older versions. The Gradient of CorelX here  1. Choose 3 colors from your material. Foreground color #33414a, background color #dccfc7 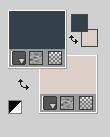 Color 3 #899484  2. Set your foreground color to a Foreground/Background Gradient, style Sunburst. 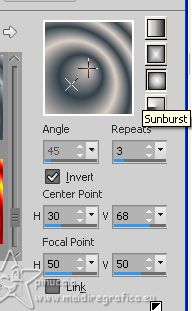 Open a new transparent image 900 x 600 pixels. Flood Fill  the transparent image with your Gradient. the transparent image with your Gradient.3. Layers>Duplicate. Image>Mirror. Image>Flip. Change the Blend Mode of this layer to Darken. 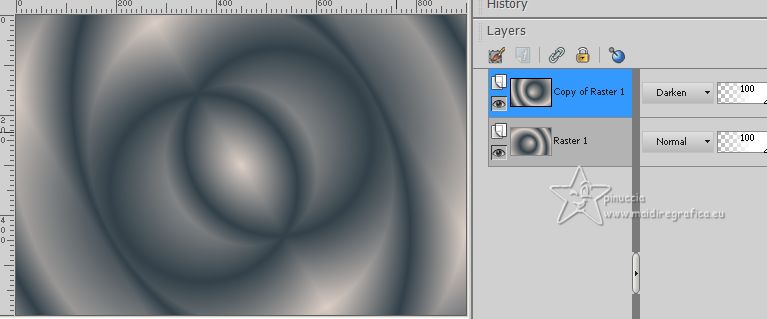 Layers>Merge>Merge Down. 4. Layers>Duplicate. Effects>Geometric Effects>Skew. 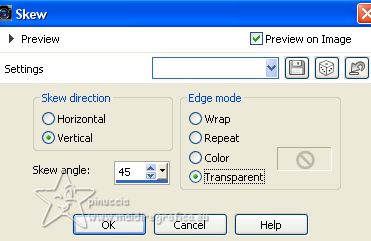 5. Effects>Reflection Effects>Feedback. 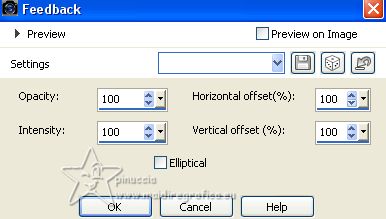 6. Selections>Select All. Selections>Modify>Contract - 100 pixels. Press CANC on the keyboard  Selections>Select None. 7. Layers>Duplicate. Image>Mirror. Image>Flip. Layers>Merge>Merge Down. 8. Effects>Plugins>Flaming Pear - Flexify 2. 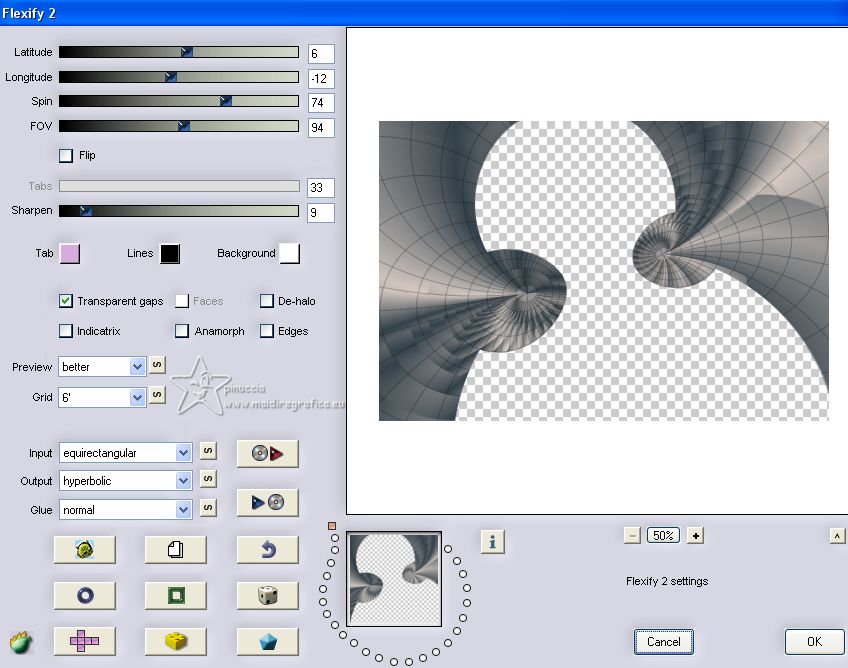 Change the Blend Mode of this layer to Hard Light, or according to your colors. 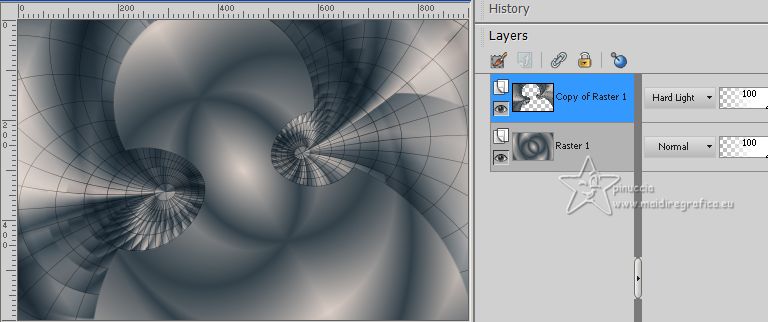 Effects>3D Effects>Drop Shadow, foreground color. 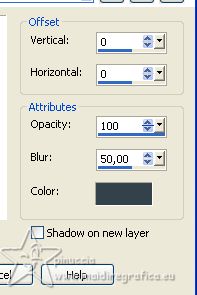 Layers>Duplicate. 9. Activate the layer Raster 1. Effects>Plugins>VM Toolbox - Radial Noise. 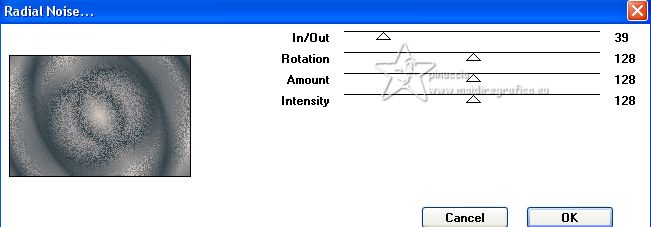 10. Layers>New Raster Layer. Selections>Select All. Open your flowers misted 170FlorByPqnaAlice 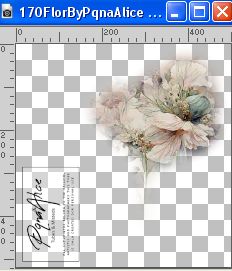 Erase the watermark and go to Edit>Copy. Go back to your work and go to Edit>Paste into Selection. Selections>Select None. Effects>Image Effects>Seamless Tiling, default settings.  Adjust>Blur>Radial Blur. 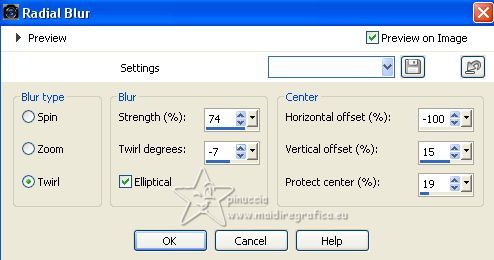 Change the Blend Mode of this layer to Color (L). 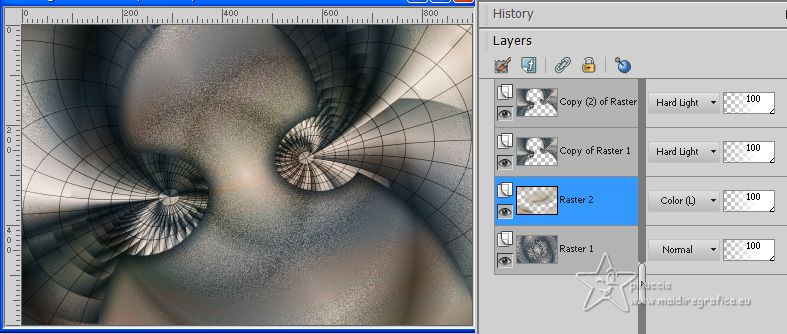 11. Activate the layer Raster 1. Layers>Duplicate. Effects>Plugins>Mura's Meister - Perspective Tiling. 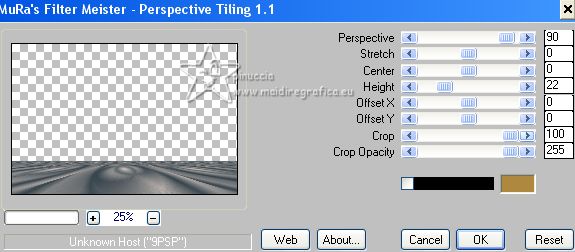 12. Activate your Magic Wand Tool  , Feather 80 , Feather 80 and click in the transparent part to select it. Press 4 times CANC on the keyboard. Selections>Select None. don't forget to set again the Feather to 0 13. Change the Blend Mode of this layer to Screen. Layers>Duplicate. Image>Flip. Change the Blend Mode of this layer to Dodge. 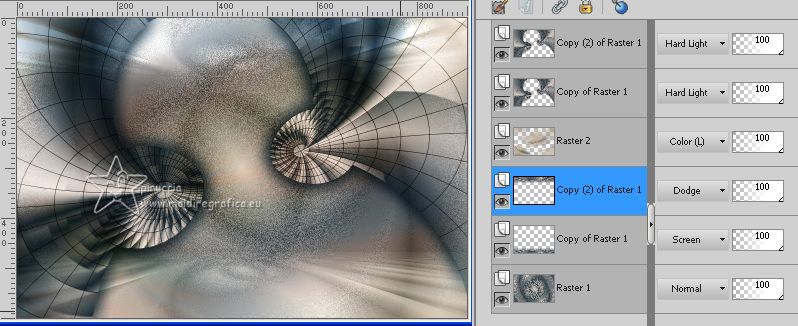 14. Activate your Top Layer. Edit>Paste as new layer (your flowers tube is still in memory). Image>Resize, if necessary, for this tube it is not Move  the tube à gauche the tube à gauche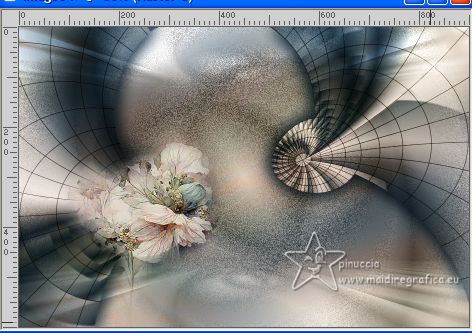 Layers>Duplicate. Image>Mirror. Move  this image as below. this image as below.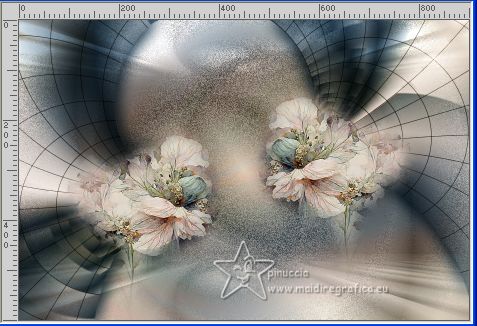 15. Activate the layer Raster 1. Open the landscape misted 748MulherByPqnaAlice  Erase the watermark and go to Edit>Copy. Go back to your work and go to Edit>Paste as new layer. Image>Resize, if necessary, for this tube it is not. Place  le tube up. le tube up. 16. Activate again the top layer. Open TLynnetteByXiki  Edit>Copy. Go back to your work and go to Edit>Paste as new layer. Pick Tool  and set Position X: 525,00 and Position Y: 352,00.  17. Edit>Copy Special>Copy Merged. Image>Add borders, 1 pixel, symmetric, color 3 #899484  Selections>Select All. Image>Add borders, 10 pixels, symmetric, whatever color. Selections>Invert. Edit>Paste into Selection. 18. Réglage>Blur>Gaussian Blur - radius 20.  Effects>Plugins>VM Toolbox - Radial Noise.  Selections>Select None. 19. Image>Add borders, 2 pixels, symmetric, color 3 #899484  Selections>Select All. Image>Add borders, 20 pixels, symmetric, whatever color. Selections>Invert. Edit>Paste into Selection. 20. Réglage>Blur>Gaussian Blur - radius 20.  Effects>Plugins>VM Toolbox - Radial Noise.  21. Effects>Plugins>Graphics Plus - Cross Shadow, default settings. 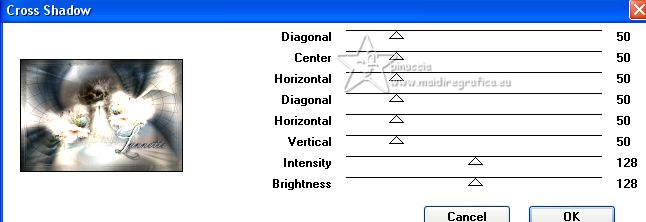 Selections>Select None. 22. Image>Add borders, 4 pixels, symmetric, color 3 #899484  Selections>Select All. Image>Add borders, 20 pixels, symmetric, whatever color. Selections>Invert. Edit>Paste into Selection. 23. Réglage>Blur>Gaussian Blur - radius 20.  Effects>Plugins>VM Toolbox - Radial Noise.  Selections>Select None. 24. Open the woman's tube 310MulherByPqnaAlice 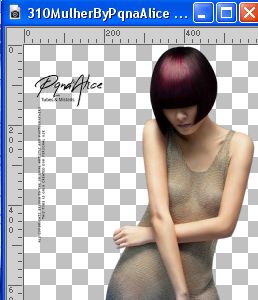 Erase the watermark and go to Edit>Copy. Go back to your work and go to Edit>Paste as new layer. Move  the tube to the left. the tube to the left.Effects>3D Effects>Drop Shadow or an effect to your liking. 25. Image>Add borders, 2 pixels, symmetric, color 3 #899484  26. Sign your work and save as jpg. For the tubes of this version thanks Luz Cristina and PqnaAlice; the misted is mine. 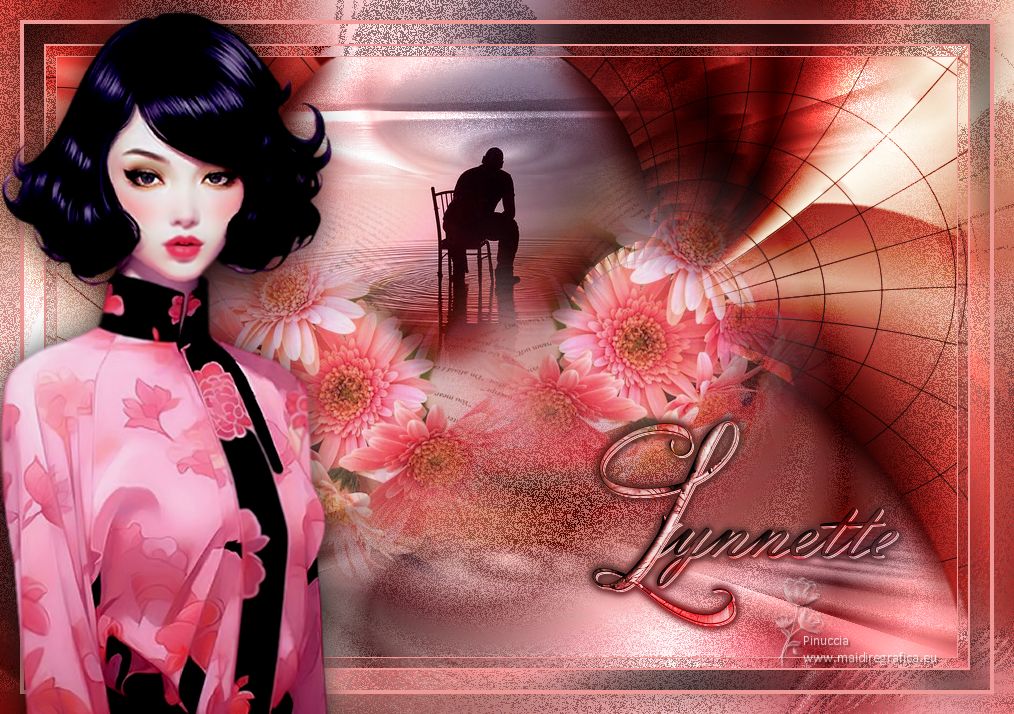   If you have problems or doubts, or you find a not worked link, or only for tell me that you enjoyed this tutorial, write to me. |