|
LIFE COMES FULL CIRCLE  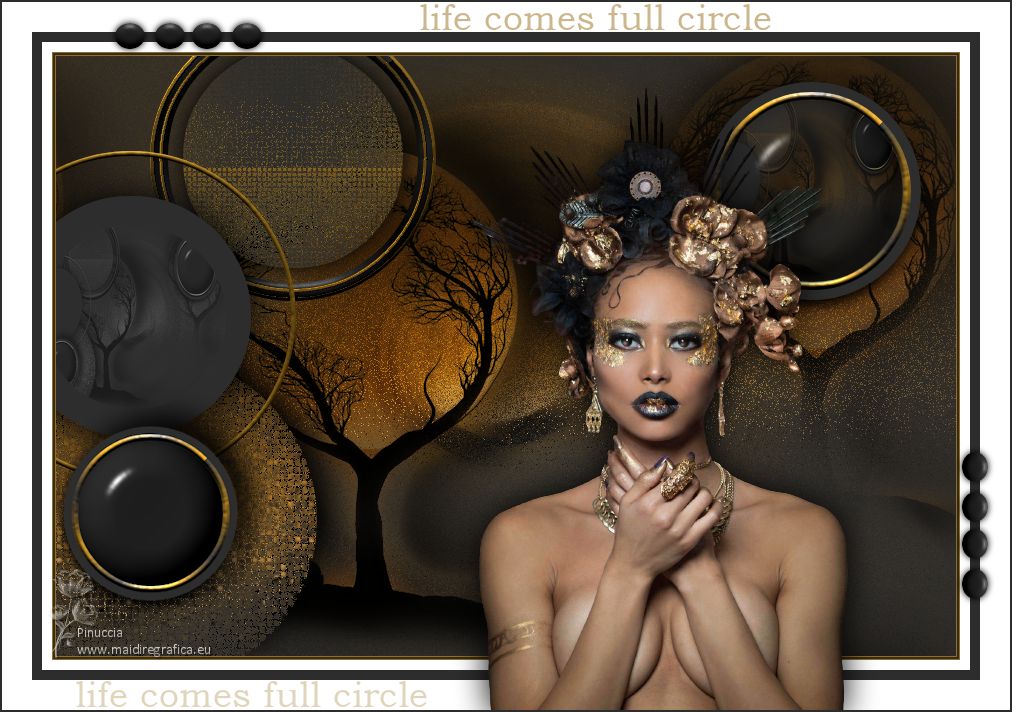

This tutorial was written with Psp2022 and translated with PspX17, but it can also be made using other versions of PSP. You can change Blend Modes according to your colors. In the newest versions of PSP, you don't find the foreground/background gradient (Corel_06_029). You can use the gradients of the older versions. The Gradient of CorelX here Copy the preset One or two clic on the file (it depends by your settings), automatically the preset will be copied in the right folder. why one or two clic see here  Copy the selections in the Selections Folder. 1. Choose 3 colors from your material. Set your foreground color to #2d2d2d and your background color to #986e1a 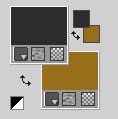 third color: #ffffff 2. Open a new transparent image 900 x 600 pixels. Flood Fill  the layer with your foreground color #2d2d2. the layer with your foreground color #2d2d2.Selections>Select All. 3. Open your landscape misted 120PaisagemByPqnaAlice2 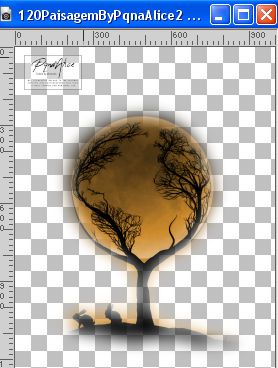 Erase the watermark and go to Edit>Copy. Go back to your work and go to Edit>Paste into Selection. Selections>Select None. Paste. Note: For the effect of step 5 to be the same as the tutorial, I advise using the landscape misted that is in the material, colored with the colors of your work 4. Adjust>Blur>Radial Blur. 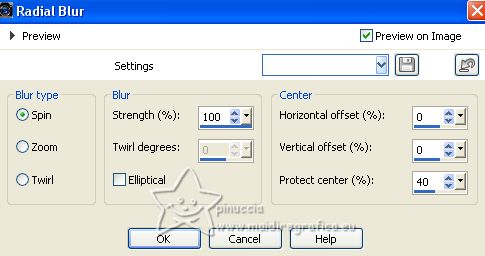 5. Effects>Plugins>Filters Unlimited 2.0 - &<Bkg Designer sf10II> - Dynamic Diffusion. 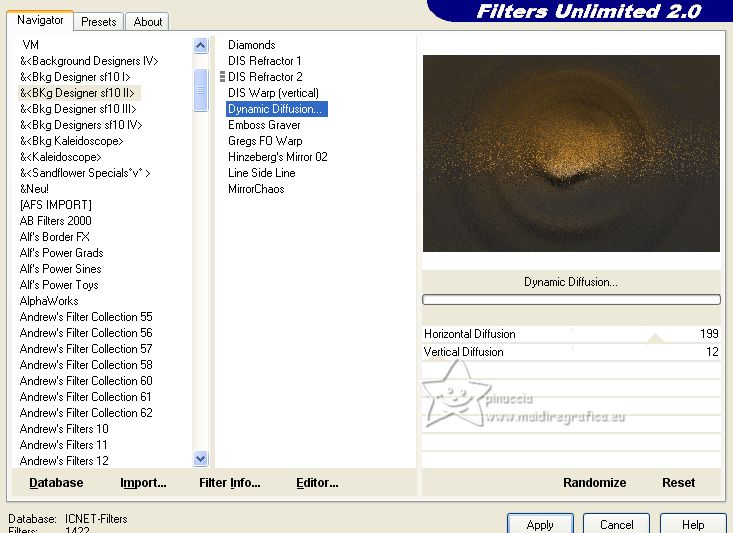 6. Layers>New Raster Layer. Selections>Load/Save Selection>Load Selection from Disk. Look for and load the selection SelectionLIFE_Xiki1 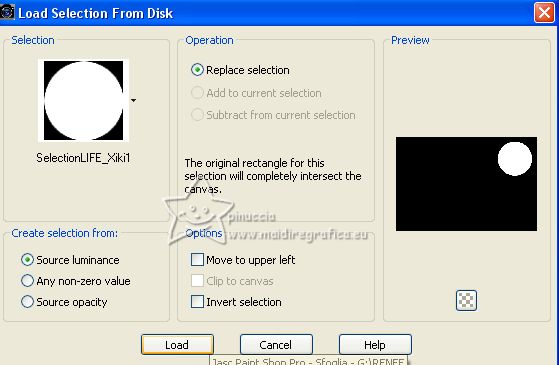 Flood Fill  the selection with your foreground color #2d2d2d. the selection with your foreground color #2d2d2d.7. Selections>Modify>Contract - 10 pixels. Layers>New Raster Layer. Set your foreground color to a Foreground/Background Gradient, style Radial. 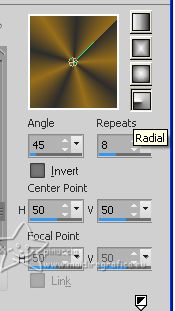 Flood Fill  the layer with your Gradient. the layer with your Gradient.Selections>Modify>Contract - 8 pixels. Press CANC on the keyboard  8. Keep selected and activate the layer below, Raster 2. 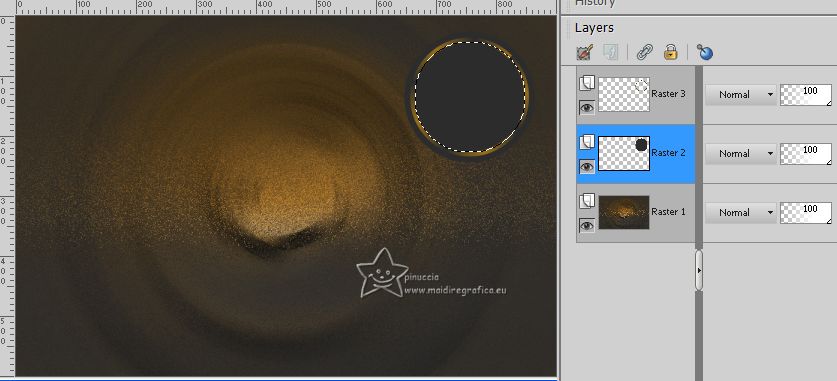 Effects>Plugins>Alien Skin Eye Candy 5 Impact - Bevel. Select the preset Bevel_LCFCbyXiki.f1s and ok. Here below the settings in case of problems with the preset 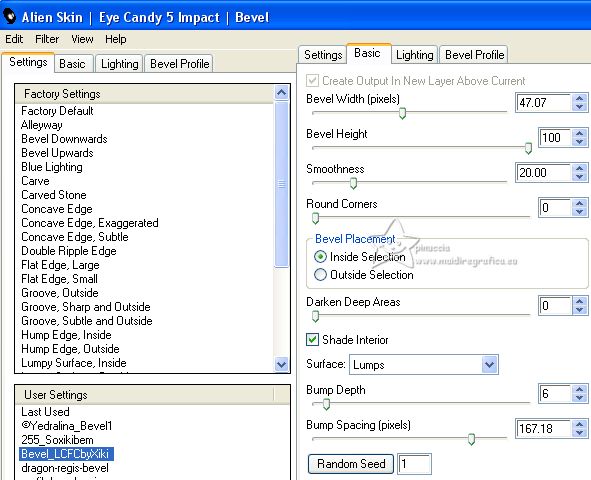 Selections>Select None. Effects>3D Effects>Drop Shadow, color black. 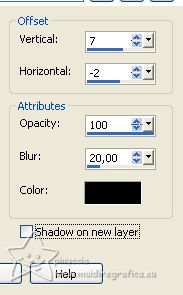 9. Activate your top layer, Raster 3. Effects>3D Effects>Inner Bevel. 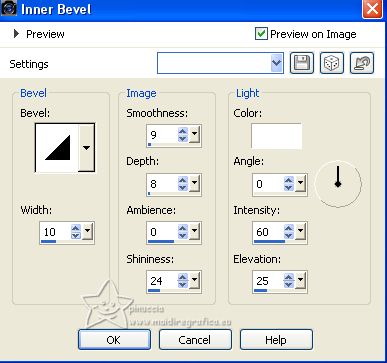 Layers>Merge>Merge Down. 10. Activate the layer Raster 1. Selections>Load/Save Selection>Load Selection from Disk. Look for and load the selection SelectionLIFE_Xiki2 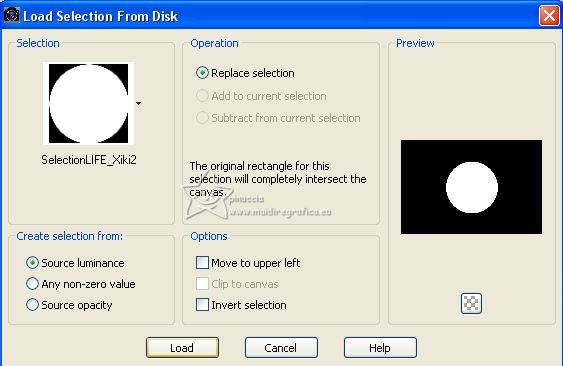 Selections>Promote Selection to Layer. Layers>Arrange>Bring to Top. 11. Effects>Texture Effects>Mosaic Antique. 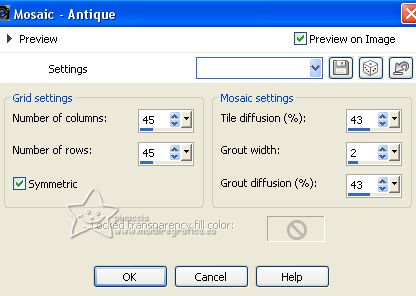 Selections>Select None. K key to activate your Pick Tool  and set Position X: -69,00 and Position Y: 299,00.  Effects>3D Effects>Drop Shadow, color black. 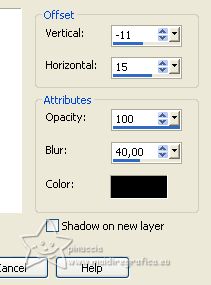 12. Activate the layer Raster 2. 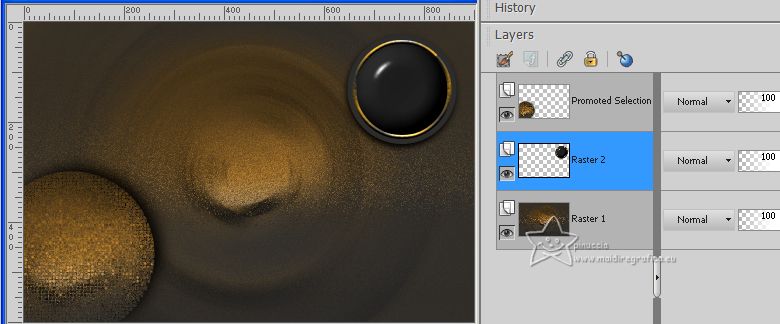 Layers>Duplicate. Image>Resize, to 80%, resize all layers not checked. Layers>Arrange>Bring to Top. Pick Tool  and set Position X: -6,00 and Position Y: 363,00.  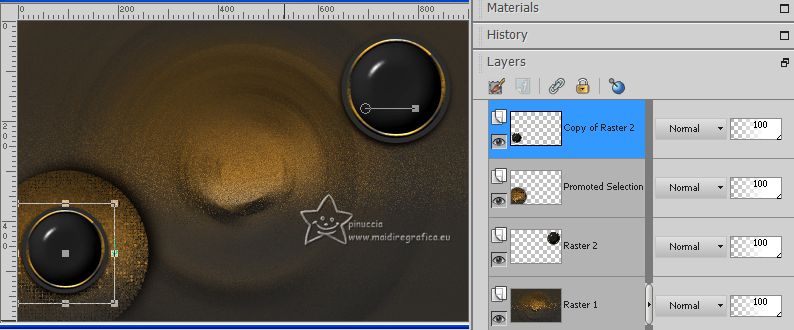 Effects>3D Effects>Drop Shadow, same settings.  13. Activate the layer below, Promoted Selection. Layers>New Raster Layer. Selections>Load/Save Selection>Load Selection from Disk. Look for and load the selection SelectionLIFE_Xiki3 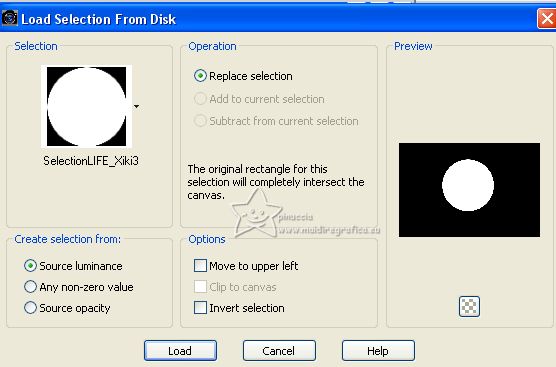 Flood Fill  the selection with your background color #986e1a. the selection with your background color #986e1a.Selections>Modify>Contract - 5 pixels. Press CANC on the keyboard. 14. Layers>New Raster Layer. Selections>Modify>Contract - 40 pixels. Set your foreground color to Color. Flood Fill  the layer with your foreground color #2d2d2d. the layer with your foreground color #2d2d2d.Effects>3D Effects>Drop Shadow, color black. 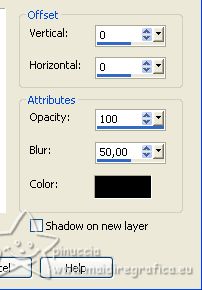 Selections>Select None. 15. Activate the layer below, Raster 3. 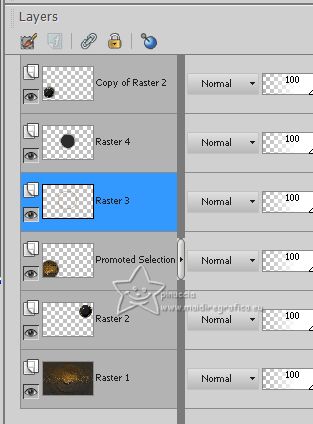 Effects>3D Effects>Inner Bevel. 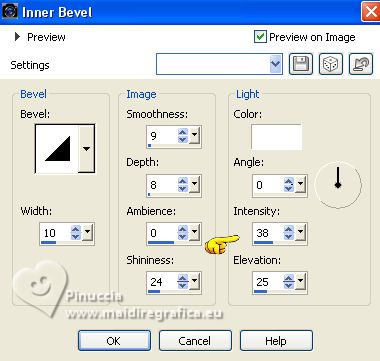 Activate the layer above, Raster 4. Layers>Merge>Merge Down. K key to activate your Pick Tool  and set Position X: -90,00 and Position Y: 95,00.  16. Activate the layer below, Promoted Selection. 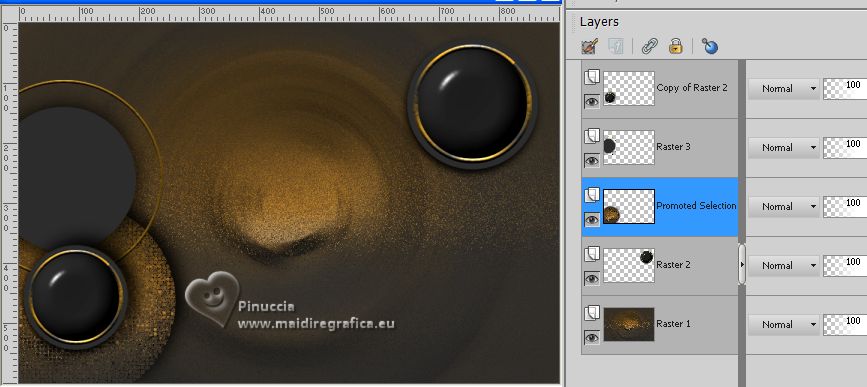 Layers>New Raster Layer. Selections>Load/Save Selection>Load Selection from Disk. Look for and load the selection SelectionLIFE_Xiki4 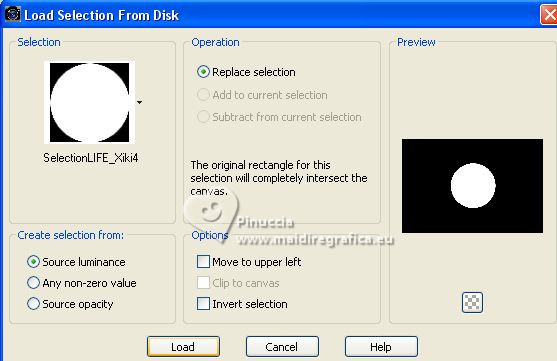 Flood Fill  the selection with your background color. the selection with your background color.Selections>Modify>Contract - 3 pixels. Press CANC on the keyboard. Flood Fill  the selection with your Gradient. the selection with your Gradient.Selections>Modify>Contract - 6 pixels. Press CANC on the keyboard. Flood Fill  the selection with your background color. the selection with your background color.Selections>Modify>Contract - 3 pixels. Press CANC on the keyboard. Set your foreground color to Gradient. Flood Fill  the selection with your Gradient. the selection with your Gradient.Selections>Modify>Contract - 6 pixels. Press CANC on the keyboard. Selections>Modify>Contract - 15 pixels. Layers>New Raster Layer. Set again your foreground color to Color. Flood Fill  the layer with your foreground color #2d2d2d. the layer with your foreground color #2d2d2d.17. Effects>Texture Effects>Weave weave color: foreground color. 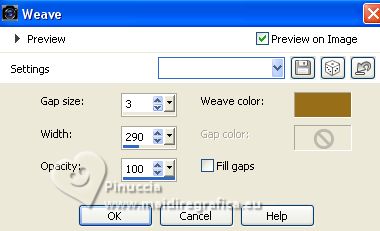 18. Effects>Texture Effects>Mosaic Antique. 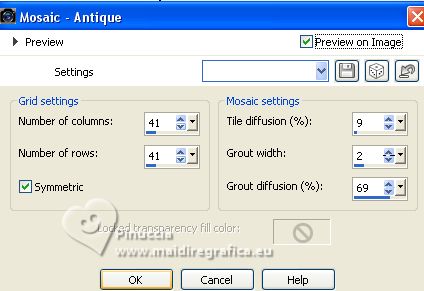 Effects>3D Effects>Drop shadow, color black. 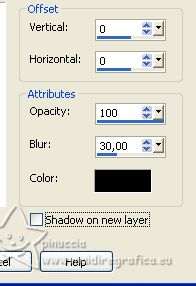 Selections>Select None. 19. Activate the layer Raster 4. 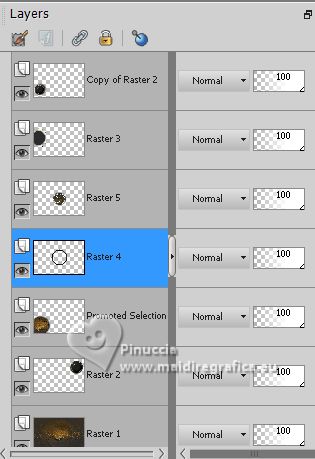 Effects>Plugins>FM Tile Tools - Blend Emboss, default settings.  20. Effects>3D Effects>Inner Bevel. 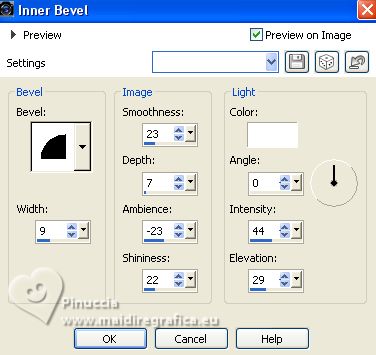 Activate the layer above, Raster 5. Layers>Merge>Merge Down. K key to activate your Pick Tool  and set Position X: 94,00 and Position Y: -41,00.  21. Activate your bottom layer, Raster 1. Activate again your Landscape misted  Edit>Copy. Go back to your work and go to Edit>Paste as new layer. Image>Resize, to 55%, resize all layers not cheched. Place  the tube to your liking, the tube to your liking,for the supplied tube: Pick Tool  and set Posizione X: 114,00 and Position Y: 50,00.  Choose a Blend Mode according to your tube; for my tube I used the Blend Mode Darken. Effects>3D Effects>Drop Shadow, color black. 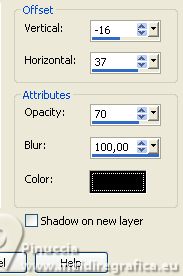 22. Layers>Duplicate. Effects>Image Effects>Seamless Tiling. 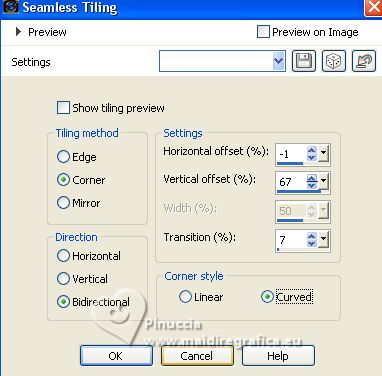 Layers>Arrange>Move Down. Change the Blend Mode of this layer to Soft Light. 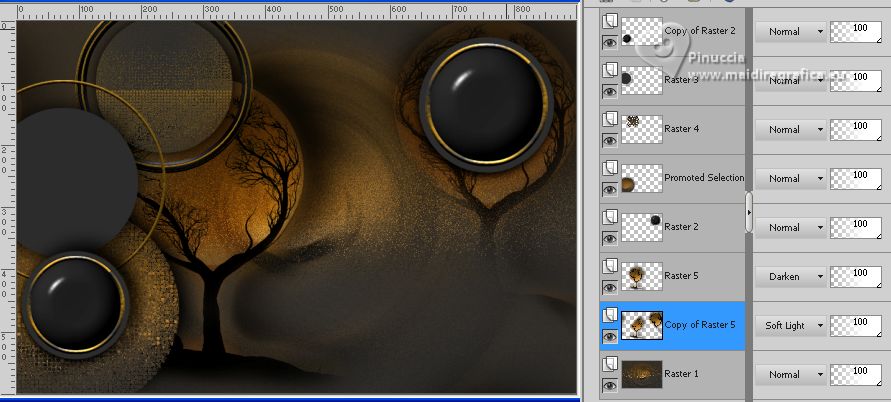 23. Activate your Top Layer. Edit>Copy Special>Copy Merged. Selections>Load/Save Selection>Load Selection from Disk. Look for and load again the selection SelectionLIFE_Xiki1  Selections>Modify>Contract - 17 pixels. Layers>New Raster Layer. Edit>Paste into Selection. Reduce the opacity of this layer to 40%. Adjust>Sharpness>Sharpen. Selections>Select None. 2 24. Layers>Duplicate. K key to activate your Pick Tool  and set Position X: -14,00 and Position Y: 169,00.  Change the Blend Mode of this layer to Luminance (L) and reduce the opacity to 40%. 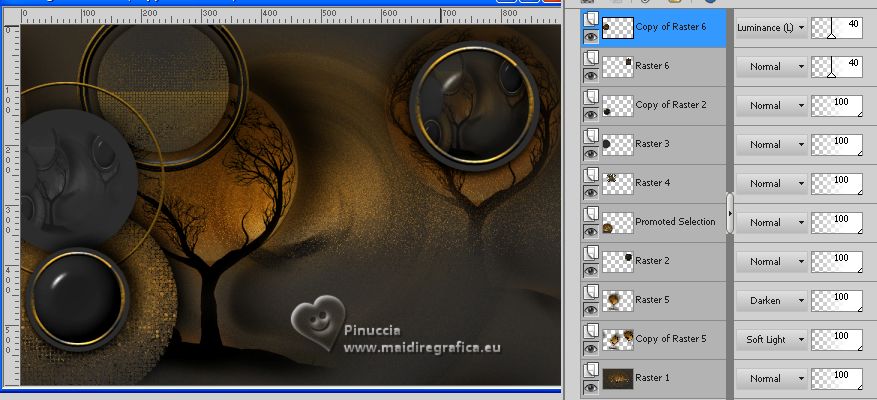 25. Image>Add borders, 1 pixel, symmetric, background color. Image>Add borders, 1 pixel, symmetric, foreground color. Image>Add borders, 1 pixel, symmetric, background color. Image>Add borders, 10 pixels, symmetric, color white. Image>Add borders, 10 pixels, symmetric, foreground color. Image>Add borders, 10 pixels, symmetric, color white. 26. Open the woman's tube 1029MulherByPqnaAlice 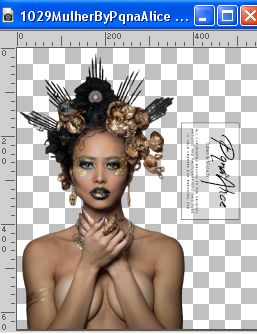 Erase the watermark and go to Edit>Copy. Go back to your work and go to Edit>Paste as new layer. Move  the tube to the right. the tube to the right.Effects>3D Effects>Drop Shadow or an effect at your choice. 27. Open DecorBySoxikibem 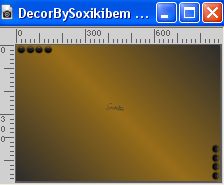 Edit>Copy. Go back to your work and go to Edit>Paste as new layer. K key to activate your Pick Tool  and set Position X: 105,00 and Position Y: 13,00.  28. Open TituloBySoxikibem  Edit>Copy. Go back to your work and go to Edit>Paste as new layer. Set Position X: 418,00 and Position Y: 2,00.  Reduce the opacity of this layer to 50%. 29. Layers>Duplicate. Set Position X: 74,00 and Position Y: 679,00.  Reduce the opacity of this layer to 30%. 30. Image>Add borders, 2 pixels, symmetric, foreground color. 31. Sign your work and save as jpg. For the tube of this version thanks Renée. 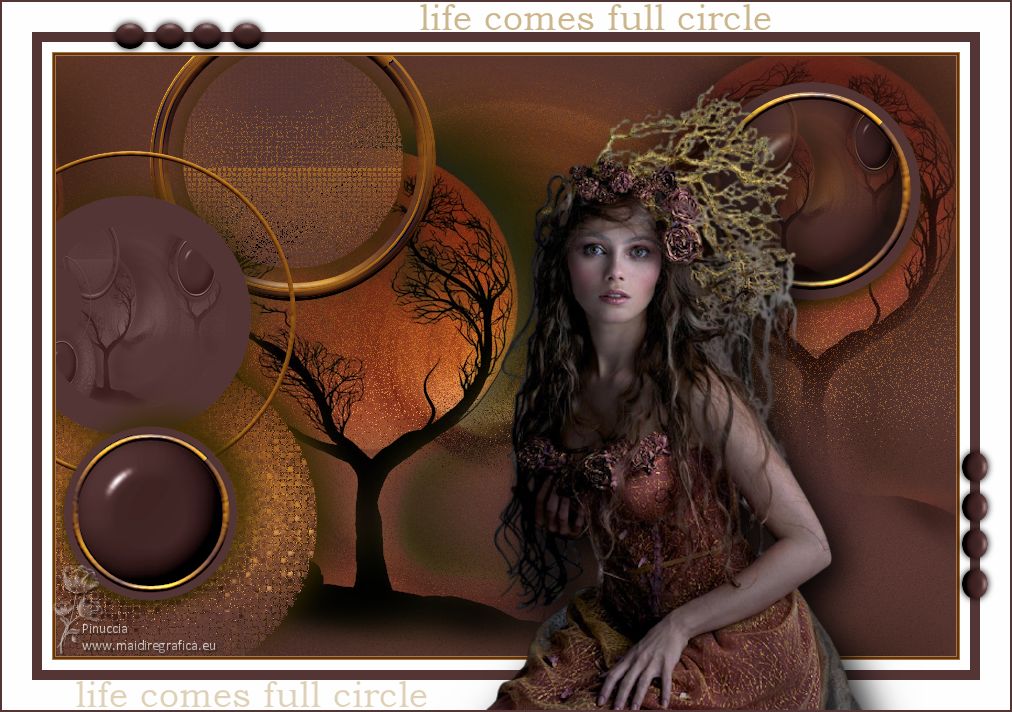  Your versions. Thanks  Marygraphics 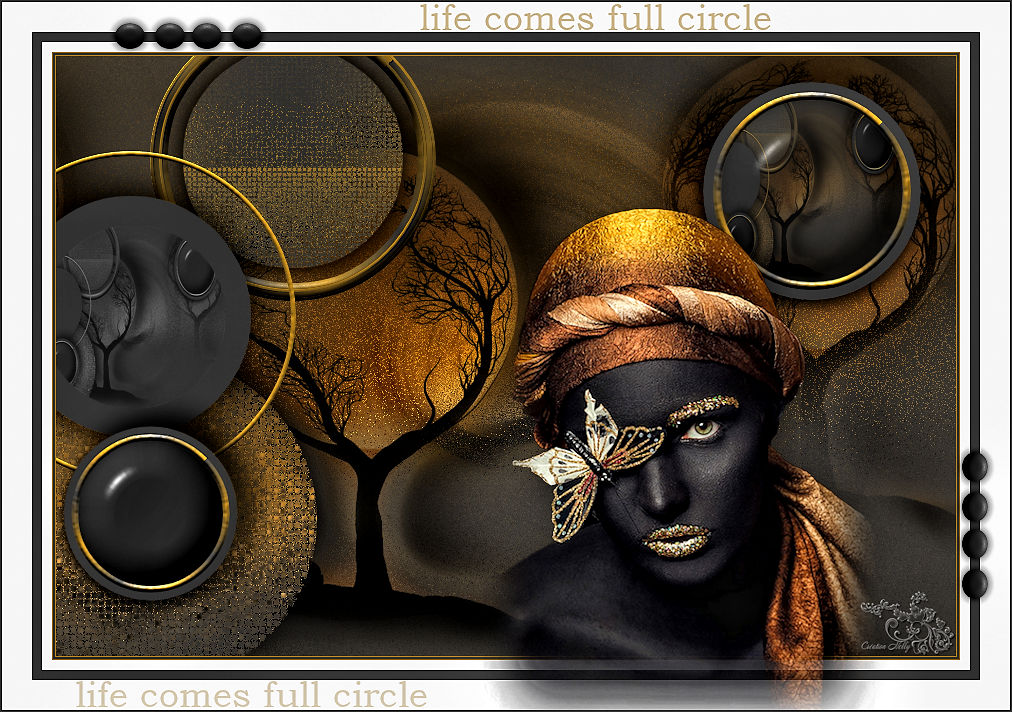 Nelly   If you have problems or doubts, or you find a not worked link, or only for tell me that you enjoyed this tutorial, write to me. |