|
HOPE  
This tutorial was written with Psp2022 and translated with PspX2020, but it can also be made using other versions of PSP. For this tutorial, you will need:  For the tubes thanks Beatrice and Mina. (The links of the tubemakers here).  consult, if necessary, my filter section here L&K's - L&K's Zitah here Xero - Porcelain here Mura's Meister - Pole Transform here AAA Frames - Foto Frame here  You can change Blend Modes according to your colors.  1. Open a new transparent image 900 x 500 pixels. 2. Selections>Select All. Open the landscape Mina@.5027 mist interno 11.17 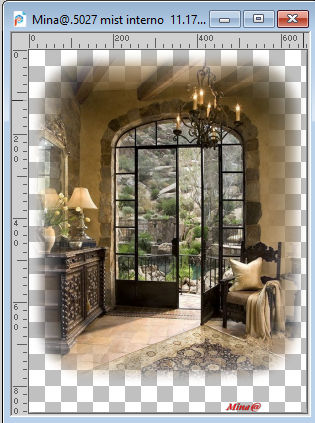 Erase the watermark and go to Edit>Copy. Go back to your work and go to Edit>Paste into Selection. Selections>Select None. 3. Effects>Image Effects>Seamless tiling, default settings.  4. Adjust>Blur>Gaussian Blur - 55 pixels.  Layers>Merge>Merge All. 5. Effects>Plugins>L&K's - L&K's Zitah. 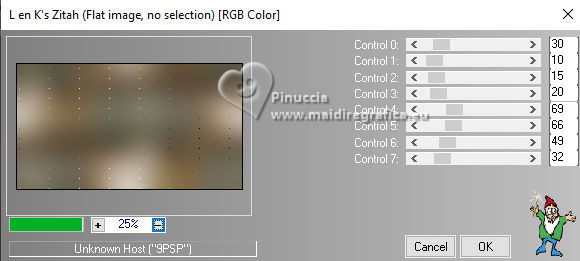 6. Effects>Edge Effects>Enhance. 7. Layers>New Raster Layer. Selections>Select All. Edit>Paste into Selection (the landscape is still in memory). Selections>Select None. 8. Adjust>Blur>Radial Blur 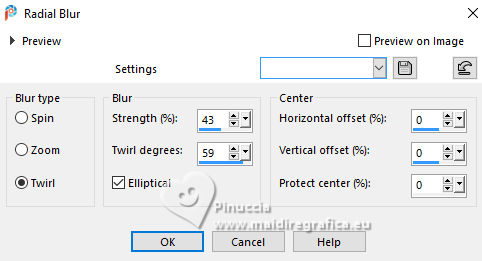 9. Effects>Plugins>Mura's Meister - Pole Transform. 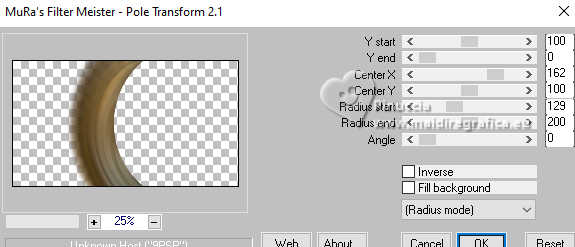 10. Edit>Paste as new layer (the landscape is always in memory). Image>Resize, if necessary, for the supplied tube 2 times to 80%, resize all layers not checked. Place  correctly the tube to the right. correctly the tube to the right.Move this layer under the layer Raster 1. 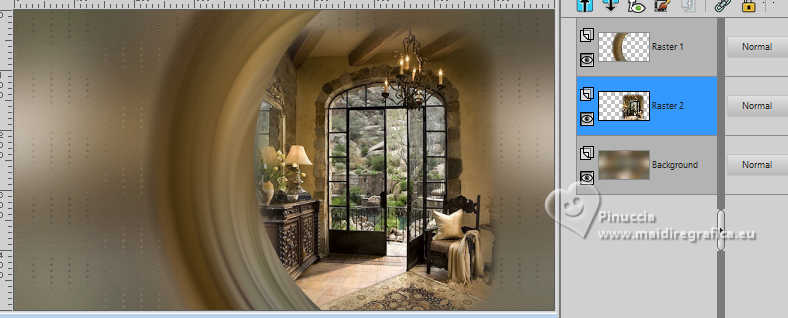 11. Open your main tube Tube_Womans_GB_Transparent 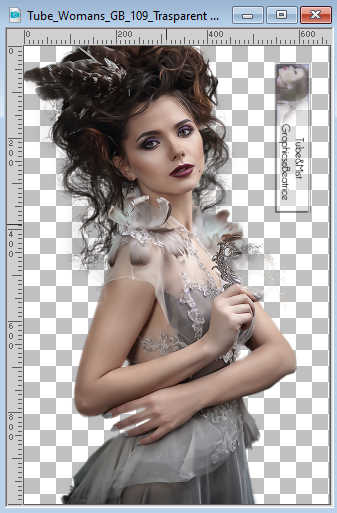 Erase the watermark and go to Edit>Copy. Go back to your work and go to Edit>Paste as new layer. Image>Resize, if necessary, for the supplied tube 3 times to 80%, resize, all layers not checked. Placer correctly the tube to the right.Move this layer under the layer Raster 1. 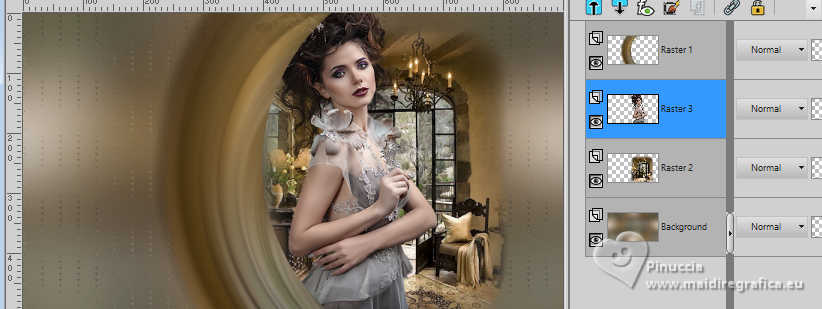 Effects>3D Effects>Drop shadow. 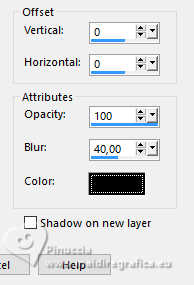 12. Activate the layer Raster 1. Layers>New Raster Layer. Selection Tool  (no matter the type of selection, because with the custom selection your always get a rectangle) clic on the Custom Selection  and set the following settings. 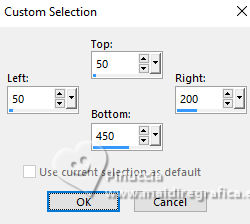 13. Set your foreground color to a color according to your work. Flood Fill  the selection with this color. the selection with this color.Selections>Select None. 14. Effects>Distortion Effects>Wind, From right, strength 100. 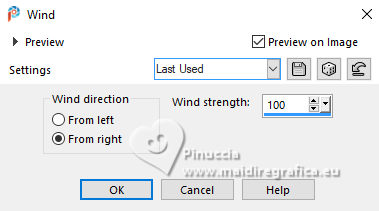 15. Effects>Texture Effects>Blinds with a dark color of your work. 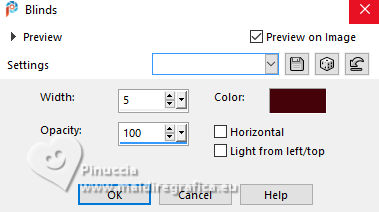 16. Effects>Edge Effects>Enhance. 17. Layers>Duplicate. Image>Free Rotate - 90 degrees to left. 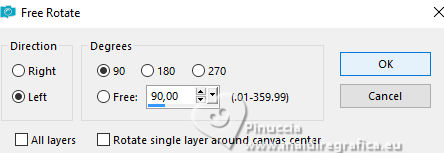 19. Move this layer under the layer Raster 1. 20. Open the deco tube 0_bbbad_16ce... 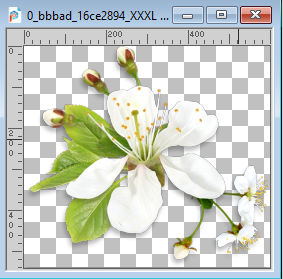 Edit>Copy. Go back to your work and go to Edit>Paste as new layer. Move the tube to the left side.21. Effects>Plugins>Xero - Porcelain 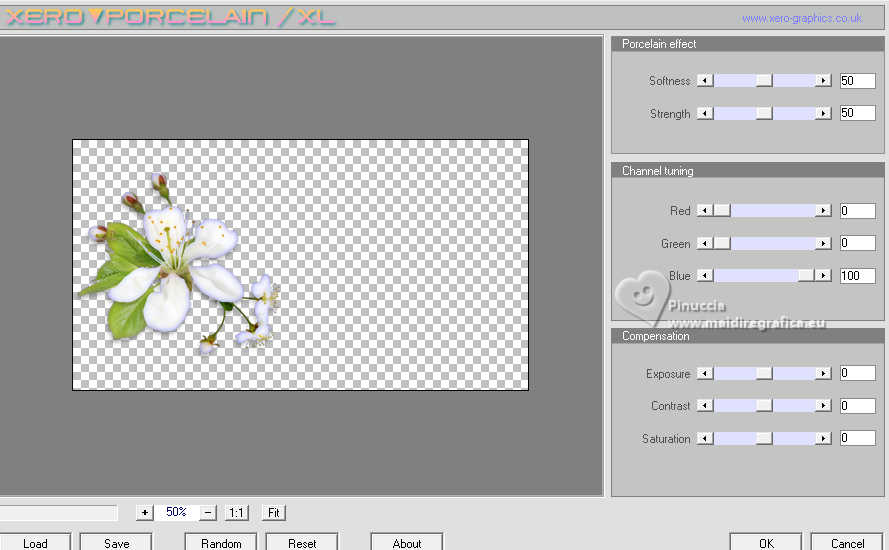 Effects>3D Effects>Drop shadow, at your choice. 22. Activate your bottom layer. Effects>Plugins>AAA Frames - Foto Frame. 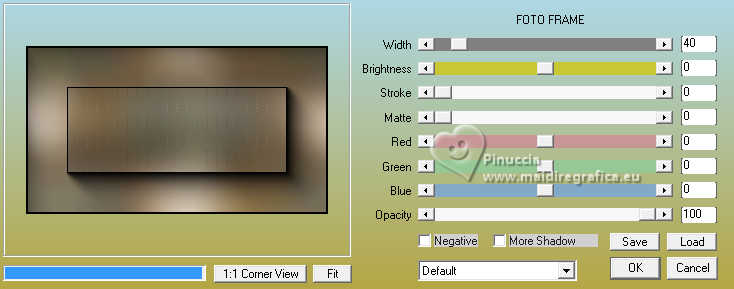 23. Write a text at your choice or use a wordart 24. Image>Add borders, 1 pixel, symmetric, color black. 25. Sign your work and save as jpg. For the tubes of this version thanks Virginia, Mentali, Silvie 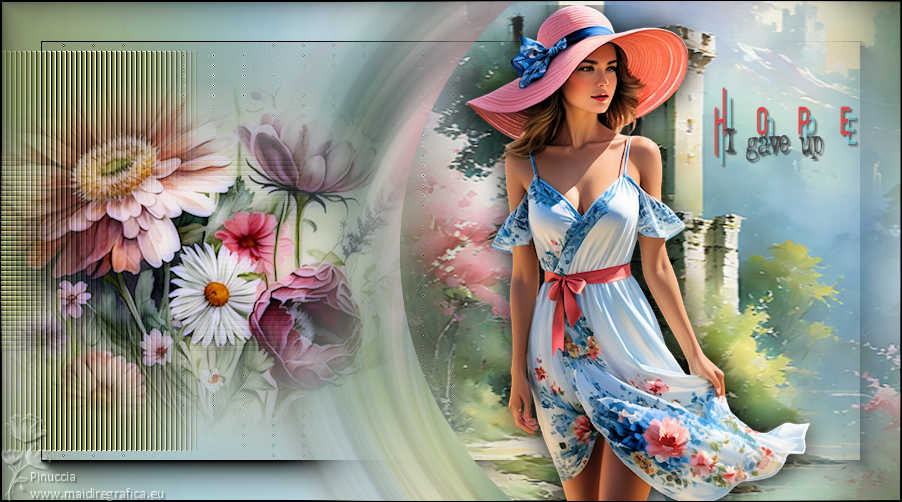  Your versions. Thanks  DeniseD   If you have problems or doubts, or you find a not worked link, or only for tell me that you enjoyed this tutorial, write to me. 7 Juillet 2024 |