Home |
Home |

Mappa sito |
Mappa sito |
Tutorial |
Tutorial |
Tut tecnici |
Tut tecnici |
Links-Banner |
Links-Banner |
Regali-Award |
Regali-Award |
Informatica |
Informatica |
Archivio |
Archivio |
Mail |
Mail |
Privacy policy |
Privacy policy |
Novità |
Novità |
Home |
Home |
Mappa sito |
Mappa sito |
Tutorial |
Tutorial |
Tut tecnici |
Tut tecnici |
Links-Banner |
Links-Banner |
Regali-Award |
Regali-Award |
Informatica |
Informatica |
Archivio |
Archivio |
Mail |
Mail |
Privacy policy |
Privacy policy |
Novità |
Novità |
|
ELDA MOGUEL  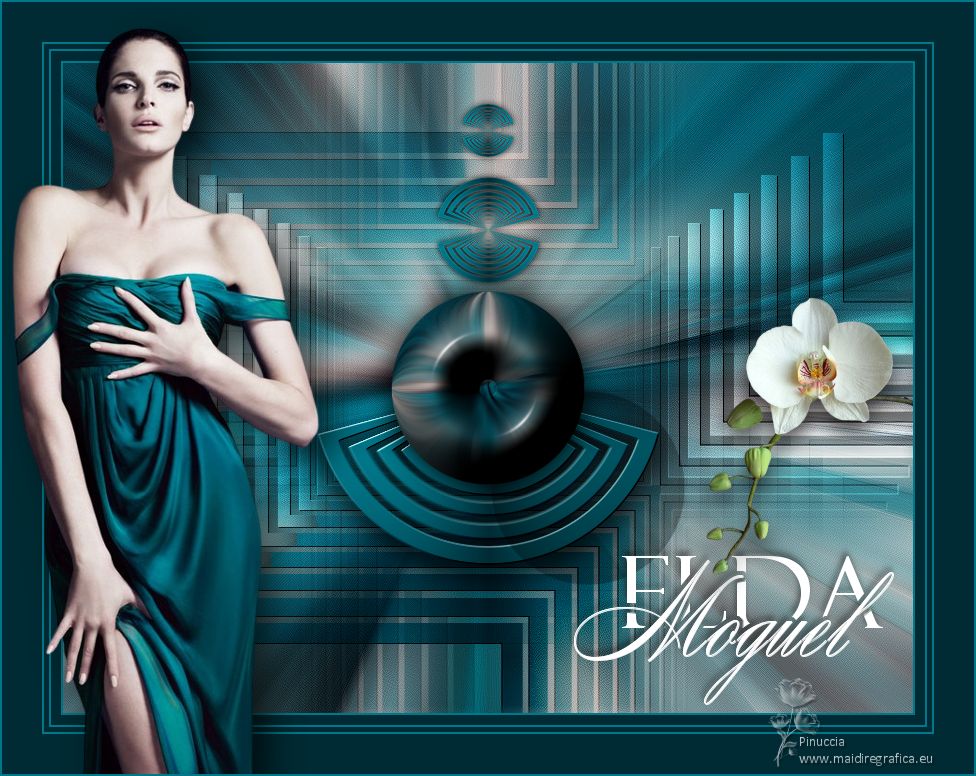
This tutorial was written with Psp2022 and translated with PspX17, but it can also be made using other versions of PSP. You can change Blend Modes according to your colors. In the newest versions of PSP, you don't find the foreground/background gradient (Corel_06_029). You can use the gradients of the older versions. The Gradient of CorelX here  1. Choose 2 colors from your material. Foreground color #002b34, background color #00788b 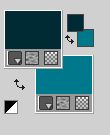 Set your foreground color to a Foreground/Background Gradient, style Radial 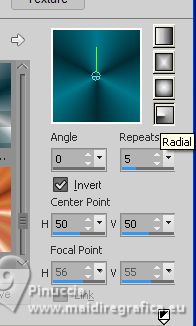 2. Open a new transparent image 850 x 650 pixels. Flood Fill  the transparent image with your background color #00788b. the transparent image with your background color #00788b.3. Selections>Select All. Open the woman's tube 967MulherByPqnaAlice 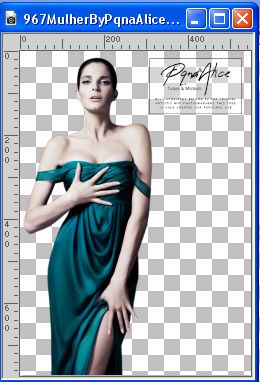 Erase the watermark and go to Edit>Copy. Minimize the tube. Go back to your work and go to Edit>Paste into Selection. Selections>Select None. 4. Effects>Image Effects>Seamless Tiling, default settings.  Adjust>Blur>Radial Blur. 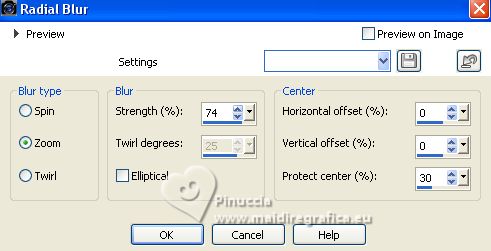 Effects>Edge Effects>Enhance. Edit>Repeat Enhance Edges. 5. Layers>Duplicate. Effects>Geometric Effects>Circle. 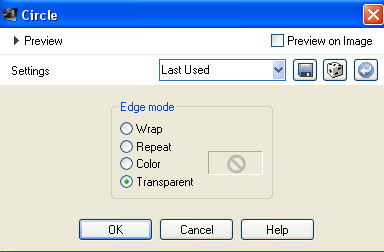 Close this layer. 6. Activate the bottom layer Raster 1. Layers>New Raster Layer. Flood Fill the layer with your Radial Gradient.7. Selections>Select All. Selections>Modify>Contract - 70 pixels. Selections>Invert. Press CANC on the keyboard  Selections>Select None. 8. Selection Tool  (no matter the type of selection, because with the custom selection your always get a rectangle) clic on the Custom Selection  and set the following settings. 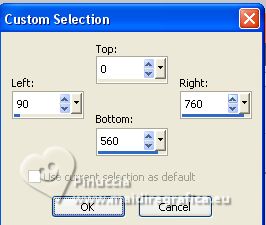 Press CANC on the keyboard. 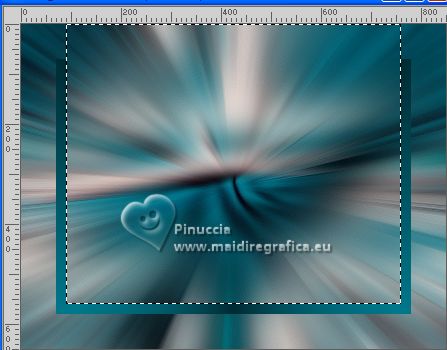 Selections>Select None. 9. Effects>Reflection Effects>Feedback. 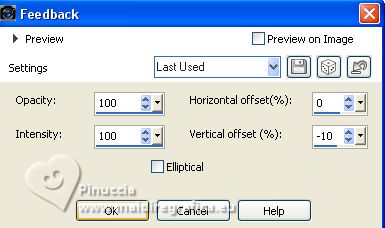 10. Custom Selection 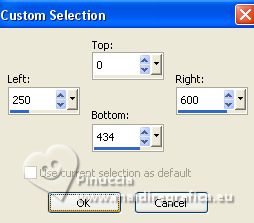 11. Selections>Modify>Feather - 60 pixels. Press CANC on the keyboard 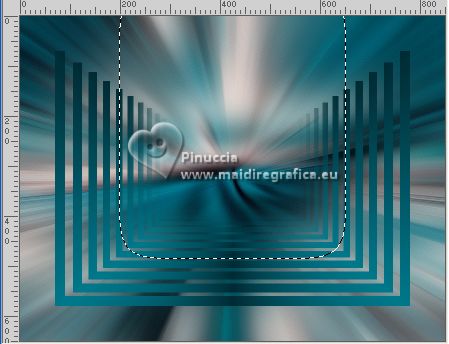 Selections>Select None. 12. Layers>Duplicate. Image>Resize, to 50%, resize all layers not checked. Effects>Plugins>Mura's Meister - Pole Transform. 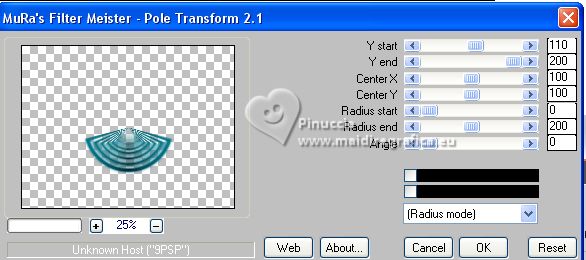 Close this layer. 13. Activate the layer Raster 2. Effects>Plugins>VM Stylize - Depp Crunch, default settings Note: In the tutorial the version of Unlimited was used which does not need to be installed, because it is made up of files in 8bf format. If you are using the software version of Unlimited, you will get a different result, which depends on your background color. In this case, you can get the correct result if you set the background color to white before applying the filter. 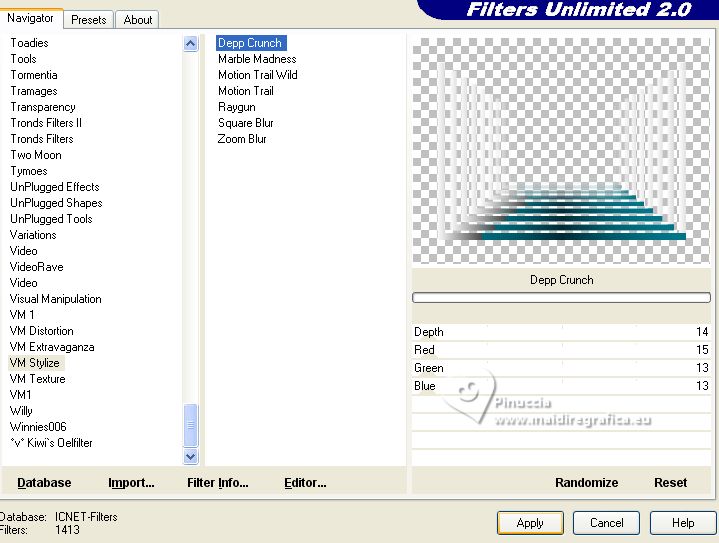 Below what the software filter window looks like 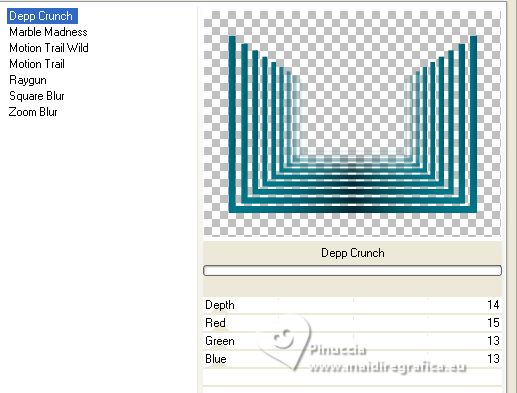 Change the Blend Mode of this layer to Overlay. Effects>3D Effects>Drop Shadow, color black. 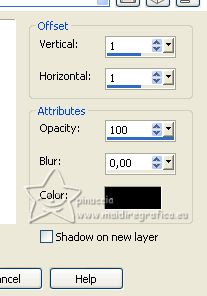 14. Effects>Reflection Effects>Rotating Mirror. 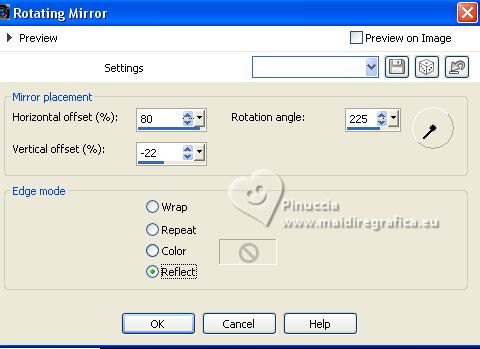 15. Effects>Image Effects>Seamless Tiling.  16. Your work in this moment 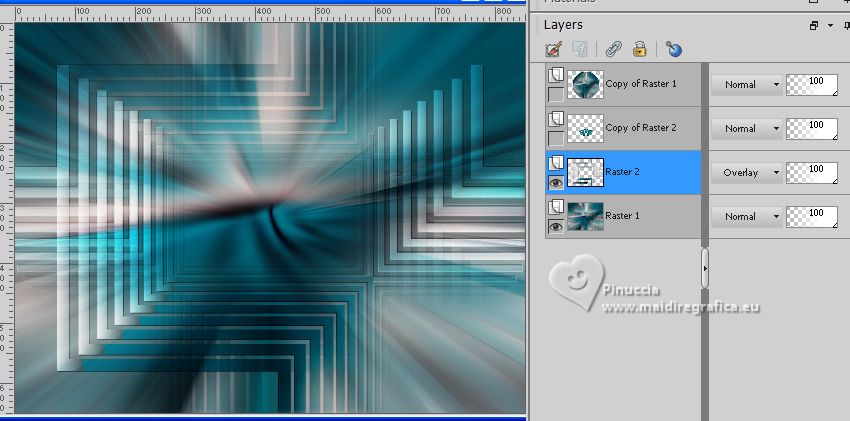 17. Open and activate the layer Copy of Raster 1. Image>Resize, 30%, resize all layers not checked. Effects>Plugins>Alien Skin Eye Candy 5 Impact - Bevel. 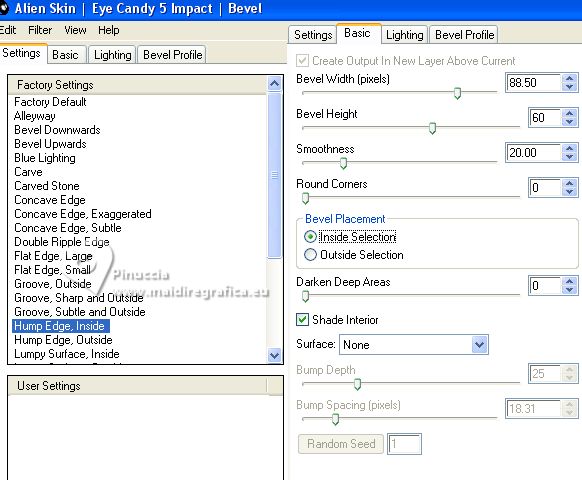 18. Effects>3D Effects>Drop shadow, color black, shadow on new layer checked. 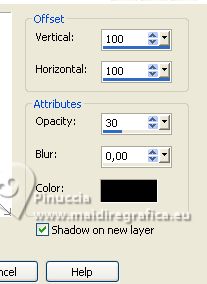 19. Activate your Top Layer, Copy of Raster 1. Effects>3D Effects>Drop Shadow, colore black, shadow on new layer not checked. 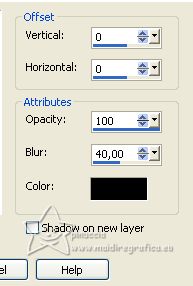 20. Open and activate the layer Copy of Raster 2. Layers>Duplicate. Layers>Arrange>Bring to Top. Image>Resize, 30%, resize all layers not checked. Layers>Duplicate. Image>Flip. Layers>Merge>Merge Down. K key to activate your Pick Tool  keep Posizion X: 374,00 and set Position Y: 114,00. 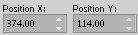 21. Layers>Duplicate. Image>Resize, to 50%, resize all layers not checked. Set Position X: 399 and Position Y: 41,00 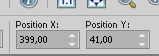 Layers>Merge>Merge Down, color black. 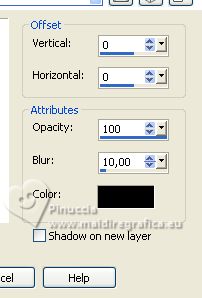 Adjust>Sharpness>Sharpen. 22. Activate the layer Copy of Raster 2. Effects>Plugins>Mura's Seamless - Emboss at Alpha, default settings. 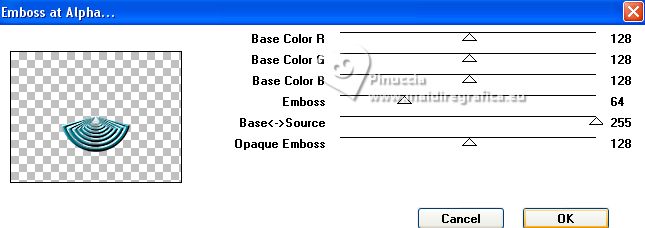 Effects>3D Effects>Drop Shadow, color black. 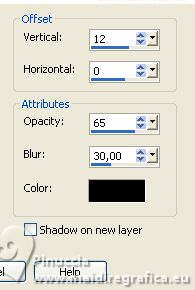 23. Your tag and the layers 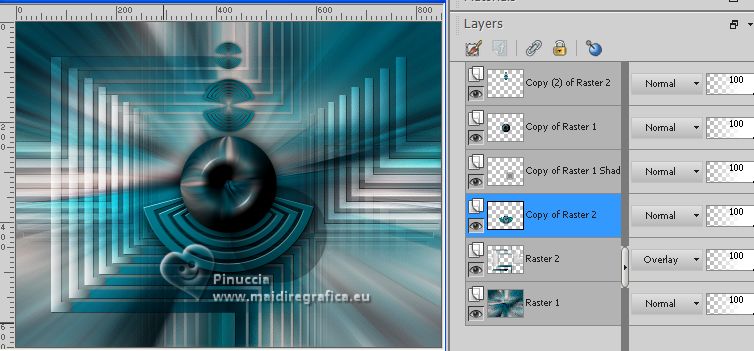 24. Activate your top layer, Copy (2) of Raster 2. Open TituloEldaByXiki 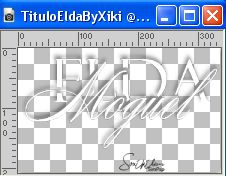 Erase the watermark and go to Edit>Copy. Go back to your work and go to Edit>Paste as new layer. K key to activate your Pick Tool keep Posizion X: 499,00 and set Position Y: 475,00.  If you want, you can change the Blend Mode of this layer. In my second version, I did Overlay 25. Open the flowers tube 133FlorByPqnaAlice  Erase the watermark and go to Edit>Copy. Go back to your work and go to Edit>Paste as new layer. Image>Resize, to 50%, resize all layers not checked. Move  the tube to the right. the tube to the right.Effects>3D Effects>Drop Shadow or the effect you like better. 26. For the borders, if you have the color white as background color, set again the initial color #00788b. Image>Add borders, 2 pixels, symmetric, background color. Image>Add borders, 10 pixels, symmetric, foreground color. Image>Add borders, 2 pixels, symmetric, background color. Image>Add borders, 5 pixels, symmetric, foreground color. Image>Add borders, 2 pixels, symmetric, background color. Image>Add borders, 40 pixels, symmetric, foreground color. 27. Activate again the woman's tube 967MulherByPqnaAlice and go to Edit>Copy. Go back to your work and go to Edit>Paste as new layer. Image>Mirror. Move the tube to the left.Effects>3D Effects>Drop Shadow or the effect you like better. 28. Image>Add borders, 2 pixels, symmetric, background color. 29. Sign your work and save as jpg. For the tubes of this version thanks Luz Cristina   Your versions. Thanks  Di@ne  DeniseD  If you have problems or doubts, or you find a not worked link, or only for tell me that you enjoyed this tutorial, write to me. 1 July 2023 |


 it must necessarily be imported into Unlimited