|
DENYSE  
This tutorial was written with Psp2022 and translated with PspX2020, but it can also be made using other versions of PSP.
For this tutorial, you will need:  For the tubes thanks PqnaAlice. (The links of the tubemakers here).  consult, if necessary, my filter section here Filters Unlimited 2.0 here Factory Gallery M - Faceter here Simple - Top Left Mirror here Flaming Pear - Flexify 2 here Mehdi - Wavy Lab 1.1. here Mura's Meister - Perspective Tiling here Virtual Painter 4 here Filters Factory Gallery and Simple can be used alone or imported into Filters Unlimited. (How do, you see here) If a plugin supplied appears with this icon  it must necessarily be imported into Unlimited it must necessarily be imported into Unlimited You can change Blend Modes according to your colors.  Copy the Selections in the Selections Folder. 1. Choose 4 colors to works. Set your foreground color to #493649, and your background color to #b6622e. 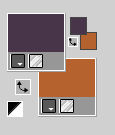 Color 3: #fadcb6 Color 4: #ffffff 2. Open a new transparent image 900 x 600 pixels. Effects>Plugins>Mehdi - Wavy Lab 1.1. This filter creates gradients with the colors of your Materials palette. The first is your background color, the second is your foreground color. Change the last two colors created by the filtre: the third color with #fadcb6 and the fourth color with #ffffff. 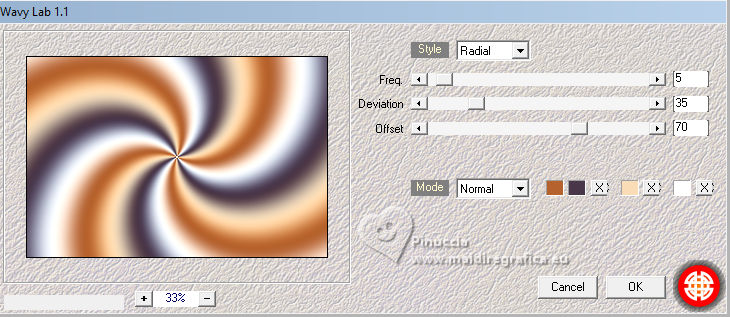 3. Adjust>Blur>Radial Blur. 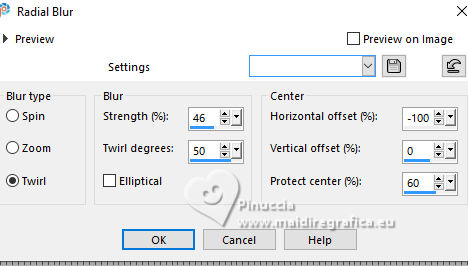 4. Effects>Plugins>Filter Factory Gallery M - Faceter 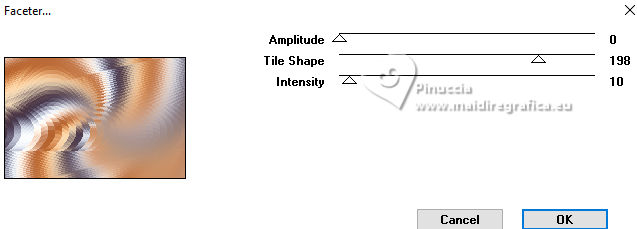 5. Effects>Plugins>Simple - Top Left Mirror. 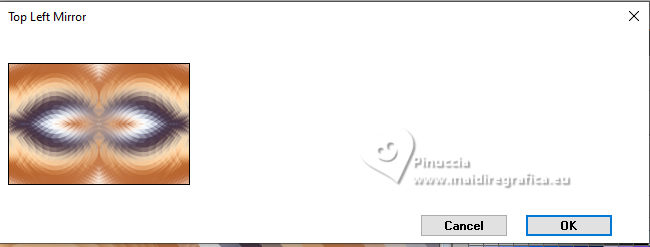 6. Effects>Distortion Effects>Pinch. 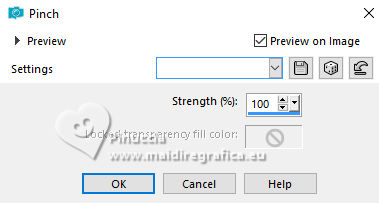 7. Effects>Plugins>Virtual Painter 4. 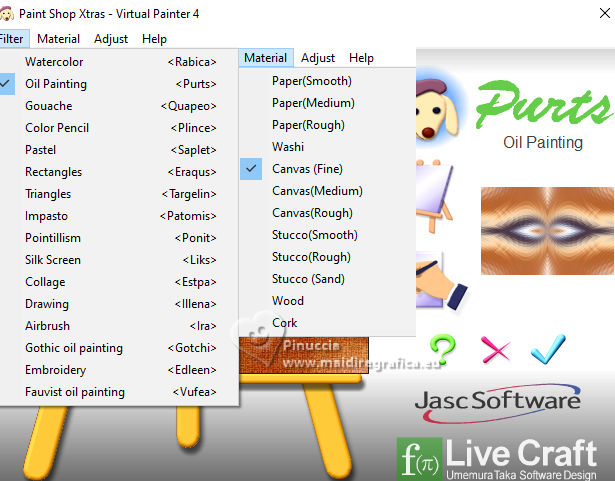 8. Layers>Duplicate. Effects>Plugins>Mura's Meister - Perspective Tiling.  9. Activate your magic Wand Tool  , tolerance 0 and feather 50, , tolerance 0 and feather 50,and click in the transparent part to select it. Press 3 times CANC on the keyboard  Selections>Select None. 10. Layers>Duplicate - 2 times. Image>Mirror>Mirror Vertical 11. Activate the layer Copy of Raster 1. 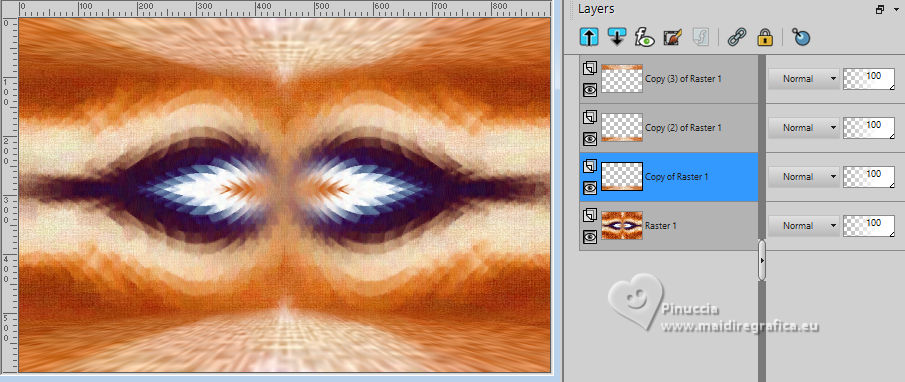 Effects>Geometric Effects>Perspective - Horizontal. 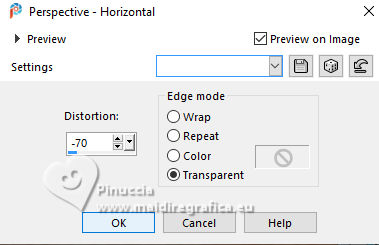 12. Layers>Duplicate. Image>Mirror>Mirror Horizontal. Layers>Merge>Merge Down. Effects>Plugins>Flaming Pear - Flexify 2.  13. Image>Flip>Flip Vertical. Activate your Magic Wand Tool , tolerance and feather 70,click in the top transparent image to select it. 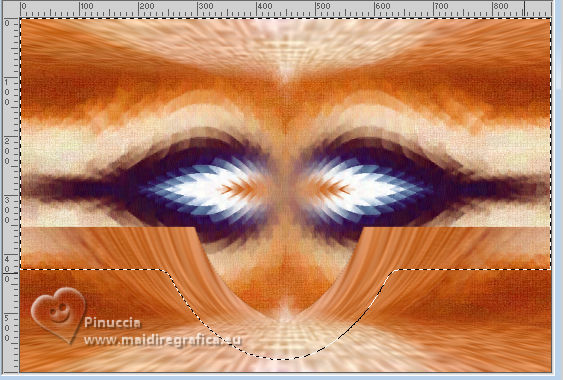 Press 5 times CANC on the keyboard.  Selections>Select None. 15. Layers>Duplicate. Image>Mirror>Mirror Vertical. Layers>Merge>Merge Down. Change the Blend Mode of this layer to Dissolve. 15. Activate your top layer, Copy (3) of Raster 1.  Effects>Distortion Effects - Warp.  16. Activate again your Magic Wand Tool , tolerance 0 and feather 70,and click in the center of this effect to select it.  Press 5 times CANC on the keyboard. 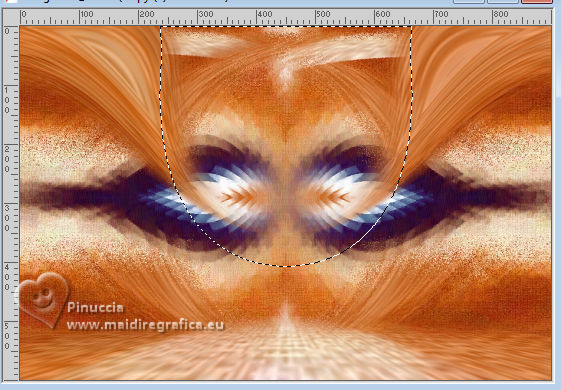 Activate the layer Copy of Raster 1. Press 1 time CANC on the keyboard. Selections>Select None. 17. Activate again your top layer Copy (3) of Raster 1. Effects>Texture Effects>Mosaic - Antique. 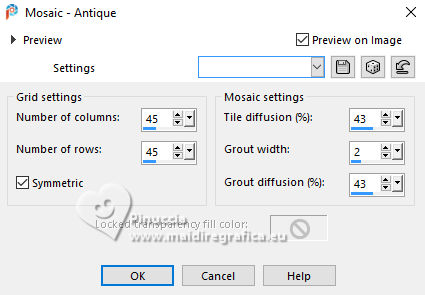 Effects>Edge Effects>Enhance. 18. Open the misted 183FlorByPqnaAlice 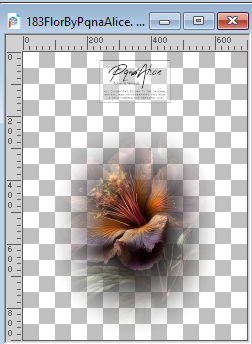 Erase the watermark and go to Edit>Copy. Go back to your work and go to Edit>Paste as New Layer. 19. Activate the layer Copy (2) of Raster 1. Effects>Edge Effects>Enhance. 20. Selections>Select All. Edit>Copy Special>Copy Merged. Image>Add Borders>60 pixels, symmetric, whatever color. Selections>Invert. Edit>Paste Into Selection. 21. Adjust>Blur>Gaussian Blur - radius 5. 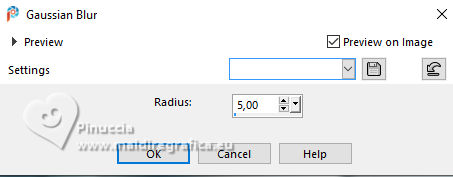 Effects>Plugins>Virtual Painter 4. same settings. 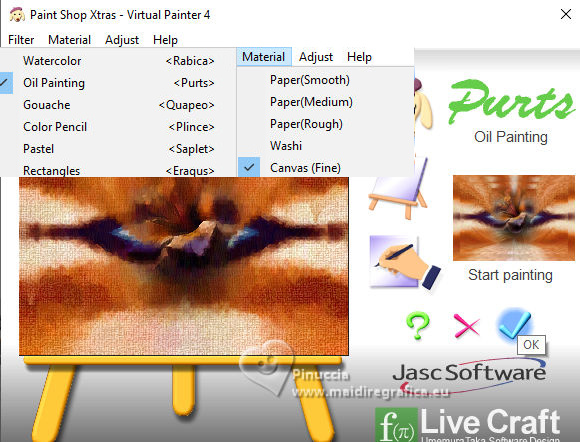 22. Selections>Invert. Selections>Modify>Select Selection Borders.  23. Effects>3D Effects>Inner Bevel.  Effects>3D Effects>Drop Shadow, color black.  Selections>Select None. 24. Selections>Select All. Selections>Modify>Select Selection Borders.  25. Effects>3D Effects>Inner Bevel, same settings. Effects>3D Effects>Drop Shadow, same settings. Selections>Select None. 26. Open the misted of the woman 1049MulherByPqnaAlice  Erase the watermark and go to Edit>Copy. Go back to your work and go to Edit>Paste as New Layer. Move  the tube to the left. the tube to the left. 27. Open Decor_264_BySoxikibem  Edit>Copy. Go back to your work and go to Edit>Paste as New Layer. 28. Open Título264_BySoxikibem  Edit>Copy. Go back to your work and go to Edit>Paste as New Layer. Pick Tool  Position X: 530,00 - Position Y: 70,00, or move to your liking.  Change the Blend Mode of this layer to Overlay or to your liking. 29. Open Decor2_264_BySoxikibem  Edit>Copy. Go back to your work and go to Edit>Paste as New Layer. Pick Tool Position X: 437,00 - Position Y: 243,00.  Change the Blend Mode of this layer to Hard Light. 30. Image>Resize, if you want. Sign your work and save as jpg. For the tubes of this version thanks Mentali 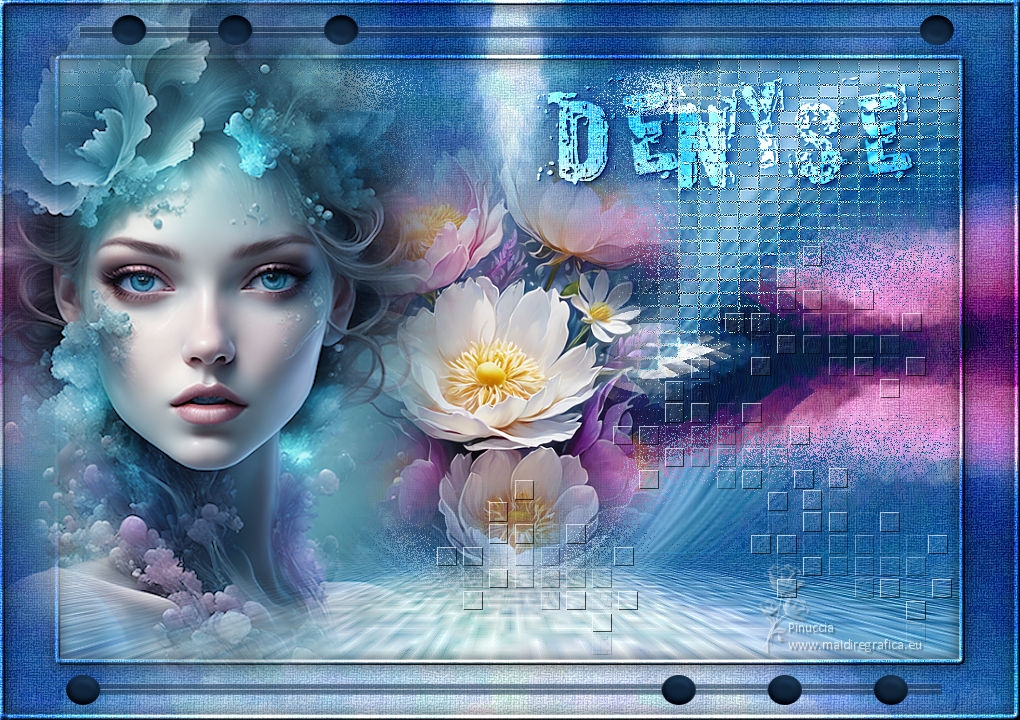  Your versions. Thanks  Lynnette   If you have problems or doubts, or you find a not worked link, or only for tell me that you enjoyed this tutorial, write to me. 21 May 2024 |