Thank you Rocky for your permission to translate your tutorials.
The site is closed

This tutorial is a personal creation of Rocktambule and it is prohibited to copy or distribute it on the net (forums, groupes.. etc), or to use it on commercials sites.
This tutorial was created and translated with Corel12, but can also be made using other versions of PSP.
Since version PSP X4, Image>Mirror was replaced with Image>Flip Horizontal,
and Image>Flip with Image>Flip Vertical, there are some variables.
In versions X5 and X6, the functions have been improved by making available the Objects menu.
In the latest version X7 command Image>Mirror and Image>Flip returned, but with new differences.
See my schedule here
For this tutorial, you will need:
A tube of yours. If you made the whole tuto you need a normal tube,
if you made only the second part, you may use a vectorial tube.
The rest of the material here
For the tube thanks Azalee
I don't know the authors of brushes used.
Plugins
consult, if necessary, my filter section here
for make your tube vectorial:
Topaz Lab here
Ab Filter 2000 here
Nik Software - Color Efex Pro here
For the second part:
Filters Unlimited 2.0 here
Photo Aging Kit here

You can change Blend Modes according to your colors.
Place the brushes in the Brushes folder. Attention, please, every brush is composed by two files, you must place both the files in the folder.
See my notes about Brushes here
First part: To make your tube a vector one: see below:
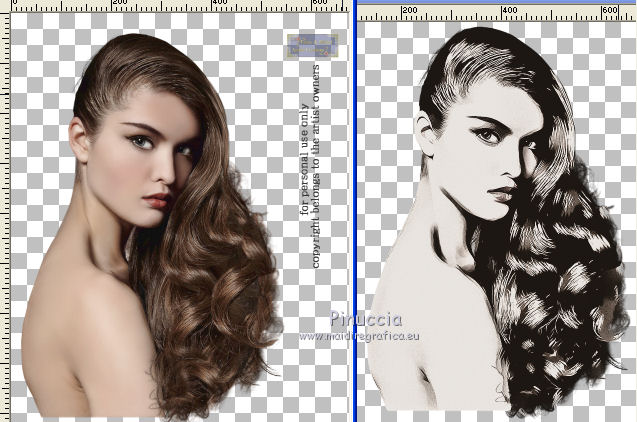
1. Open your tube - Edit>Copy.
Open a new transparent image 800 x 700 pixels.
Edit>Paste as new layer.
Effects>Plugins>Topaz Labs - Topaz Clean.
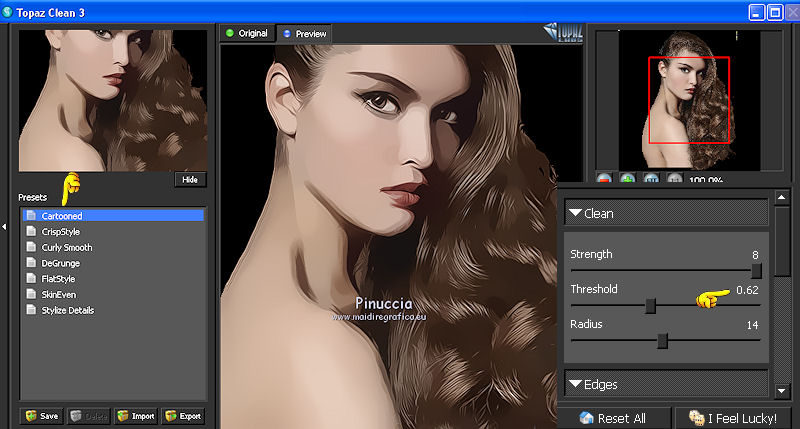
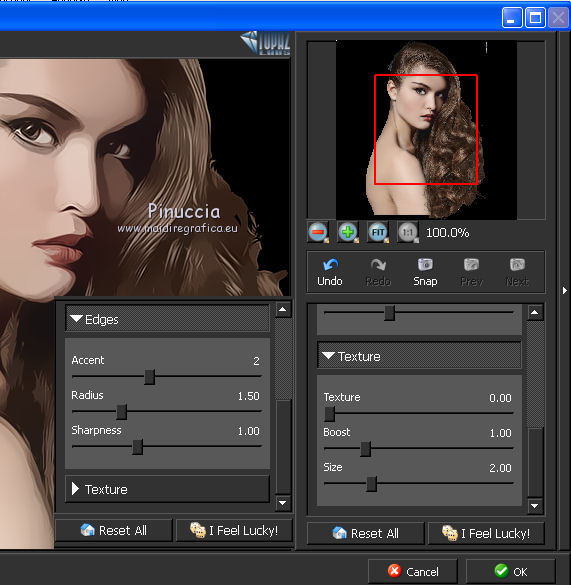
Edges and Texture default settings.
Layers>Duplicate.
Effects>Plugins>Filters Unlimited 2.0 - AB FIlters 2000 - Threshold Overtime.
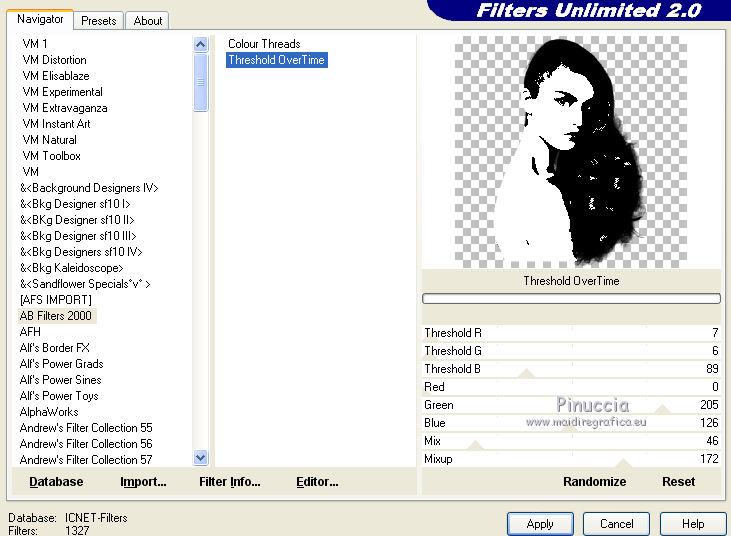
Layers>Arrange>Move down.
Change the Blend mode of this layer to Multiply.
Activate the top layer and change opacity to 57 (or according to your tube).
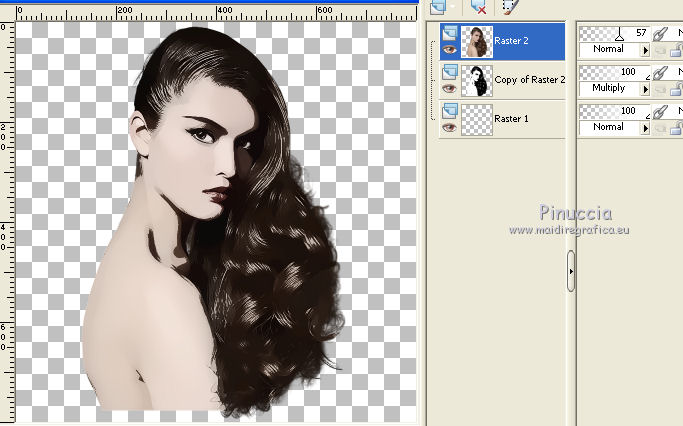
Keep this layer active.
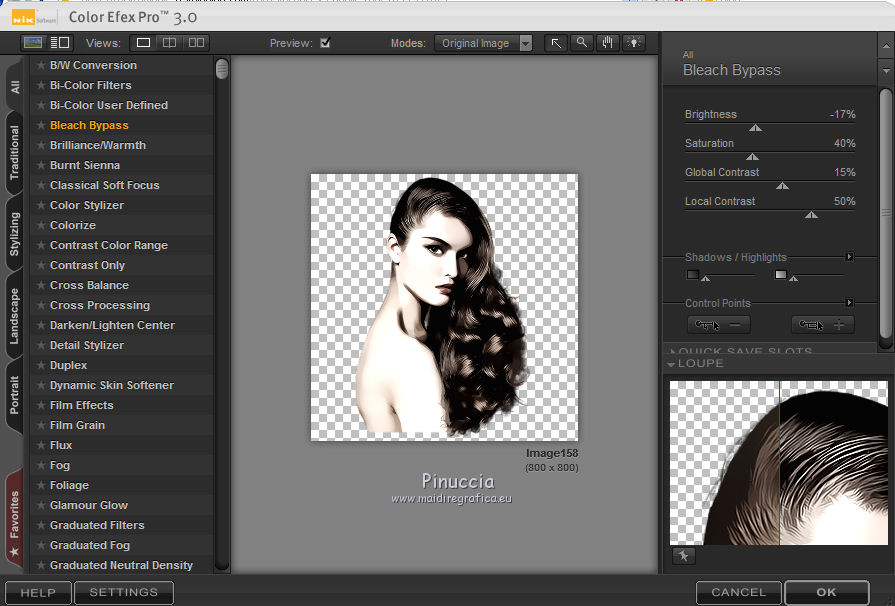
Effects>Plugins>Nik Software - Color Efex Pro - Bleach Bypass and ok.
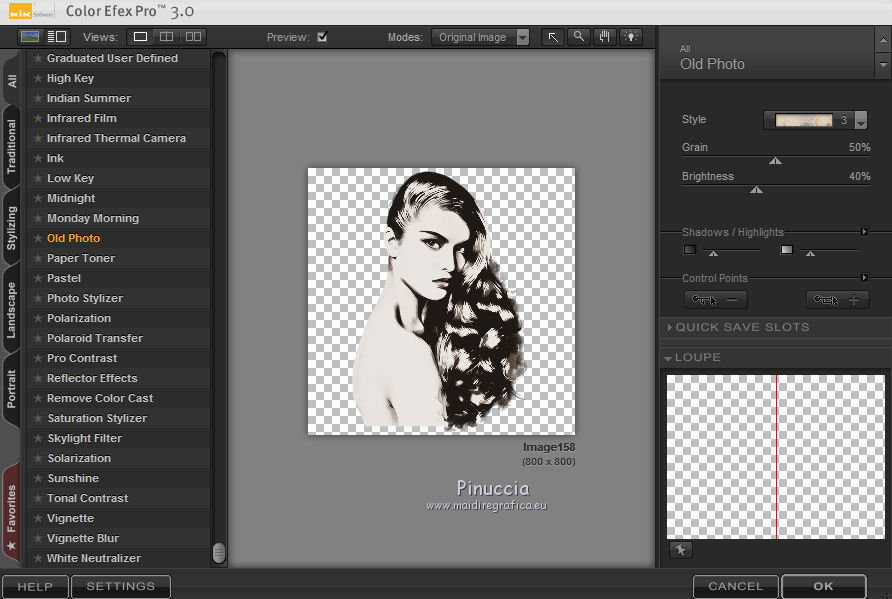
Effects>Plugins>Nik Software - Color Efex Pro - Old Photo - Style Color 3.
You can set opacity again to 100.
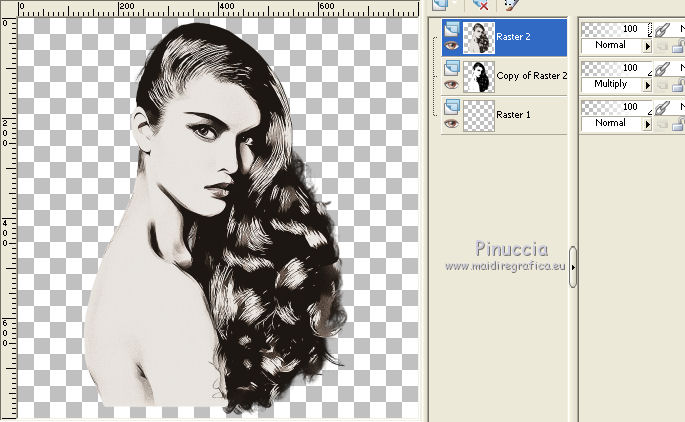
Layers>Merge>Merge visible.
Edit>Copy.
Second part.
Open a new white image 800 x 700 pixels.
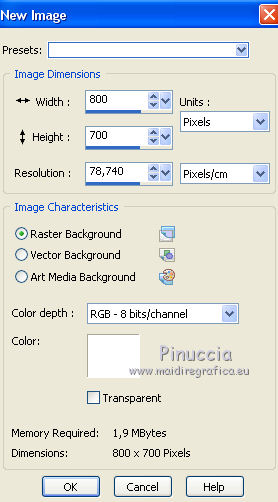
Name this layer Raster 1.
Edit>Paste as new layer.
Image>Resize, if it is necessary.
Move  the tube in the middle of the canvas.
Activate the Eraser tool 

and erase the parts of the tube outside the face and a part of the neck,
see below.
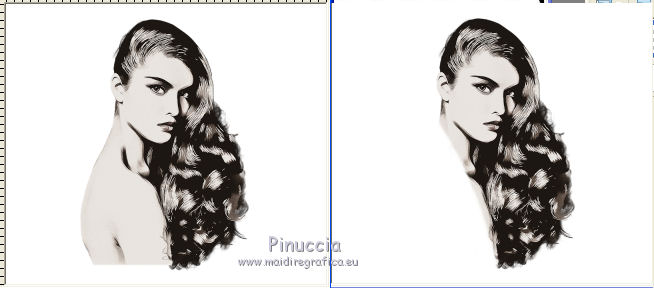
Activate again the layer Raster 1.
Layers>New Raster Layer - Raster 3.
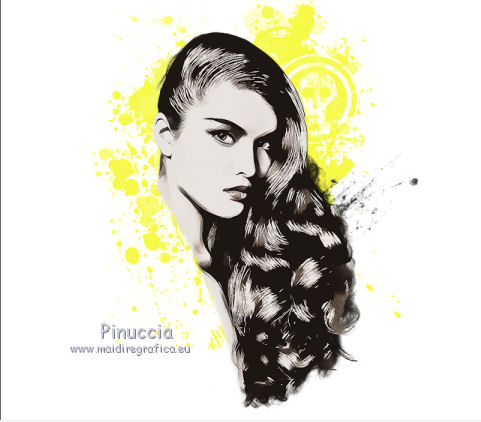
Choose and set your foreground color with a bright color (for me a bright yellow).
Activate the Paint Brush tool 
Look for and select the brush "pinceauvectorgrunge", size 700

Apply the brush with your foreground color in the middle of the canvas.
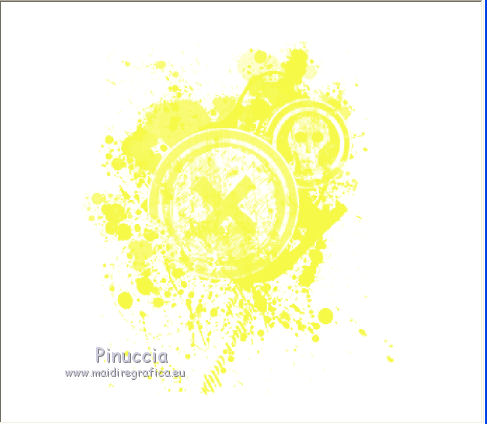
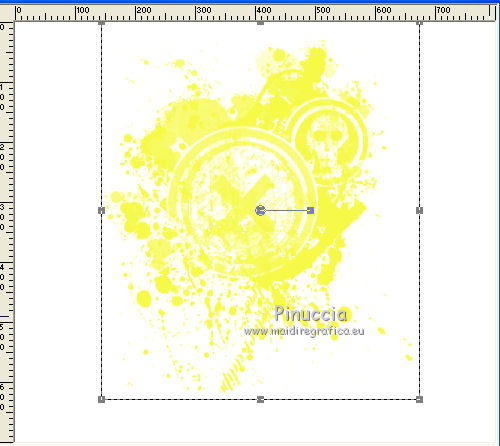
If your PSP don't allow brushes over 500 pixels,
after applying the brush to 500 pixels,
activate the Pick tool 
if you use PSP 9 the Deformation tool 
and use the central nodes to widen the brush about as below
Layers>New Raster Layer - Raster 4.
Set your foreground color with a grey color #404040.
Look for and select the brush "vacances1", size 208, rotation 45

apply the brush where you want or see my example.
Layers>New Raster Layer - raster 5.
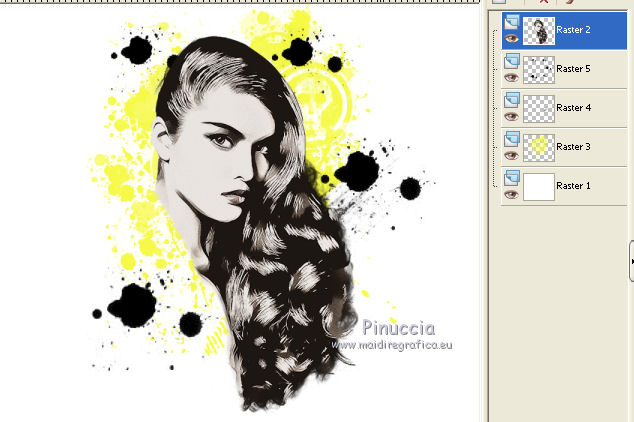
Set your foreground color with color black #000000.
Look for and select the brush vacances2

apply the brush many times and change the size.
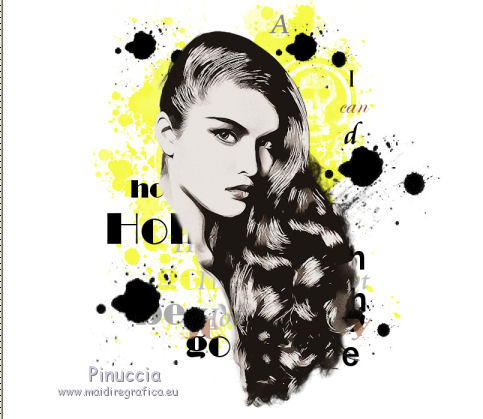
Activate the text tool 
write some letters, changing the size and the colors.
For me:
Or if you want, open "deco1" - Edit>Copy.
Go back to your work and go to Edit>Paste as new layer.
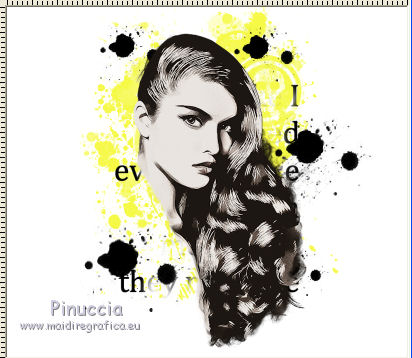
Layers>Merge>Merge visible.
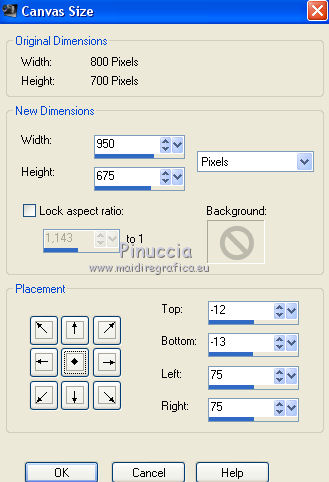
Image>Canvas size - 950 x 675 pixels.
Layers>New Raster Raster.
Set your foreground color with white #ffffff.
Flood fill  with color white.
Layers>Arrage>Send to bottom.
Layers>Merge>Merge visible.
Open "deco2" - Edit>Copy.
Go back to your work and to to Edit>Paste as new layer.
Layers>Merge>Merge All.
Image>Add borders, 2 pixels, symmetric, color black.
Image>Add borders, 2 pixels, symmetric, color white.
Image>Add borders, 25 pixels, symmetric, color black.
Image>Add borders, 2 pixels, symmetric, color white.
Image>Add borders, 40 pixels, symmetric, color black.
Activate the Magic Wand tool 
clic on 40 pixels border to select it.
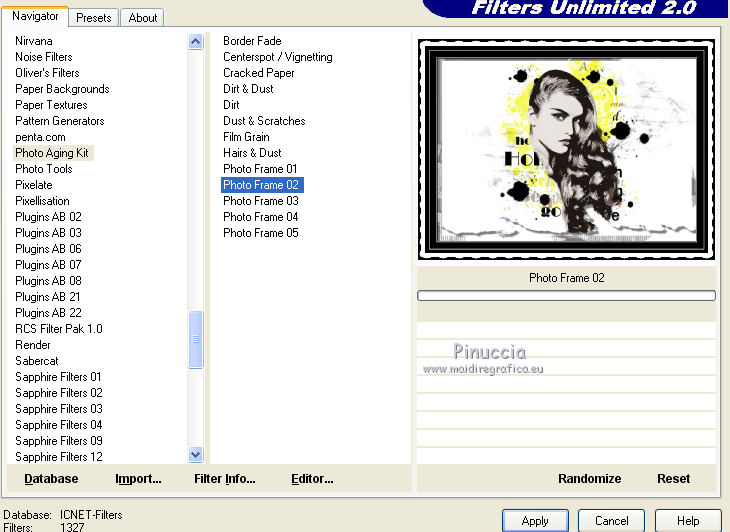
Effects>Plugins>Filters Unlimited 2.0 - Photo Aging Kit - Photoframe 2.
Selections>Select None.
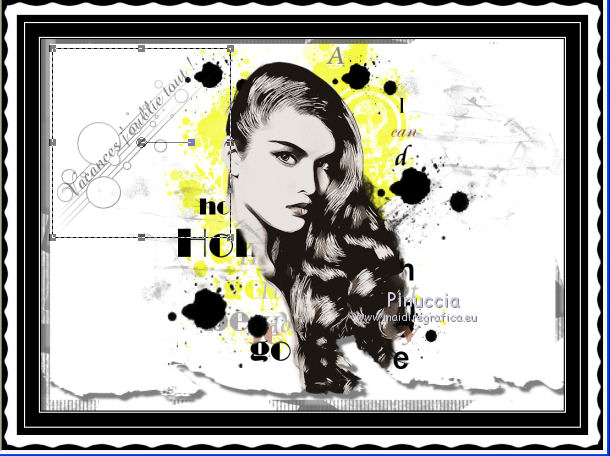
Open "titre" - Edit>Copy.
Go back to your work and go to Edit>Paste as new layer.
Move  on the left corner.
Sign your work and save as jpg.
Your versions. Thanks
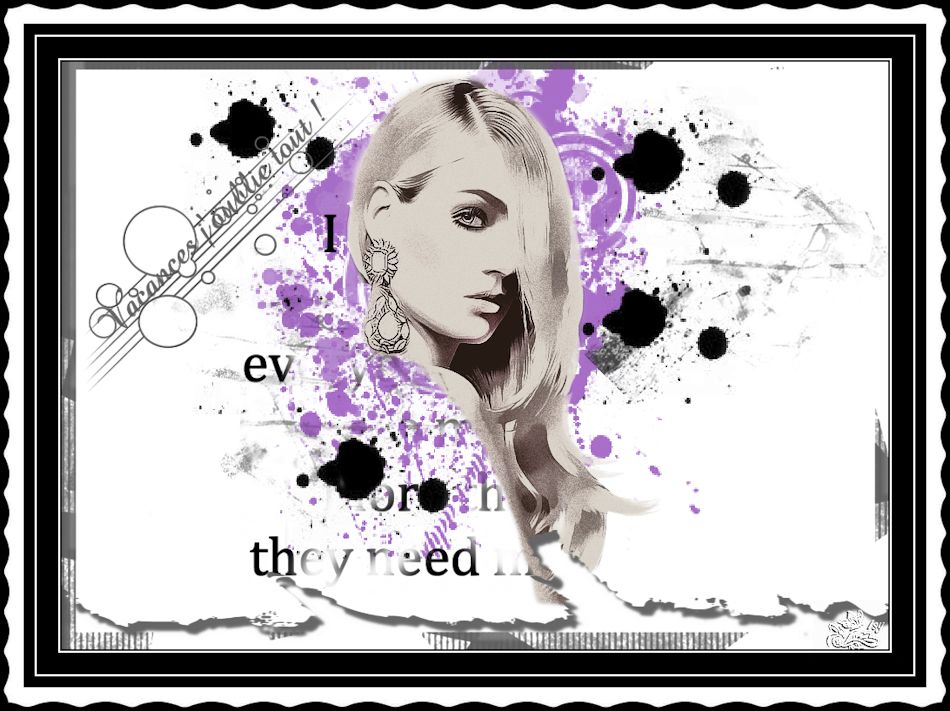
Isy

If you have problems or doubts, or you find a not worked link, or only for tell me that you enjoyed this tutorial, write to me.
18 June 2014

