Thank you Rocky for your permission to translate your tutorials.
The site is closed

This tutorial is a personal creation of Rocktambule and it is prohibited to copy or distribute it on the net (forums, groupes.. etc), or to use it on commercials sites.
This tutorial was created and translated with Corel12, but can also be made using other versions of PSP.
Since version PSP X4, Image>Mirror was replaced with Image>Flip Horizontal,
and Image>Flip with Image>Flip Vertical, there are some variables.
In versions X5 and X6, the functions have been improved by making available the Objects menu.
In the latest version X7 command Image>Mirror and Image>Flip returned, but with new differences.
See my schedule here
For this tutorial, you will need:
Material here
The tubes are by Verlaine and Gabry.
The masks are by Narah.
Animation Shop here

You can change Blend Modes according to your colors.
Open the masks in PSP and minimize them with the rest of the material.
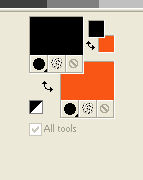
1. Set your foreground color to black #ffffff,
and your background color to a red color.
2. Open a new transparent image 900 x 600 pixels.

Flood Fill  with color black.
3. Layers>New Raster Layer.
Flood Fill  with red color.
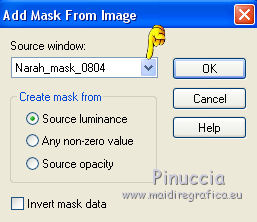
4. Layers>New Mask layer>From image
Open the menu under the source window and you'll see all the opened files.
Select the mask Narah_mask_0804:
Layers>Merge>Merge group.
Effects>Edge Effects>Enhance.
5. Layers>Merge>Merge visible.
6. Layers>New Raster Layer.
Flood Fill  with red color.
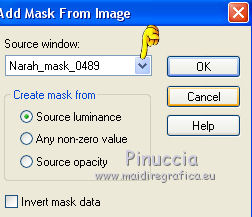
7. Layers>New Mask layer>From image
Open the menu under the source window
and select the mask Narah_mask_0489:
Layers>Merge>Merge group.
Effects>Edge Effect>Enhance.
8. Layers>Merge>Merge All.
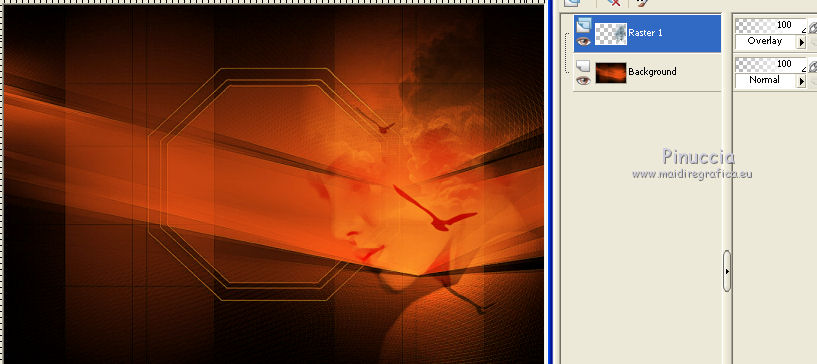
9. Activate the tube Verlaine b25 - Edit>Copy.
Go back to your work and go to Edit>Paste as new layer.
Move  tue tube to the right side.
Change the Blend mode of this layer to Overlay.
10. Activate deco1 - Edit>Copy.
Go back to your work and go to Edit>Paste as new layer.
11. Activate the Magic Wand Tool 
and clic on the little top frame.
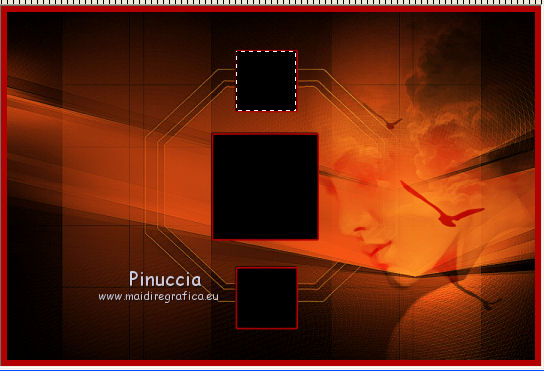
12. Layers>New Raster Layer.
Activate "logo" - Edit>Copy.
Go back to your work and go to Edit>Paste into Selection.
Selections>Select None.
Réglage>Sharpness>Sharpen More.
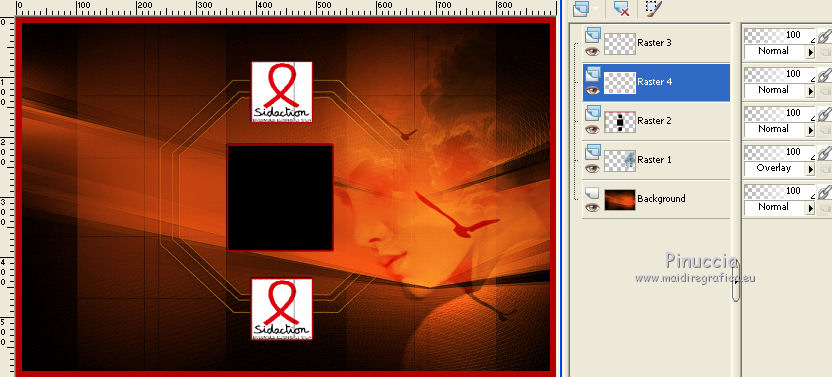
13. Activate again the layer Raster 2.
Clic on the little bottom frame to select it with magic wand tool 
Layers>New Raster Layer.
Edit>Paste into Selection (the "logo" is still in memory).
Selections>Select None.
Adjust>Sharpness>Sharpen more.
14. You should have this.
15. Activate the top layer.
Activate the tube of the rose - Edit>Copy.
Go back to your work and go to Edit>Paste as new layer.
Image>Resize, 75%, resize all layers not checked.
Move  it to the left side.
16. Image>Free Rotate>15 degrees to right.

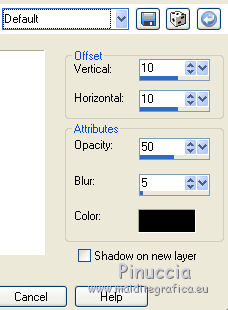
17. Effects>3D Effects>Drop Shadow, default settings.
Adjust>Sharpness>Sharpen more.
18. Activate "slogan" - dit>Copy.
Go back to your work and go to Edit>Paste as new layer.
Move  it to the bottom right.
19. Image>Add borders, 25 pixels, symmetric, color black.
20. Activate "deco 2" - dit>Copy.
Go back to your work and go to Edit>Paste as new layer.
Change the blend mode of this layer to Overlay, opacity 73%.
21. Sign your work.
Layers>Merge>Merge All.
22. Edit>Copy.
Open Animation Shop - Edit>Paste>Paste as new animation.
Edit>Duplicate, and repeat in order to have a 29 frames animation.
Clic on the first frame to select it.
Edit>Selections>Select All.
23. Open "animationsidaction".
Selections>Select All.
Edit>Copy.
Go back to your work and go to Edit>Paste into selected frame.
Move and left clic of your mouse on the point showed in the screen below
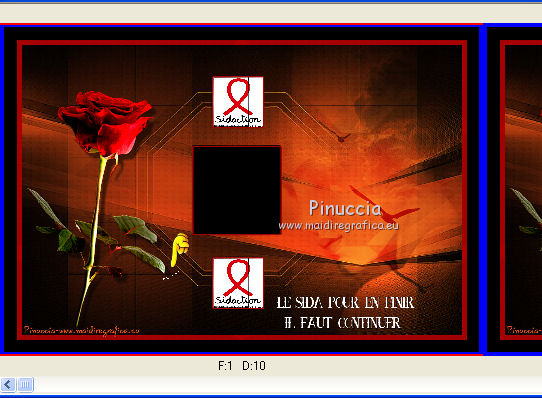
Check your animation with Visualize  and save as gif.
The tubes of this version are by Katrina et Tocha.

Your versions. Thanks

Olimpia

If you have problems or doubts, or you find a not worked link, or only for tell me that you enjoyed this tutorial, write to me.
22 June 2014

