Thank you Rocky for your permission to translate your tutorials.
The site is closed

This tutorial is a personal creation of Rocktambule and it is prohibited to copy or distribute it on the net (forums, groupes.. etc), or to use it on commercials sites.
This tutorial was created and translated with Corel12, but can also be made using other versions of PSP.
Since version PSP X4, Image>Mirror was replaced with Image>Flip Horizontal,
and Image>Flip with Image>Flip Vertical, there are some variables.
In versions X5 and X6, the functions have been improved by making available the Objects menu.
In the latest version X7 command Image>Mirror and Image>Flip returned, but with new differences.
See my schedule here
For this tutorial, you will need:
Choose an animal tube of yours.
The rest of the material here
For my tube thanks Anna.br.
The masks are by Narah. Please, respect her work, don't change the name etc.
Plugins
consult, if necessary, my filter section here
Filters Unlimited 2.0 here
Scribe - Noisey here
Andrew's Filters 39 - Patterns,You've got Em here
the single effect is in the material
&<Bkg Kaleidoscope> - 4QFlip UpperL (to import in Unlimited) here
Alien Skin Eye Candy 5 Impact - Glass here
Filters Scribe and Andrew's can be used alone or imported into Filters Unlimited.
(How do, you see here)
If a plugin supplied appears with this icon  it must necessarily be imported into Unlimited

You can change Blend Modes according your colors.
Open the font and minimize. You'll find it in the list of fonts available when you need it.
With the most recent o.s., this is no longer possible.
To use a font, you must copy it into the Fonts folder in Windows.
Copy the brush in Brush folder. Attention, please, the brush is composed by two files, you must place both the files in the Brush folder.
See my notes about Brushes here
Copy the Selections in the Selections Folder.
Copy the Picture tubes (folder Tubes à images) in the Picture tubes Folder.
Open the masks in PSP and minimize them with the rest of the material.
1. Open a new transparent image 900 x 500 pixels.
2. Set your foreground color with the dark color #576866,
and your background color with the light color #cad2cc
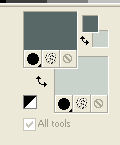
Set your foreground color to Foreground/background Gradient, style Rectangular.
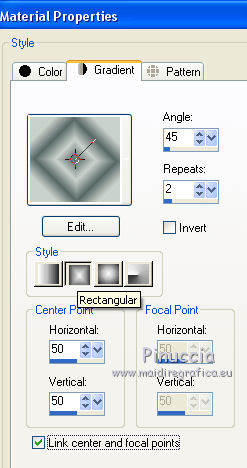
Flood fill  the transparent image with your gradient.
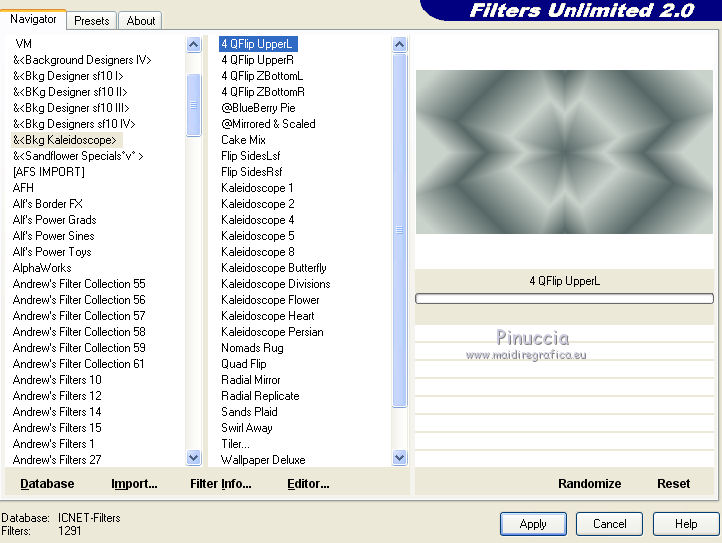
3. Effects>Plugins>Filters Unlimited 2.0 - &<Bkg Kaleidoscope> - 4QFlip UpperL.
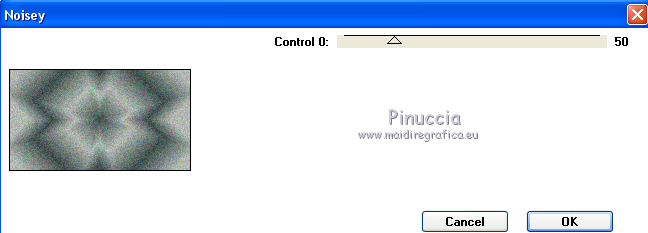
4. Effects>Plugins>Scribe - Noisey.
5. Layers>New raster layer.
Set your foreground color to Color:
open the menu of the palette and select Color.
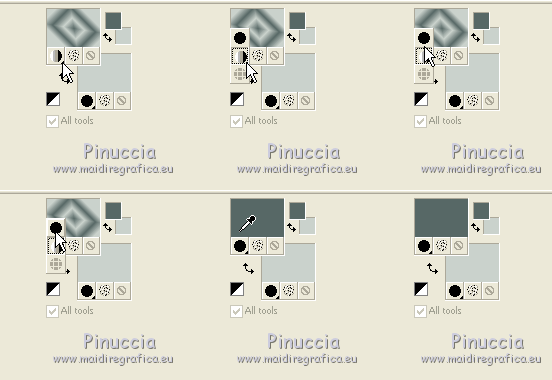
Flood fill  with your dark foreground color.
6. Layers>New Mask layer>From image.
Open the menu under the source window and you'll see all the files open.
Select the mask Narah_mask_0808
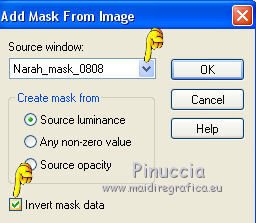
Layers>Merge>Merge group.
Effects>Edge Effects>Enhance.
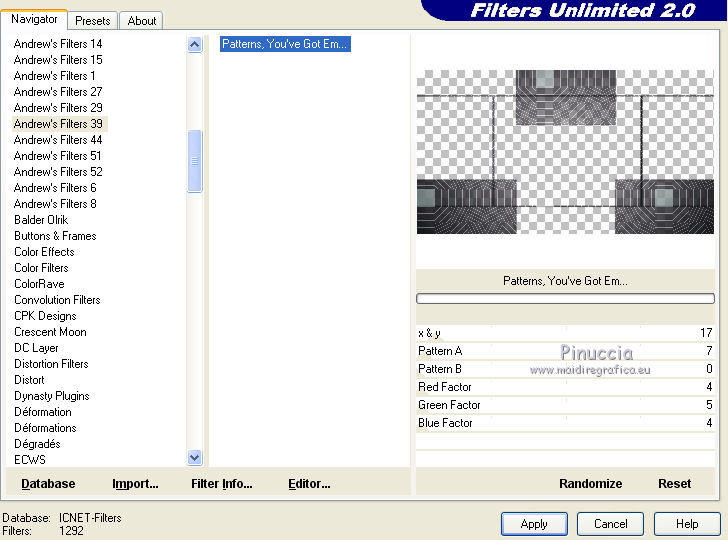
7. Effects>Plugins>Filters Unlimited 2.0 - Andrew's Filter 39 - Patterns,You've got Em, default.
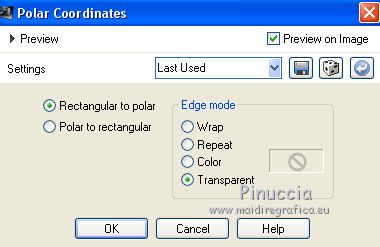
8. Effects>Distorsion Effects>Polar Coordinates.
9. Layers>New raster layer.
Flood fill  with your light background color.
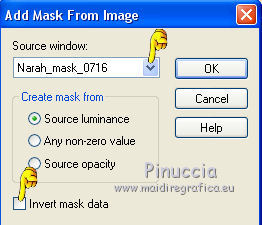
10. Layers>New Mask layer>From image.
Open the menu under the source window
and select the mask Narah_mask_0716
Effects>Edge Effects>Enhance.
Layers>Merge>Merge group.
Change the blend mode of this layer to Screen, opacity 80.
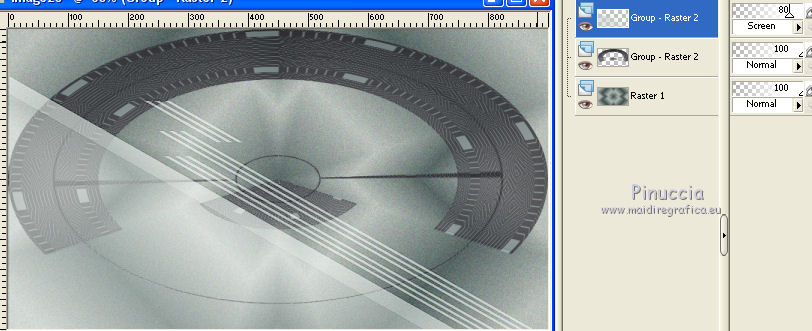
11. Layers>Merge>Merge all.
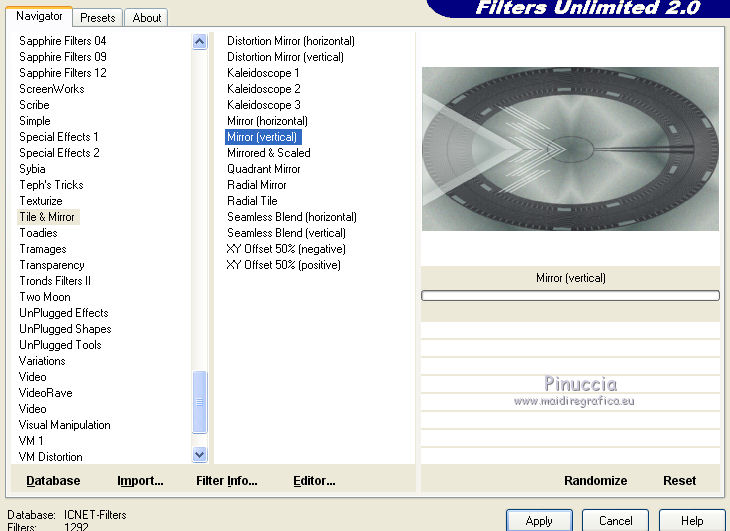
12. Effects>Plugins>Filters Unlimited 2.0 - Tile & Mirror - Mirror(vertical).
13. Layers>New raster layer.
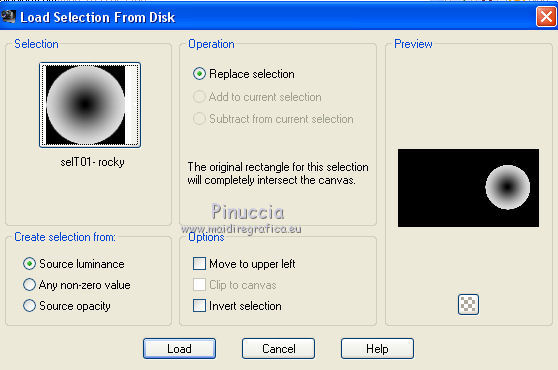
Selections>Load/Save Selection>Load Selection from Disk.
Look for and load selection selT01-rocky.
14. Again set your foreground color to Foreground/Background Gradient, style Linear.
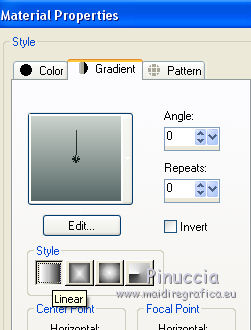
Flood fill  the selection with the gradient.
Change opacity of this layer to 50.
Keep selected.
15. Layers>New raster layer.
Open your animal tube - Edit>Copy.
Go back to your work and go to Edit>Paste into Selection.
Attention please, if you don't see well your tube, turn down the opacity of the previous layer,
or duplicate the layer of your animal.
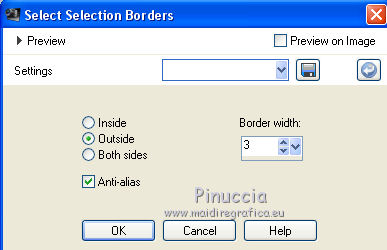
16. Selections>Modify>Select selection borders.
17. Layers>New raster layer.
Flood fill  with your background color.
Selections>Selection none.
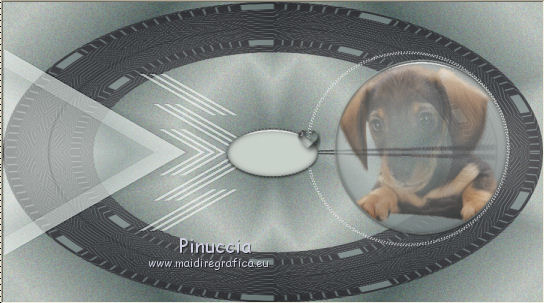
You should have this:
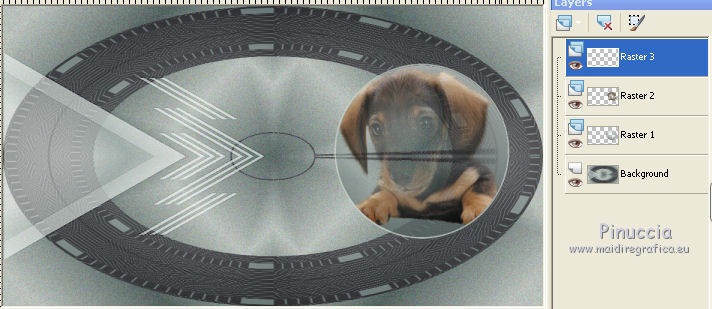
18. Merge the three top layers.
19. Layers>New raster layer.
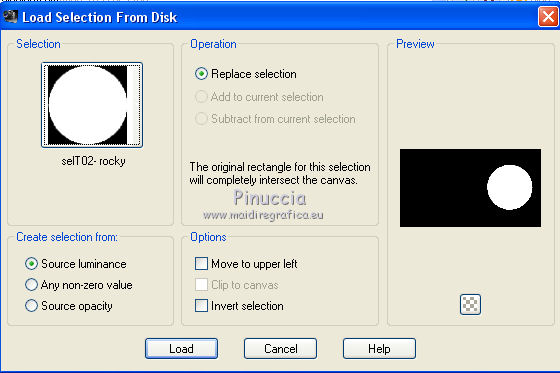
Selections>Load/Save Selection>Load Selection from Disk.
Look for and load selection selT02-rocky.
Set your foreground color with white:
right clic on the palette to have your Recent materials table.
white color is always the last color of the table.
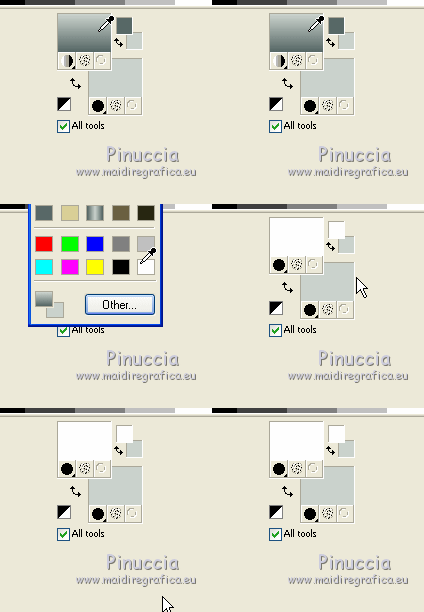
Change opacity of Flood fill tool to 20.
Flood fill  the selection with white color.
20. Effects>Plugins>Alien skin Eye Candy 5 Impact - Glass.
Select the preset Clear and ok.

Selection>Select none.
Layers>Merge>Merge down.
21. Set again opacity of Flood fill tool to 100.
Layers>New raster layer.
22. Activate the Brush tool 
Look for and select the brush T1

apply the brush with white color.
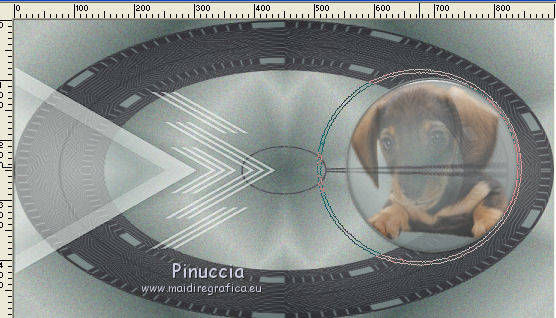
If it is necessary, correct  the position of the brush.
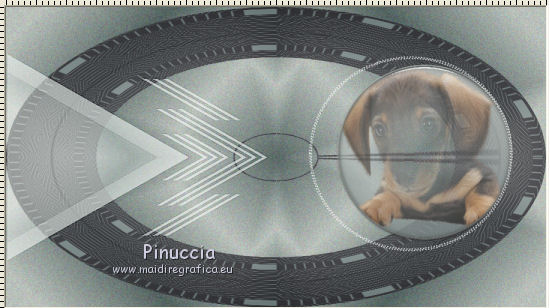
Adjust>Sharpness>Sharpen.
23. Layers>New raster layer.
Selections>Load/Save Selection>Load Selection from Disk.
Look for and load selection selT03-rocky.
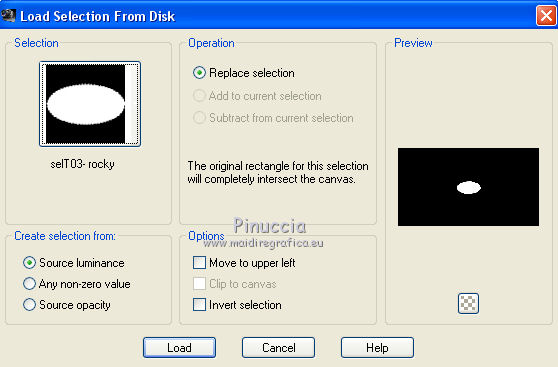
Flood fill  with your light background color.
24. Effects>Plugins>Alien Skin Eye Candy 5 Impact - Glass - Clear.
Selections>Select None.
25. Layers>New raster layer.
Activate the Picture Tube Tool 
Look for and select the tube "Coeur"

Apply the tube on the ellipsis.
26. Activate the Text tool  , font Kravitz.

Write your text.
Layers>Convert to raster layer.
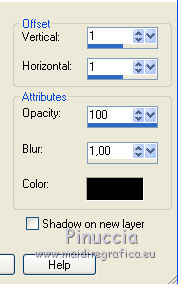
27. Effects>3D Effects>Drop Shadow.
28. Activate the bottom layer.
Open the tube "deco" - Edit>Copy.
Go back to your work and go to Edit>Paste as new layer.
Change the blend mode of this layer to Multiply (or according your colors),
if you choose another mode, you'll have the white around.
29. Activate the layers of round animal.
Layers>Duplicate.
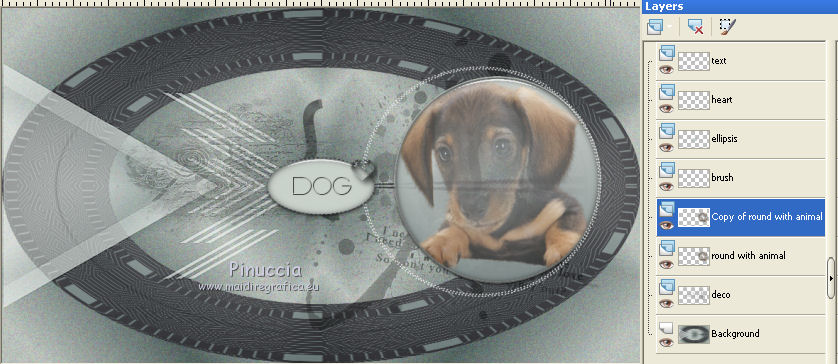
30. Layers>Merge>Merge all.
Sign your work.
31. Image>Add borders - 2 pixels, symmetric, foreground color #576866.
Image>Add borders, 2 pixels, symmetric, background color #cad2cc.
Image>Add borders - 20 pixels, symmetric, foreground color #576866.
Image>Add borders, 2 pixels, symmetric, background color #cad2cc.
32. Activate the Magic Wand tool 
clic on the 20 pixels bord to select it.
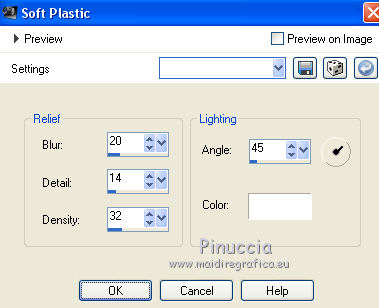
33. Effects>Texture Effects>Soft plastic.
Selections>Select none.
34. Optional:
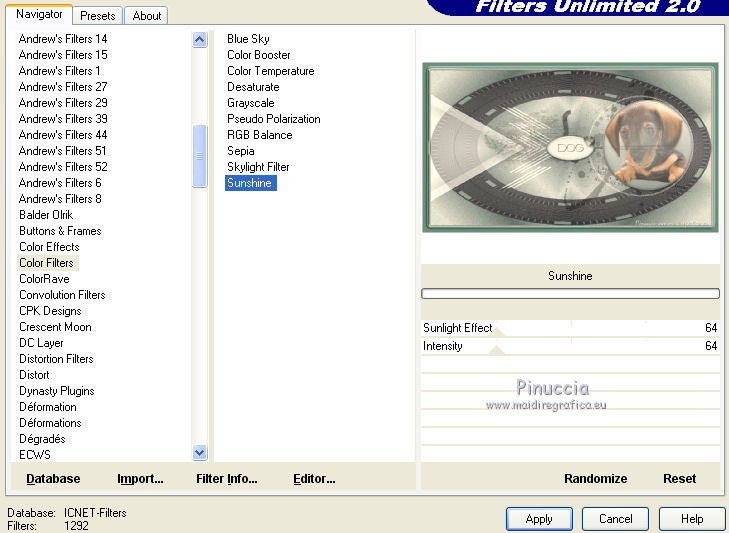
Effects>Plugins>Filters Unlimited 2.0 - Color filters - Sunshine, default settings.
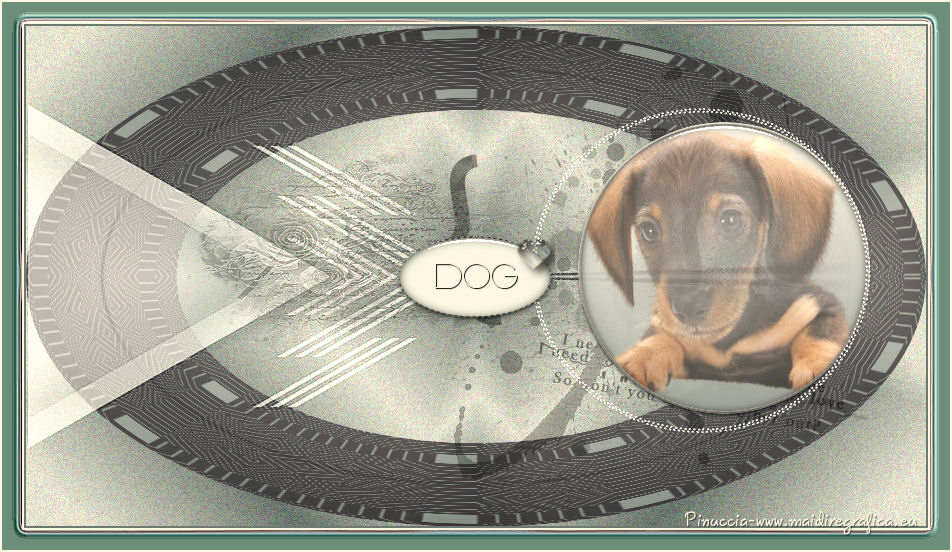
Save as jpg.
Version with Sunshine plugin.

Your versions. Thanks
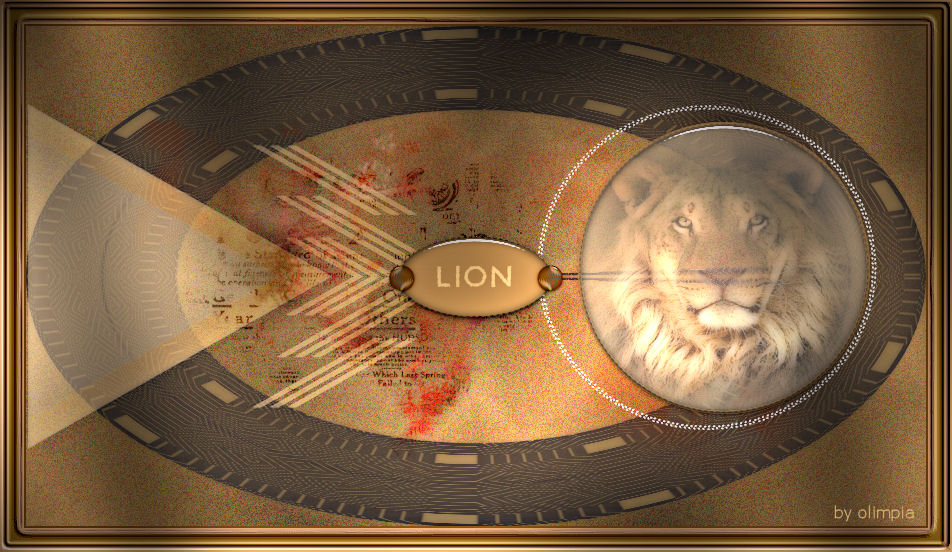
Olimpia

If you have problems or doubt, or you find a not worked link, or only for tell me that you enjoyed this tutorial, write to me.
7 May 2014

