Thank you Rocky for your permission to translate your tutorials.
The site is closed

This tutorial is a personal creation of Rocktambule and it is prohibited to copy or distribute it on the net (forums, groupes.. etc), or to use it on comguetteurals sites.
This tutorial was created and translated with Corel12, but can also be made using other versions of PSP.
Since version PSP X4, Image>Mirror was replaced with Image>Flip Horizontal,
and Image>Flip with Image>Flip Vertical, there are some variables.
In versions X5 and X6, the functions have been improved by making available the Objects menu.
In the latest version X7 command Image>Mirror and Image>Flip returned, but with new differences.
See my schedule here
For this tutorial, you will need:
Material here
For the tube thanks Guismo.
Plugins
consult, if necessary, my filter section here
Filters Unlimited 2.0 here
Flaming Pear - Flood here
Scribe - 4 way mirror here
Mura's Meister - Cloud here
VM Distortion - Circulator II here
Penta.com - Dot and cross here
Penta.com - Color dot here
Alien Skin Eye Candy 5 Impact - Perspective Shadow here
Image Enhancement (standard in Unlimited)
Filters Scribe, Penta.com and VM Distortion can be used alone or imported into Filters Unlimited.
(How do, you see here)
If a plugin supplied appears with this icon  it must necessarily be imported into Unlimited

You can change Blend Modes according to your colors.
Copy the selections in the Selections Folder.
Open the mask in PSP and minimize it with the rest of the material.
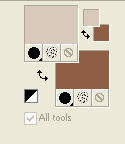
1. Set your foreground color to #d9c9ba,
and your background color to #905e45.
2. Open calquealpha-leguetteur-rocky.
The image, which will be the basis of your work, is not empty, but contains the selections saved to alpha channel.
Flood Fill  with your background color.
3. Layers>New Raster Layer.
Flood Fill  with your foreground color.
4.
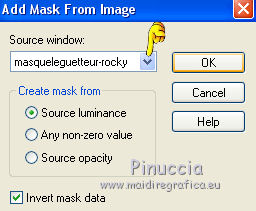
Layers>New Mask layer>From image
Open the menu under the source window and you'll see all the files open.
Select the mask masqueleguetteur-rocky.
Layers>Merge>Merge group.
Layers>Merge>Merge down.
5. Layers>New Raster Layer.
Selections>Select All.
6. Open the tube calguisbaby16112014 - Edit>Copy.
don't close it. You'll use it again
Go back to your work and go to Edit>Paste into selection.
Selections>Select None.
7. Adjust>Blur>Gaussian Blur - radius 15.

8. Effects>Image Effects>Seamless Tiling, default settings.

9. Effects>Plugins>Flaming Pear - Flood.
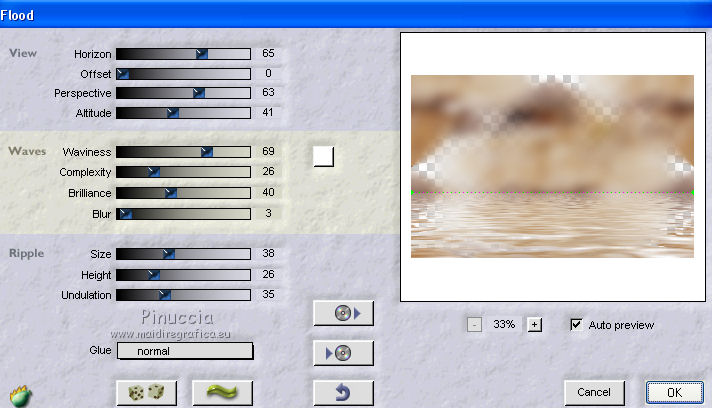
Layers>Duplicate.
Image>Flip.
Change the opacity of this layer to 50.
10. Close the bottom layer (raster 1).
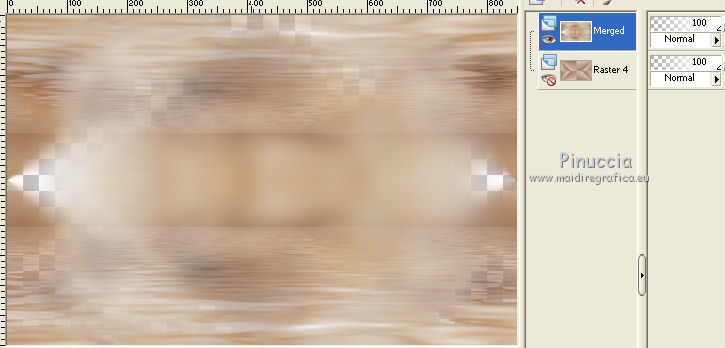
Layers>Merge>Merge visible.
You should have this.
11. Re-open the bottom layer and keep the top layer active.
Change the blend mode of this layer to Overlay.
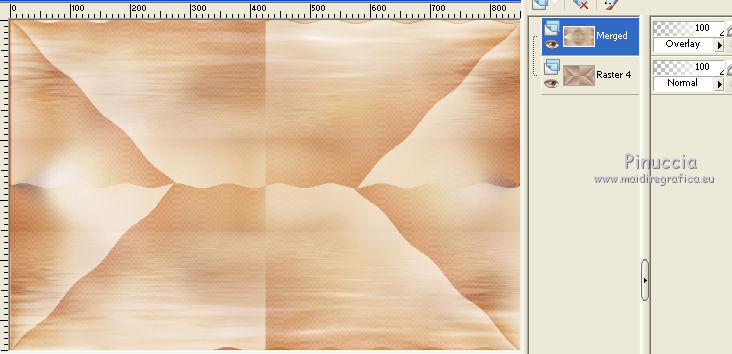
12. Layers>Merge>Merge All.
13. Effects>Plugins>Scribe - 4 way mirror.
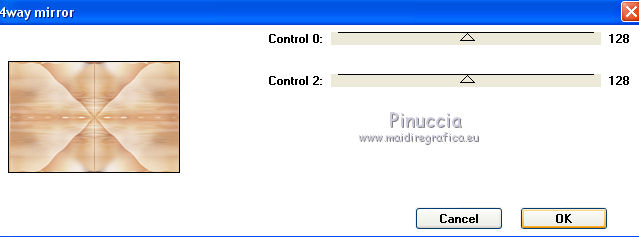
14. Layers>New Raster Layer.
Selections>Load/Save selections>Load selection from Alpha Channel.
The selection leguetteur1 is immediately available.
You have only to clic Load.
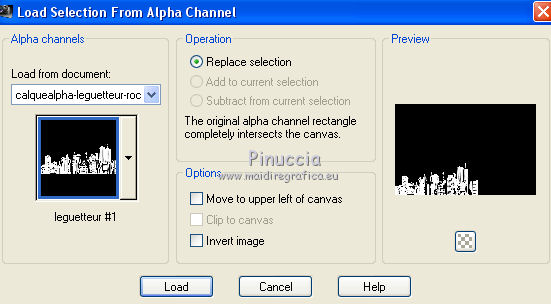
Flood Fill  the selection with your background color.
Selections>Select None.
15. Effects>User Defined Filter - select the preset Emboss 6 and ok.
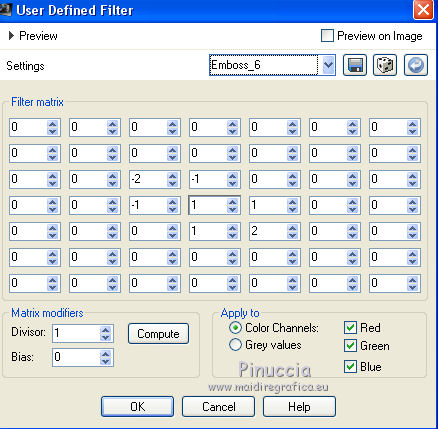
Change the blend mode of this layer to Multiply.
16. Layers>New Raster Layer.
Selections>Load/Save selections>Load selection from Alpha Channel.
Open the menu of the selections and load leguetteur2.
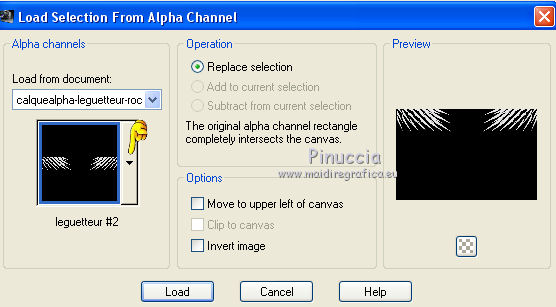
Flood Fill  the selection with your background color.
Selections>Select None.
17. Effects>User Defined Filter - Emboss 6.
Activate the bottom layer.
Layers>Duplicate.
18. Effects>Geometric Effects>Spherize.
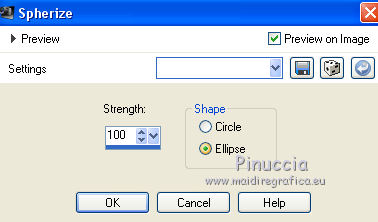
Change the blend mode of this layer to Multiply, opacity 73.
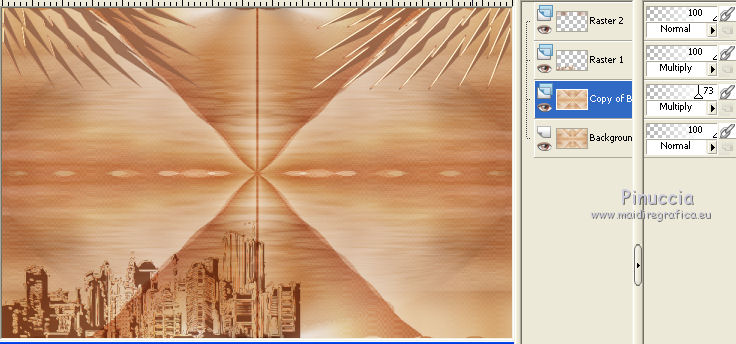
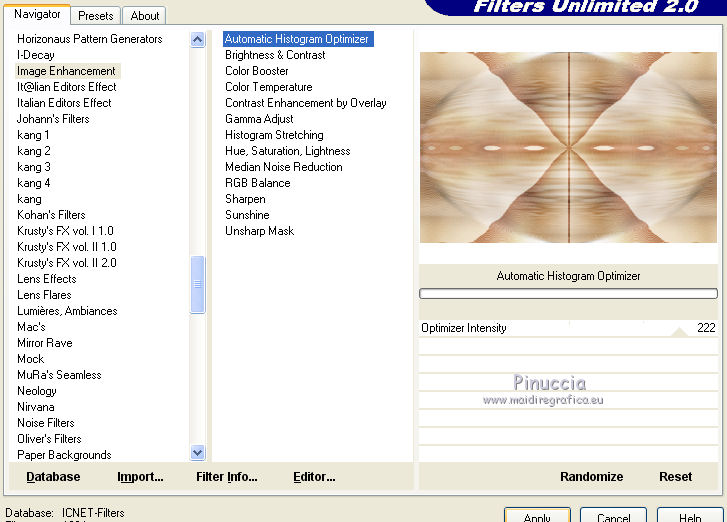
19. Effects>Plugins>Filters Unlimited 2.0 - Image Enhancement - Automatic histogram optimizer.
(This will give a shadow effect).
20. Layers>New Raster Layer.
Set your foreground color to white #ffffff.
Flood Fill  the layer with color white.
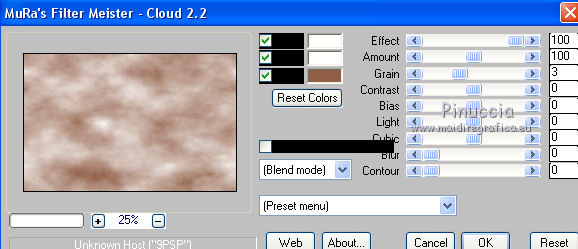
21. Effects>Plugins>Mura's Meister - Cloud.
Change the blend mode of this layer to Overlay, opacity 52.
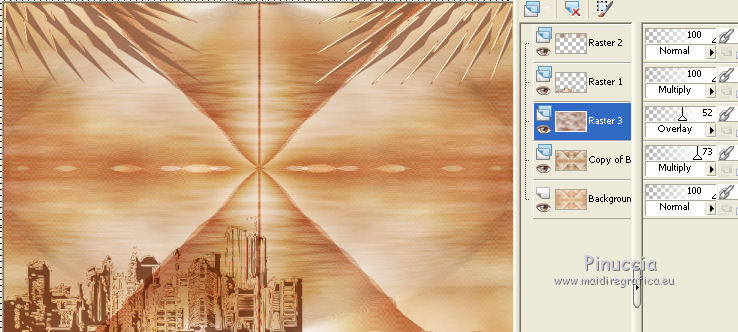
22. Image>Add borders, 2 pixels, background color.
Image>Add borders, 2 pixels, the first foreground color #d9c9ba.
23. Layers>Duplicate.
Image>Resize, 65%, resize all layers not checked.
24. Effects>Plugins>VM Distortion - Circulator II, default settings.
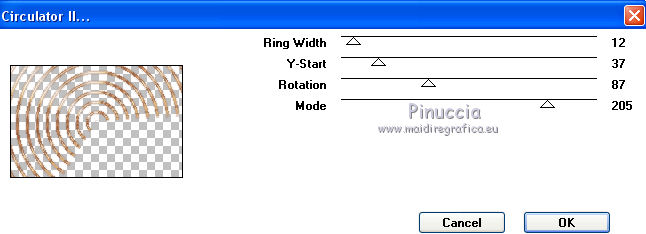
Change the blend mode of this layer to Screen, opacity 31.
25. On this layer:
Selections>Load/Save selections>Load selection from Alpha Channel.
Load again the selection leguetteur1.

Press CANC on the keyboard 
Selections>Select None.
26. Open "decoleguetteur" - Edit>Copy.
Go back to your work and go to Edit>Paste as new layer.
27. Again open the tube by Guismo calguisbaby16112014 - Edit>Copy.
Go back to your work and go to Edit>Paste as new layer.
Image>Resize, 70%, resize all layers not checked.
Move  the tube as in my example.
Adjust>Sharpness>Sharpen.
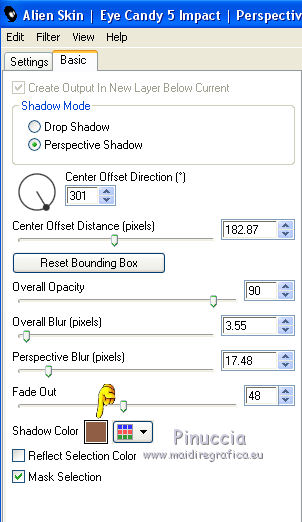
28. Effects>Plugins>Alien Skin Eye Candy 5 Impact - Perspective Shadow.
Use Factory default settings and on Basic change Shadow Color with your background color.
29. The Frame.
Script version:
Open the script menu and select the script "scriptleguetteur rocky".

If you select the Toogle Execution Mode, the script will stop every step,
and you'll can change the color of the borders.

Clic on the arrow to run the script.

If you don't want use the script: you can follow the traditional steps.
Image>Add borders, 2 pixels, symmetric, color #925e45.
Image>Add borders, 2 pixels, symmetric, color #d9c9ba.
Image>Add borders, 15 pixels, symmetric, color #c6a67d.
Select 15 pixels border with Magic wand tool 
Effects>Plugins>Penta.com - Color dot, default settings.
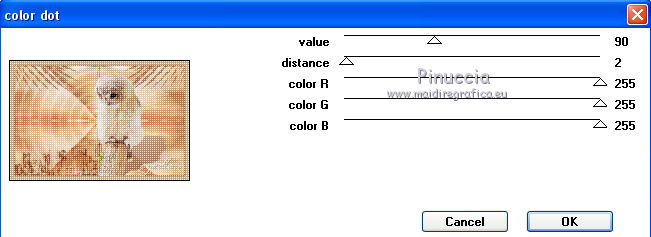
Selections>Select None.
Image>Add borders, 2 pixels, symmetric, color #905e45.
Image>Add borders, 2 pixels, symmetric, color #c6a67d.
Image>Add borders, 25 pixels, symmetric, color #d9c9ba.
Image>Add borders, 2 pixels, symmetric, color #905e45.
Select the 25 pixels border with Magic wand tool 
Effects>Plugins>Penta.com - Dot And Cross, default settings.
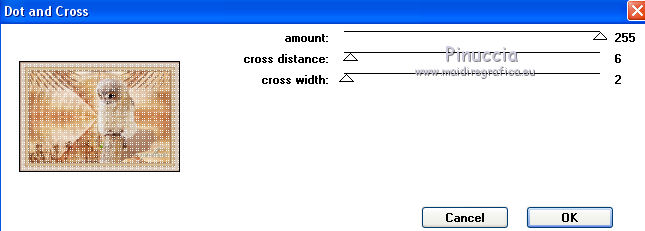
Effects>User Defined Filter - Emboss 6.
Selections>Select None.
Sign your work and save as jpg.

If you have problems or doubts, or you find a not worked link, or only for tell me that you enjoyed this tutorial, write to me.
22 June 2014

