|
JEANNE


Thanks SIM PSP Group for your invitation to translate your tutorials into english

This tutorial was translated with PspX7, but it can also be made using other versions of PSP.
Since version PSP X4, Image>Mirror was replaced with Image>Flip Horizontal,
and Image>Flip with Image>Flip Vertical, there are some variables.
In versions X5 and X6, the functions have been improved by making available the Objects menu.
In the latest version X7 command Image>Mirror and Image>Flip returned, but with new differences.
See my schedule here
For this tutorial, you will need:

For the tubes thanks Gabry, Animabelle and Cloclo.
The rest of the material is by Roberta Maver.
(The links of the tubemakers here).

consult, if necessary, my filter section here
Filters Unlimited 2.0 here
Mehdi - Sorting Tiles here
RCS Filters Pak 1.0 - RCS Triple Exposure here
Mock - Windo here
Xero - Fritillary here
Mura's Meister - Perspective Tiling here
VanDerLee - Unplugged-X here
Filters RCS and Mocks can be used alone or imported into Filters Unlimited.
(How do, you see here)
If a plugin supplied appears with this icon  it must necessarily be imported into Unlimited it must necessarily be imported into Unlimited

You can change Blend Modes according to your colors.
In the newest versions of PSP, you don't find the foreground/background gradient (Corel_06_029).
You can use the gradients of the older versions.
The Gradient of CorelX here

1. Choose 2 colors from your material.
Foreground color #f2e4fe
background color #43335a
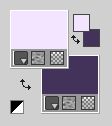
color extra: #ffffff
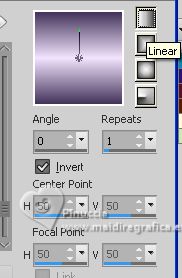
Set your foreground color to a Foreground/Background Gradient, style Linear.
2. Open Alpha_JeannebyRobertaMaver
This image, that will be the basis of your work, is not empty,
but contains the selections saved to alpha channel.
Flood Fill  the transparent image with your Gradient. the transparent image with your Gradient.
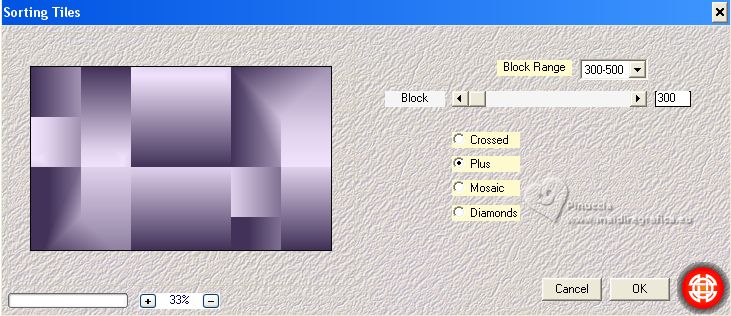
3. Effects>Plugins>Mehdi - Sorting Tiles.
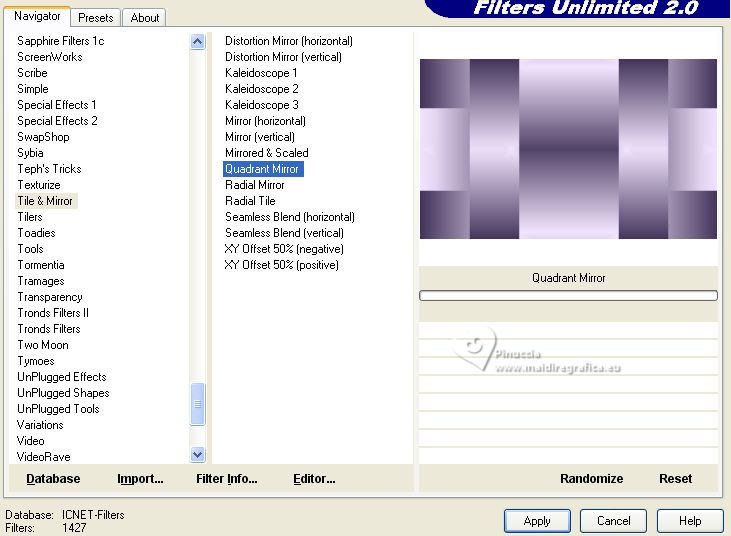
4. Effects>Plugins>Filters Unlimited 2.0 - Tile & Mirror - Quadrant Mirror.
5. Effects>Plugins>RCS Filters Pak 1.0 - RCS TripleExposure, default settings
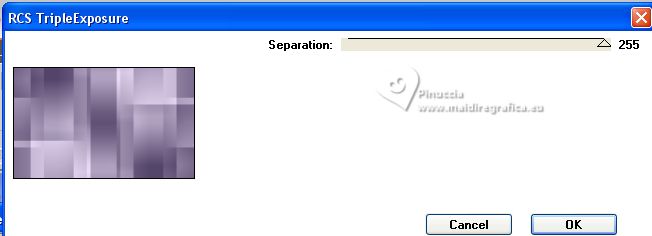
Effects>Edge Effects>Enhance.
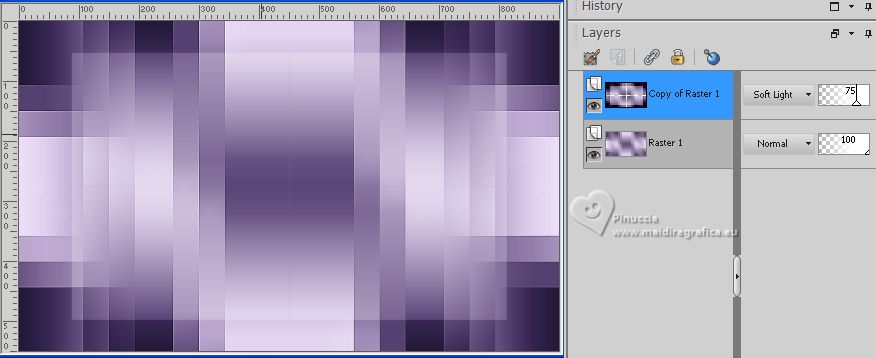
6. Layers>Duplicate.
Effects>Plugins>Mock - Windo, default settings
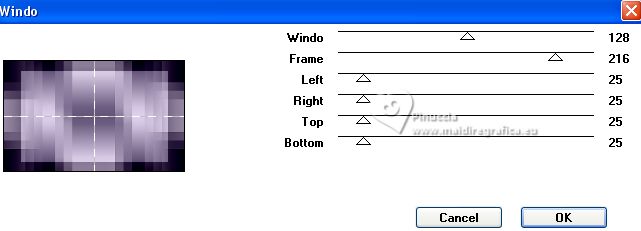
Change the Blend Mode of this layer to Soft Light and reduce the opacity to 75%.
7. Layers>New Raster Layer.
Selections>Load/Save Selection>Load Selection from Alpha Channel.
The selection #1 is immediately available. You just have to click Load.

Set your foreground color to Color.
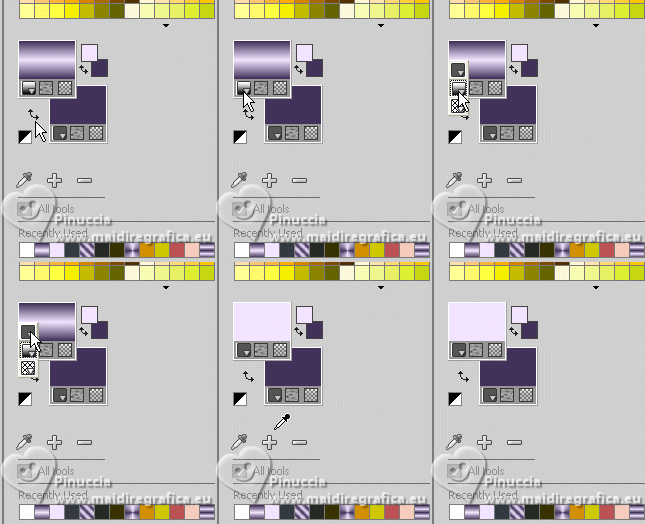
Flood Fill  with your foreground color #f2e4fe. with your foreground color #f2e4fe.
Selections>Select None.
Layers>Merge>Merge Down.
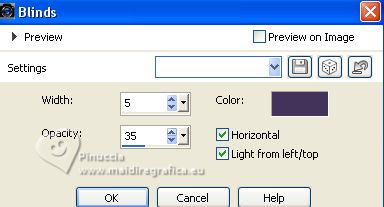
8. Effects>Texture Effects>Blinds, background color #43335a.
9. Open Decor01_byRobertaMave 
Edit>Copy.
Go back to your work and go to Edit>Paste as new layer.
10. Layers>New Raster Layer.
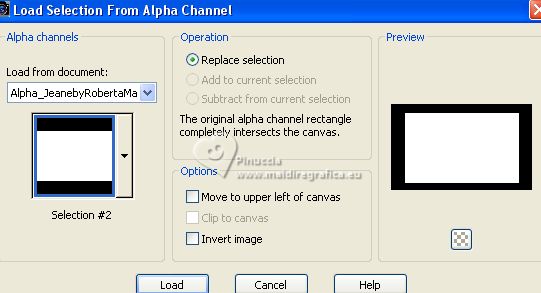
Selections>Load/Save Selection>Load Selection from Alpha Channel.
Open the Selections menu and load the selection #2.
Set again your foreground color to Gradient.
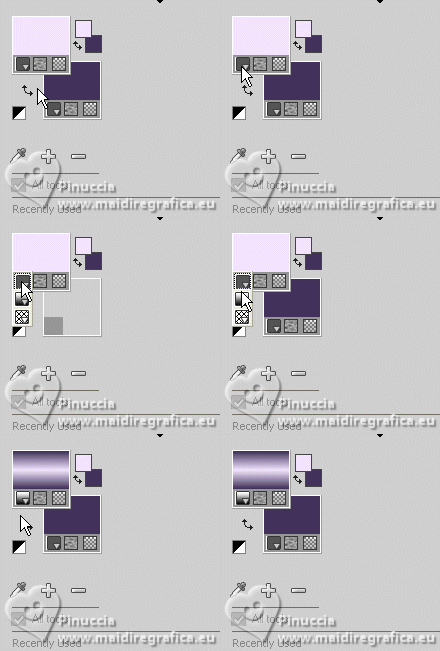
Flood Fill  the selection with your Gradient. the selection with your Gradient.
11. Layers>New Raster Layer.
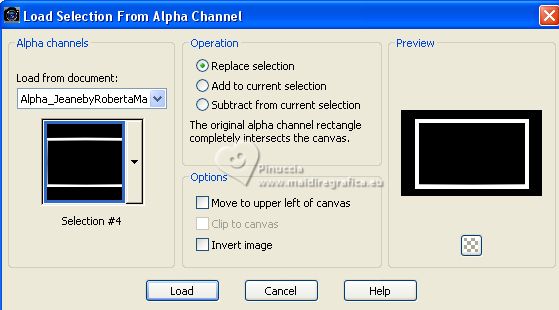
Selections>Load/Save Selection>Load Selection from Alpha Channel.
Open the Selections menu and load the selection #4.
Set your foreground color to white #ffffff.
Flood Fill  the selection with color white #ffffff. the selection with color white #ffffff.
Layers>Merge>Merge Down.
Selections>Select None.
12. Selections>Load/Save Selection>Load Selection from Alpha Channel.
Open the Selections menu and load again the selection #2.

Selections>Modify>Contract - 25 pixels.

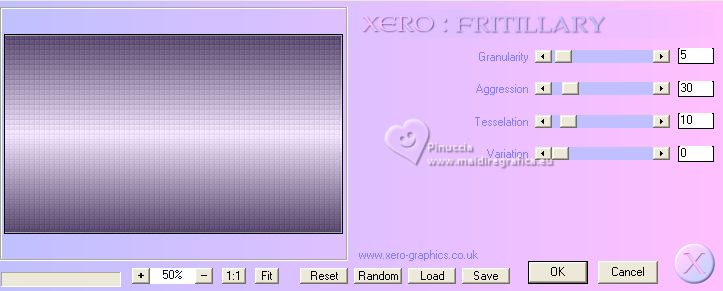
13. Effects>Plugins>Xero - Fritillary, default settings.
14. Open the landscape 123_paysage_p3_animabelle 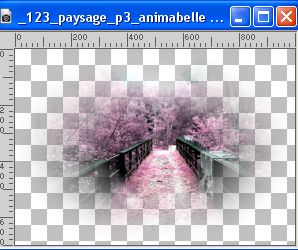
Edit>Copy.
Go back to your work and go to Edit>Paste into Selection.
Adjust>Sharpness>Sharpen.
Keep selected.
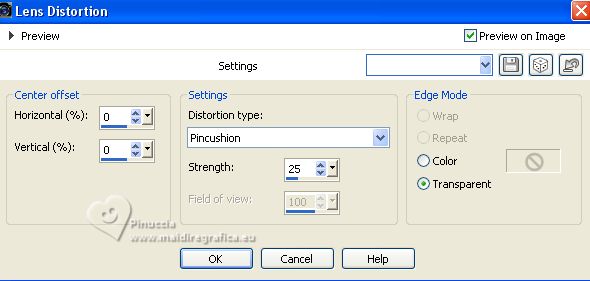
Effects>Distortion Effects>Lens Distortion
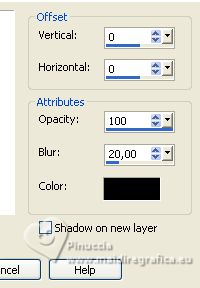
Effects>3D Effects>Drop Shadow, color #000000.
Selections>Select None.
15. Close the layer Raster 3 and Raster 2.
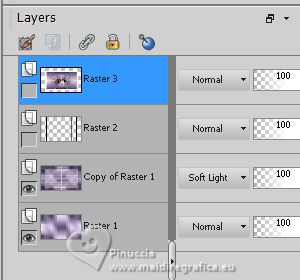
You can stay on the top layer.
Edit>Copy Special>Copy Merged.
16. Layers>New Raster Layer.
Selections>Load/Save Selection>Load Selection from Alpha Channel.
Open the Selections menu and load the selection #3.
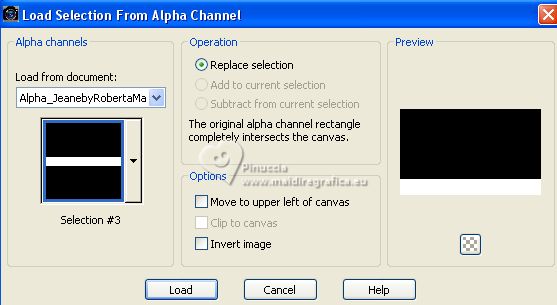
Edit>Paste Into Selection.
17. Effects>Plugins>Mura's Meister - Perspective Tiling.
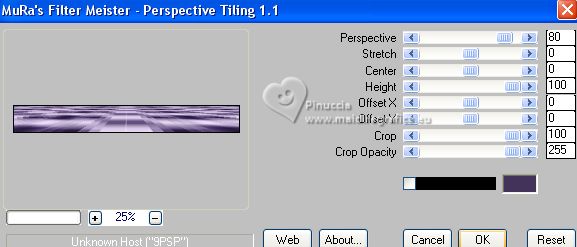
Selections>Select None.
Activate your Magic Wand Tool  , tolerance 0 and feather 70, , tolerance 0 and feather 70,

Press 5 times CANC on the keyboard 
Selections>Select None.
Don't forget to set again the feather to 0
Open again the layer Raster 3 and Raster 2.

18. Activate the top layer, Raster 1.
Selections>Load/Save Selection>Load Selection from Alpha Channel.
Open the Selections menu and load the selection #5.
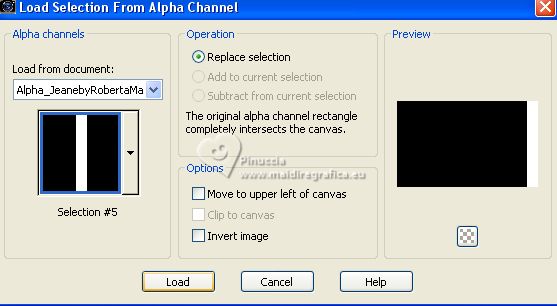
Selections>Promote Selection to layer.
Effects>Plugins>VanDerLee - Unplugged X - Jalusi
foreground color #f2e4fe.
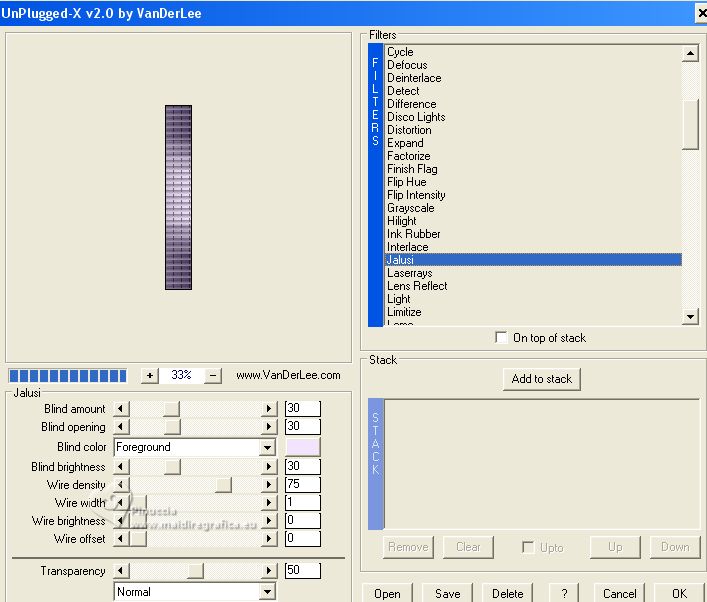
Selections>Select None.
Effects>3D Effects>Drop Shadow, color #000000.

Layers>Duplicate.
Image>Mirror>Mirror Horizontal.
Layers>Merge>Merge Down.
Layer>Arrange>Move up
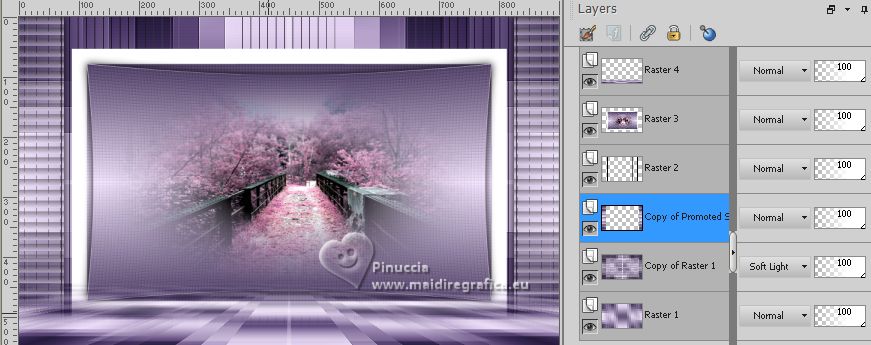
19. Activate your top layer, Raster 4.
Open Decor02_ByRobertaMaver 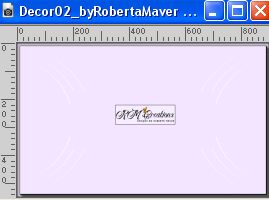
Edit>Copy.
Go back to your work and go to Edit>Paste as new layer.
20. Open Decor03_ByRobertaMaver 
Edit>Copy.
Go back to your work and go to Edit>Paste as new layer.
21. Image>Add borders, 1 pixel, symmetric, background color #43335a.
Image>Add borders, 3 pixels, symmetric, foreground color #f2e4fe.
Image>Add border, 1 pixel, symmetric, background color #43335a.
22. Selections>Select All.
Image>Add borders, 50 pixels, symmetric, color white #ffffff.
Effects>3D Effects>Drop Shadow, color #000000.
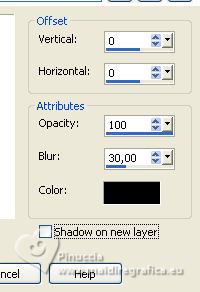
Selections>Select None.
23. Image>Add borders, 1 pixel, symmetric, background color #43335a.
Image>Add borders, 3 pixels, symmetric, foreground color #f2e4fe.
Image>Add border, 1 pixel, symmetric, background color #43335a.
24. Open your main tube Gabry-woman 605 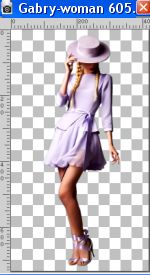
Edit>Copy.
Go back to your work and go to Edit>Paste as new layer.
Image>Resize, if necessary, I resized to 80%, resize all layers not checked.
Place  the tube to the left, or to your liking. the tube to the left, or to your liking.
Effects>3D Effects>Drop Shadow, at your choice.
25. Open your deco tube 44 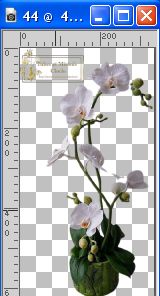
Erase the watermak and go to Edit>Copy.
Go back to your work and go to Edit>Paste as new layer.
Image>Resize, if necessary, I resized to 65%, resize all layers not checked.
Place  the tube to the right, or to your liking. the tube to the right, or to your liking.
Effects>3D Effects>Drop Shadow, at your choice.
26. Open Decor04_ByRobertaMaver 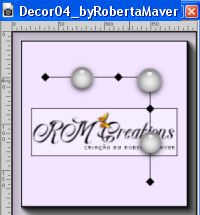
Edit>Copy.
Go back to your work and go to Edit>Paste as new layer.
Colorize, according to your colors.
I colorize with my foreground color with Color Changer Tool 
Move  the tube to the upper right corner. the tube to the upper right corner.
Layers>Duplicate.
Image>Mirror>Mirror Horizontal.
Image>Mirror>Mirror Vertical.
27. Open Titulo_ByRoberta 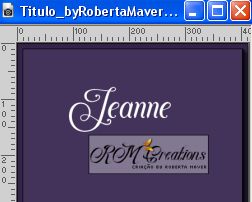
Edit>Copy.
Go back to your work and go to Edit>Paste as new layer.
Place  the tube to your liking. the tube to your liking.
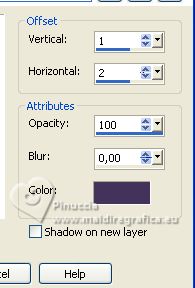
Effects>3D Effects>Drop Shadow, background color #43335a, or at your choice.
28. Image>Resize, if you want.
Sign your work and save as jpg.
For the tubes of this version thanks Beatriz, Lecture 33 and Syl .


If you have problems or doubts, or you find a not worked link, or only for tell me that you enjoyed this tutorial, write to me.
30 July 2023

|


