|
JANUARY  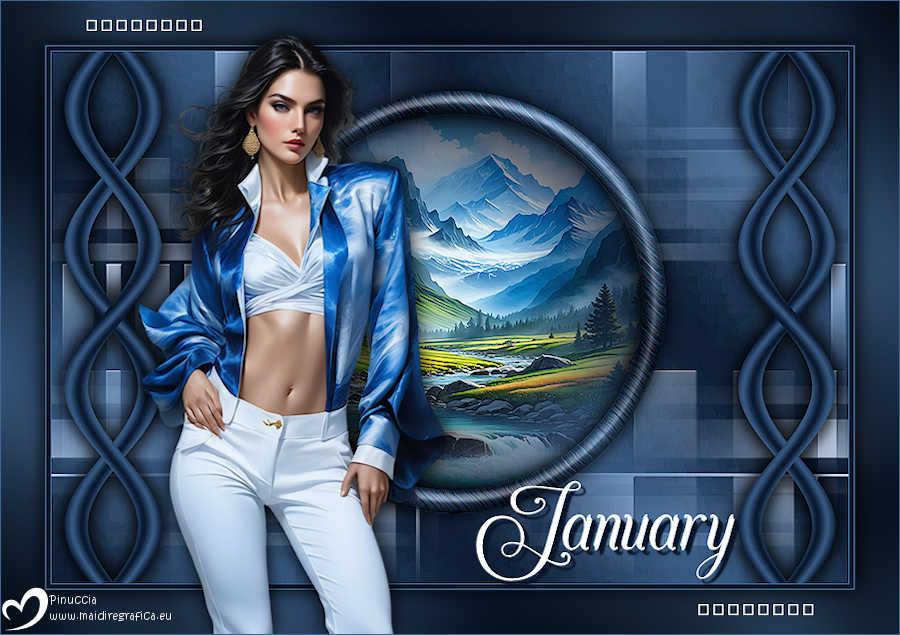


This tutorial was written with Psp2022 and translated with Psp2020, but it can also be made using other versions of PSP. Plugins consult, if necessary, my filter section here Filters Unlimited 2.0 here Sybia. ZIGZAGGE here Graphics Plus. Cross Shadow here Filters Sybia and Graphics Plus can be used alone or imported into Filters Unlimited. (How do, you see here) If a plugin supplied appears with this icon  You can change Blend Modes according to your colors. In the newest versions of PSP, you don't find the foreground/background gradient (Corel_06_029). You can use the gradients of the older versions. The Gradient of CorelX here  Copy the selection in the Selections Folder. 1. Choose 2 colors for your work. Set your foreground color to #0a1629, and your background color to #41658f. 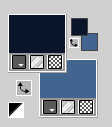 extra color: white #ffffff 2. Set your foreground color to a Foreground/Background Gradient, style Linear.  Open a new transparent image 1000 x 600 pixels. Flood Fill  the transparent image with your Gradient. the transparent image with your Gradient.3. Adjust>Blur>Gaussian Blur - radius 30  Effects>Plugins>Filters Unlimited 2.0 - Sybia - ZIGZAGGE, default settings 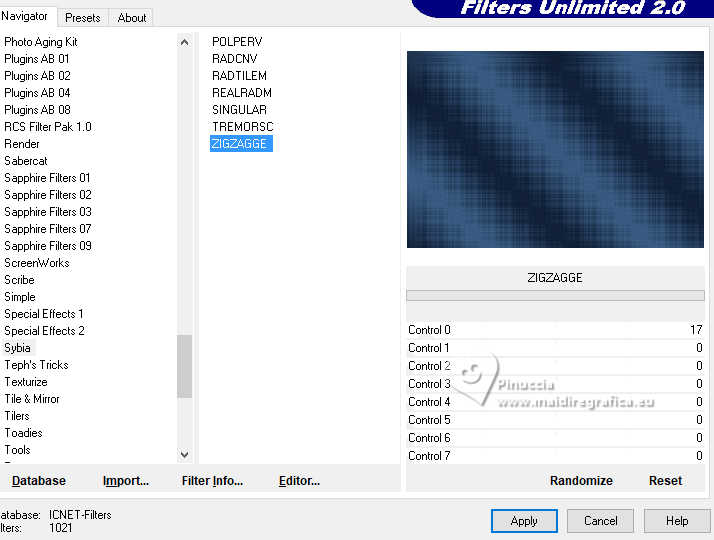 4. Effects>Edge Effects>Enhance. Effects>Art Media Effects>Brush Strokes. 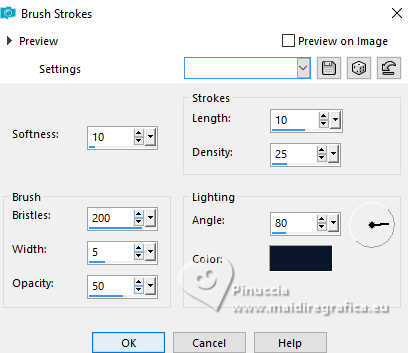 5. Layers>Duplicate. Effects>Geometric Effects>Perspective horizontal  Image>Mirror>Mirror Horizontal. Effects>Geometric Effects>Perspective horizontal, same settings. You'll have this  6. Effects>Distortion Effects>Pinch.  7. Effects>Distortion Effects>Wave  8. Layers>Duplicate. Image>Mirror>Mirror Vertical (Image>Flip) Layers>Merge>Merge Down. Effects>3D Effects>Drop Shadow, color #000000.  9. Image>Free Rotate - 90 degrees to right.  10. Image> Resize, to 70%, resize all layers not checked.  11. Objects>Align>Left. Layers>Duplicate. Image>Mirror>Mirror Horizontal (Image>Mirror). Layers>Merge>Merge Down. Effects>3D Effects>Drop Shadow, color #000000.  12. Activate the layer Raster 1. Selections>Load/Save Selections>Load Selection From Disk. Look for and load the selection January_byRobertaMaver  Selections>Promote Selection to Layer. 13. Layers>New Raster Layer. Selections>Modify>Select Selection Borders  Flood Fill  the selection your gradient the selection your gradient  14. Effects>Artistic Effects>Enamel - background color #41658f  15. Effects>3D Effects>Inner Bevel.  16. Selections>Select None. Activate the layer Promoted Selection Selections>Load/Save Selections>Load Selection From Disk Load again the selection January_byRobertaMaver  Selections>Modify>Expand - 10 pixels. Open the landscape misted Paisagem69_byRobertaMaver  Edit>Copy. Go back to your work and go to Edit>Paste Into Selection. Adjust>Sharpness>Sharpen. 17. Layers>New Raster Layer. Effects>3D Effects>Cutout.  18. Selections>Select None. Activate the layer Raster 2. Effects>3D Effects>Drop Shadow, color #000000.  Layers>Merge>Merge Down - 2 times. 19. Activate the layer Raster 1. Open Decor01_byRobertaMaver  Edit>Copy. Go back to your work and go to Edit>Paste as New Layer. Layers>Properties>General>Blend Mode: Luminance (L) 20. Image>Add Borders - 1 pixel, symmetric, background color #41658f Image>Add Borders, 5 pixels, symmetric, foreground color #0a1629. Image>Add Borders, 1 pixel, symmetric, background color #41658f. Selections>Select All. 21. Image>Add Borders, 50 pixels, symmetric, whatever color. Selections>Invert. Flood Fill  the selection with your Gradient the selection with your Gradient  . .22. Adjust>Blur>Gaussian Blur - radius 30  Effects>Plugins>Graphics Plus - Cross Shadow  Selections>Invert. Effects>3D Effects>Drop Shadow, color #000000.  Selections>Select None. 23. Image> Resize - 900 pixels width, resize all layers checked  Adjust>Sharpness>Sharpen. 24. Open your main tube Tube69_byRobertaMaver  Edit>Copy. Go back to your work and go to Edit>Paste as New Layer. Image>Resize, if necessary - for the supplied tube I resize to 60%, resize all layers not checked. Move  the tube to the left, see my example. the tube to the left, see my example.Effects>3D Effects>Drop Shadow, at your choice. 25. Open Decor02_byRobertaMaver  Edit>Copy. Go back to your work and go to Edit>Paste as New Layer. 26. Open Titulo_byRobertaMaver  Edit>Copy. Go back to your work and go to Edit>Paste as New Layer. Effects>3D Effects>Drop Shadow, foreground color #0a1629  Place  the tube to your liking. the tube to your liking.27. Image>Add Borders, 1 pixel, symmetric, background color #41658f 28. If you want, resize your work. Sign your work and save as jpg. For the tubes of this version thanks Luz Cristina and Mentali.    Your versions. Thanks Your versions. Thanks Louise 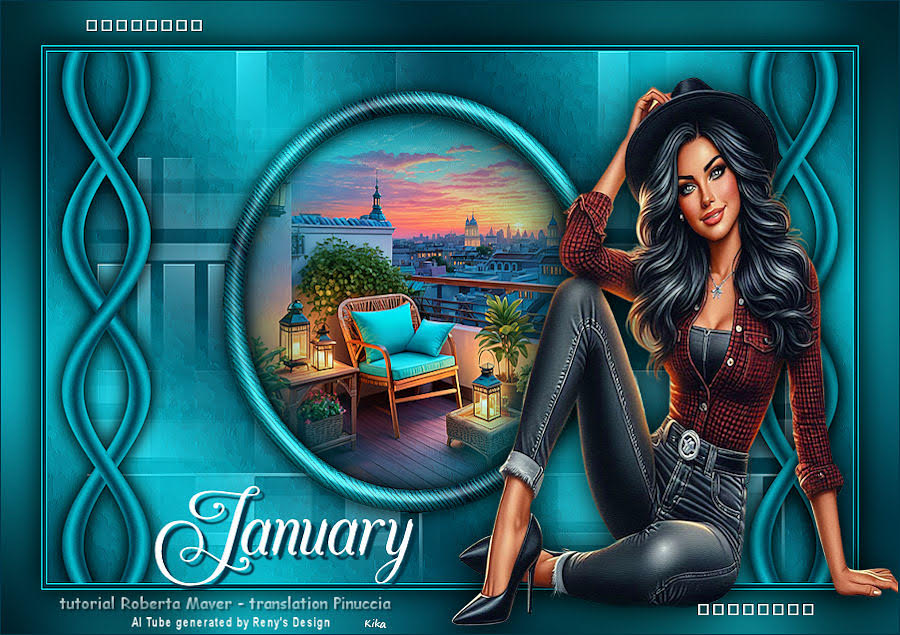 Kika  Aria   If you have problems or doubts, or you find a not worked link, or only for tell me that you enjoyed this tutorial, write to me. |