|
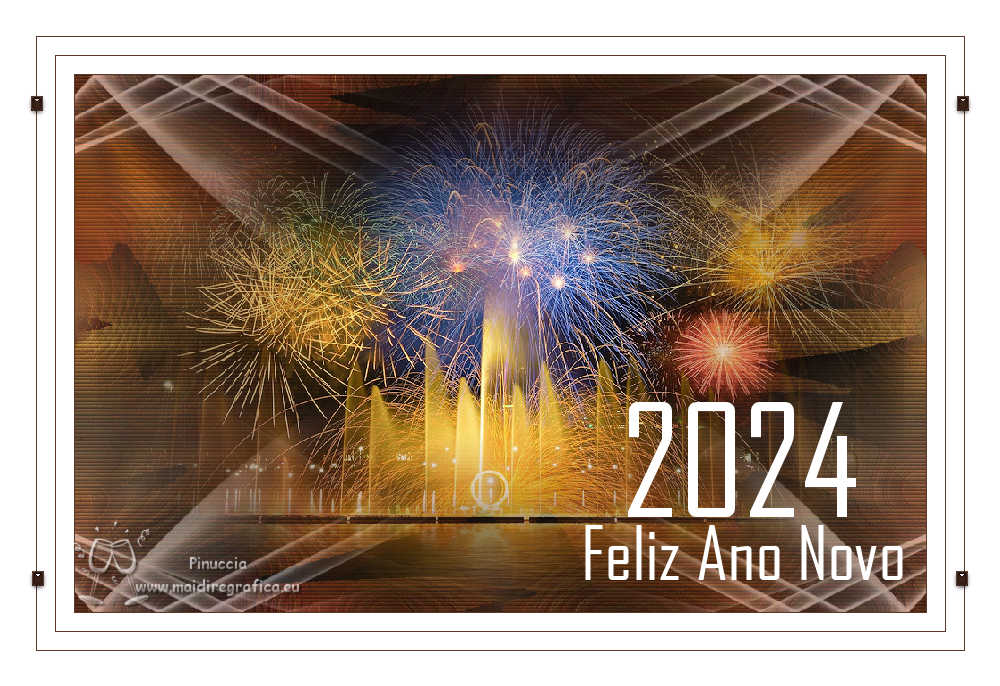
FELIZ AÑO NOVO


Thanks SIM PSP Group for your invitation to translate your tutorials into english

This tutorial was written with Psp2022 and translated with Psp2020, but it can also be made using other versions of PSP.
Since version PSP X4, Image>Mirror was replaced with Image>Flip Horizontal,
and Image>Flip with Image>Flip Vertical, there are some variables.
In versions X5 and X6, the functions have been improved by making available the Objects menu.
In the latest version X7 command Image>Mirror and Image>Flip returned, but with new differences.
See my schedule here
For this tutorial, you will need:

The material is by Roberta Maver.
(The links of the tubemakers here).
Plugins
consult, if necessary, my filter section here
Filters Unlimited 2.0 here

You can change Blend Modes according to your colors.
In the newest versions of PSP, you don't find the foreground/background gradient (Corel_06_029).
You can use the gradients of the older versions.
The Gradient of CorelX here

1. Choose 2 colors from your material.
Set your foreground color to #5d3828
and your background color to #cdb27b
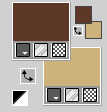
extra color #ffffff
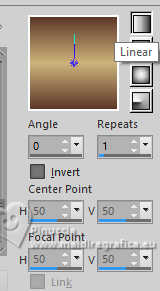
Set your foreground color to a Foreground/Background Gradient, style Linear.
2. Open a new transparent image 950 x 600 pixels.
Flood Fill  the trasparent image with your Gradient. the trasparent image with your Gradient.
3. Layers>New Raster Layer.
Selections>Select All.
Open the misted Paisagem07_RobertaMaver 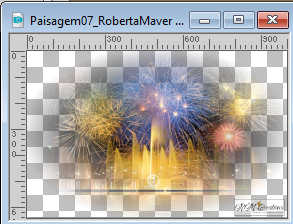
Edit>Copy.
Go back go your work and go to Edit>Paste into Selection.
Adjust>Sharpness>Sharpen.
Selections>Select None.
Effects>Image Effects>Seamless Tiling

Adjust>Blur>Gaussian Blur - radius 20.

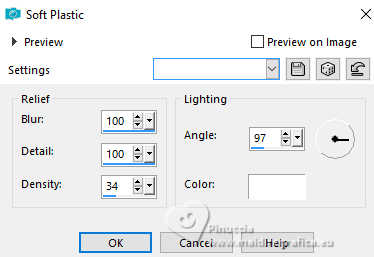
5. Effects>Texture Effects>Soft Plastic.
6. Layers>New Raster Layer.
Flood Fill  the layer with your Gradient. the layer with your Gradient.
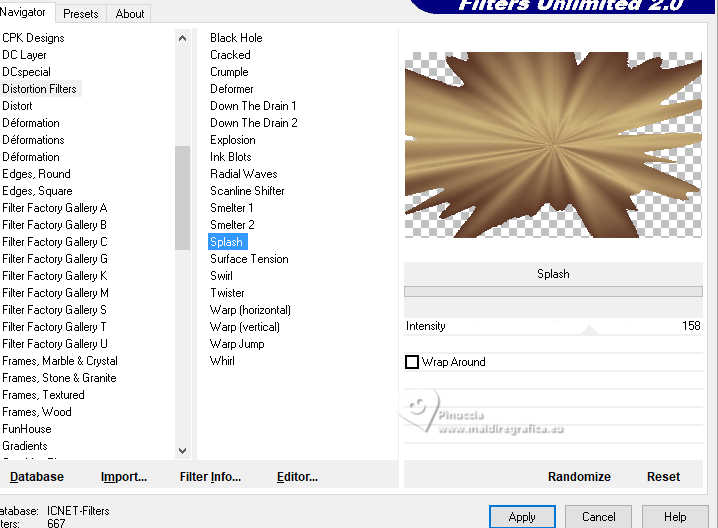
Effects>Plugins>Filters Unlimited 2.0 - Distortion Filters - Splash.
7. Effects>Image Effects>Seamless Tiling, same settings

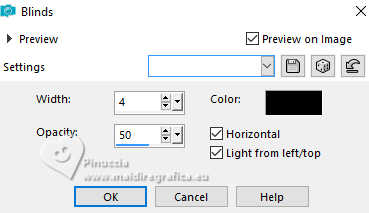
8. Effects>Texture Effects>Blinds.
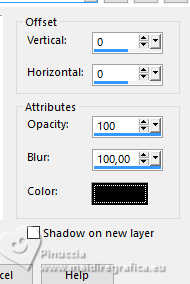
Effects>3D Effects>Drop Shadow, color #000000
Change the Blend Mode of this layer to Overlay.
9. Open Decor_byRobertaMaver 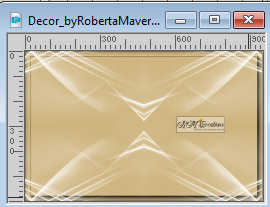
Edit>Copy.
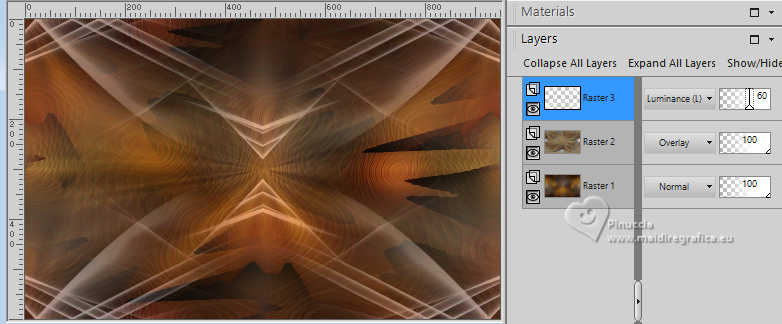
Go back to your work and go to Edit>Paste as New Layer.
Change the Blend Mode of this layer to Luminance (L) and reduce the opacity to 60%.
10. Activate again the misted Paisagem07_RobertaMaver and go to Edit>Copy.
Go back to your work and go to Edit>Paste as New layer.
Image>Resize, to 90%, resize all layers not checked.
Adjust>Sharpness>Sharpen.
11. Image>Add borders, 1 pixel, symmetric, foreground color #5d3828.
Image>Add borders 20 pixels, symmetric, color white #ffffff.
Image>Add borders, 1 pixel, symmetric, background color #5d3828.
Image>Add borders 20 pixels, symmetric, color white #ffffff.
Image>Add borders, 1 pixel, symmetric, background color #5d3828.
Image>Add borders 40 pixels, symmetric, color white #ffffff.
Image>Resize, 1000 pixels width, resize all layers checked.
12. Open Decor01_byRobertaMaver 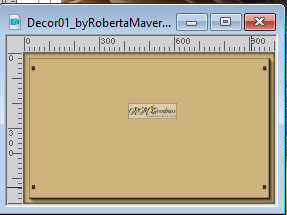
Edit>Copy.
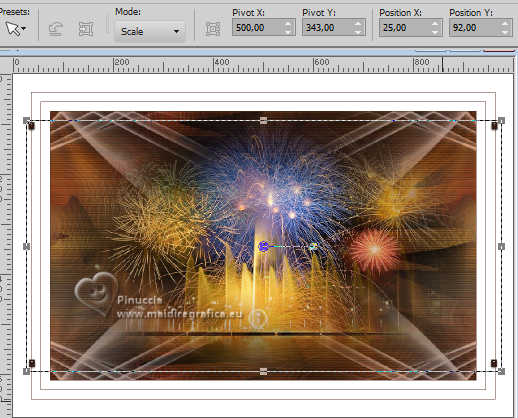
Go back to your work and go to Edit>Paste as New Layer.
It is in its place (Position X: 25,00 and Position Y: 92,00).
13. Open Titulo_byRobertaMaver 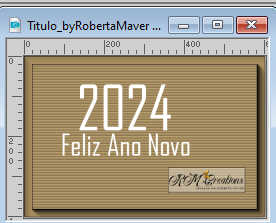
Erase the watermark and go to Edit>Copy.
Go back to your work and go to Edit>Paste as New Layer.
Move  the text at the bottom right, or to your liking. the text at the bottom right, or to your liking.
14. Image>Add borders, 1 pixel, symmetric, foreground color #5d3828.
15. Image>Resize, if you want.
Sign your work and save as jpg.
The misted of this version is mine
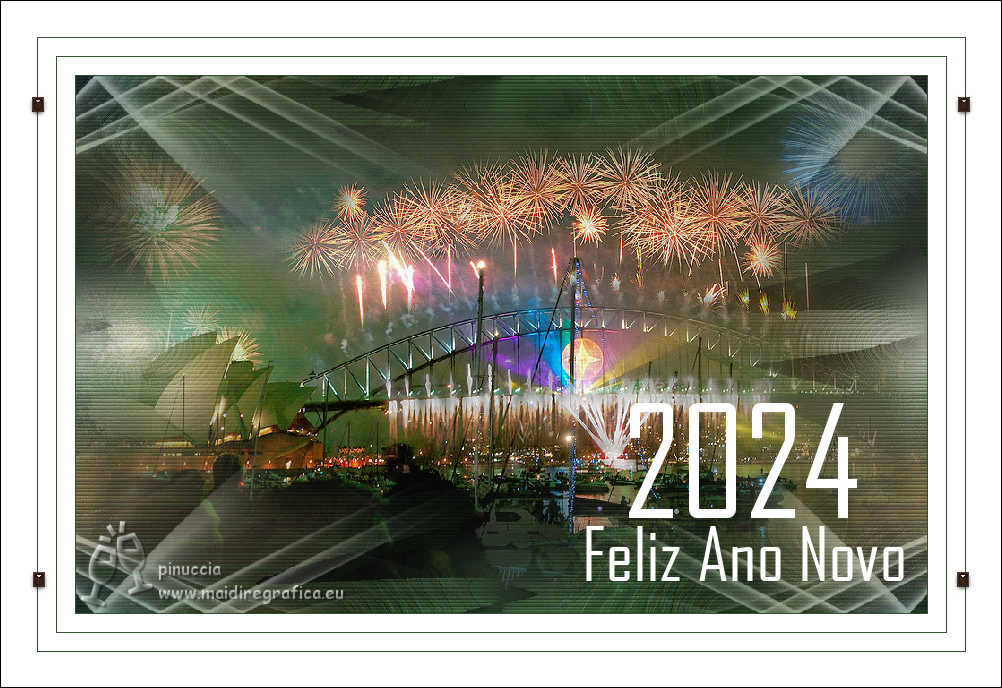

 Your versions. Thanks Your versions. Thanks
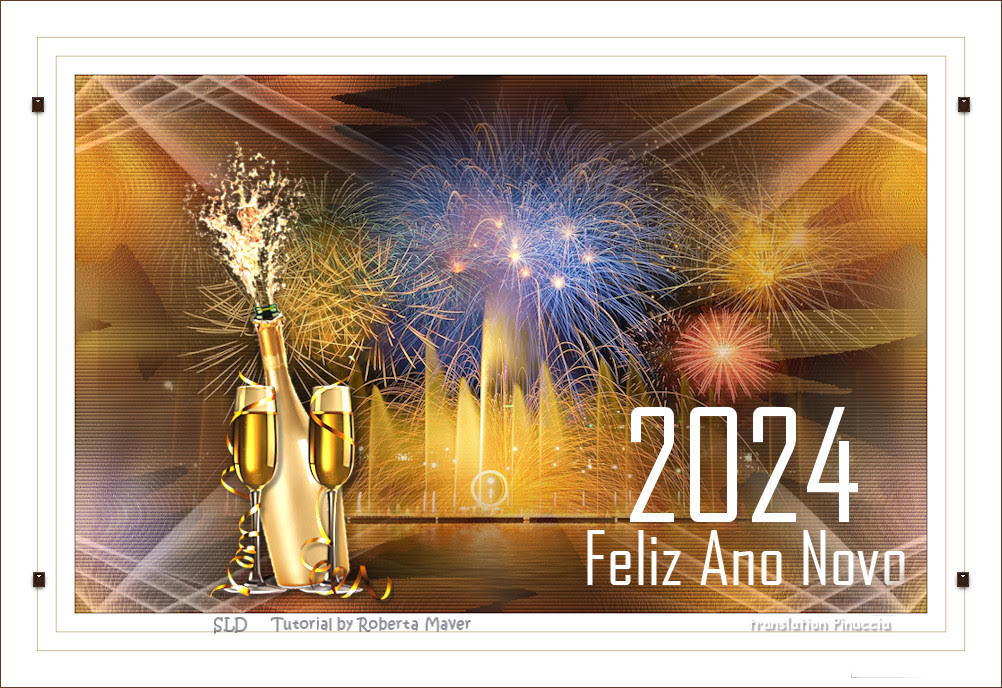
Sue


If you have problems or doubts, or you find a not worked link, or only for tell me that you enjoyed this tutorial, write to me.
29 November 2023

|

