|
CALM AFTERNOON


Thanks SIM PSP Group for your invitation to translate your tutorials into english

This tutorial was written with Psp2020 and translated with Psp019, but it can also be made using other versions of PSP.
Since version PSP X4, Image>Mirror was replaced with Image>Flip Horizontal,
and Image>Flip with Image>Flip Vertical, there are some variables.
In versions X5 and X6, the functions have been improved by making available the Objects menu.
In the latest version X7 command Image>Mirror and Image>Flip returned, but with new differences.
See my schedule here
For this tutorial, you will need:

For the tubes thanks Isa and Cal and for the mask thanks Narah.
The rest of the material is by Roberta Maver.
(The links of the tubemakers here).
Plugins
consult, if necessary, my filter section here
Filters Unlimited 2.0 here
&<Bkg Designer sfII> - DIS Refractor1 (to import in Unlimited) here
Mehdi - Sorting Tiles, Weaver, Eraser Genuine here
Mehdi - Kaleidoscope 2.1 here
Mehdi - Variation 1.1. here
Carolaine and Sensibility - CS-LDots, CS-Texture here
Alien Skin Eye Candy 5 Impact - Glass here

You can change Blend Modes according to your colors.
In the newest versions of PSP, you don't find the foreground/background gradient (Corel_06_029).
You can use the gradients of the older versions.
The Gradient of CorelX here

Open the mask in PSP and minimize it with the rest of the material.
1. Choose 2 colors from your material.
Set your foreground color to #61482f
and your background color to #f2ead7
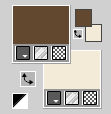
Set your foreground color to a Foreground/Background Gradient, style Linear.
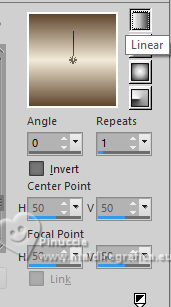
2. Open a new transparent image 900 x 550 pixels.
Flood Fill  the transparent image with your Gradient. the transparent image with your Gradient.
3. Selections>Select All.
Open your main tube FAC0009 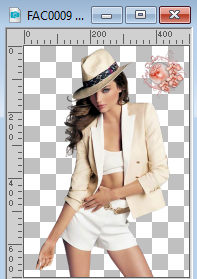
Erase the watermark and go to Edit>Copy.
Minimize the tube.
Go back to your work and go to Edit>Paste into Selection.
Selections>Select None.
4. Effects>Image Effects>Seamless Tiling, default settings.

Adjust>Blur>Gaussian Blur - radius 25.

Effects>Plugins>Mehdi - Sorting Tiles
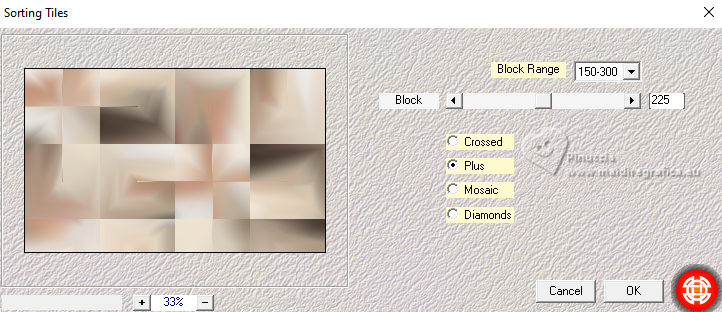
Effects>Edge Effects>Enhance.
5. Effects>Plugins>Filters Unlimited 2.0 - &<Bkg Designer sfII> - DIS Refractor1
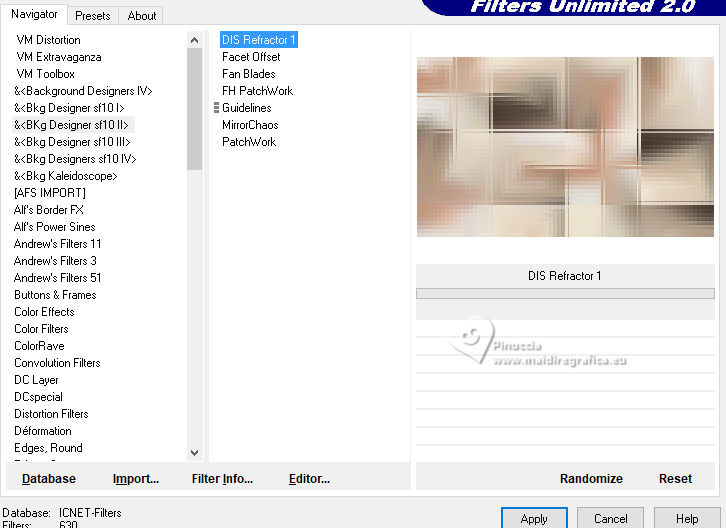
6. Layers>New Raster Layer.
Set your foreground color to color.
Flood Fill  with your foreground color. with your foreground color.
Layers>New Raster Layer.
Flood Fill  with your background color. with your background color.
Layers>New Mask Layer>From Image.
Select the mask Narah_mask_Abstract174
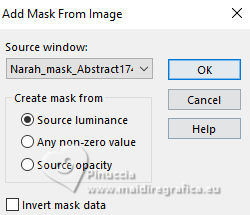
Layers>Merge>Merge Group
Layers>Merge>Merge Down.
7. Effects>Plugins>Mehdi - Weaver.
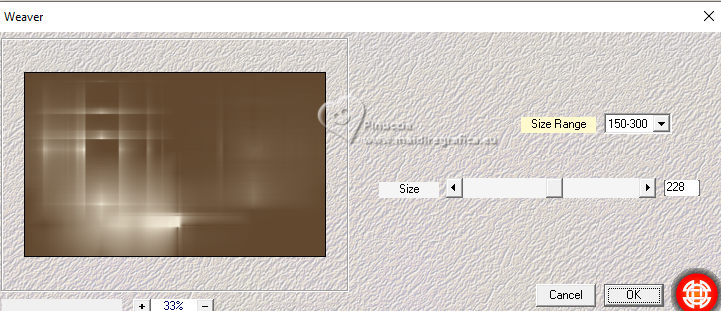
Effects>Edge Effects>Enhance.
8. Effects>Plugins>Mehdi - Kaleidoscope 2.1.
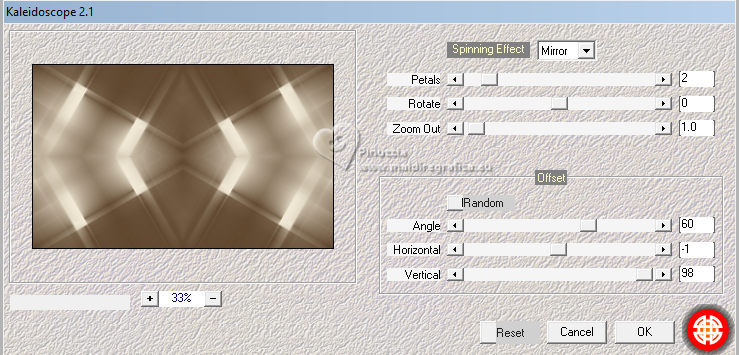
9. Effects>Plugins>Mehdi - Eraser Genuine.
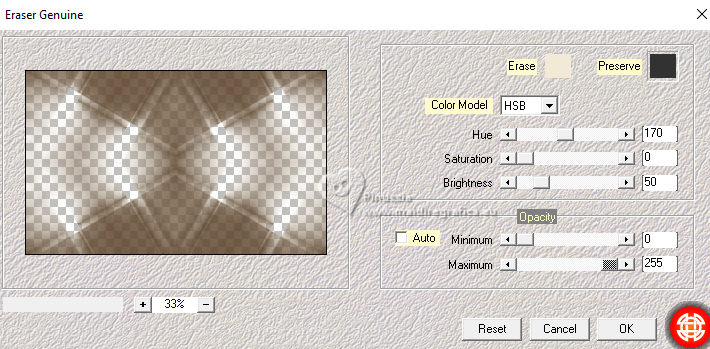
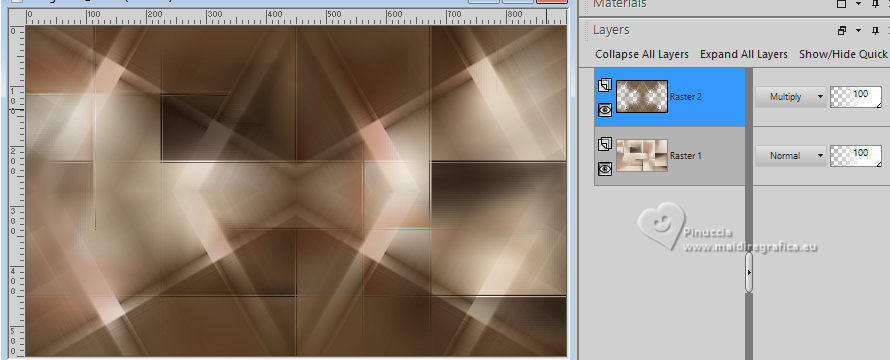
Change the Blend Mode of this layer to Multiply.
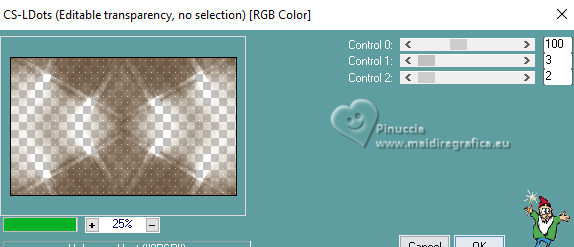
10. Effects>Plugins>Carolaine & Sensibility - CS-LDots
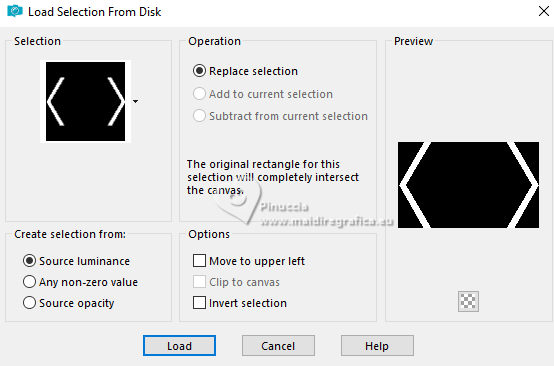
11. Layers>New Raster Layer.
Selections>Load/Save Selections>Load Selection From Disk.
Look for and load the selection Selection_Roberta #1
Set again your foreground color to the Linear Gradient
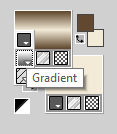
Flood Fill  the selection with your Gradient. the selection with your Gradient.
Selections>Select None.
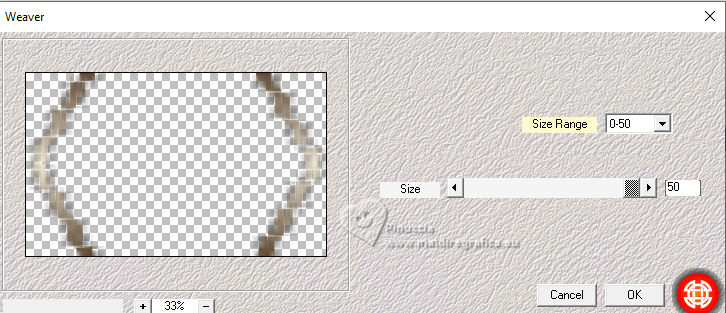
12. Effects>Plugins>Mehdi - Weaver
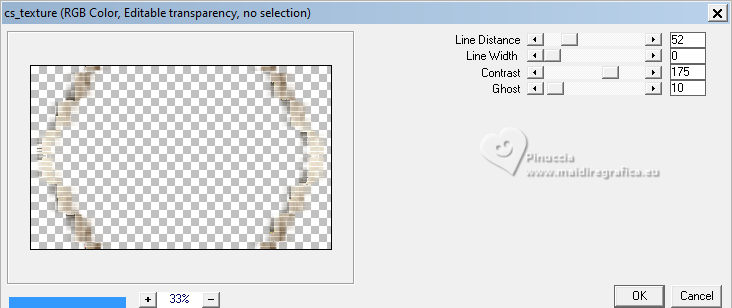
13. Effects>Plugins>Carolaine and Sensibility - Cs_texture, default settings.
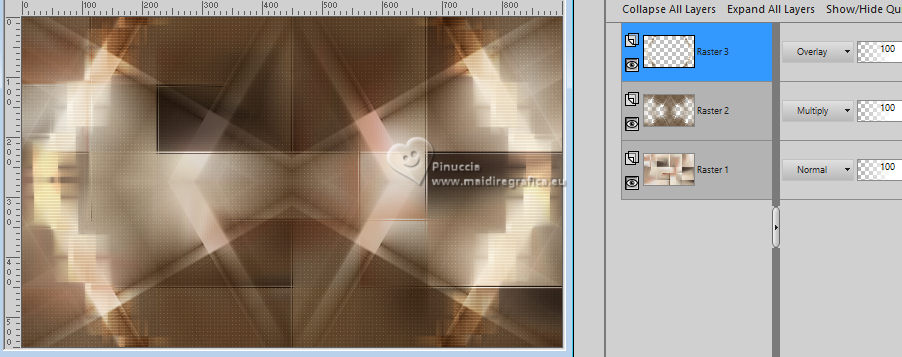
Change the Blend Mode of this layer to Overlay.
14. Open Decor01_CalmAfteron_byRobertaMaver 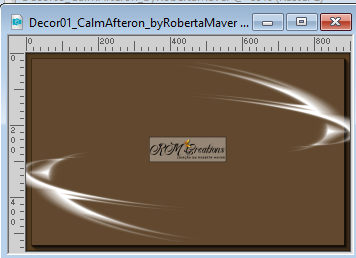
Erase the watermark and Edit>Copy.
Go back to your work and go to Edit>Paste as new layer.
Change the Blend Mode of this layer to Luminance (legacy).
15. Layers>New Raster Layer.
Selection Tool 
(no matter the type of selection, because with the custom selection your always get a rectangle)
clic on the Custom Selection 
and set the following settings.
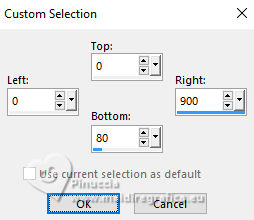
Set again your foreground color to Gradient 
Flood Fill  the selection with your Gradient. the selection with your Gradient.
16. Adjust>Add/Remove Noise>Add Noise
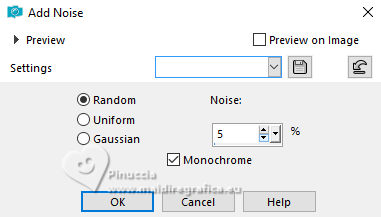
17. Layers>New Raster Layer.
Effects>3D Effects>Cutout.
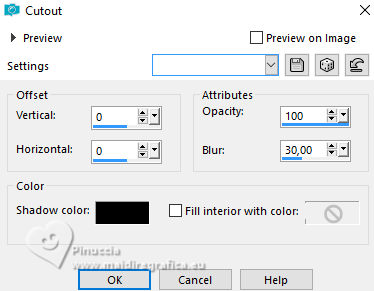
Layers>Merge>Merge Down.
Selections>Select None.
18. Layers>New Raster Layer.
Selections>Load/Save Selections>Load Selection From Disk.
Look for and load the selection Selection_Roberta #2
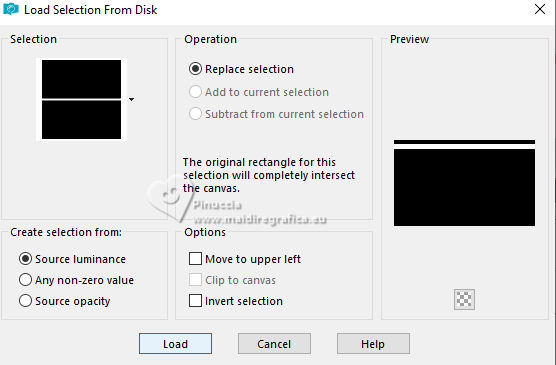
Set your foreground color to Color.
Flood Fill  the selection with your foreground color #61482f. the selection with your foreground color #61482f.
Selections>Select None.
19. Effects>Plugins>Mehdi - Vibrations 1.1.
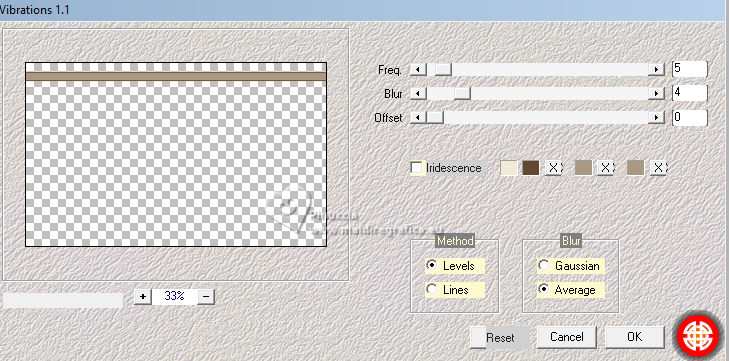
20. Effects>Plugins>Mehdi - Weaver.
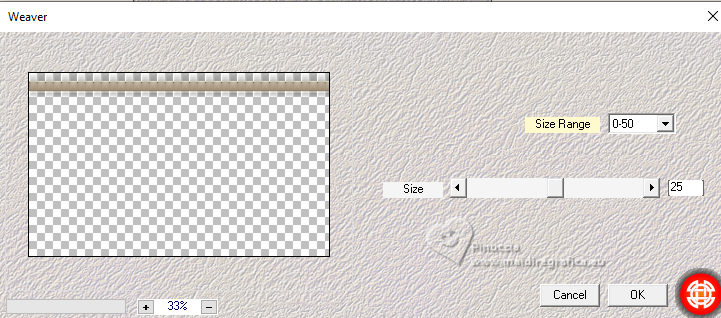
Effects>Edge Effects>Enhance.
21. Open Deco2_CalmAfteron_byRobertaMaver 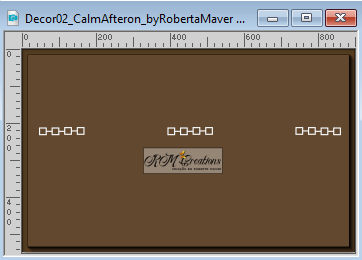
Erase the watermark and go to Edit>Copy.
Go back to your work and go to Edit>Paste as new layer.
K key to activate your Pick Tool 
and set Position X: 37,00 and Position Y: 29,00.

Activate your Magic Wand Tool  , tolerance and feather 0, , tolerance and feather 0,

and click in the small squares to select them

Selections>Modify>Expand - 2 pixels.
22. Layers>New Raster Layer.
Flood Fill  the selections with your foreground color #61482f. the selections with your foreground color #61482f.
Match Mode on None, and a single click will suffice.

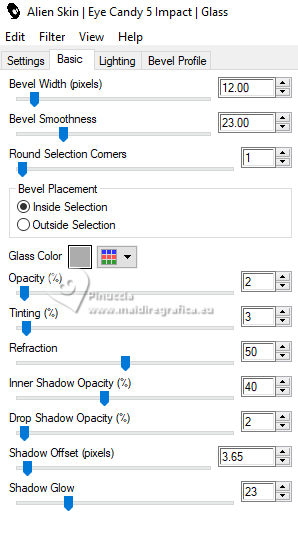
Effects>Plugins>Alien Skin Eye Candy 5 Impact - Glass
Preset Clear with these settings.
Layers>Arrange>Move Down.
Activate your top Layer.
Layers>Merge>Merge Down.
Selections>Select None.
23. Activate the layer Raster 1.
Open the misted paysg153-coly 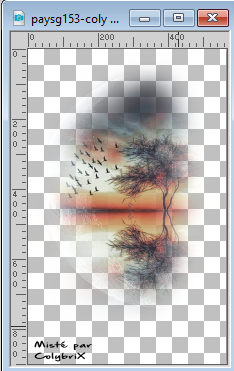
Erase the watermark and go to Edit>Copy.
Edit>Copy.
Go back to your work and go to Edit>Paste as new layer.
Image>Resize, if necessary - for the supplied tube to 95% - resize all layers not checked.
Adjust>Sharpness>Sharpen.
Place  the tube in the center. the tube in the center.
24. Image>Add borders, 1 pixel, symmetric, background color #f2ead7.
Image>Add borders, 5 pixels, symmetric, foreground color #61482f.
Image>Add borders, 1 pixel, symmetric, background color #f2ead7.
Image>Add borders, 10 pixels, symmetric, foreground color #61482f.
Image>Add borders, 1 pixel, symmetric, background color #f2ead7.
25. Selections>Select All.
Image>Add borders, 40 pixels, symmetric, foreground color #61482f.
Selections>Invert.
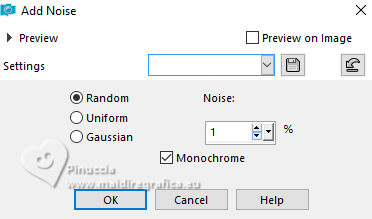
Adjust>Add/Remove Noise>Add Noise.
Selections>Invert.
Effects>3D Effects>Drop Shadow, color #000000.

Selections>Select None.
26. Open Decor03_CalmAfteron_byRobertaMaver 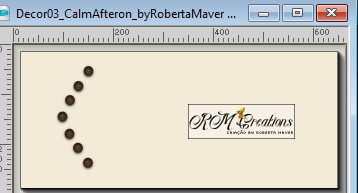
Erase the watermark and go to Edit>Copy.
Go back to your work and go to Edit>Paste as new layer.
Pick Tool 
and set Position X: 100,00 and Position Y: 226,00.

Layers>Duplicate.
Image>Mirror>Mirror Horizontal.
Layers>Merge>Merge Down.
27. Activate again your main tube FAC0009 and go to Edit>Copy.
Go back to your work and go to Edit>Paste as new layer.
Image>Resize if necessary - for the supplied tube 90% - resize all layers not checked.
Move  the tube to the right side. the tube to the right side.
Effects>3D Effects>Drop Shadow, at your choice.
28. Open Título_CalmAfteron_byRobertaMaver 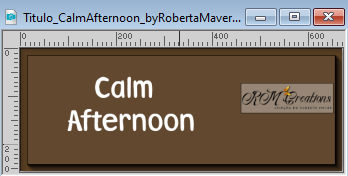
Activate the layer Raster 3 Calm Edit>Copy.
Go back to your work and go to Edit>Paste as new layer.
Colorize the text with your foreground color #61482f.
(activate your Color changer Tool 
Left-click in the text to fill it with the foreground color)
Effects>3D Effects>Drop Shadow, background color #f2ead7.
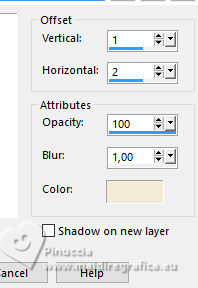
Move  the text at the bottom left, see my example. the text at the bottom left, see my example.
29. Activate again Título_CalmAfteron_byRoberta
Activate the layer Raster 4 Afternoon
Edit>Copy.
Go back to your work and go to Edit>Paste as new layer.
Colorize the text with your background color #f2ead7.
(activate your Color changer Tool 
Right-click in the text to fill it with the background color)
Effects>3D Effects>Drop Shadow, foreground color #61482f.
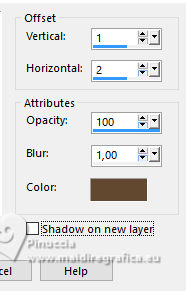
Move  the text at the bottom left, see my example. the text at the bottom left, see my example.
Change the Blend Mode of this layer to Hard Light and reduce the opacity to 70.
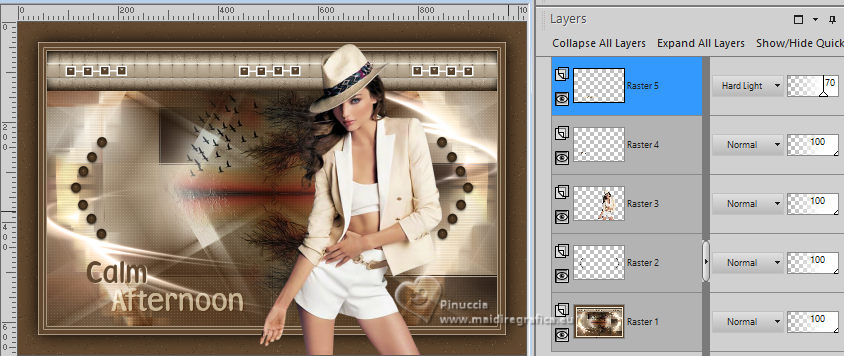
30. Image>Add borders, 1 pixel, symmetric, background color #f2ead7.
31. Image>Resize, if you want.
Sign your work and save as jpg.
For the tube of this version thanks Azalée


Your versions. Thanks
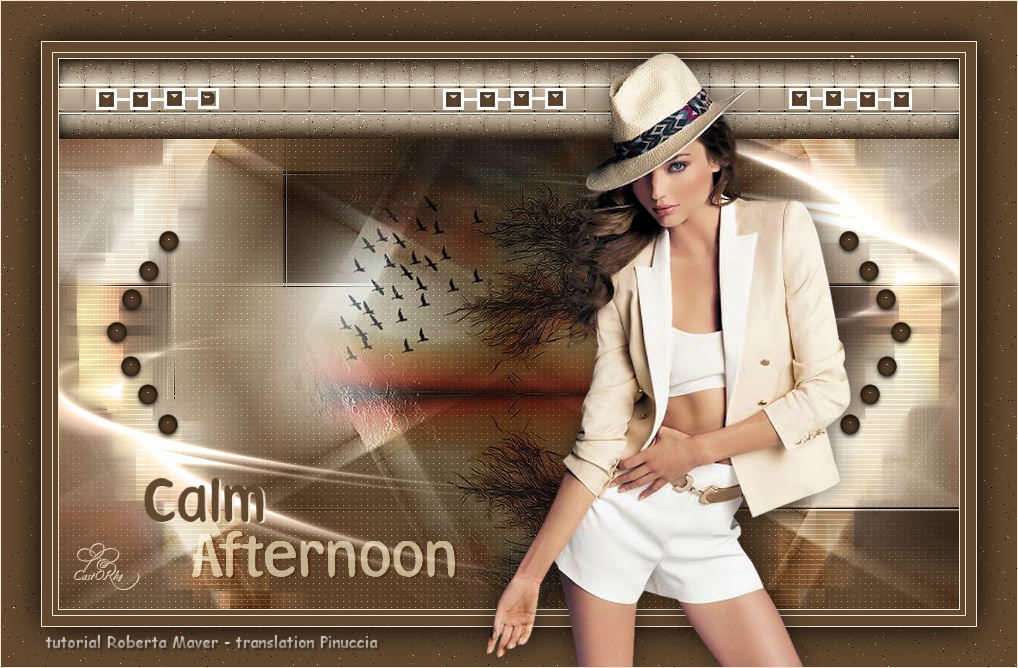
Castorke
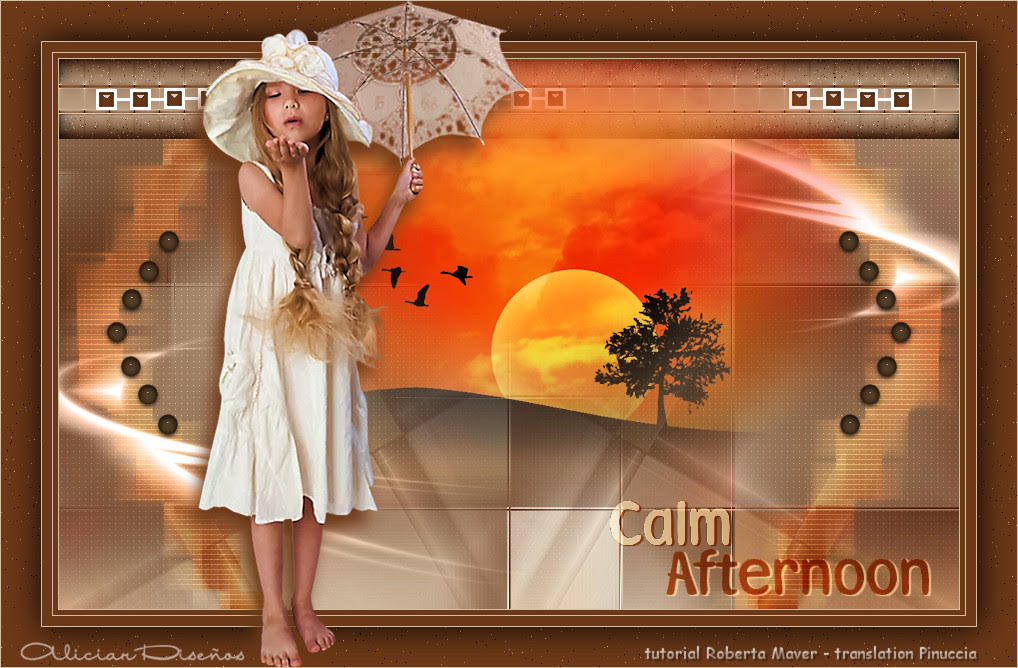
Aliciar
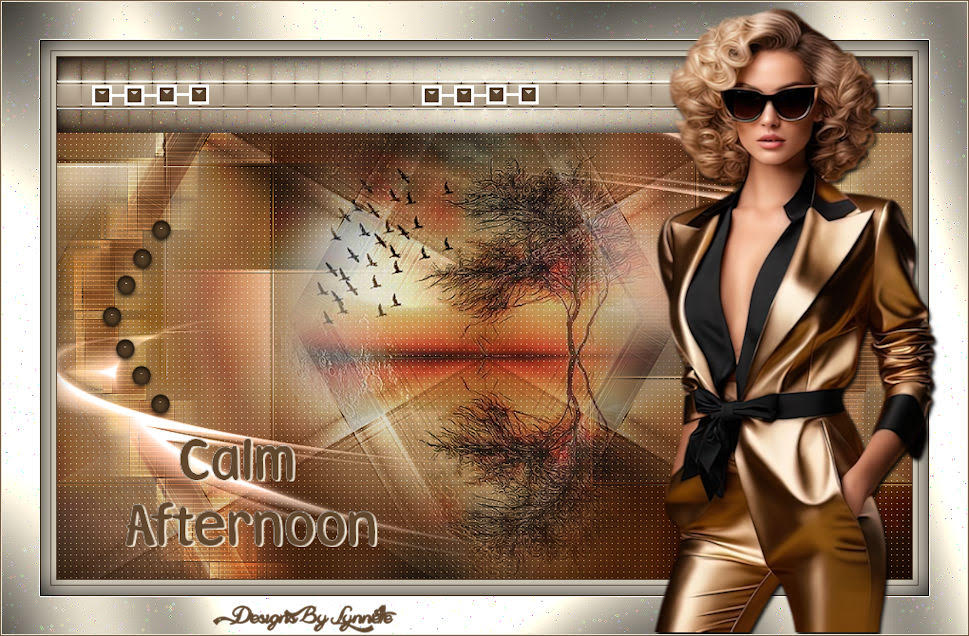
Lynnette
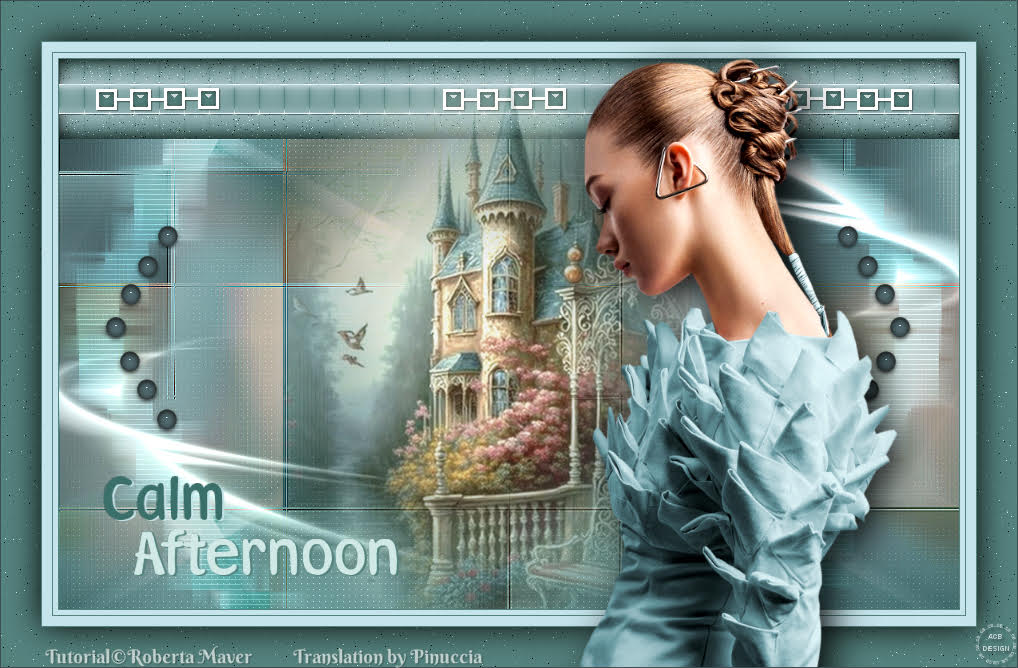
Chris


If you have problems or doubts, or you find a not worked link, or only for tell me that you enjoyed this tutorial, write to me.
13 October 2023

|


