|
BELIEVE


Thanks SIM PSP Group for your invitation to translate your tutorials into english

This tutorial was written with Psp2022 and translated with PspX17, but it can also be made using other versions of PSP.
Since version PSP X4, Image>Mirror was replaced with Image>Flip Horizontal,
and Image>Flip with Image>Flip Vertical, there are some variables.
In versions X5 and X6, the functions have been improved by making available the Objects menu.
In the latest version X7 command Image>Mirror and Image>Flip returned, but with new differences.
See my schedule here
For this tutorial, you will need:

For the tubes thanks Luz Cristina and Alenza.
The rest of the material is by Roberta Maver.
(The links of the tubemakers here).

consult, if necessary, my filter section here
Filters Unlimited 2.0 here
&<Bkg Designer sf10II> - Fan Blades (to import in Unlimited) here
Mehdi - Sorting Tiles here
RCS Filters Pak 1.0 - RCS Sequins here
Flaming Pear - Flexify 2 here
Filters RCS Filters can be used alone or imported into Filters Unlimited.
(How do, you see here)
If a plugin supplied appears with this icon  it must necessarily be imported into Unlimited it must necessarily be imported into Unlimited

You can change Blend Modes according to your colors.
In the newest versions of PSP, you don't find the foreground/background gradient (Corel_06_029).
You can use the gradients of the older versions.
The Gradient of CorelX here

1. Choose 2 colors from your material.
Foreground color #282e24
background color #a1b389
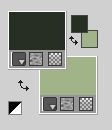
color 3: #ffffff
Set your foreground color to a Foreground/Background Gradient, style Linear.
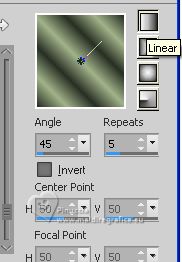
2. Open Alpha_BelievebyRobertaMaver
This image, that will be the basis of your work, is not empty,
but contains a selection saved to alpha channel.
Flood Fill  the transparent image with your Gradient. the transparent image with your Gradient.
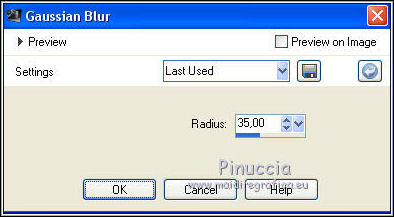
3. Adjust>Blur>Gaussian Blur - radius 35.
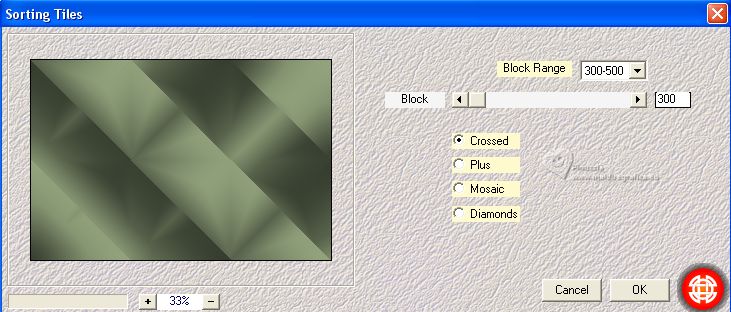
Effects>Plugins>Mehdi - Sorting Tiles.
4. Effects>Image Effects>Seamless Tiling.

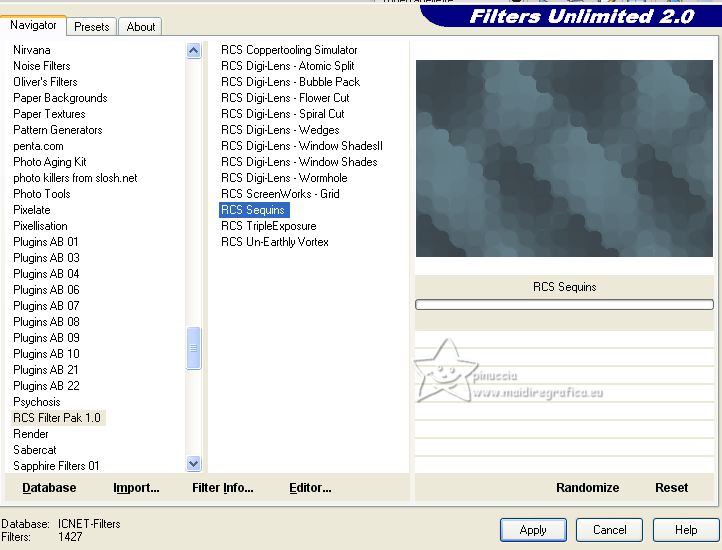
5. Effects>Plugins>RCS Filters Pak 1.0 - RCS Sequins.
This effect works without window; result:
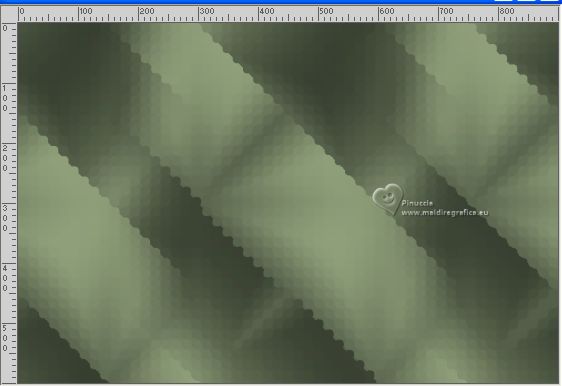
if you use the Effect in Unlimited:
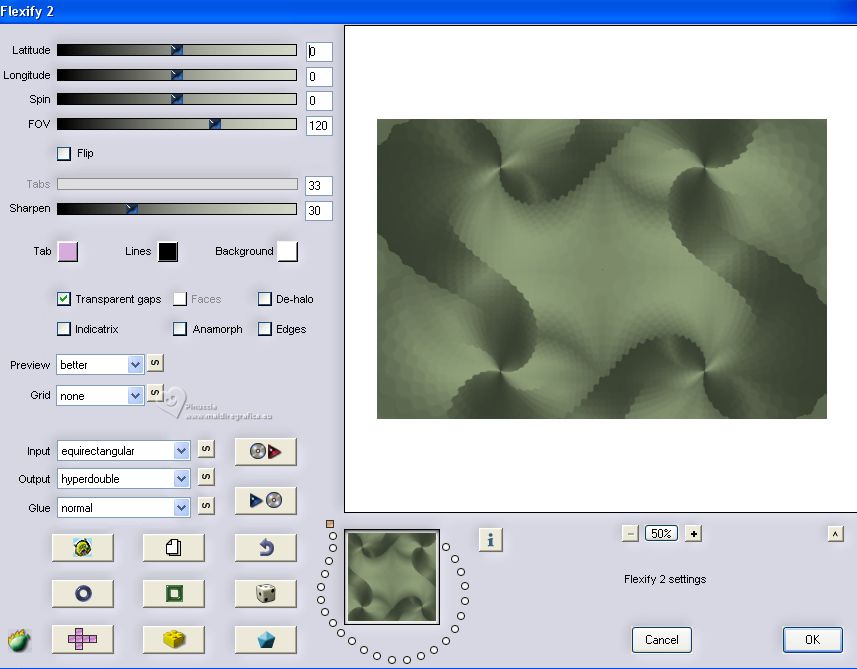
6. Effects>Plugins>Flaming Pear - Flexify 2.
7. Effects>Edge Effects>Enhance.
Layers>New Raster Layer.
Selections>Load/Save Selection>Load Selection from Alpha Channel.
The selection #1 is immediately available. You just have to click Load.
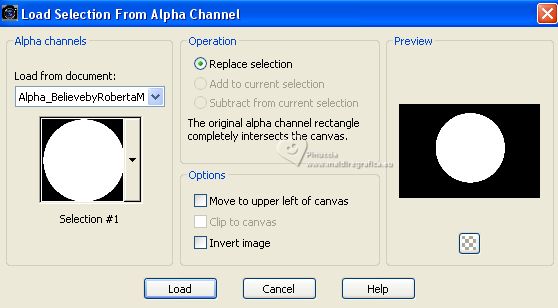
Flood Fill  the selection with your Gradient. the selection with your Gradient.
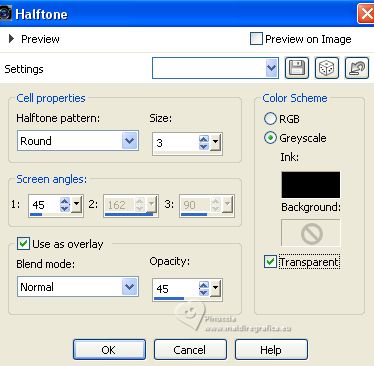
8. Effects>Artistic Effects>Halftone.
Open your landscape alenza_tube_740 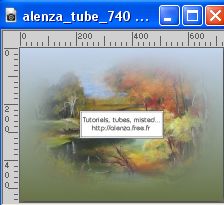
Edit>Copy.
Go back to your work and go to Edit>Paste into Selection.
Adjust>Sharpness>Sharpen.
Keep selected.
9. Layers>New Raster Layer.
Set your foreground color to Color.
Flood Fill  the selection with your foreground color #282e24. the selection with your foreground color #282e24.
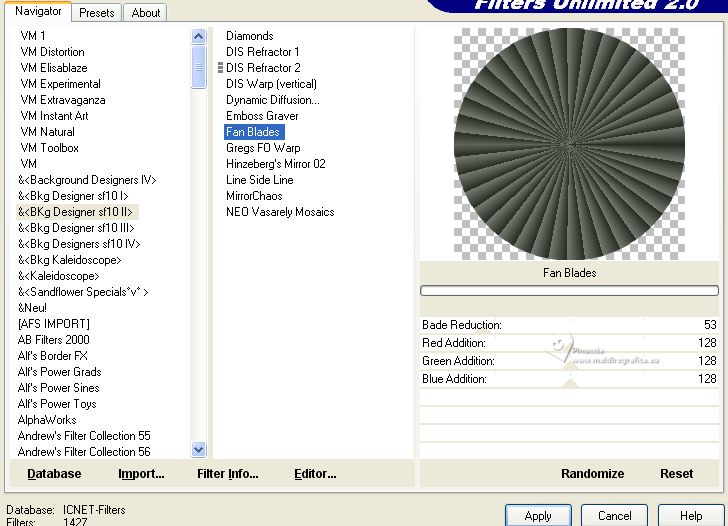
Effects>Plugins>Filters Unlimited 2.0 - &<Bkg Designer sfII> - Fan Blades, default settings.
Selections>Modify>Contract - 30 pixels.
Press 1 time CANC on the keyboard 
Selections>Select None.
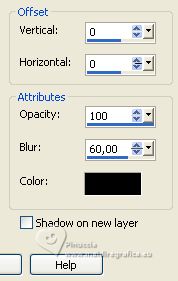
Effects>3D Effects>Drop Shadow, color #000000.
10. Activate the layer below Raster 2.
Layers>New Raster Layer.
Selections>Load/Save Selection>Load Selection From Alpha Channel.
Load again the selection #1.

Selections>Modify>Contract - 25 pixels.
Effects>3D Effects>Cutout.
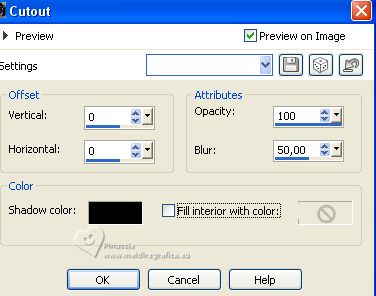
Layers>Merge>Merge Down.
Selections>Select None.
11. Layers>Duplicate.
Adjust>Blur>Gaussian Blur - radius 20

Change the Blend Mode of this layer to Dissolve.
Layers>Arrange>Move Down.
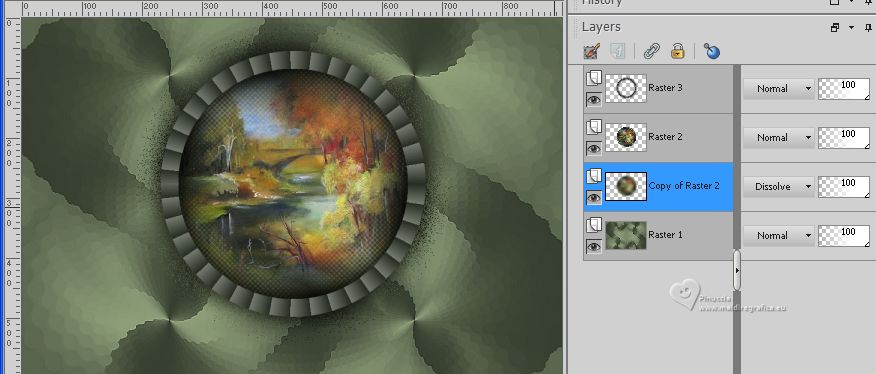
12. Activate the bottom layer Raster 1.
Open Decor01_BelievebyRobertaMaver 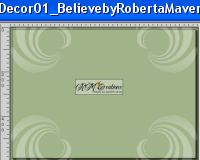
Edit>Copy.
Go back to your work and go to Edit>Paste as New Layer.
Keep the Blend Mode of this layer to Soft Light and the opacity to 75%.
Effects>3D Effects>Drop Shadow, color #000000.
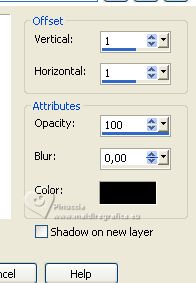
13. Image>Add borders, 1 pixel, symmetric, background color #a1b389.
Image>Add borders, 3 pixels, symmetric, foreground color #282e24.
Image>Add borders, 1 pixel, symmetric, background color #a1b389.
Selections>Select All.
Image>Add Borders - 40 pixels, symmetric, foreground color #282e24.
Effects>3D Effects>Drop Shadow, colore #000000.

Selections>Select None.
14. Open Decor02_BelievebyRobertaMaver. 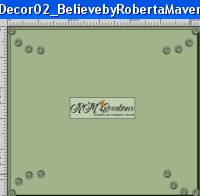
Edit>Copy.
Go back to your work and go to Edit>Paste as New Layer.
15. Open Deco3_BelievebyRobertaMaver 
Edit>Copy.
Go back to your work and go to Edit>Paste as New Layer.
16. Open your main tube 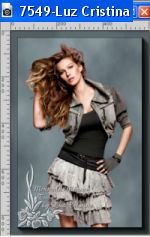
Edit>Copy.
Go back to your work and go to Edit>Paste as New Layer.
Image>Resize, if necessary, for me to 82%, resize all layers not checked.
Adjust>Sharpness>Sharpen.
Move  the tube to the left. the tube to the left.
Effects>3D Effects>Drop Shadow, at your choice.
17. Open Titulo_BelievebyRobertaMaver 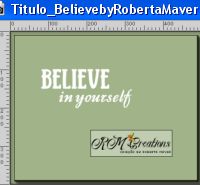
Edit>Copy.
Go back to your work and go to Edit>Paste as New Layer.
Effects>3D Effects>Drop Shadow, color #000000.
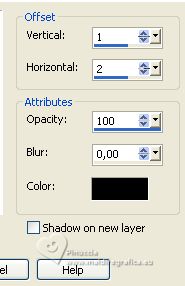
18. Image>Add Borders, 2 pixels, symmetric, foreground color #282e24
Image>Add borders, 1 pixel, symmetric, background color #a1b389.
19. Image>Resize, if you want.
Sign your work and save as jpg.
For the tubes of this version thanks Beatriz and Jewel.


Your versions. Thanks
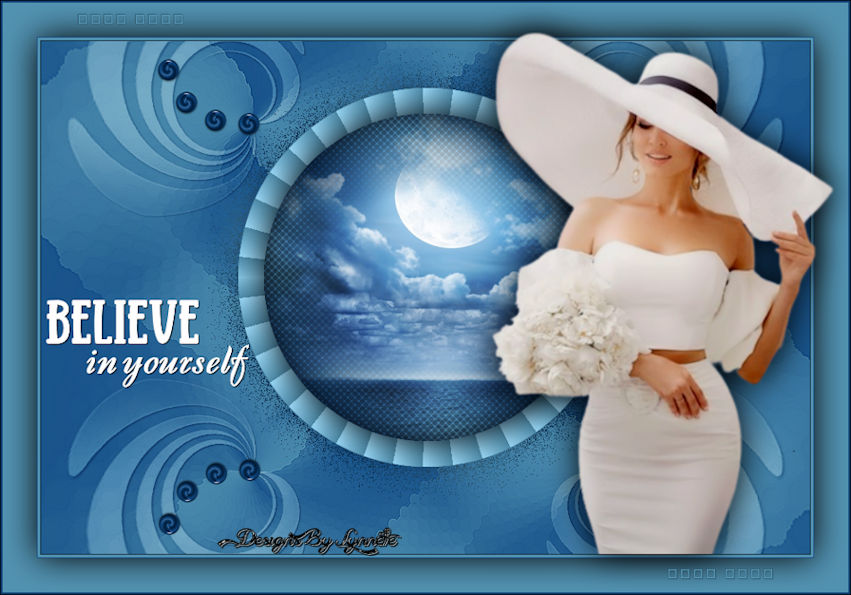
Lynnette


If you have problems or doubts, or you find a not worked link, or only for tell me that you enjoyed this tutorial, write to me.
10 July 2023

|


