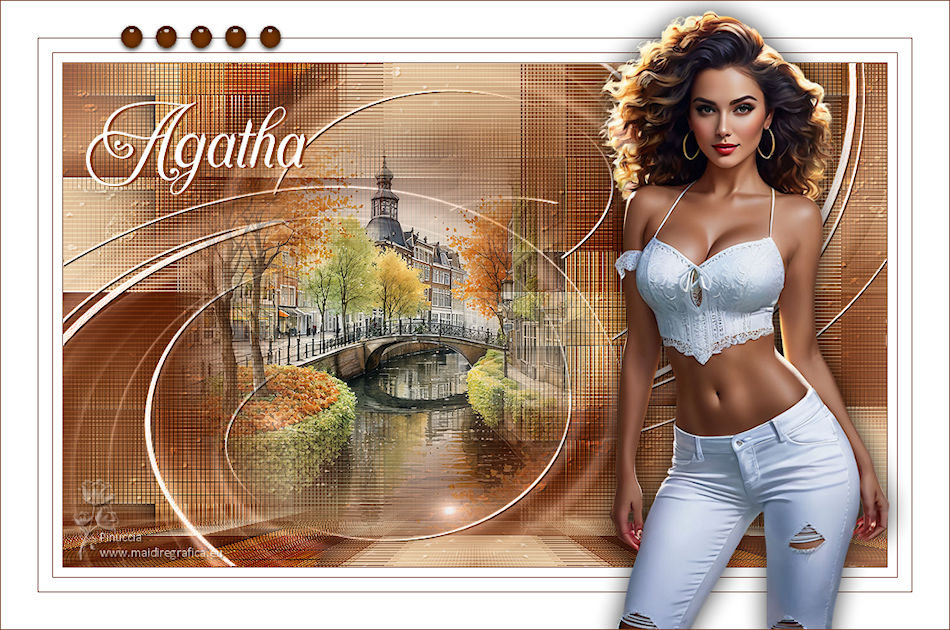
|
AGATHA


Thanks SIM PSP Group for your invitation to translate your tutorials into english


|
Special Note
PSP SIM and its Tutorial Authors ask the public:
- Please, we request that we maintain the originality of the tutorial,
refraining from adding or including unsolicited effects;
- The use of other images is permitted and encouraged,
but please don't modify the content of the original tutorial;
- Please acknowledge and attribute the valuable credits to those who write tutorials,
make translation and create materials.
Carefully,
PSP SIM and Roberta Maver
|
This tutorial was written with Psp2022 and translated with Psp2020, but it can also be made using other versions of PSP.
Since version PSP X4, Image>Mirror was replaced with Image>Flip Horizontal,
and Image>Flip with Image>Flip Vertical, there are some variables.
In versions X5 and X6, the functions have been improved by making available the Objects menu.
In the latest version X7 command Image>Mirror and Image>Flip returned, but with new differences.
See my schedule here
For this tutorial, you will need:

Material by Roberta Maver.
(The links of the tubemakers here).
Plugins
consult, if necessary, my filter section here
Filters Unlimited 2.0 here
Mehdi - Sorting Tiles here
L&K's - L&K's Katharina here
L&K's - L&K's Mayra here
Carolaine and Sensibility - CS_Texture here
Toadies - Weaver here
Mura's Meister - Perspective Tiling here
AP Lines - Lines SilverLining here
Filters Toadies can be used alone or imported into Filters Unlimited.
(How do, you see here)
If a plugin supplied appears with this icon  it must necessarily be imported into Unlimited it must necessarily be imported into Unlimited

You can change Blend Modes according to your colors.
In the newest versions of PSP, you don't find the foreground/background gradient (Corel_06_029).
You can use the gradients of the older versions.
The Gradient of CorelX here

1. Choose 2 colors for your work.
Set your foreground color to color 1 #7f3a05,
and your background color to color 2 #fdf4e3.
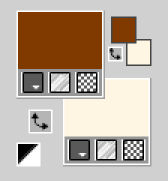
extra color 3: #ffffff.
Set your foreground color to a Foreground/Background Gradient, style Sunburst.
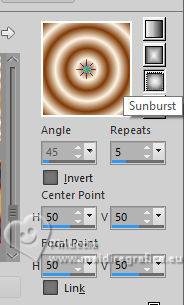
2. Open a new transparent image 900 x 550 pixels.
Flood Fill  the transparent image with your Gradient. the transparent image with your Gradient.
3. Adjust>Blur>Gaussian Blur - radius 20.

Effects>Plugins>Mehdi - Sorting Tiles
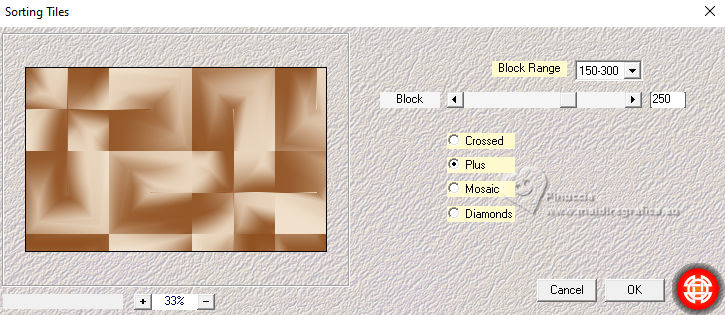
4. Adjust>Sharpness>Sharpen More.
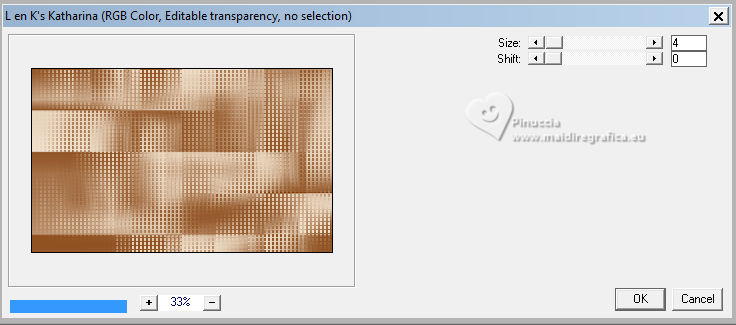
Effects>Plugins>L&K's - L&K's Katharina, default settings.
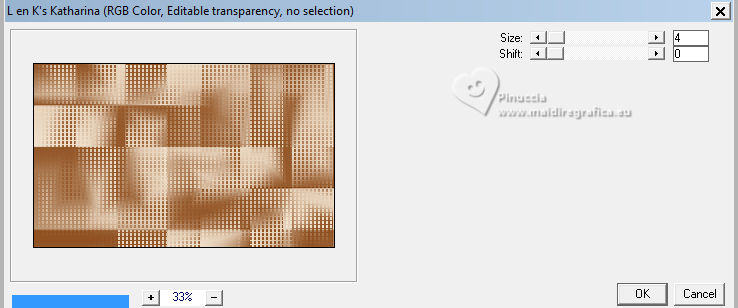
Edit>Repeat L&K's Katharina.
5. Layer>Duplicate.
Change the Blend Mode of this layer to Multiply.
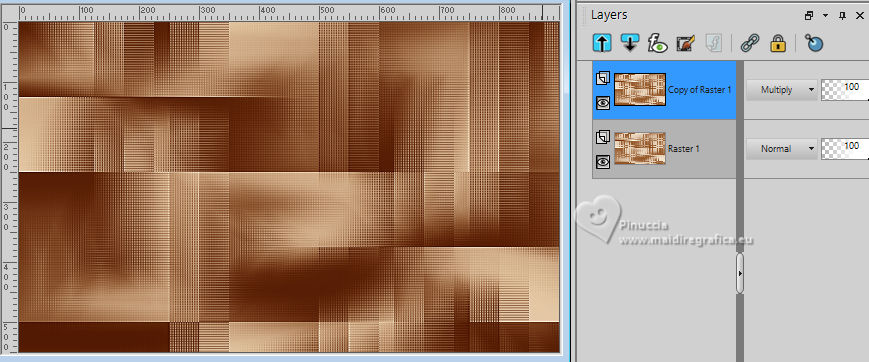
Close the layer Copy of Raster 1.
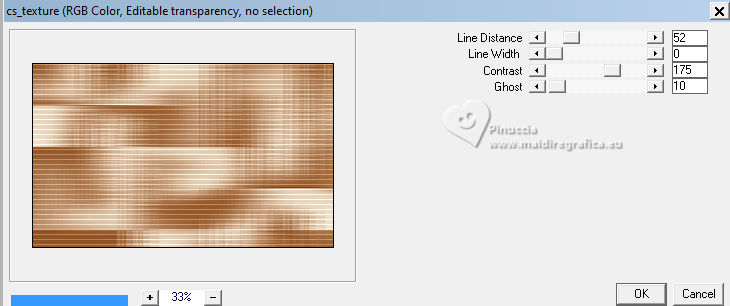
6. Activate the layer Raster 1.
Effects>Plugins>Carolaine and Sensibility - CS_Texture, default settings.
7. Stay on the layer Raster 1.
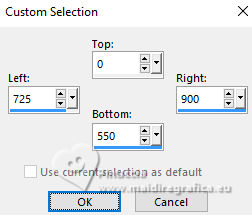
Selection Tool 
(no matter the type of selection, because with the custom selection your always get a rectangle)
clic on the Custom Selection 
and set the following settings.
Selections>Promote Selection to Layer.
Layers>Arrange>Bring to Top.
Keep selected.
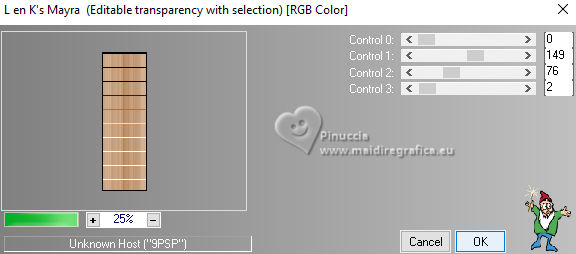
8. Effects>Plugins>L&K's - L&K's Mayra, default settings.
9. Selections>Select None.
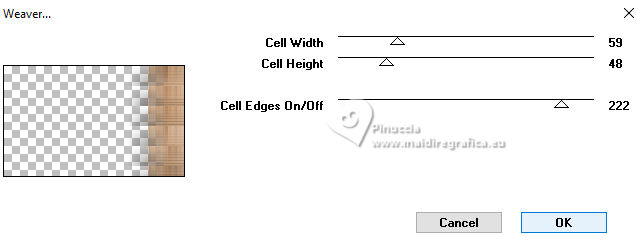
Effects>Plugins>Toadies - Weaver, default settings.
10. Adjust>Sharpness>Sharpen More.
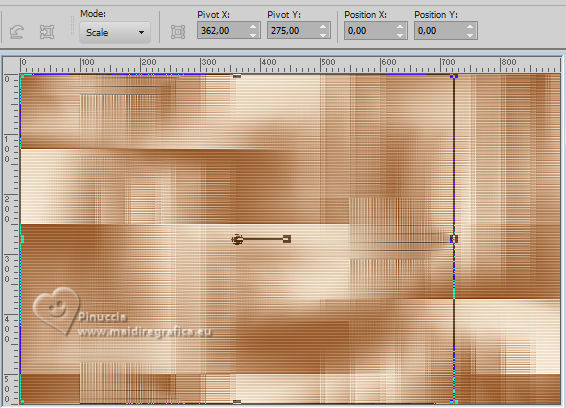
Effects>Image Effects>Seamless Tiling, default settings.

Objects>Align>Left.
Layer>Duplicate.
Layers>Merge>Merge Down.
Layer>Duplicate.
Image>Mirror>Mirror Horizontal.
Layers>Merge>Merge Down.
11. Effects>Plugins>AP Lines - Lines - Silverlining
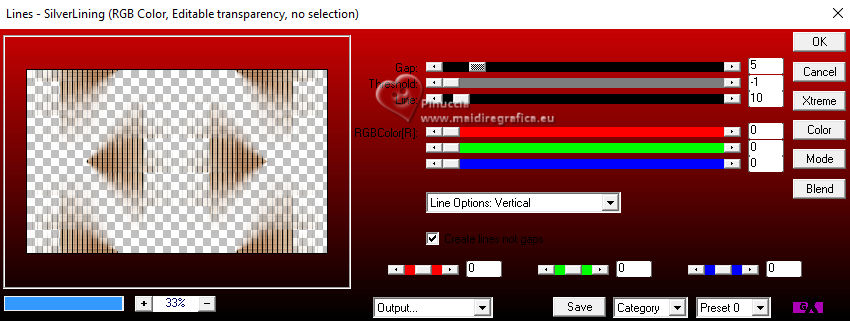
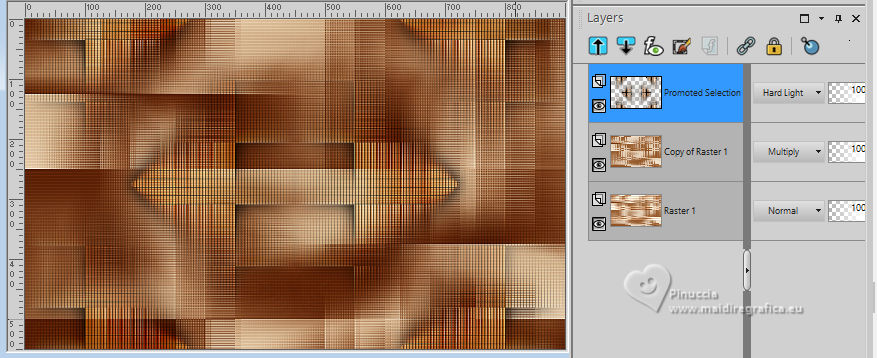
Change the Blend Mode of this layer to Hard Light or Overlay.
Effects>3D Effects>Drop Shadow, color #000000.

12. Open the layer Copy of Raster 1.
Stay on the layer Promoted Selection.
Open Decor01_Agatha_byRobertaMaver 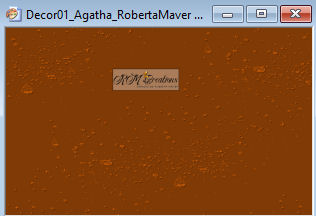
Edit>Copy.
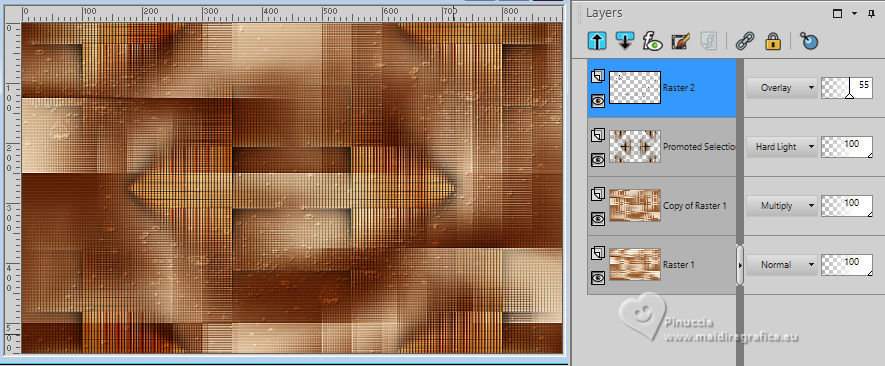
Go back to your work and go to Edit>Paste as New Layer.
Keep the Blend Mode to Overlay and the opacity to 55%.
13. Edit>Copy Special>Copy Merged.
Edit>Paste as New Layer.
Effects>Plugin>Mura's Meister - Perspective Tiling
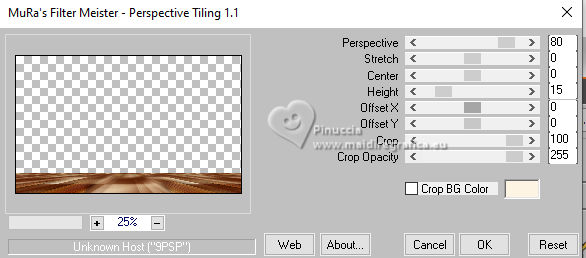
14. Effects>Reflection Effects - Rotating Mirror

Activate your Magic Wand Tool  , tolerance 0 and feather 50, , tolerance 0 and feather 50,
and click in the transparent part to select it.
Press 6 times CANC on the keyboard 
Selections>Select None.
don't forget to set again the feather to 0
15 Open Decor02_Agatha_byRobertaMaver 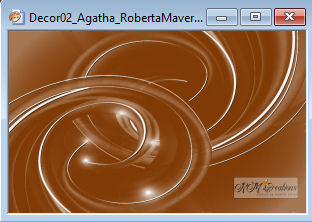
Edit>Copy.
Go back to your work and go to Edit>Paste as New Layer.
Change the Blend Mode of this layer to Luminance (L)
16. Open the misted Mist63_ByRobertaMaver 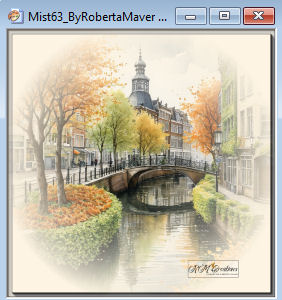
Edit>Copy.
Go back to your work and go to Edit>Paste as New Layer.
Image>Resize, if necessary - for the supplied misted to 45%, resize all layers not checked.
Adjust>Sharpness>Sharpen.
Move  the tube a little further to the left. the tube a little further to the left.
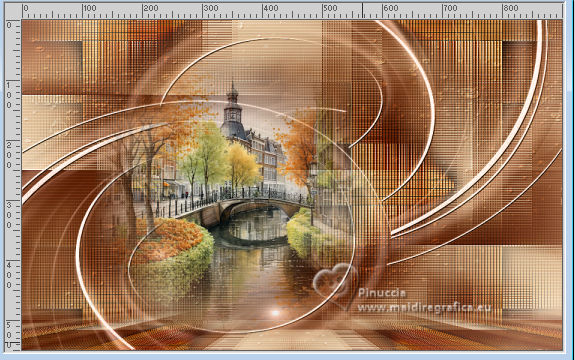
16. Image>Add borders, 1 pixel, symmetric, foreground color #7f3a05.
Image>Add borders, 10 pixels, symmetric, white color #ffffff.
Image>Add borders, 1 pixel, symmetric, foreground color #7f3a05.
Image>Add borders, 15 pixels, symmetric, white color #ffffff.
Image>Add borders, 1 pixel, symmetric, foreground color #7f3a05.
Image>Add borders, 40 pixels, symmetric, white color #ffffff.
18. Open your main tube Tube63_ByRobertaMaver 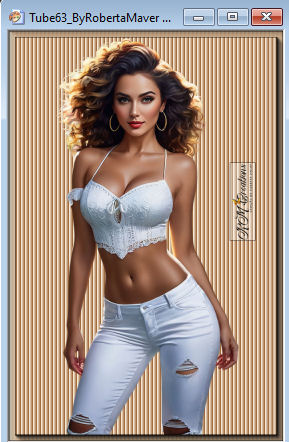
Edit>Copy.
Go back to your work and go to Edit>Paste as New Layer.
Image>Resize, if necessary - for the supplied misted to 70%, resize all layers not checked.
Move  the tube to the right side. the tube to the right side.
Effects>3D Effects>Drop Shadow, at your choice.
19. Open Decor03_Agatha_byRobertaMaver 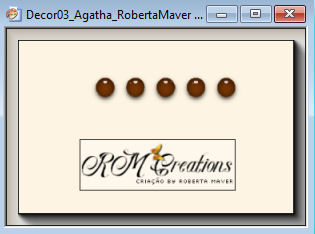
Edit>Copy.
Go back to your work and go to Edit>Paste as New Layer.
K key to activate your Pick Tool 
Set Position X: 124,00 and Position Y: 22,00.

20. Open Titulo_byRobertaMaver 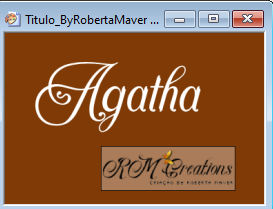
Edit>Copy.
Go back to your work and go to Edit>Paste as New Layer.
Move  the text to your liking. the text to your liking.
Effects>3D Effects>Drop shadow, foreground color #7f3a05.
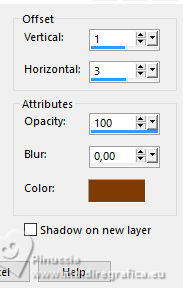
21. Image>Add Borders - 1 pixel, symmetric, foreground color #7f3a05.
22. Image>Resize, if you want, resize all layers checked.
Sign your work and save as jpg.
For the tubes of this version thanks Mytaggingaddiction scraps.
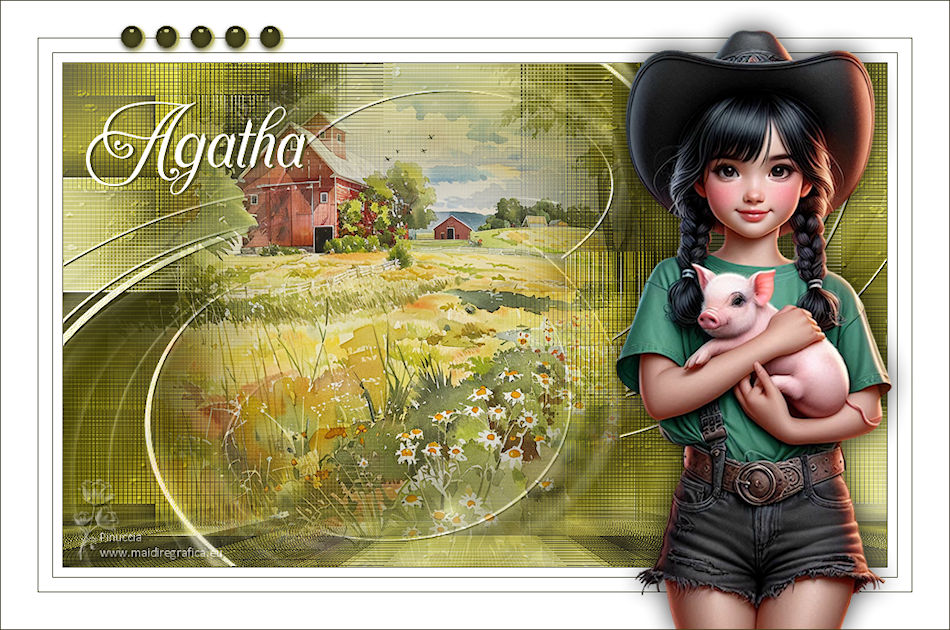

 Your versions. Thanks Your versions. Thanks
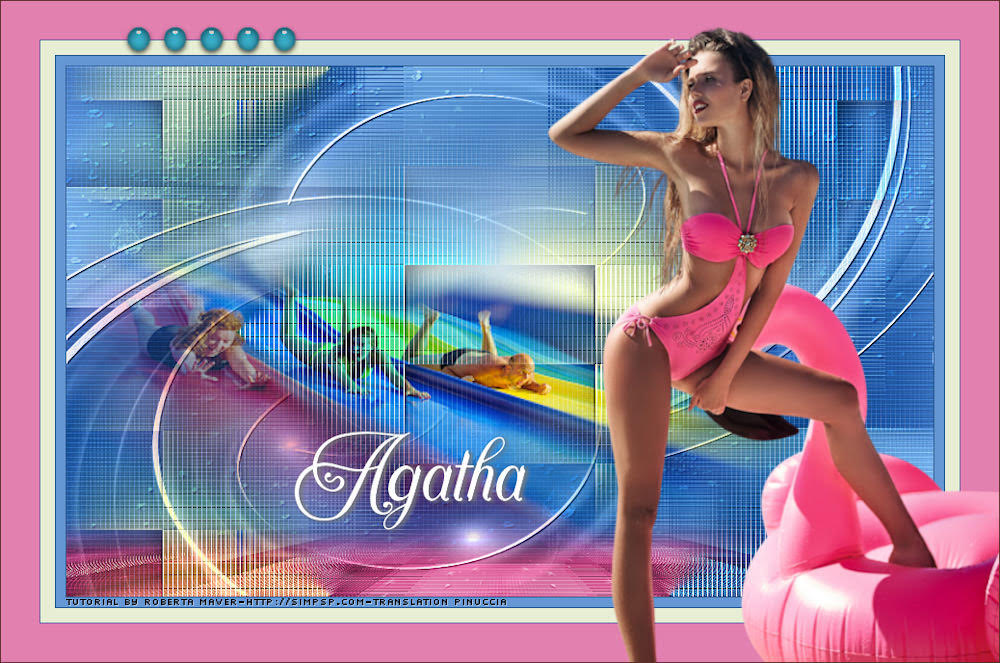
Louise
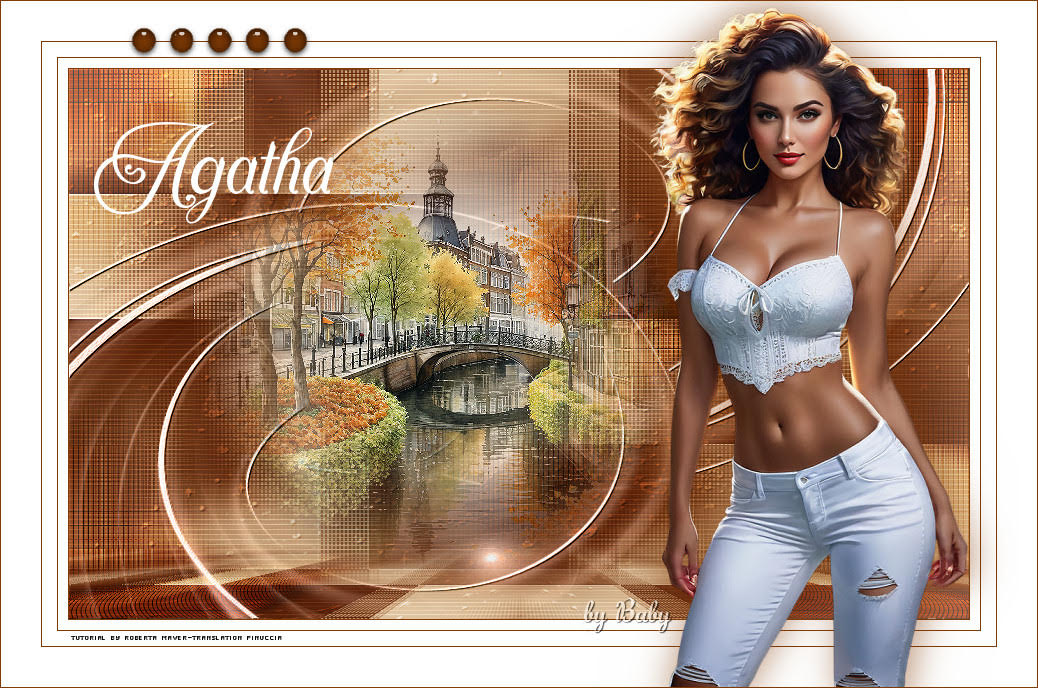
Baby
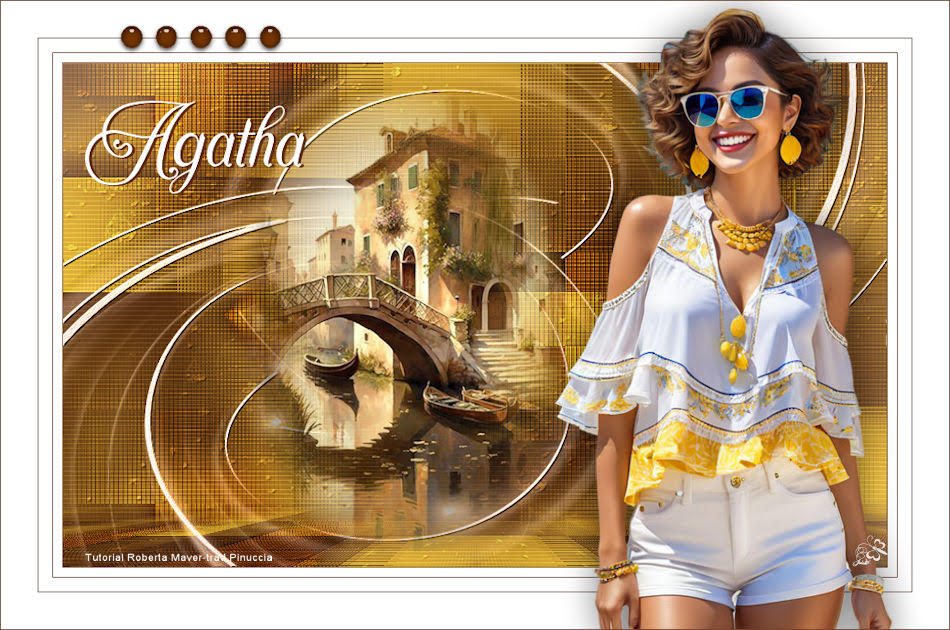
Jolcsi
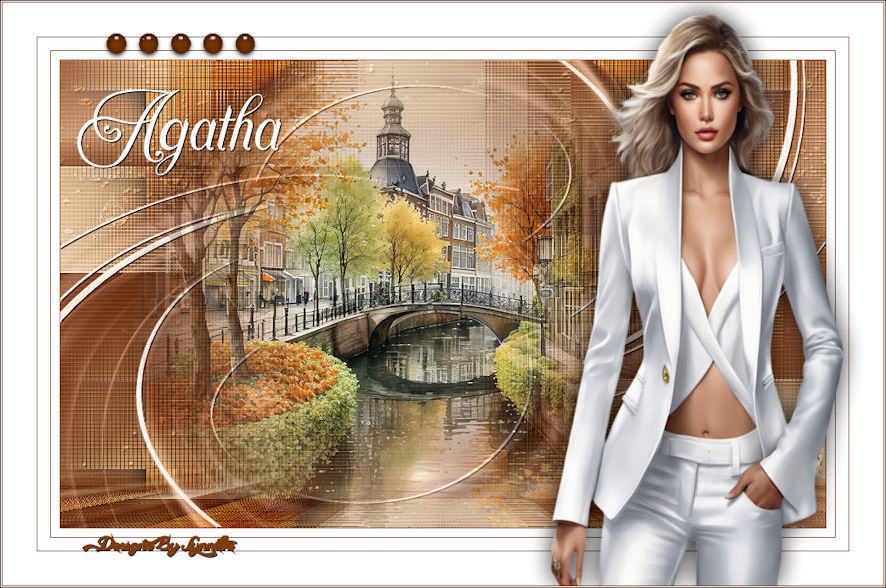
Lynnette
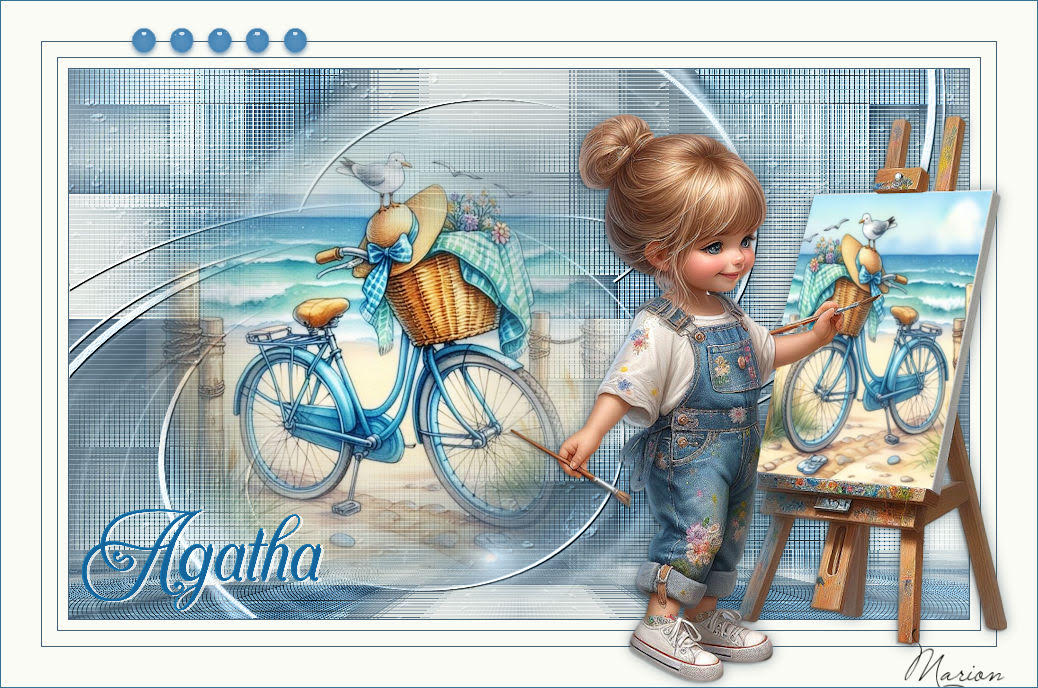
Marion
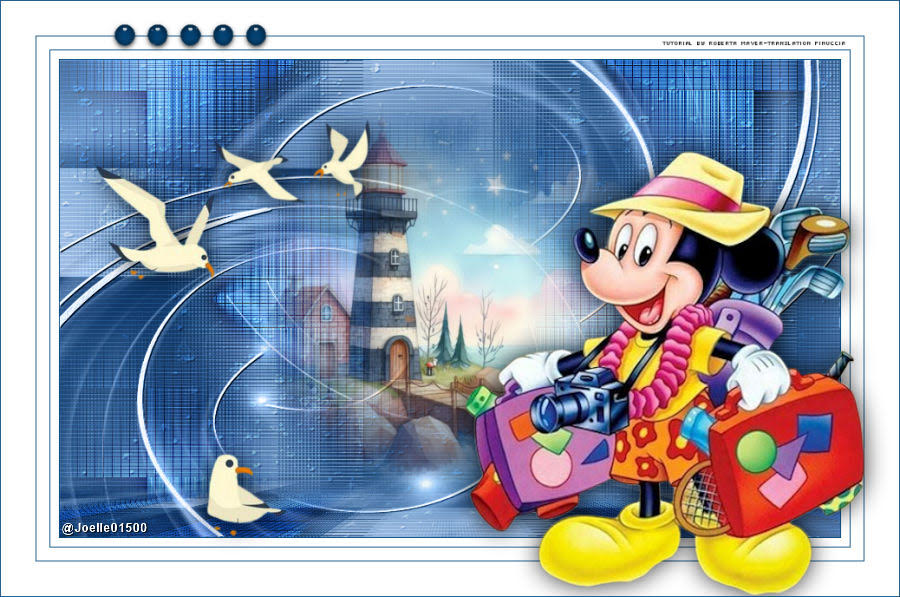
Joelle
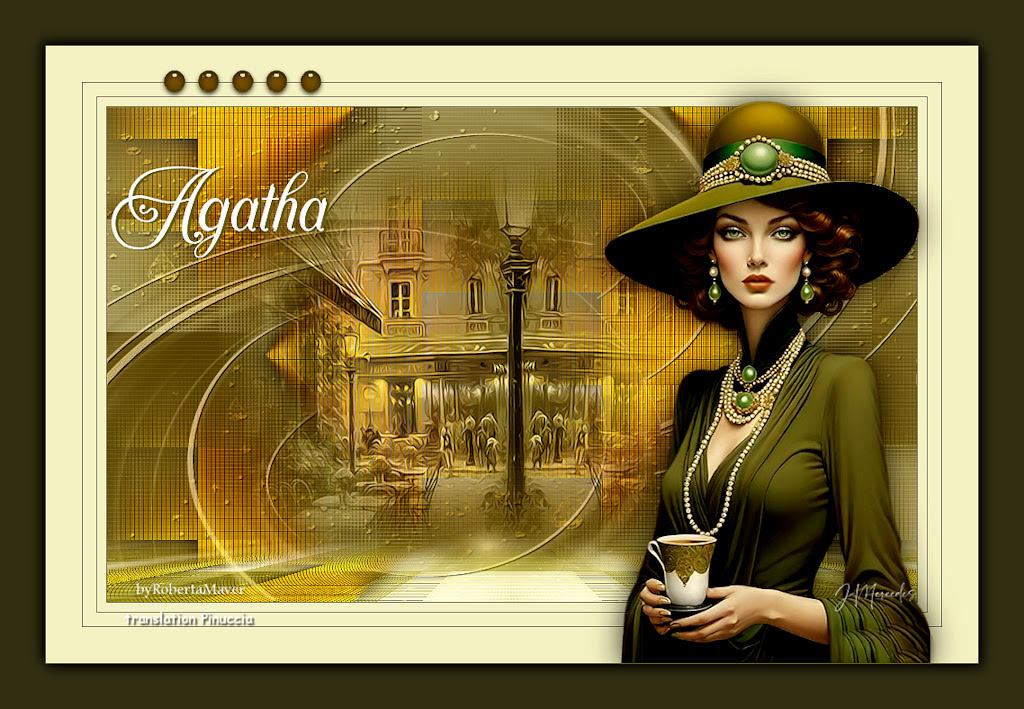
JMercedes
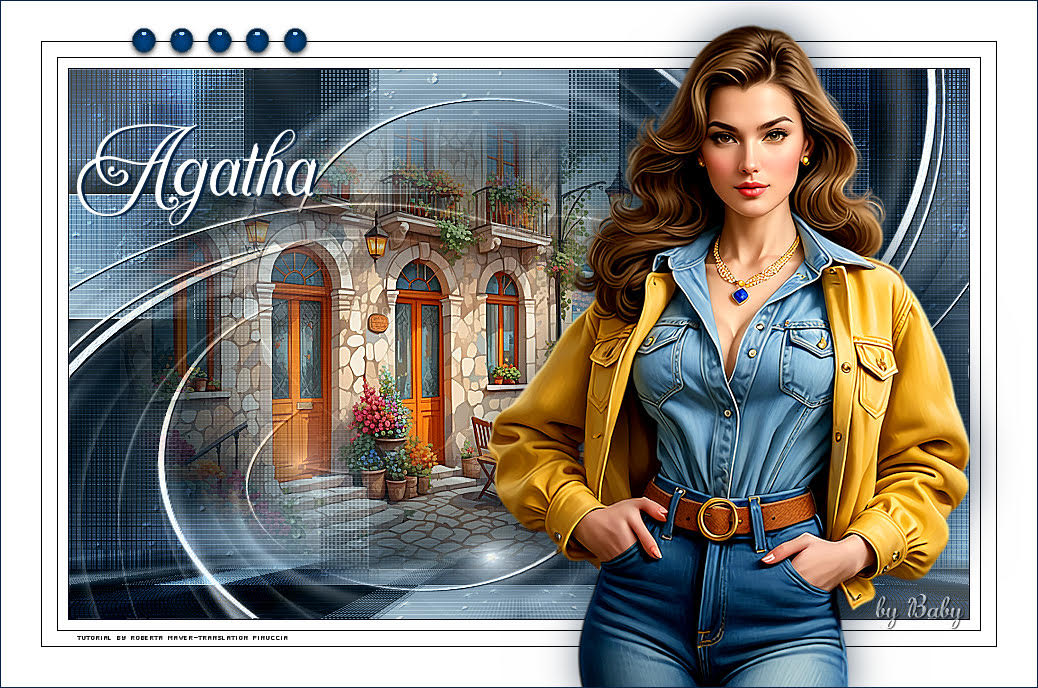
Baby
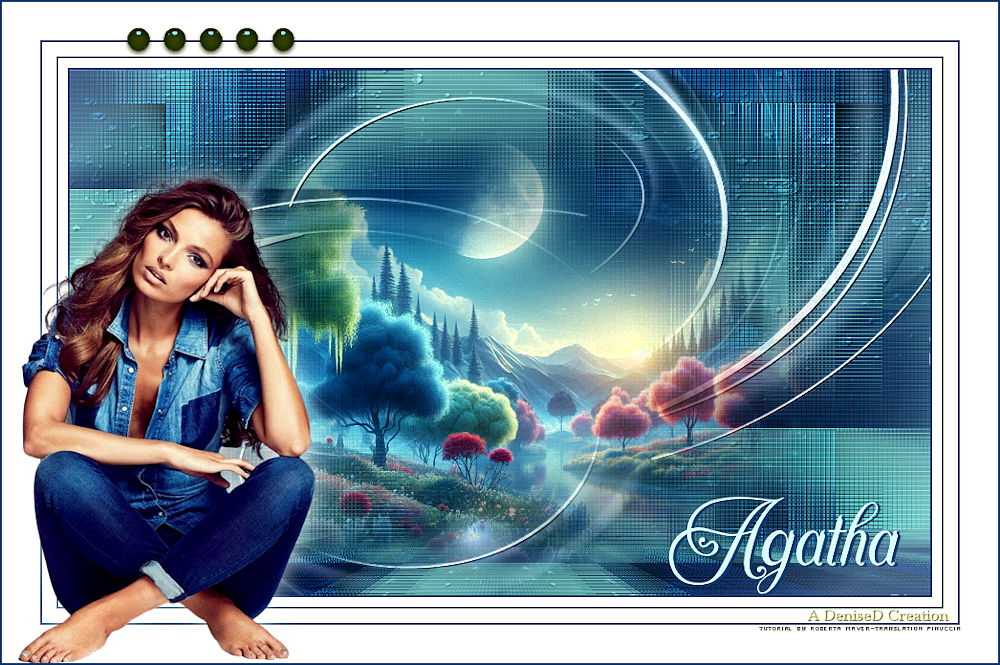
DeniseD


If you have problems or doubts, or you find a not worked link, or only for tell me that you enjoyed this tutorial, write to me.
15 June 2024

|

