|
ROBERTA - SIM 5 AÑOS  TRASFORMING IDEAS TRASFORMING IDEAS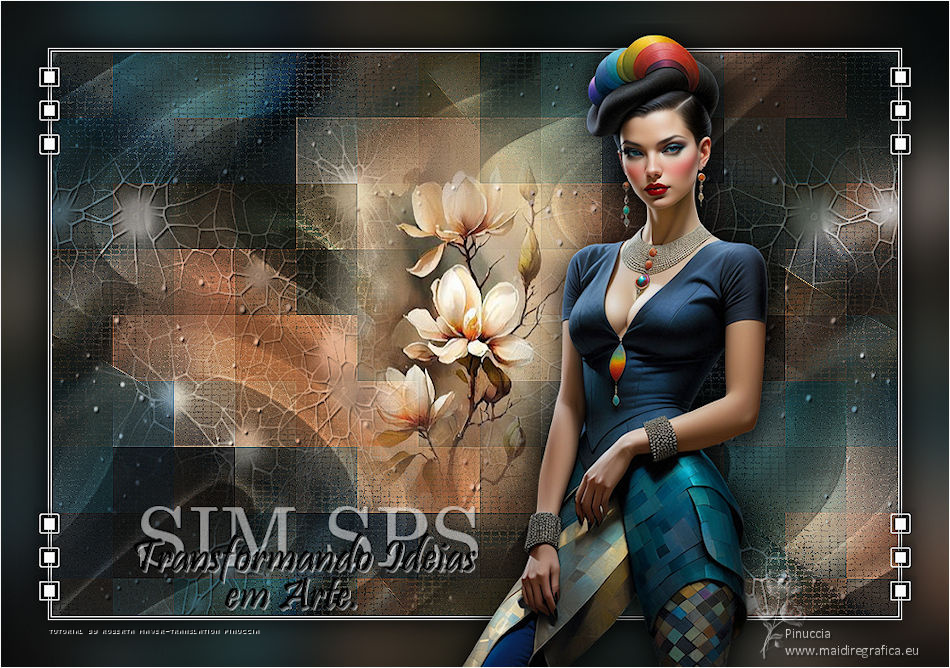


This tutorial was written with Psp2022 and translated with Psp2020, but it can also be made using other versions of PSP. Plugins consult, if necessary, my filter section here Filters Unlimited 2.0 here Graphics Plus - Cross Shadow here Filters Graphics Plus can be used alone or imported into Filters Unlimited. (How do, you see here) If a plugin supplied appears with this icon  You can change Blend Modes according to your colors. In the newest versions of PSP, you don't find the foreground/background gradient (Corel_06_029). You can use the gradients of the older versions. The Gradient of CorelX here  1. Choose 2 colors for your work. Set your foreground color to color 1 #c2b380, and your background color to color 2 #16232c. 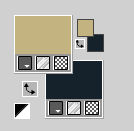 extra color 3: #ffffff. Set your foreground color to a Foreground/Background Gradient, style Sunburst. 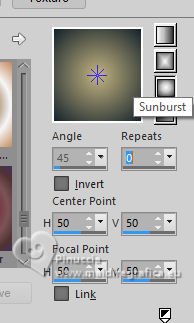 2. Open a new transparent image 900 x 600 pixels. Flood Fill  the transparent image with your Gradient. the transparent image with your Gradient.3. Layers>New Raster Layer. Selections>Select All. Open your main tube Tube05_byRobertaMaver 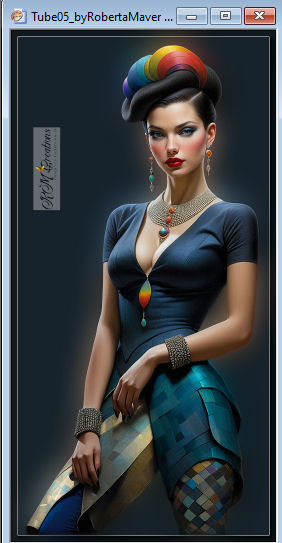 Edit>Copy. Go back to your work and go to Edit>Paste Into Selection. Selections>Select None. 4. Effects>Image Effects>Seamless Tiling.  5. Adjust>Blur>Radial Blur. 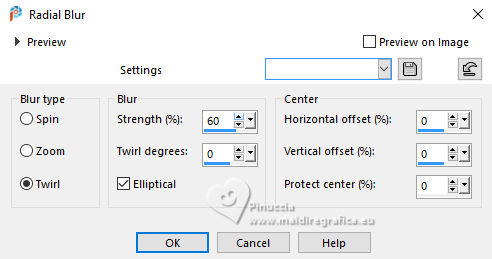 Adjust>Sharpness>Sharpen. 6. Effects>Distortion Effects>Wave. 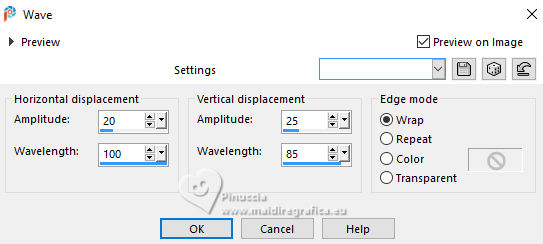 7. Layers>Duplicate. Effects>Distortion Effects>Pixelate 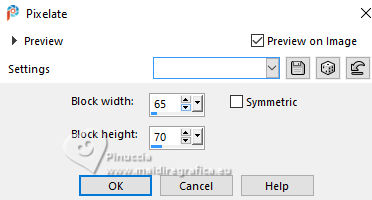 Effects>Edge effects>Enhance. Change the Blend Mode of this layer to Hard Light. 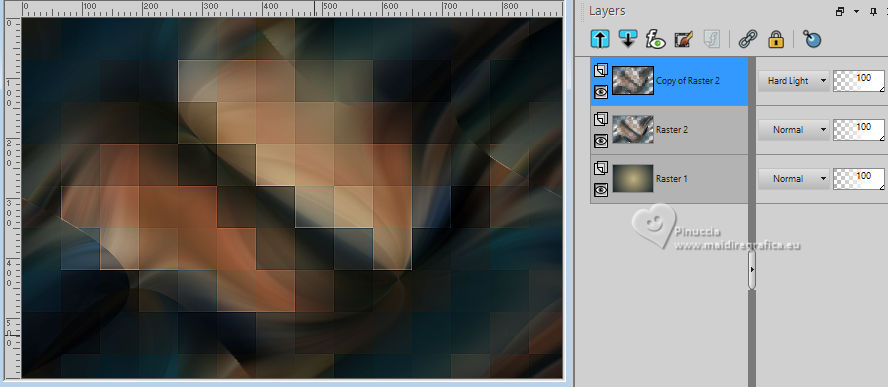 8. Activate the layer below, Raster 2. Effects>Texture Effects>Mosaic - Antique. 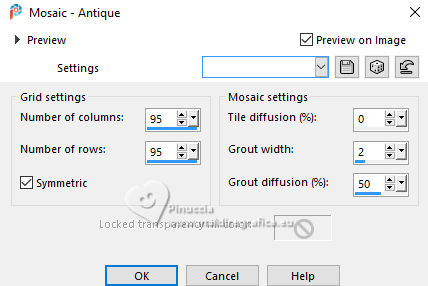 Effects>Image Effects>Seamless Tiling, default settings.  Adjust>Sharpness>Sharpen. 9. Open Decor01_transformandoIdeias_byRobertaMaver 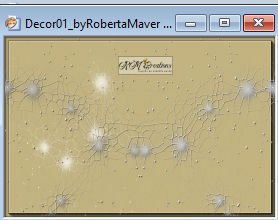 Edit>Copy. Go back to your work and go to Edit>Paste as New Layer. Adjust>Sharpness>Sharpen. 10. Open Decor02_transformandoIdeias_byRobertaMaver 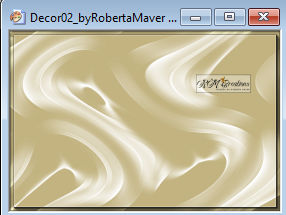 Edit>Copy. Go back to your work and go to Edit>Paste as New Layer. Keep the Blend Mode of this layer to Overlay. 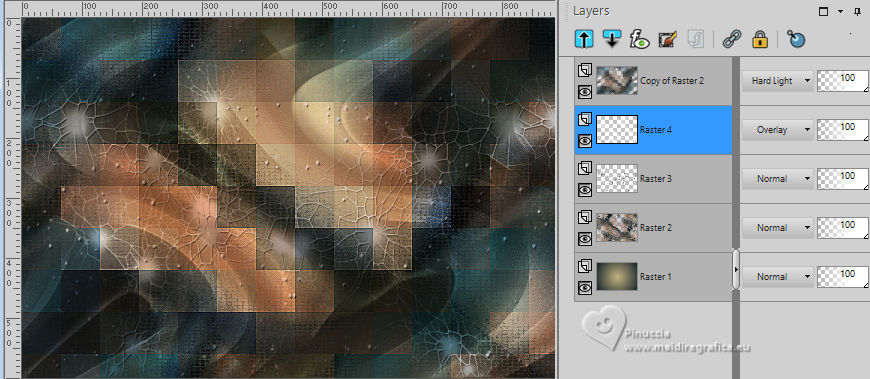 Edit>Copy Special>Copy Merged 11. Image>Add borders, 1 pixel, symmetric, color 3 #ffffff. Image>Add borders, 2 pixels, symmetric, background color #16232c. Image>Add borders, 1 pixel, symmetric, color 3 #ffffff. 12. Selections>Select All. Image>Add Bordes, 50 pixels, symmetric, whatever color. Selections>Invert. Edit>Paste into Selection 13. Adjust>Blur>Gaussian Blur - radius 30.  Effects>Plugins>Graphics Plus - Cross Shadow. 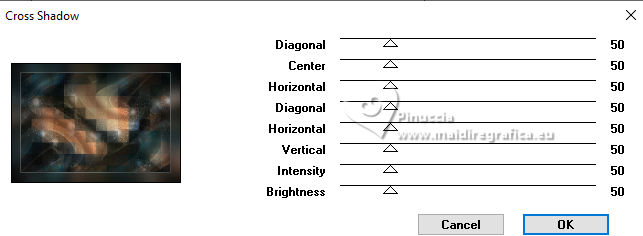 14. Selections>Invert. Effects>3D Effects>Drop Shadow - color #000000.  Selections>Select None. 15. Open the landscape mist MistFloral05_byRobertaMaver 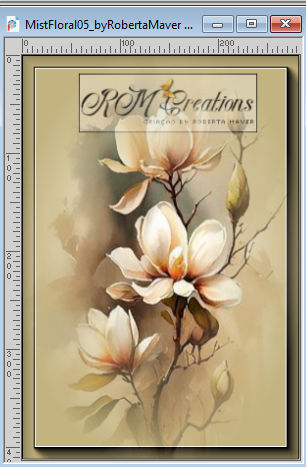 Edit>Copy. Go back to your work and go to Edit>Paste as New Layer. Adjust>Sharpness>Sharpen. Place  correctly the tube in the center. correctly the tube in the center.16. Open Decor03_transformandoIdeias_byRobertaMaver  Edit>Copy. Go back to your work and go to Edit>Paste as New Layer. Don't move it; it is at its place. 16. Activate again your main tube and go to Edit>Copy. Go back to your work and go to Edit>Paste a new Layer. Image>Resize, if necessary, for the supplied tube 70%, resize all layers not checked. Place  correctly the tube in the center. correctly the tube in the center.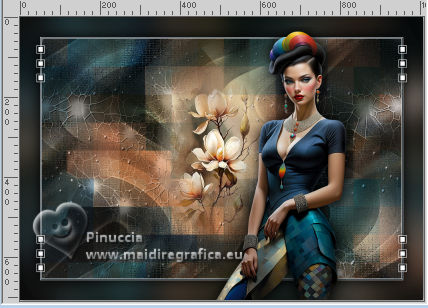 Effects>3D Effects>Drop Shadow, at your choice. 19. Open Titulo_byRobertaMaver 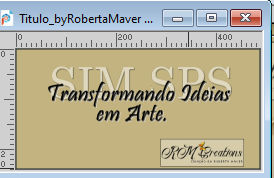 Edit>Copy. Go back to your work and go to Edit>Paste a New Layer. Place  the test to your liking. the test to your liking.20. Image>Add borders, 1 pixel, symmetric, color 3 #ffffff. 21. Image>Resize, if you want. Sign your work and save as jpg. For the tubes of this version thanks Luz Cristina 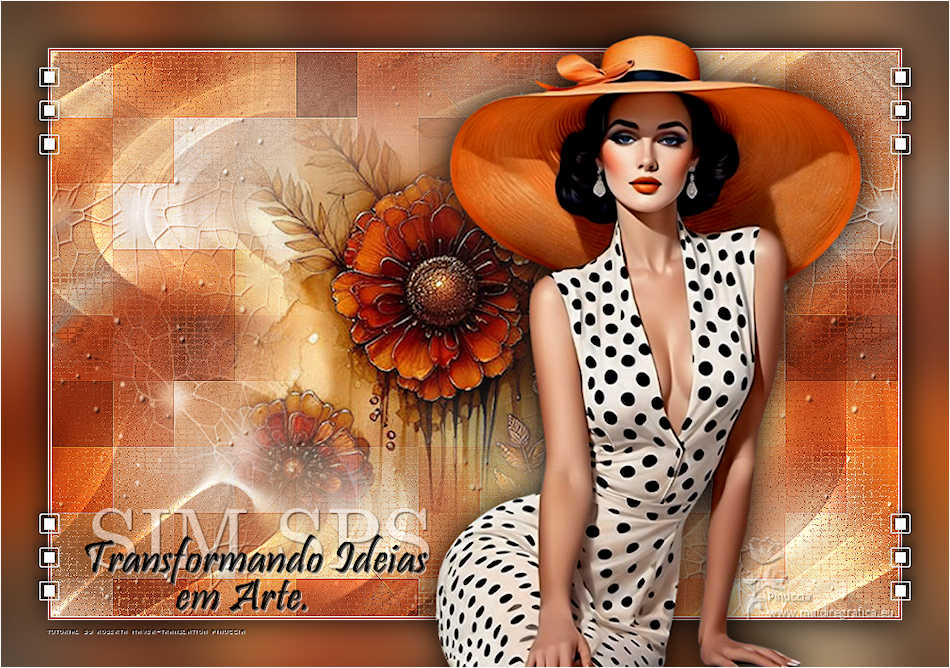   Your versions. Thanks Your versions. Thanks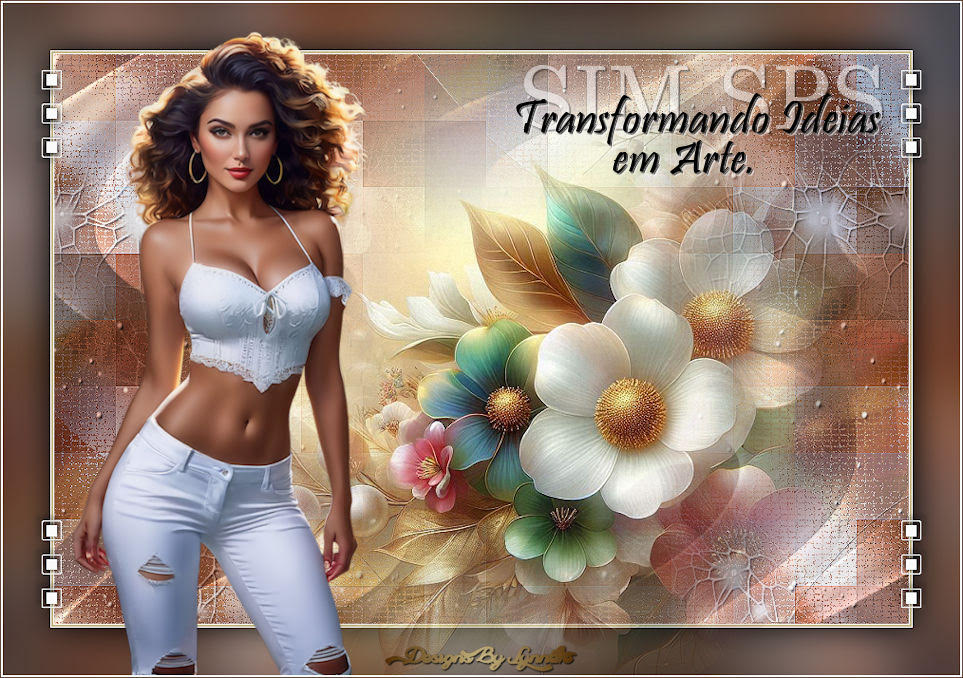 Lynnette 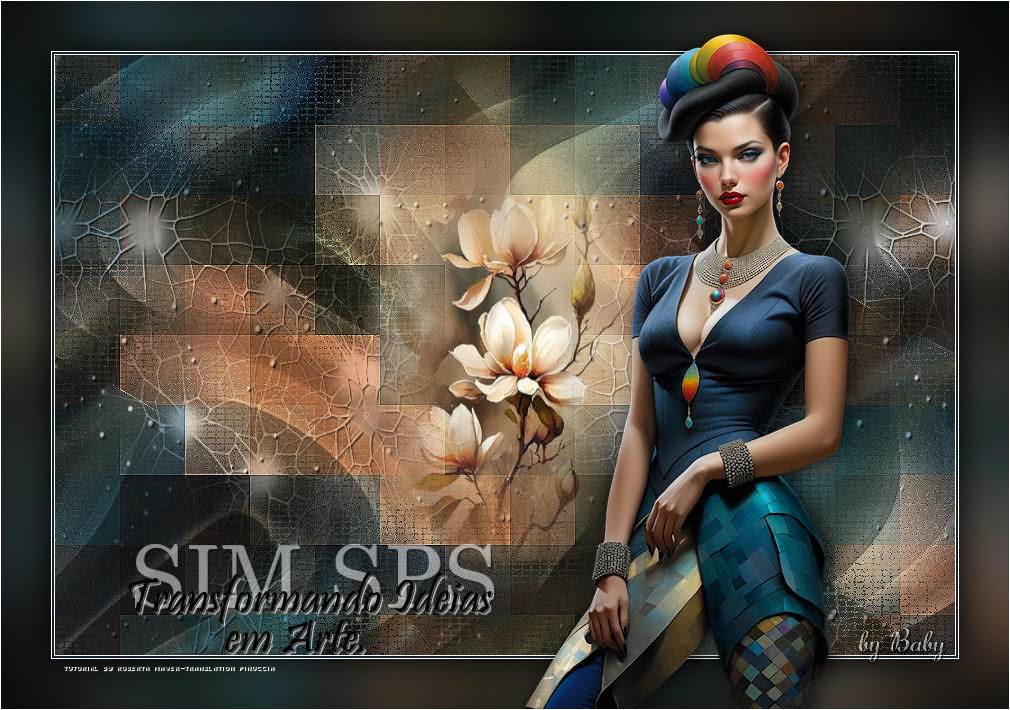 Baby 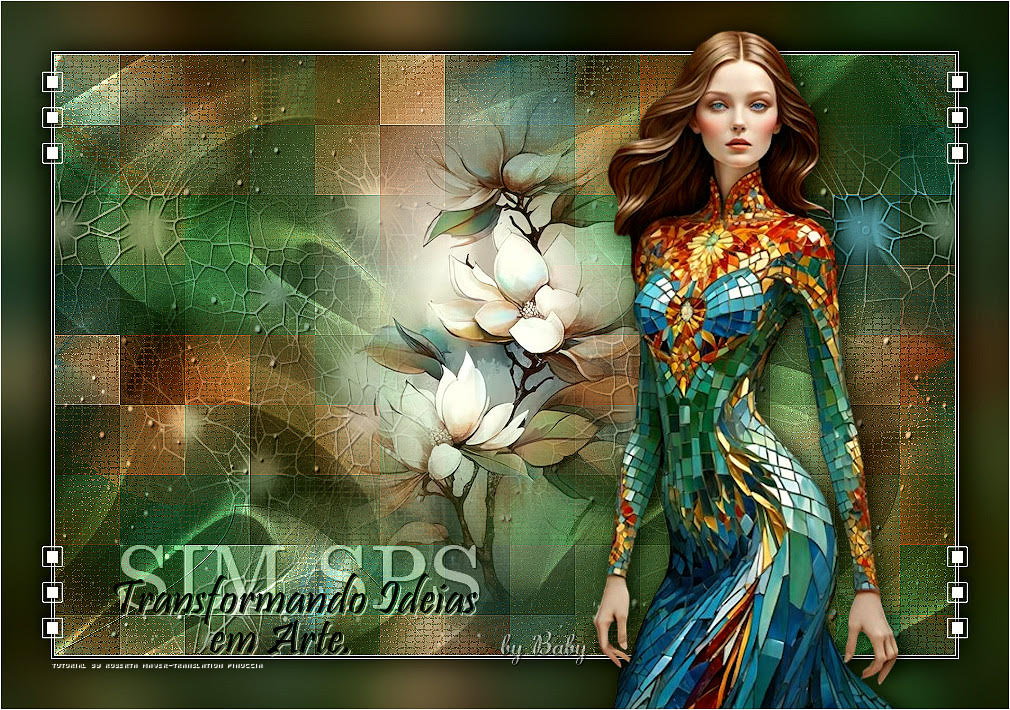 Baby 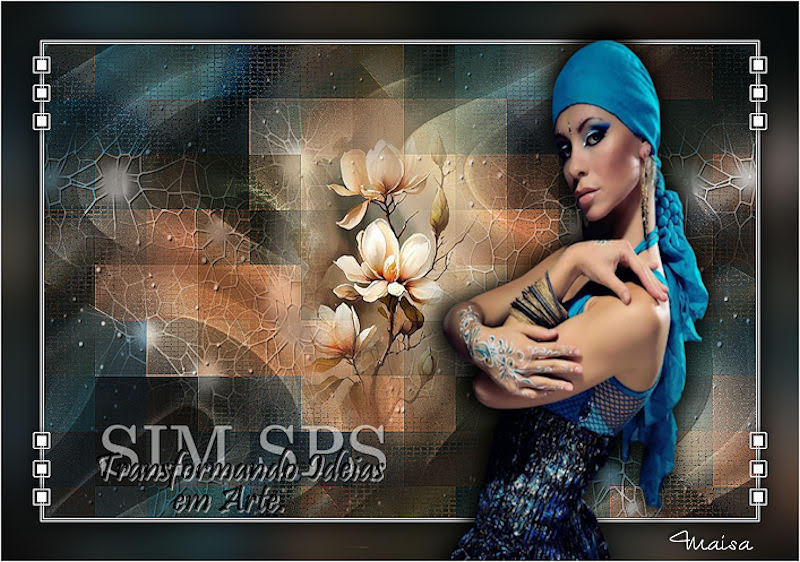 Maisa 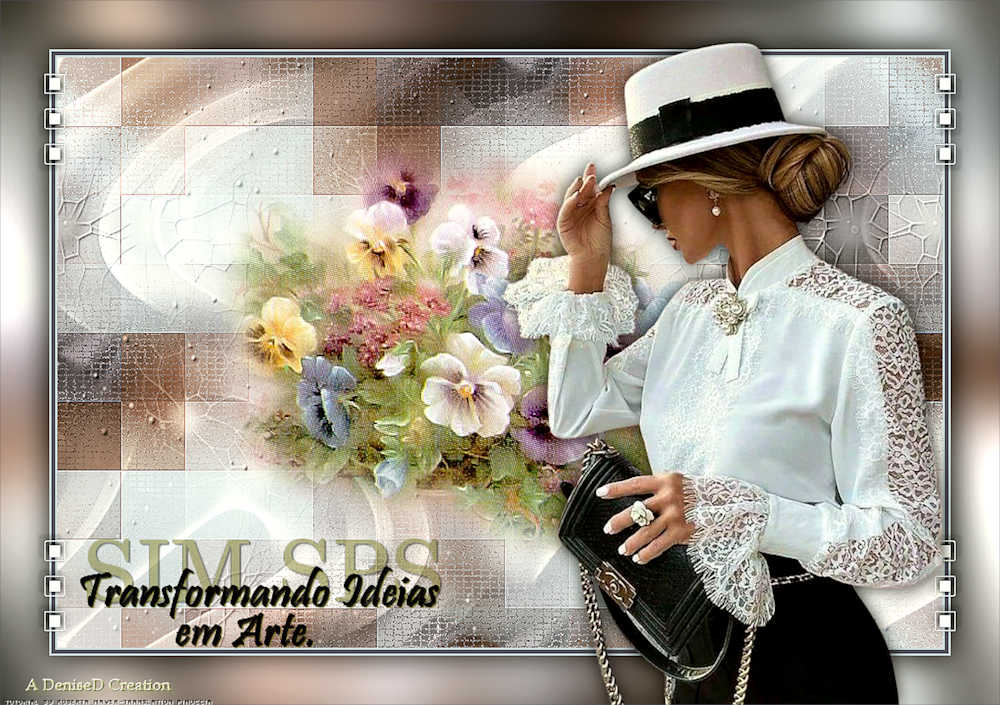 DeniseD. 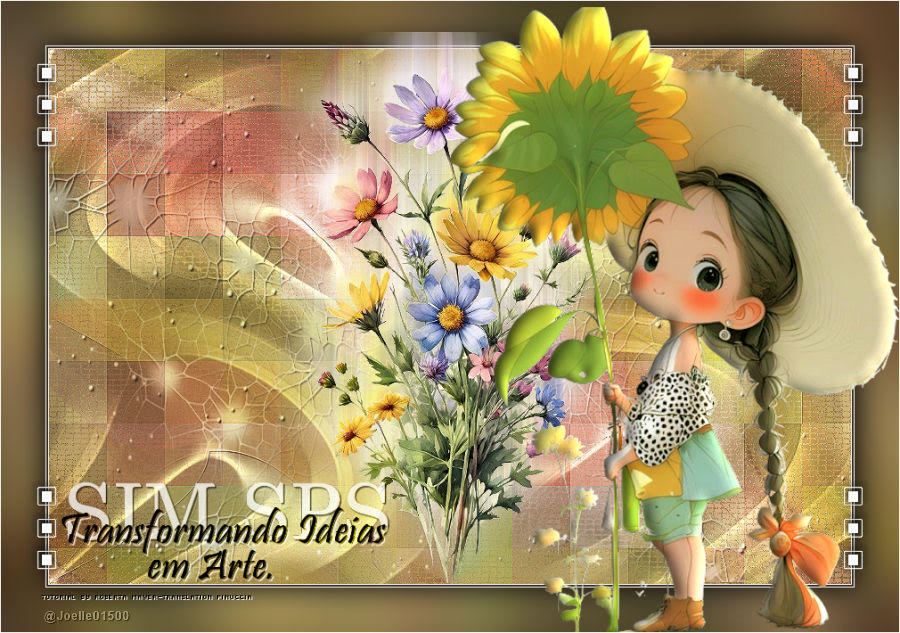 Joelle 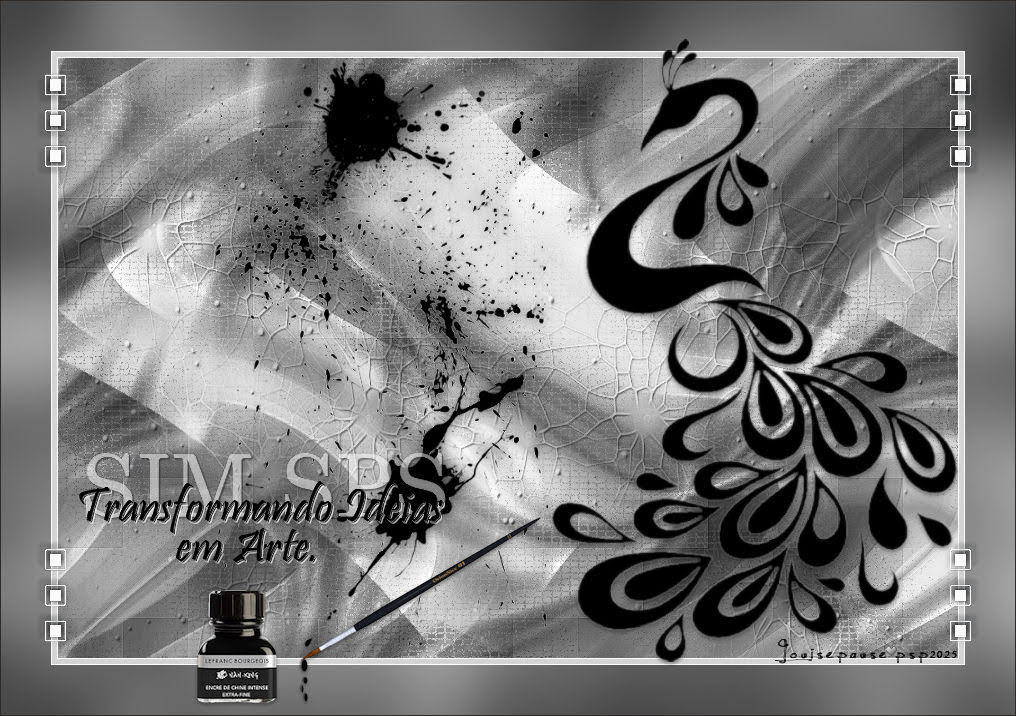 Louise   If you have problems or doubts, or you find a not worked link, or only for tell me that you enjoyed this tutorial, write to me. |