|
VOORJAAR
 SPRING SPRING
Thanks Gerrie for your invitation to translate your tutorials.
This tutorial was created with PSP19 and translated with PSP07 but it can also be made using other versions of PSP.
Since version PSP X4, Image>Mirror was replaced with Image>Flip Horizontal,
and Image>Flip with Image>Flip Vertical, there are some variables.
In versions X5 and X6, the functions have been improved by making available the Objects menu.
In the latest version X7 command Image>Mirror and Image>Flip returned, but with new differences.
See my schedule here
 Italian translation qui Italian translation qui
 French translation here French translation here
 Your versions ici Your versions ici

For this tutorial, you will need:

Thanks: for the tubes Jeanne, Nikita, Verlaine, and for the mask Animabelle.
(you find here the links to the material authors' sites)

consult, if necessary, my filter section here
Filters Unlimited 2.0 here
Eye Candy 4000 - Water drops qui
FM Tile Tools - Blend Emboss qui
Greg's Factory Output II - Pool Shadow here
Filters Greg's Factory Output II can be used alone or imported into Filters Unlimited.
(How do, you see here)
If a plugin supplied appears with this icon  it must necessarily be imported into Unlimited it must necessarily be imported into Unlimited
Animation Shop here
You can change Blend Modes according to your colors.
Open the font and minimize. You'll find it in the list of fonts available when you need it.
With the most recent o.s., this is no longer possible.
To use a font, you must copy it into the Fonts folder in Windows.
Open the mask in PSP and minimize it with the rest of the material.
1. Set your foreground color to #ebd23b,
and your background color to #35421f.

2. Open a new transparent image 900 x 600 pixels.
Flood Fill  the transparent image with your background color. the transparent image with your background color.
3. Layers>New Raster Layer.
Flood Fill the layer with your foreground color.
4. Layers>New Mask layer>From image
Open the menu under the source window and you'll see all the files open.
Select the mask 019-masque_animabelle.

Layers>Merge>Merge Group.
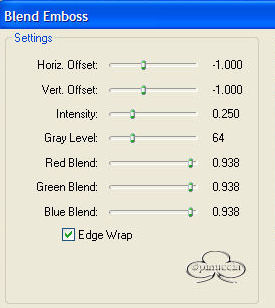
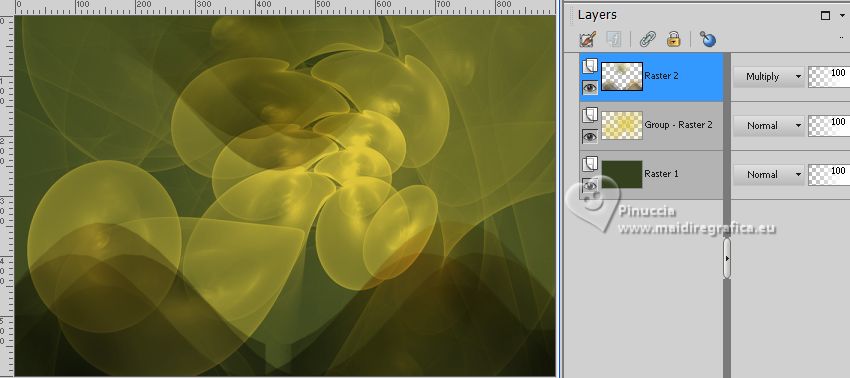
5. Effects>Plugins>FM Tile Tools - Blend Emboss, default settings.
6. Open Element1 magnifique 
Edit>Copy.
Go back to your work and go to Edit>Paste as new layer.
Change the Blend Mode of this layer to Multiply.
7. Open the tube VerlaineB71 
Edit>Copy.
Go back to your work and go to Edit>Paste as new layer.
Move  the tube at the upper right. the tube at the upper right.
Layers>Arrange>Move Down.

8. Activate your top layer.
Open the tube Jeanne_Jongen met eendjes_31_01_2015 
Edit>Copy.
Go back to your work and go to Edit>Paste as new layer.
Move the tube at the bottom left, see my example.
9. Effects>3D Effects>Drop Shadow, at your choice.
10. Open the tube 12926131360_animaux_nikita 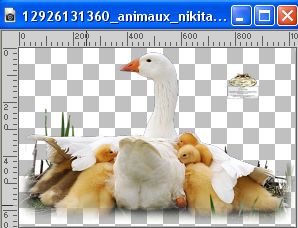
Erase the watermark Edit>Copy.
Go back to your work and go to Edit>Paste as new layer.
Image>Resize, 4 times to 80%, resize all layers not checked.
Move the tube at the bottom right.
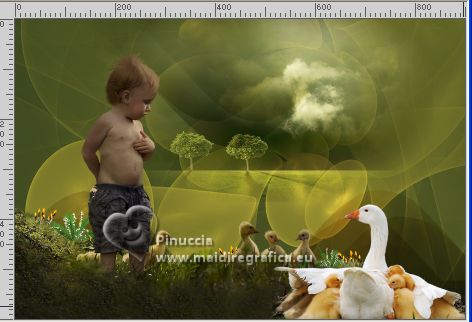
Effects>3D Effects>Drop Shadow, at your choice.
12. Image>Add borders, 4 pixels, symmetric, foreground color.
Image>Add borders, symmetric not checked, background color.

13. Activate your Magic Wand Tool 

and click in the border to select it.
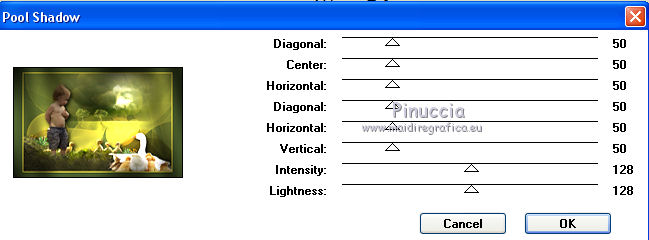
14. Effects>Plugins>Greg's Factory Output vol. II - Pool Shadow, default settings.
Selections>Select None.
15. Image>Add borders, 25 pixels, symmetric, foreground color.
16. Sign your work on a new layer.
17. Activate your Tex Tool  , font Easter Egg: , font Easter Egg:
adapt the size according to your text and your PSP version.

Write your text en haut à droite
(in the new PSP versions, you have to click on Apply  to fix the text) to fix the text)
and after, in you layers palette, right bottom and Convert in raster layer.
18. Selections>Select All.
Selections>Float.
19. Effects>Plugins>Eye Candy 4000 - Water Drops.
Settings: Big Round Drops and change Drop Size: 10.50.

Selections>Select None.
20. Edit>Copy Special>Copy Merged.
Open Animation Shop and go to Edit>Paste>Paste as new animation.
21. Go back to PSP.
Edit>Undo Select None.
Edit>Undo Water Drops.
22. Effects>Plugins>Eye Candy 4000 - Water Drops, click one time on Random Seed and ok.
Selections>Select None.
Edit>Copy Special>Copy Merged.
Go back to Animation Shop and go to Edit>Paste>Pastse after the current frame.
23. Again in PSP.
Edit>Undo Select None.
Edit>Undo Water Drops.
24. Effects>Plugins>Eye Candy 4000 - Water Drops, click one time on Random Seed and ok.
Selections>Select None.
Edit>Copy Special>Copy Merged.
Go back to Animation Shop and go to Edit>Paste>Pastse after the current frame.
25. Edit>Select All.
Animation>Frame Propierties and set to 25

Check your result click on View animation 
and save as gif.

If you have problems or doubts, or you find a not worked link, or only for tell me that you enjoyed this tutorial, write to me.
5 Avril 2023

|


