|
LOVE DATE

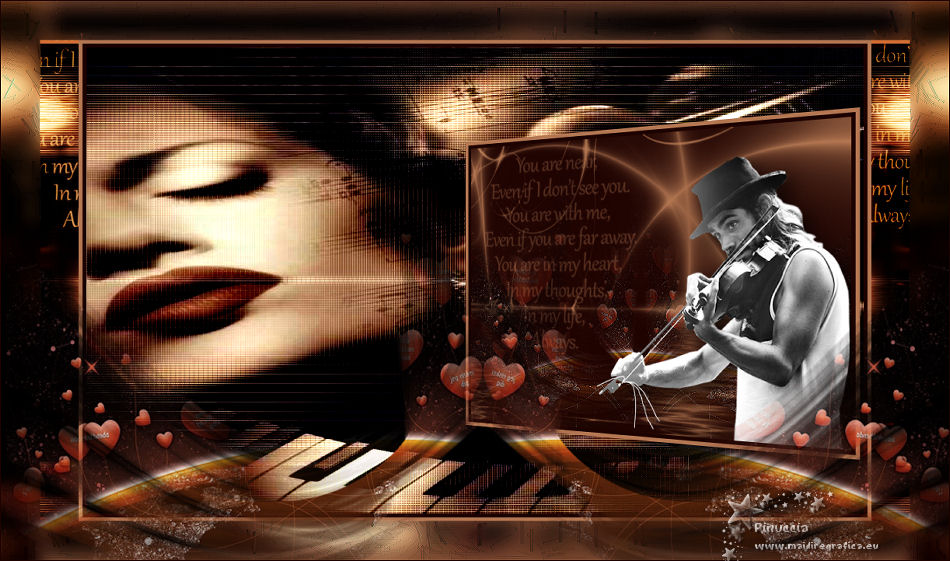
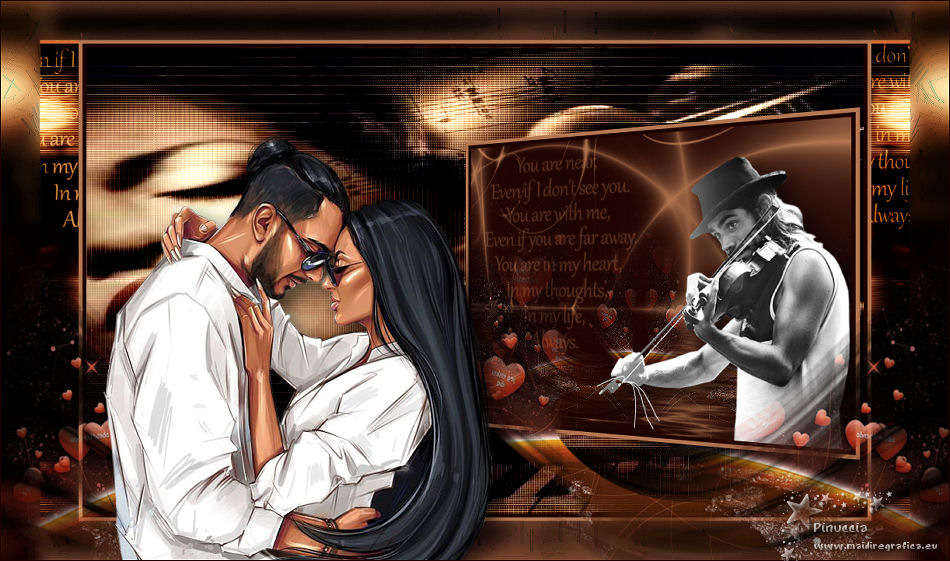
Thanks Gerrie for your invitation to translate your tutorials.

This tutorial was translated with PSP14 but it can also be made using other versions of PSP.
Since version PSP X4, Image>Mirror was replaced with Image>Flip Horizontal,
and Image>Flip with Image>Flip Vertical, there are some variables.
In versions X5 and X6, the functions have been improved by making available the Objects menu.
In the latest version X7 command Image>Mirror and Image>Flip returned, but with new differences.
See my schedule here
 Italian translation qui Italian translation qui
 French translation here French translation here
 Your versions ici Your versions ici
For this tutorial, you will need:
Material
here
Thanks for the tube Mentali.
(you find here the links to the material authors' sites)
Plugins
consult, if necessary, my filter section here
Filters Unlimited 2.0 here
Andrew's Filter 51 - Line Straight 234 here
Andromeda - Perspective here
Filters Andrew's can be used alone or imported into Filters Unlimited.
(How do, you see here)
If a plugin supplied appears with this icon  it must necessarily be imported into Unlimited it must necessarily be imported into Unlimited

You can change Blend Modes according to your colors.
Place the brush in Brush folder. Attention, please, the brush is composed by two files, you must place both the files in the folder.
See my notes about Brushes here

Open the masks in PSP and minimize them with the rest of the material.
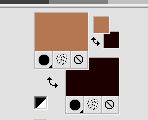
1. Set your foreground color to #b47752,
and your background color to #1d0200.
2. Open a new transparent image 1000 x 600 pixels.
3. Selections>Select All.
Open the background image Achtergrond Gerrie and go to Edit>Copy.
Go back to your work and go to Edit>Paste into Selection.
Selections>Select None.
You can colorize or use another image.
4. Effects>Plugins>Filters Unlimited 2.0 - Andrew's Filter 51 - Straight Lines 234.
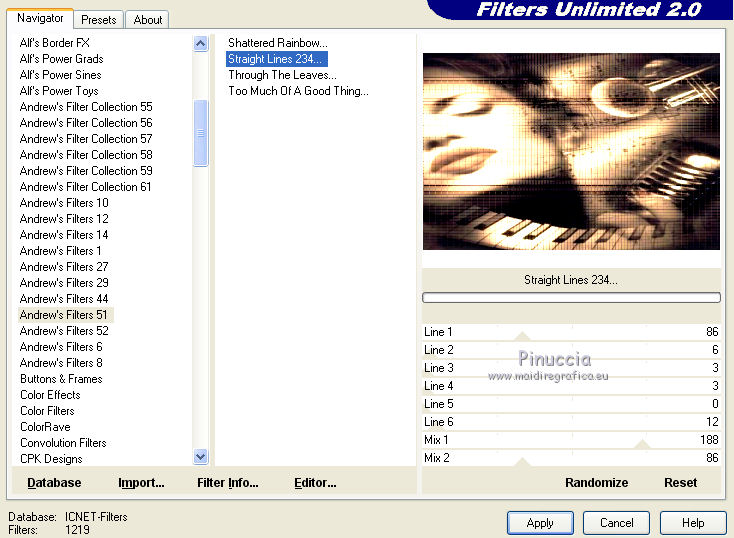
If the result is too dark, you don't need to use this filter;
choose at your discretion.
Minimize the image for now; you'll use it later.
5. Open a new transparent image 541 x 384 pixels.

Flood Fill  the transparent image with your background color. the transparent image with your background color.
6. Layers>New Raster Layer.
Flood Fill  the layer with your foreground color. the layer with your foreground color.
7. Layers>New Mask layer>From image
Open the menu under the source window and you'll see all the files open.
Select the mask Mask_GB_01.

Layers>Merge>Merge Group.
8. Layers>Merge>Merge All.
9. Layers>New Raster Layer.
Selections>Select All.
10. Open the background image Achtergrond 2A and go to Edit>Copy.
Go back to your work and go to Edit>Paste into Selection.
Selections>Select None.
11. Layers>New Mask layer>From image
Open the menu under the source window
and select the mask Exkizz_Mask_Stella2.

Layers>Merge>Merge Group.
12. Layers>Duplicate.
Image>Mirror.
13. Layers>Merge>Merge Down.
Colorize, if necessary.
Effects>Edge Effects>Enhance.
14. Layers>New Raster Layer.
Activate your Brush Tool 
look for and select the brush Drevers always tekst brush, size 400 pixels.

Apply the brush on the left, by clicking with your left mouse button,
to use the foreground color.
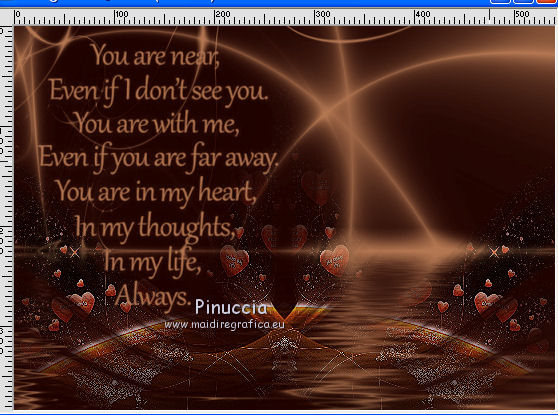
15. Reduce the opacity of this layer to 40%.

16. Open the tube tubeclaudiaviza-hombre62 and go to Edit>Copy.
Go back to your work and go to Edit>Paste as new layer.
Image>Resize, 3 times to 80%, resize all layers not checked.
Move  the tube to the right side. the tube to the right side.
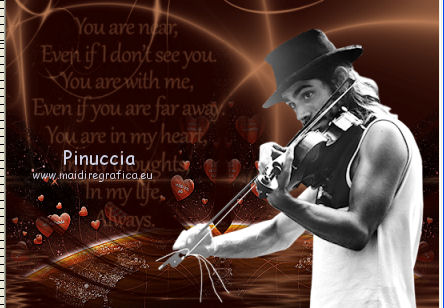
17. Effects>3D Effects>Drop Shadow, to your liking.
18. Image>Add borders, 5 pixels, symmetric, background color #1d0200.
Image>Add borders, 5 pixels, symmetric, foreground color #b47752.
19. Edit>Copy.
20. Activate the first work minimized at step 4.
Edit>Paste as new layer.
21. Effects>Plugins>Andromeda - Perspective
First click on Reset, to cancel previous settings,
then click one on the triangle to the right
finally click on the "apply" sign at the bottom right.
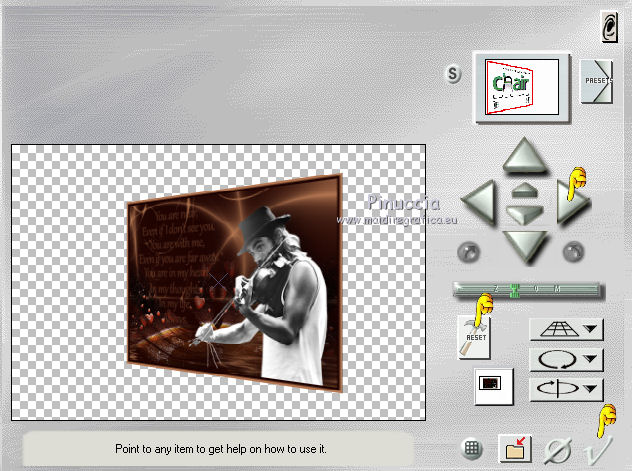
Warning: with some versions of PSP this filter has a bizarre relationship with Mv's Plugins Perspective Trasformation.
The first filter added in the File Locations prevents the use of the filter added later.
Therefore, if you don't see the effect in Andromeda's list,
check the File Locations and remove the Perspective Trasformation of Mv's Plugins,
to be able to use the Perspective of Andromeda
22. Move  the image to the right side, to the center. the image to the right side, to the center.
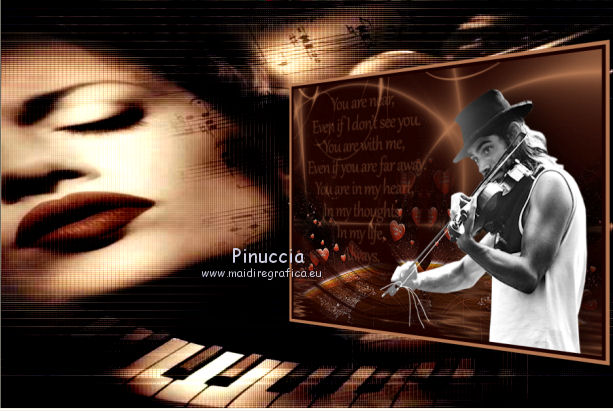
23. Image>Add borders, 5 pixels, symmetric, background color #1d0200.
Image>Add borders, 5 pixels, symmetric, foreground color #b47752.
24. Selections>Select All.
Image>Add borders, symmetric not checked, background color.

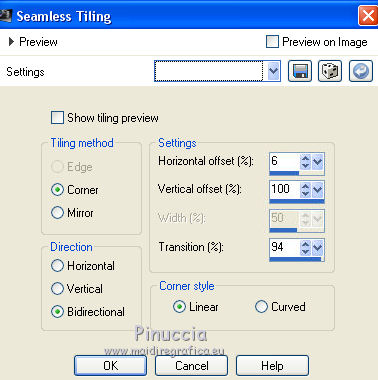
25. Effects>Image Effects>Seamless Tiling, Side by Side.
26. Selections>Invert.
27. Effects>Distortion Effects>Wind - from right, intensity 70

28. Selections>Promote Selection to layer.
Image>Mirror.
Keep selected.
29. Activate again your Brush Tool  , same settings , same settings

Apply the brush once in the upper left and once in the upper right,
with your foreground color, or with a color of your choice (I choose a lighter color).
Selections>Select None.
Change the Blend Mode of this layer to Hard Light.
30. Layers>Merge>Merge visible.
31. Edit>Copy.
32. Image>Add borders, 50 pixels, symmetric, background color.

33. Activate your Magic Wand Tool 

and click in the border to select it.
34. Edit>Paste into Selection.
35. Adjust>Blur>Gaussian Blur - radius 10.

36. Effects>Texture Effects>Straw Wall, default settings.

Selections>Select None.
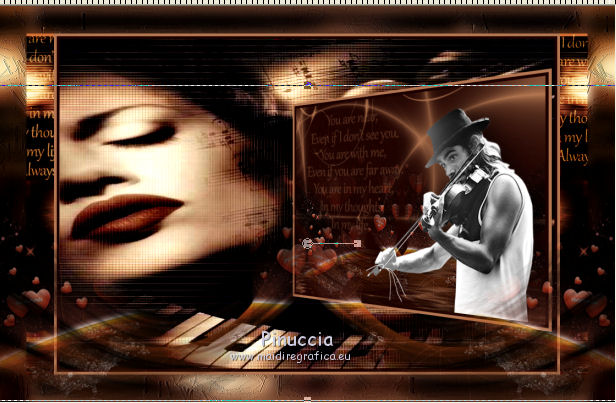
37. Open the tube Element ger A and go to Edit>Copy.
Go back to your work and go to Edit>Paste as new layer.
Move  the tube down. the tube down.
38. Layers>Duplicate.
Layers>Merge>Merge visible.
39. Open a person tube to your liking (for my tube thanks Beatriz)
and go to Edit>Copy.
Go back to your work and go to Edit>Paste as new layer.
Move  the tube to the left side. the tube to the left side.
40. Sign your work on a new layer.
41. Image>Add borders, 1 pixel, symmetric, background color.
42. Image>Resize, to your liking, resize all layers checked.
Save as jpg.
 Your versions here Your versions here

If you have problems or doubts, or you find a not worked link, or only for tell me that you enjoyed this tutorial, write to me.
12 January 2022

|

