|
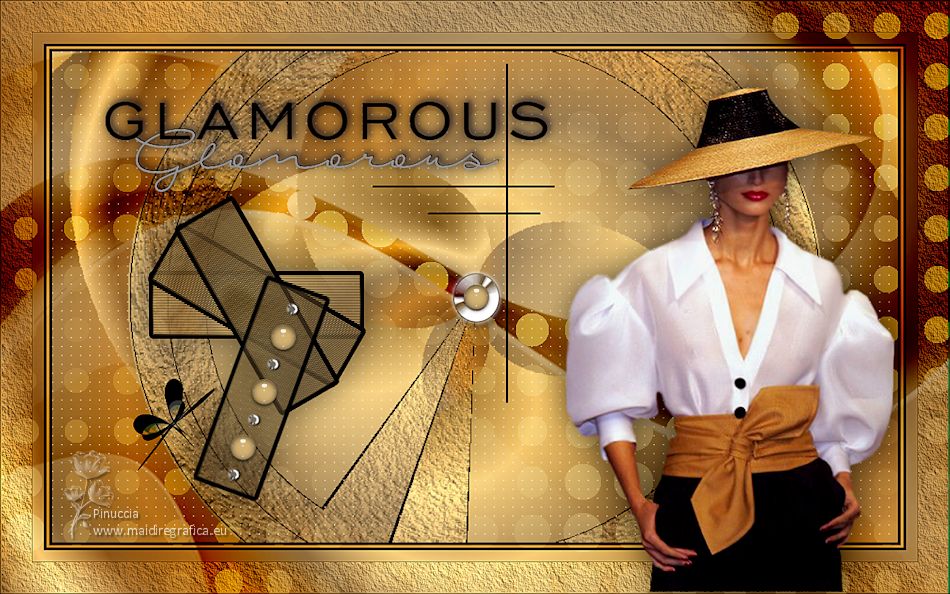
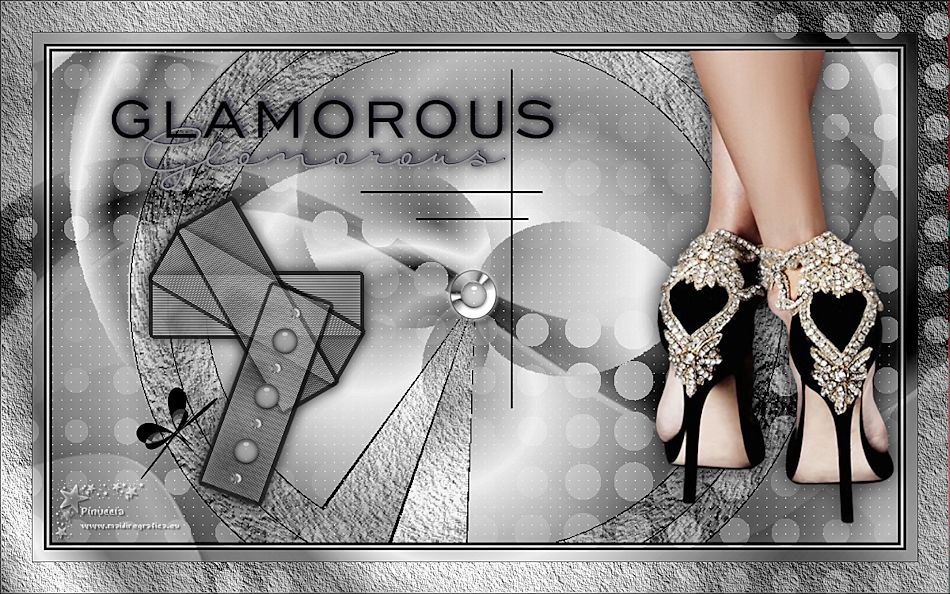
GLAMOROUS

Thanks Gerrie for your invitation to translate your tutorials.

This tutorial was created with PSPX2 and translated with PSPX7, but it can also be made using other versions of PSP.
Since version PSP X4, Image>Mirror was replaced with Image>Flip Horizontal,
and Image>Flip with Image>Flip Vertical, there are some variables.
In versions X5 and X6, the functions have been improved by making available the Objects menu.
In the latest version X7 command Image>Mirror and Image>Flip returned, but with new differences.
See my schedule here
 Italian translation qui Italian translation qui
 French translation here French translation here
 Your versions ici Your versions ici
For this tutorial, you will need:

Thanks for the tubes Luz Cristina and Lisanne.
(you find here the links to the material authors' sites)

consult, if necessary, my filter section here
Filters Unlimited 2.0 here
VM Extravaganza - Vasarely here
Mura's Seamless - Tile Rotate here
AAA Frames - Texture Frame here
Filter Factory Gallery B - Circulator 2 here
Alien Skin Eye Candy 5 Impact - Glass here
&<Bkg Designer sf10II> - Lines Side Line (to import in Unlimited) here
AP Lines - Lines SilverLining here
Simple - Diamonds here
Filters VM Extravaganza, Mura's Seamless, Factory Gallery, Simple can be used alone or imported into Filters Unlimited.
(How do, you see here)
If a plugin supplied appears with this icon  it must necessarily be imported into Unlimited it must necessarily be imported into Unlimited

You can change Blend Modes according to your colors.
Copy the preset  in the folder of the plugin Alien Skin Eye Candy 5 Impact>Settings>Shadow. in the folder of the plugin Alien Skin Eye Candy 5 Impact>Settings>Shadow.
One or two clic on the file (it depends by your settings), automatically the preset will be copied in the right folder.
why one or two clic see here

Copy the Gradient in the Gradients Folder.
Open the mask in PSP and minimize it with the rest of the material.
1. Set your foreground color to #98a0ad,
and your background color to #000000.
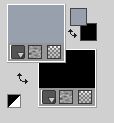
2. Set your foreground color to Gradient and select the gradient sg_Coppergold, style Sunburst.

3. Open Alfa_glamorous.
Window>Duplicate or, on the keyboard, shift+D to make a copy.

Close the original.
The copy, that will be the basis of your work, is not empty,
but contains a selection saved on the alpha channel.
Flood Fill  the transparent image with your Gradient. the transparent image with your Gradient.
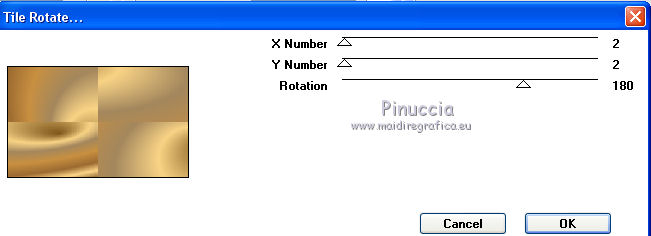
4. Effects>Plugins>Mura's Seamless - Tile Rotate.
5. Effetcts>Plugins>Simple - Diamonds.
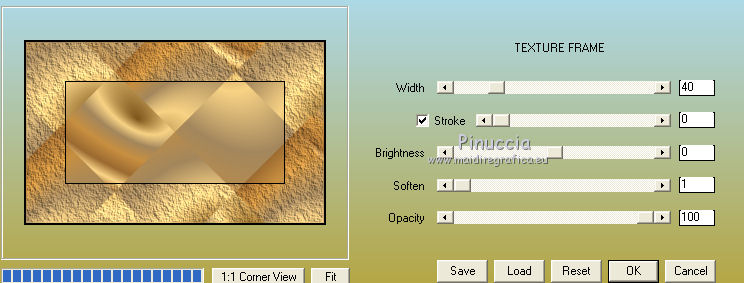
6. Effects>Plugins>AAA Frames - Texture Frame.
7. Effects>Plugins>Filters Unlimited 2.0 - Filter Factory Gallery B - Circulator 2.
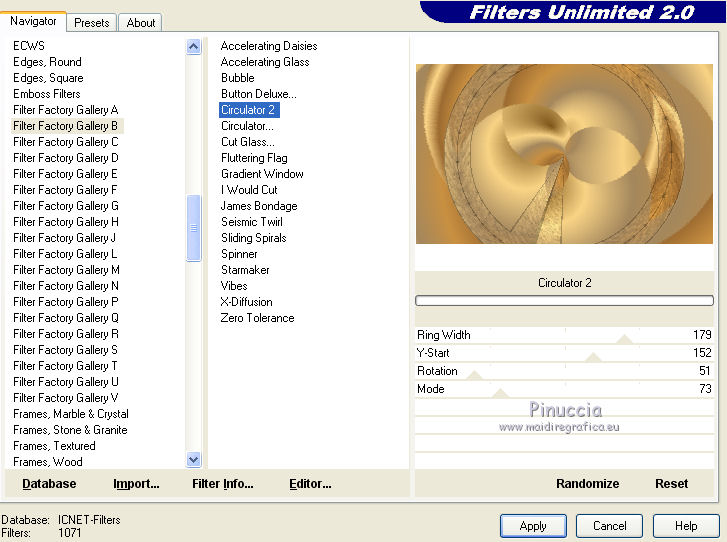
8. Effects>Plugins>AP Lines - Lines SilverLining.
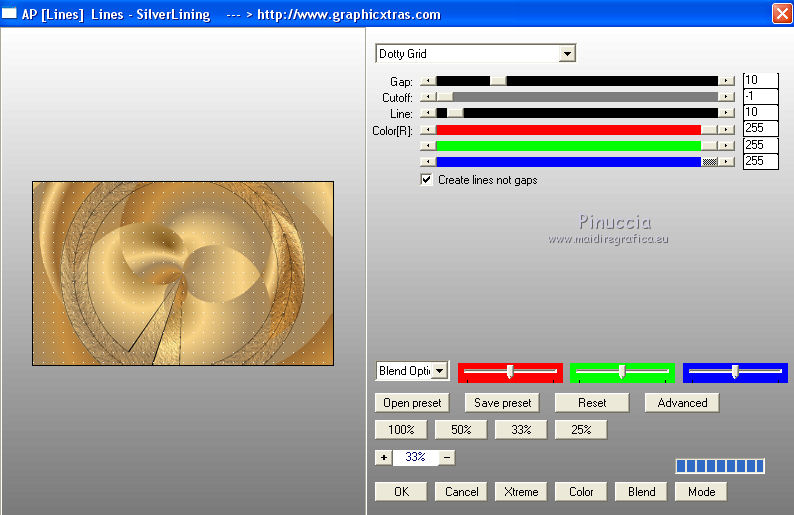
9. Image>Add borders, 3 pixels, symmetric, color #000000.
Image>Add borders, 3 pixels, symmetric, color #e0a947.
Image>Add borders, 3 pixels, symmetric, color #000000.
10. Edit>Copy
Minimize this image, the will use it for loading the selection saved on the alpha channel.
11. Open a new transparent image 1200 x 750 pixels.
Flood Fill  the transparent image with your Gradient the transparent image with your Gradient 
12. Effects>Plugins>AAA Frames - Texture Frame.
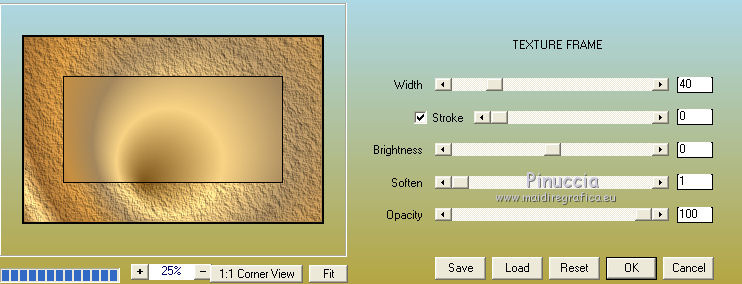
13. Selections>Select All.
Selections>Modify>Contract - 55 pixels.
14. Edit>Paste into Selection (the image in memory).
Selections>Select None.
15. Layers>New Raster Layer.
Flood Fill  the layer with your Gradient the layer with your Gradient  . .
16. Layers>New Mask layer>From image
Open the menu under the source window and you'll see all the files open.
Select the mask Mask 1
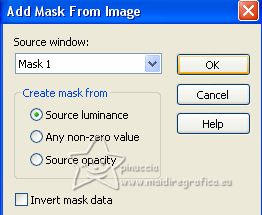
Layers>Merge>Merge Group.
17. Effects>Plugins>VM Extravaganza - Vasarely.
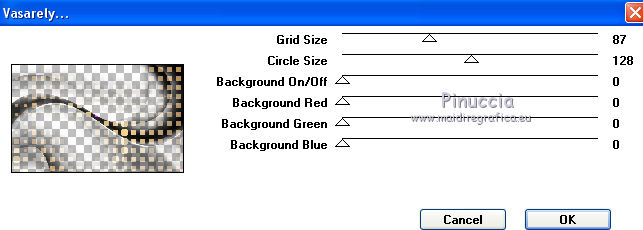
18. Change the Blend Mode of this layer to Soft Light
and reduce the opacity to 50%.
19. Layers>Duplicate.
Change the Blend Mode of this layer to Burn.
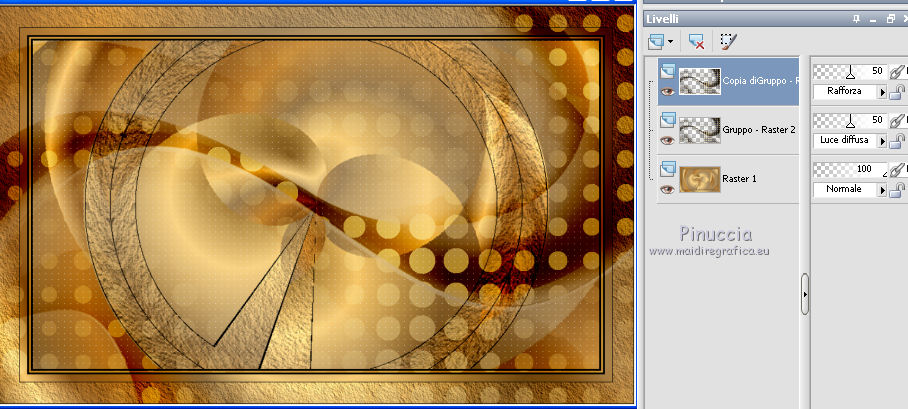
20. Layers>New Raster Layer.
Selections>Load/Save Selection>Load Selection from Alpha Channel.
The previously minimize Alpha_glamorous file makes the selection Select 1 immediately available.
You just have to click Load.

21. Flood Fill  the selection with your Gradient the selection with your Gradient  . .
22. Adjust>Blur>Radial Blur.

23. Reduce the opacity of this layer to 50%.
24. Effects>Plugins>Filters Unlimited 2.0 - &<Bkg Designer sf10II> - Line Side Line.
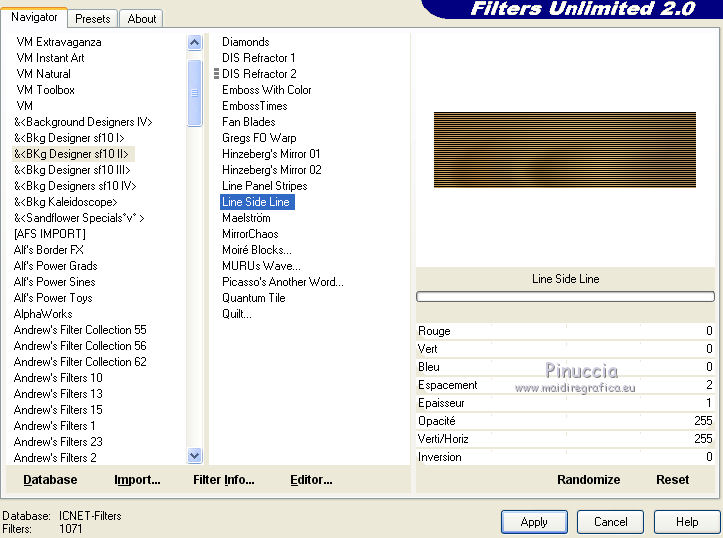
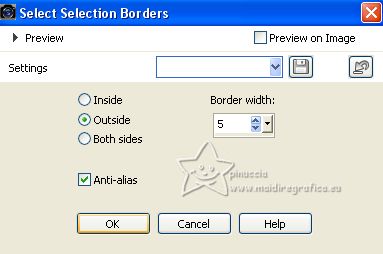
25. Selections>Modify>Select Selection Borders.
26. Layers>New Raster Layer.
Flood Fill  the selection with your background color #000000. the selection with your background color #000000.
Selections>Select None.
27. Layers>Merge>Merge Down.
28. Layers>Duplicate.
Image>Free Rotate - 30 degrees to right.

29. Layers>Duplicate.
Image>Free Rotate - 30 degrees to right.

30. Layers>Duplicate.
Image>Free Rotate - 50 degrees to right.

Move  this last layer as below. this last layer as below.
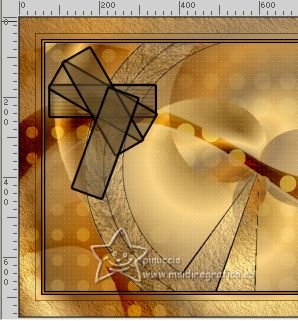
31. Layers>Merge>Merge Down - 3 times, to have the formes in a one layer.
32. Effects>Image Effects>Offset.

33. Effects>3D Effects>Drop Shadow, at your choice.
34. Open Glass Decor 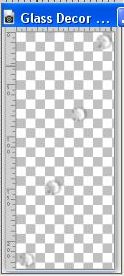
Edit>Copy.
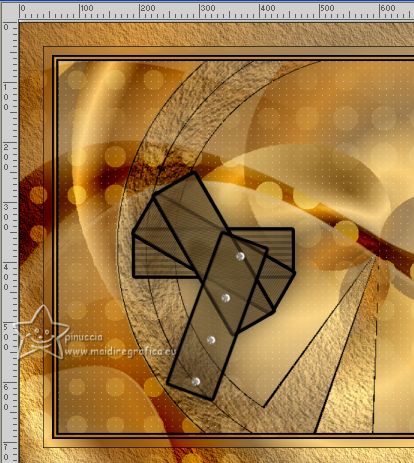
Go back to your work and go to Edit>Paste as new layer.
Place  the tube as below. the tube as below.
35. Effects>3D Effects>Drop Shadow, at your choice.
36. Activate your Bottom Layer, Raster 1.
Activate your Selection Tool  , circle, , circle,

Draw a little circle
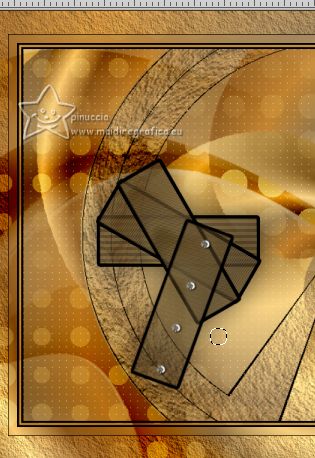
Selections>Promote Selection to Layer.
37. Effects>Plugins>Alien Skin Eye Candy 5 Impact - Glass
select the preset Magnifique_Glamorous and ok.
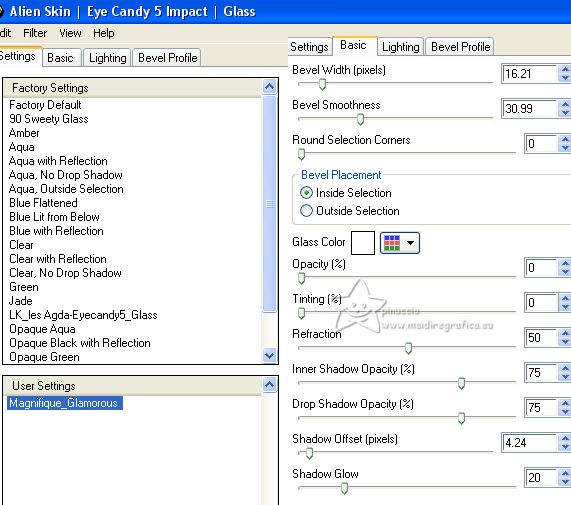
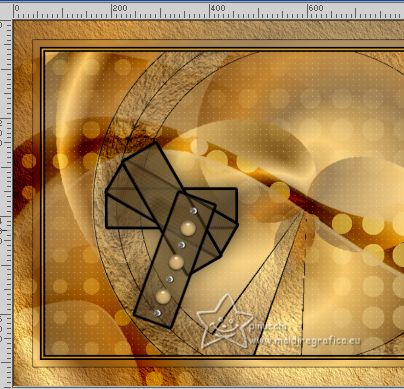
38. Selections>Select None.
Layers>Arrange>Bring to Top.
Layers>Duplicate - 2 times
Move  these balls among the transparent balls. these balls among the transparent balls.
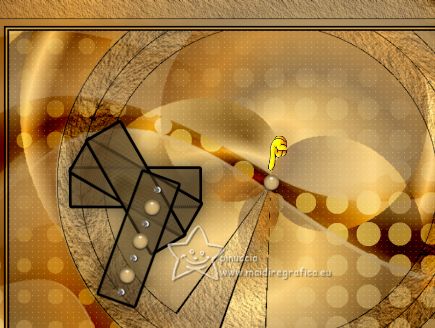
39. Activate your top layer.
Again Layers>Duplicate
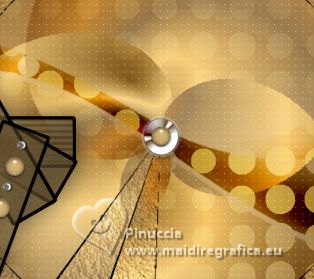
and move  this sphere to the center of the image. this sphere to the center of the image.
40. Open the tube Roundglass 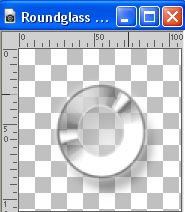
Edit>Copy.
Go back to your work and go to Edit>Paste as new layer.
Layers>Arrange>Move Down.
Place  correctly the tube under the sphere. correctly the tube under the sphere.
41. Open the woman's tube 3996-luzcristina 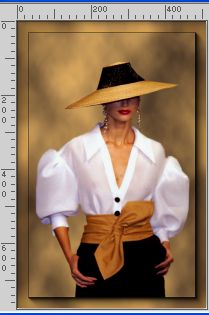
Edit>Copy.
Go back to your work and go to Edit>Paste as new layer.
Move  the tube to the right side. the tube to the right side.
42. Effects>3D Effects>Drop Shadow, at your choice.
43. Open the tube lisanne-deco02 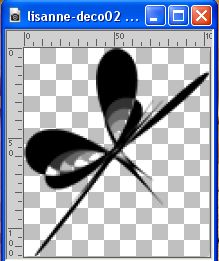
Edit>Copy.
Go back to your work and go to Edit>Paste as new layer.
Move  the tube to your liking, or see my example. the tube to your liking, or see my example.
44. Open the text Sign1 
Edit>Copy.
Go back to your work and go to Edit>Paste as new layer.
Place  the tube to your liking, or see my example. the tube to your liking, or see my example.
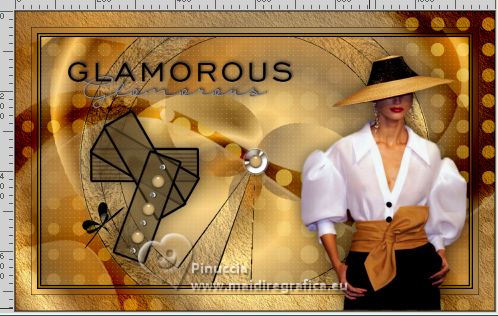
45. Effects>3D Effects>Drop Shadow, at your choice.
46. Invert the materials colors (foreground color black)
Activate your Pen Tool  , Line style +Solid, width 3 pixels, , Line style +Solid, width 3 pixels,

Draw a vertical line between the last two letters of the text
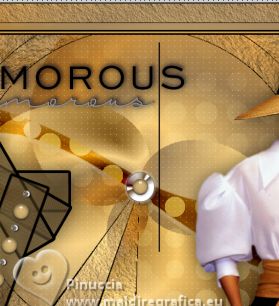
Layers>Convert in raster layer.
46. Then draw two horizontal lines as below
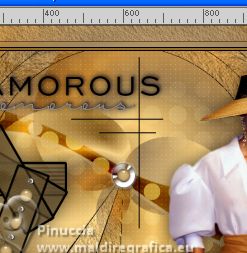
Layers>Convert in raster layer.
If you need to place lines better, after activating your Move Tool 
you can use the keyboard arrows.
47. Sign your work on a new layer.
48. Layers>Merge>Merge All.
49. Adjust>Sharpness>Unsharp mask.

50. Save as jpg.
For the tube of these versions thanks
Maryse
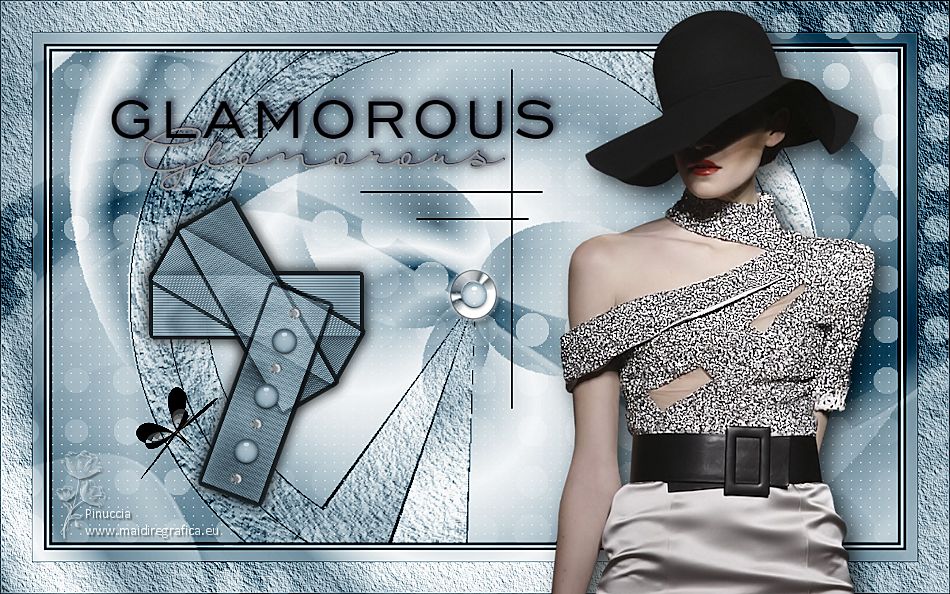
Wieskie

If you have problems or doubts, or you find a not worked link, or only for tell me that you enjoyed this tutorial, write to me.
18 May 2023
|

