|
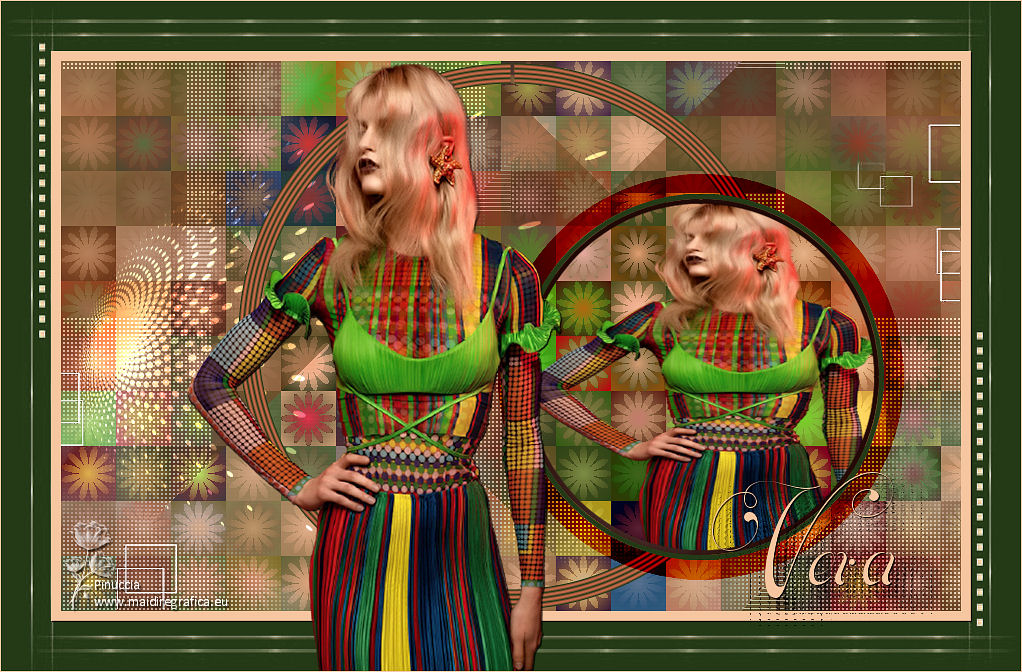
VERA

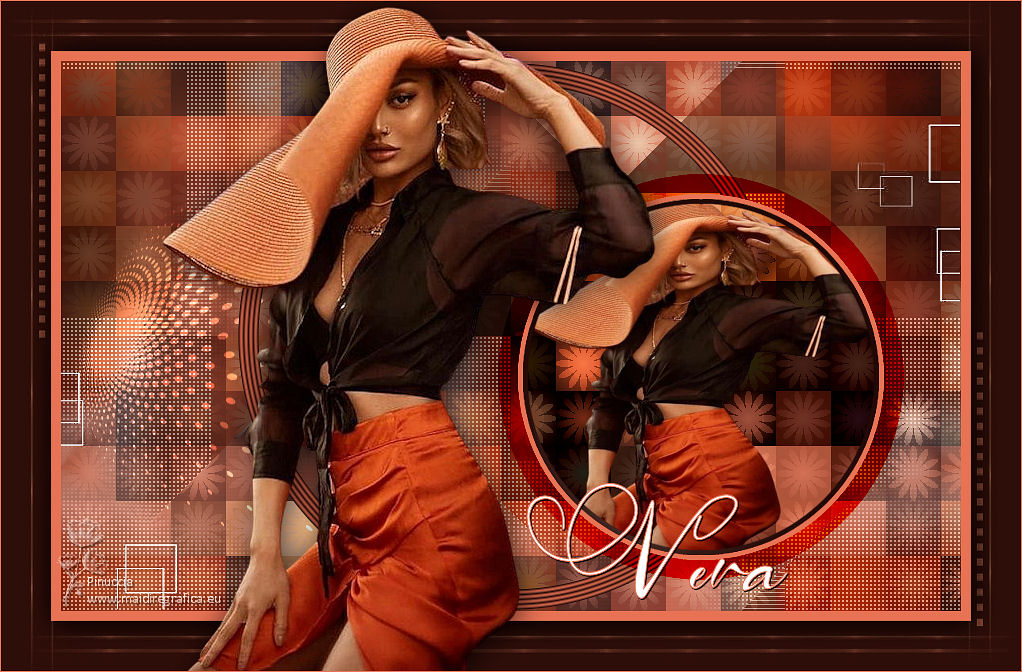
Thanks Gerrie for your invitation to translate your tutorials.

This tutorial was translated with PSP2020 but it can also be made using other versions of PSP.
Since version PSP X4, Image>Mirror was replaced with Image>Flip Horizontal,
and Image>Flip with Image>Flip Vertical, there are some variables.
In versions X5 and X6, the functions have been improved by making available the Objects menu.
In the latest version X7 command Image>Mirror and Image>Flip returned, but with new differences.
See my schedule here
 Italian translation qui Italian translation qui
 French translation here French translation here
 Your versions ici Your versions ici
For this tutorial, you will need:

Thanks for the tube and the mask Vera Mendes, Ildiko and smArt.
(you find here the links to the material authors' sites)

consult, if necessary, my filter section here
Filters Unlimited 2.0 here
&<Bkg Kaleidoscope> - BlueBerry Pie here
AFS IMPORT - sqborder2 here
Mura's Meister - Pole Transform here
LOtis Filter - Mosaic Toolkit v.1.07 here
Alien Skin Eye Candy 5 Impact - Extrude here
Simple - Diamonds here
AAA Filters - Custom here
Filters AFS IMPORT and Simple can be used alone or imported into Filters Unlimited.
(How do, you see here)
If a plugin supplied appears with this icon  it must necessarily be imported into Unlimited it must necessarily be imported into Unlimited

You can change Blend Modes according to your colors.
In the newest versions of PSP, you don't find the foreground/background gradient (Corel_06_029).
You can use the gradients of the older versions.
The Gradient of CorelX here

Open the masks in PSP and minimize them with the rest of the materiel.
1. Set your foreground color with a light color of your tube: #e77557,
and your background color with a dark color: #2e110c
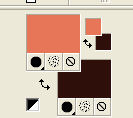
Set your foreground color to a Foreground/Background Gradient, style Linear.
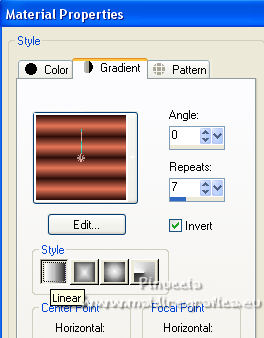
2. Open Alfa_Vera.
Window>Duplicate or, on the keyboard, shift+D to make a copy.

Close the original.
The copy, that will be the basis of your work, is not empty,
but contains the selections saved to alpha channel.
Flood Fill  the transparent image with your Gradient. the transparent image with your Gradient.
3. Selections>Select All.
Open the woman tube 676 VMTubes and go to Edit>Copy.
Minimize the tube.
Go back to your work and go to Edit>Paste into Selection.
Selections>Select None.
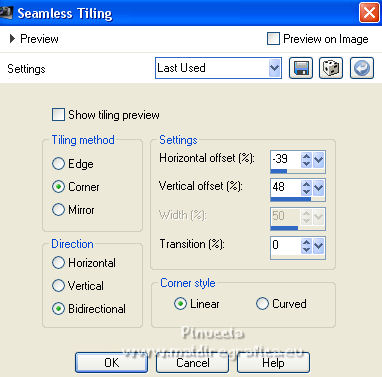
4. Effects>Image Effects>Seamless Tiling.
5. Layers>Duplicate.
Close this layer and activate the layer below.
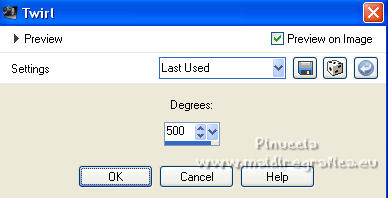
6. Effects>Distortion Effects>Twirl.
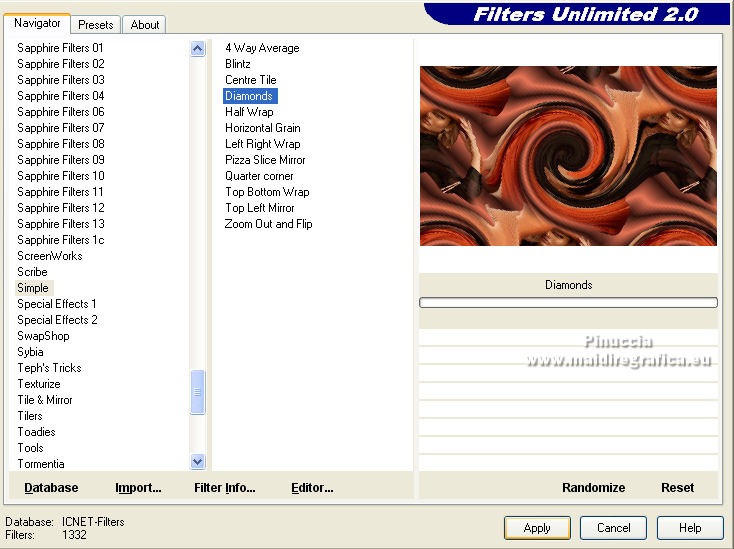
7. Effects>Plugins>Filters Unlimited 2.0 - Simple - Diamonds.
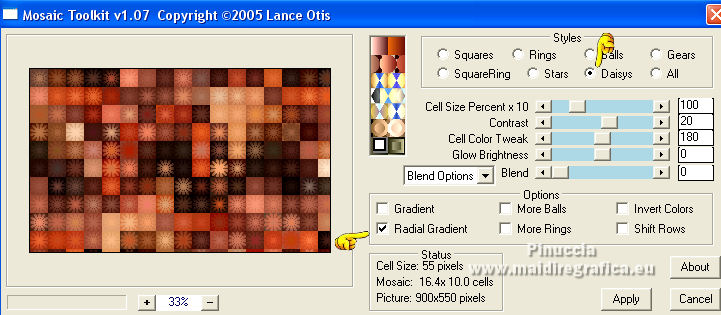
8. Effects>Plugins>LOtis Filter - Mosaic Tookit v.1.07 - Styles Daisys.
9. Open and activate the top layer.
Image>Resize, to 90%, resize all layers not checked.
10. Adjust>Blur>Gaussian Blur - radius 30.

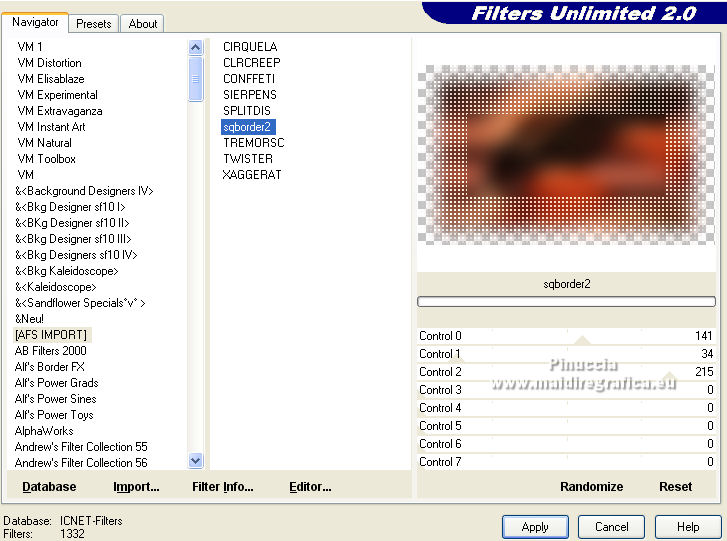
11. Effects>Plugins>Filters Unlimited 2.0 - [AFS IMPORT] - sqborder2, default settings.
12. Effects>Plugins>Filters Unlimited 2.0 - &<Bkg Kaleidoscope> - @BlueBerry Pie
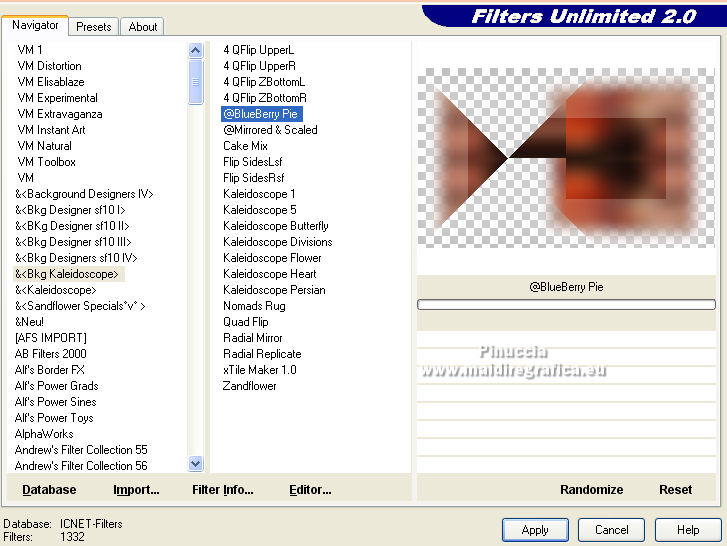
13. Effects>Image Effects>Seamless Tiling, same settings.

Reduce the opacity of this layer +/-60%, according to your colors.
Close this layer.
Activate again the bottom layer.
14. Selections>Load/Save Selection>Load Selection from Alpha Channel.
The selection #1 is immediately available. You just have to click Load.
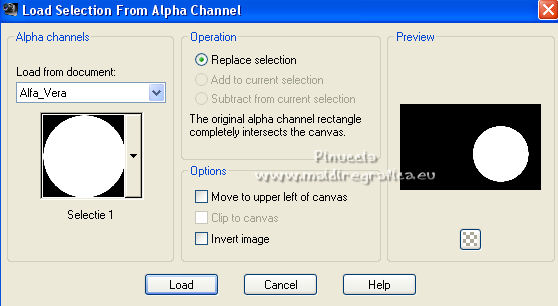
Selections>Promote Selection to Layer.
15. Edit>Paste into Selection (the woman tube, 676 VMtubes, is still in memory).
16. Selections>Modify>Select Selection Borders.
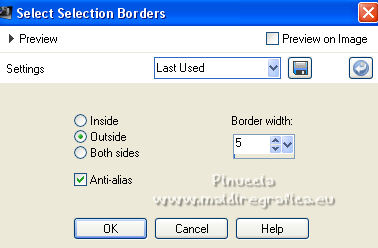
17. Set your foreground color to Color.
Flood Fill  the selection with your foreground color. the selection with your foreground color.
18. Effects>Plugins>Alien Skin Eye Candy 5 Impact - Extrude.
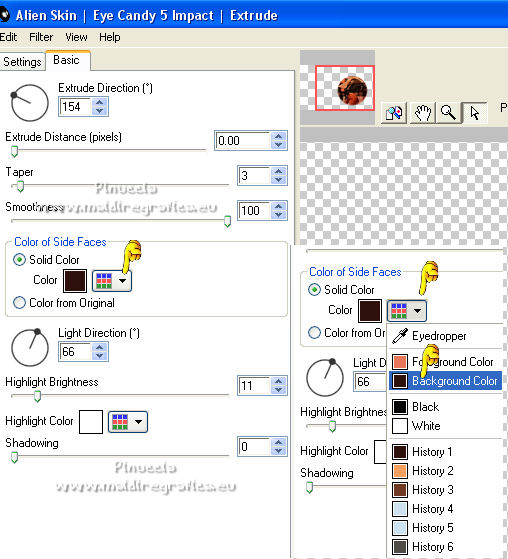
Selections>Select None.
19. Selections>Select All.
Selections>Float.
Selections>Defloat.
20. Selections>Modify>Select Selection Borders.
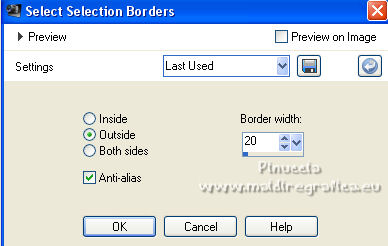
21. Layers>New Raster Layer.
Flood Fill  the layer with your Foreground Color. the layer with your Foreground Color.
Change the Blend Mode of this layer to Burn, or according to your colors.
Selections>Select None.
22. Open and activate the top layer.
Move this layer under the layer Promoted Selection.
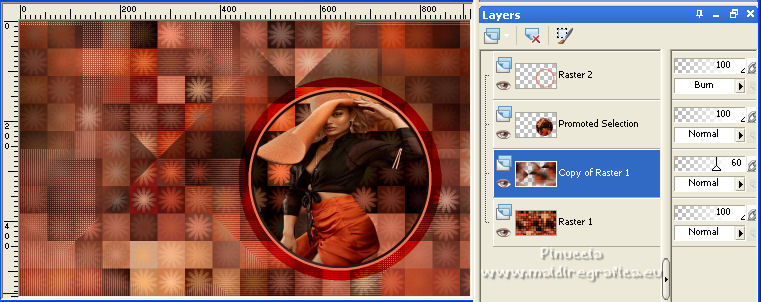
to spice up the Lotis filter result,
I did a test by changing the blend mode of this layer (Copy of Raster 1) to Hard Light.
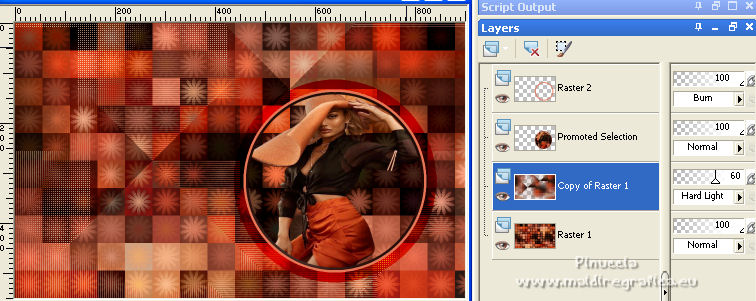
For my and your curiosity.
It is up to you to decide whether or not to follow my suggestion.
At the bottom of the tutorial, see the final result with this variant.
In my other versions I left the level in Normal mode.
Stay on the layer Copy of Raster 1.
23. Set your foreground color to white #ffffff.
Layers>New Raster Layer.
Flood Fill  the layer with color white #ffffff. the layer with color white #ffffff.
24. Layers>New Mask layer>From image
Open the menu under the source window and you'll see all the files open.
Select the mask smArt_Mask_43.
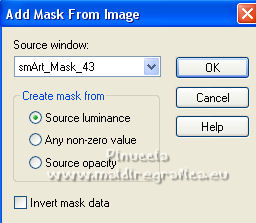
Layers>Merge>Merge Group.
Change the Blend Mode of this layer to Overlay, or according to your colors.
25. Layers>New Raster Layer.
Selections>Load/Save Selection>Load Selection from Alpha Channel.
Open the Selections menu and load the selection #2.
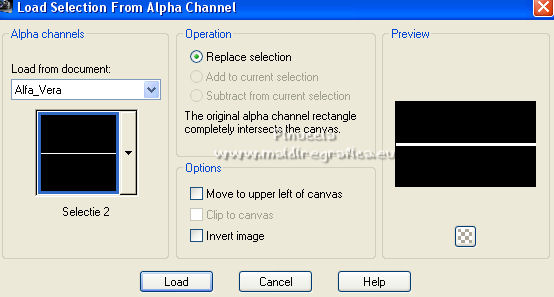
26. Set again your foreground color to the first color (#e77557) and gradient.
 
Flood Fill  the selection with your Gradient. the selection with your Gradient.
Selections>Select None.
27. Effects>Plugins>Mura's Meister - Pole Transform.
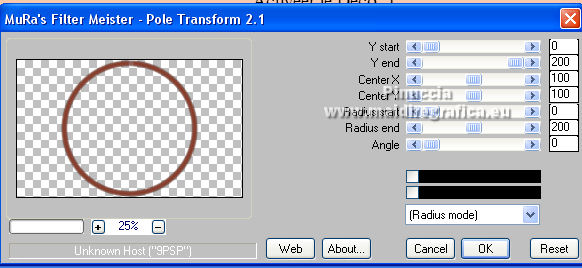
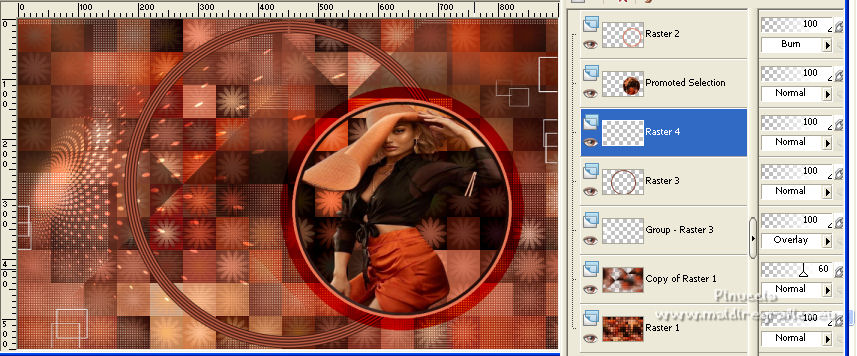
28. Open the tube Deco_1 and go to Edit>Copy.
Go back to your work and go to Edit>Paste as new layer.
Don't move it.
You should have this.
29. Image>Add borders, 10 pixels, symmetric, foreground color.
Image>Add borders, 50 pixels, symmetric, background color.
30. Activate your Magic Wand Tool 

Layers>New Raster Layer.
Flood Fill  the color with a color at your choice, the color with a color at your choice,
for me the foreground color.
Pay attention to the light color of the 50 pixels border,
(you can also invert the colors: i.e. light border, dark fill),
otherwise the mask will not do its job.
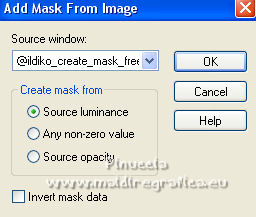
31. Layers>New Mask layer>From image
Open the menu under the source window
and select the mask @ildiko_create_mask_free_011.
Layers>Merge>Merge Group.
32. Effects>Edge Effects>Enhance.
Selections>Invert.
33. Effects>3D Effects>Drop Shadow, color black.
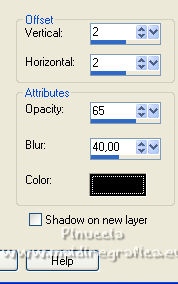
Edit>Repeat Drop Shadow.
Selections>Select None.
34. Activate again the woman tube 676 VMtubes and go to Edit>Copy.
Go back to your work and go to Edit>Paste as new layer.
Move  the tube to your liking. the tube to your liking.
Effects>3D Effects>Drop Shadow, at your choice.
35. With font and settings to your liking, write the name "Vera",
and move it  where you prefer. where you prefer.
Effects>3D Effects>Drop Shadow, at your choice.
36. Sign your work on a new layer.
37. Image>Add borders, 1 pixel, symmetric, foreground color.
38. Effects>Plugins>AAA Filters - Custom - click on Sharp and ok.
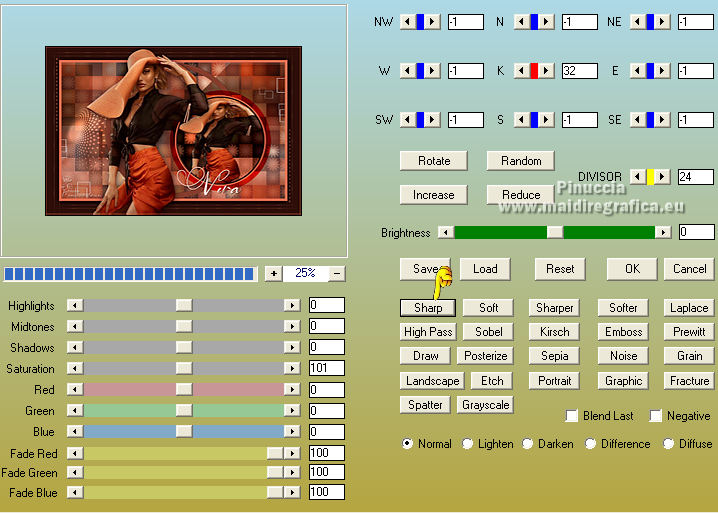
Save as jpg.
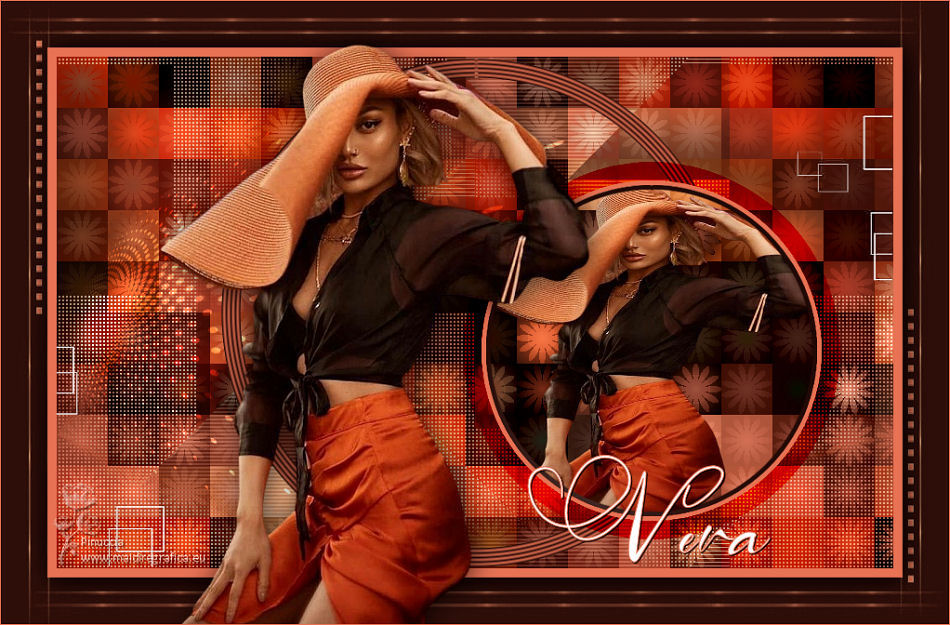
Version with the variant at step 22
For the tubes of these versions thanks
Jeanne
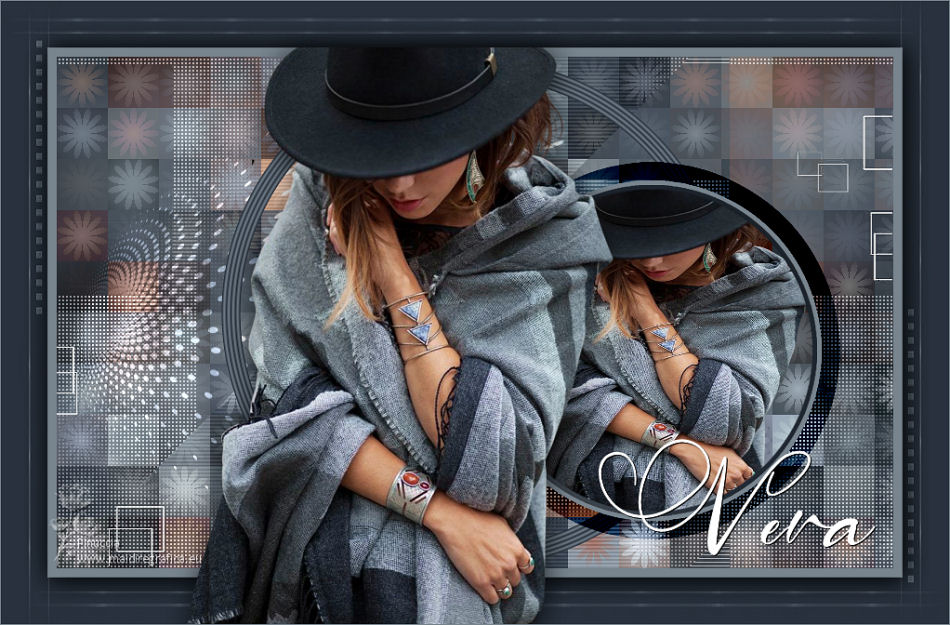
Luz Cristina
 Your versions here Your versions here

If you have problems or doubts, or you find a not worked link, or only for tell me that you enjoyed this tutorial, write to me.
1 October 2022

|

