|
SPRING

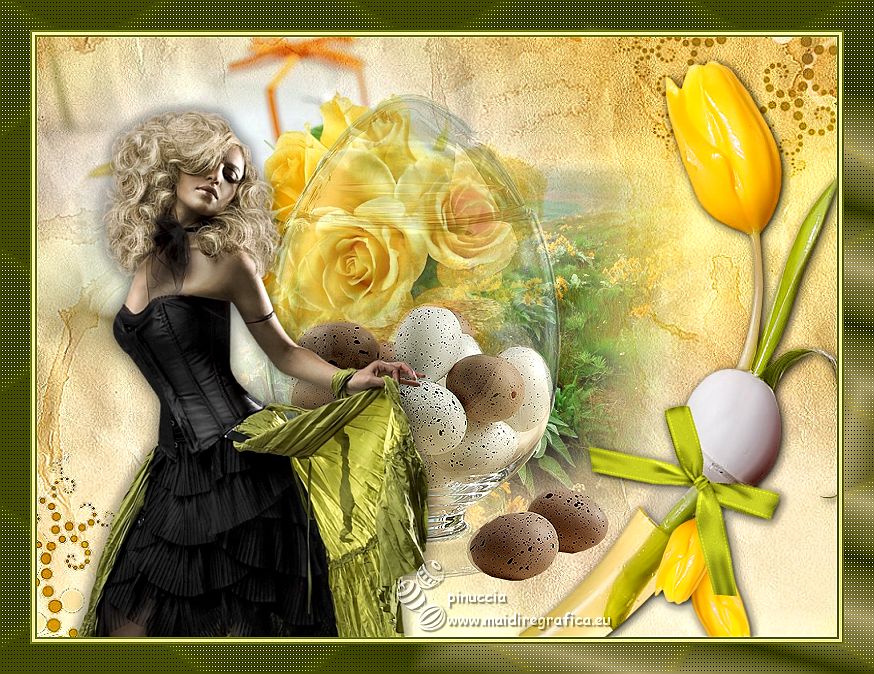
Thanks Gerrie for your invitation to translate your tutorials.

This tutorial was created with PSPX2 and translated with PSPX7, but it can also be made using other versions of PSP.
Since version PSP X4, Image>Mirror was replaced with Image>Flip Horizontal,
and Image>Flip with Image>Flip Vertical, there are some variables.
In versions X5 and X6, the functions have been improved by making available the Objects menu.
In the latest version X7 command Image>Mirror and Image>Flip returned, but with new differences.
See my schedule here
 Italian translation qui Italian translation qui
 French translation here French translation here
 Your versions ici Your versions ici
For this tutorial, you will need:

For the tubes thanks Luz Cristina, JHanna, AH, Aclis, Jet.
(you find here the links to the material authors' sites)

consult, if necessary, my filter section here
Filters Unlimited 2.0 here
Andrew's Filters 48 - Mixing Dots and More Dots here
Nik Software - Color Efex Pro here
Filters Andrew's Filters can be used alone or imported into Filters Unlimited.
(How do, you see here)
If a plugin supplied appears with this icon  it must necessarily be imported into Unlimited it must necessarily be imported into Unlimited

You can change Blend Modes according to your colors.
In the newest versions of PSP, you don't find the foreground/background gradient (Corel_06_029).
You can use the gradients of the older versions.
The Gradient of CorelX here

1. Choose two colors from your tube
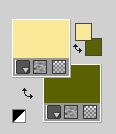
set your foreground color to light color #f9e898,
and your background color to dark color #5a6200.
2. Open a new transparent image 800 x 600 pixels.
3. Selections>Select All.
Open the background image JHanna131 bground 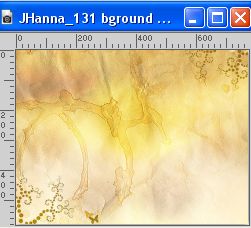
if you use other colors,
colorize with the codes of you Hue and Saturation background color:
(Adjust>Hue and Saturation)
Edit>Copy.
Go back to your work and go to Edit>Paste into selection.
Selections>Select None.
4. Open the misted 1331-luzcristina (width 545 pixels) 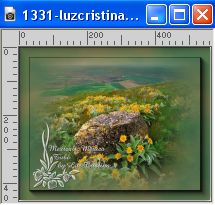
Edit>Copy.
Go back to your work and go to Edit>Paste as new layer.
It is in its place.
5. Open the misted aclis yelow roses 0103022009 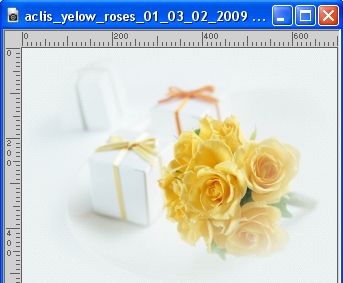
Edit>Copy.
Go back to your work and go to Edit>Paste as new layer.
Move  the tube to the upper left corner. the tube to the upper left corner.
See my example.
6. Open the tube AH-glasei 0407 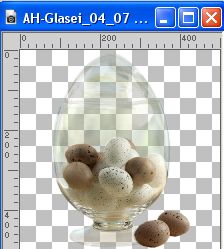
Edit>Copy.
Go back to your work and go to Edit>Paste as new layer.
It is in its place.
7. Open the woman tube Jet-woman8-september-2008 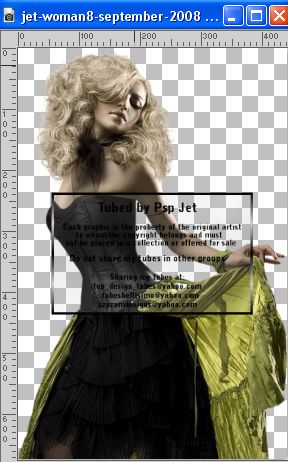
Image>Resize, 500 pixels hight, resize all layers checked.
Edit>Copy.
Go back to your work and go to Edit>Paste as new layer.
Move  the tube to the left. the tube to the left.
Effects>3D Effects>Drop Shadow, at your choice.
8. Open the tube jet-easterflower-februari-2009 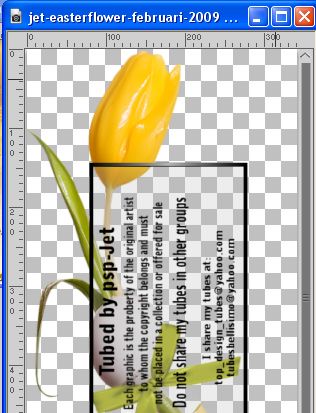
Edit>Copy.
Go back to your work and go to Edit>Paste as new layer.
Image>Mirror.
Move  the tube to the right. the tube to the right.
Effects>3D Effects>Drop Shadow, at your choice.
9. Sign your work on a new layer.
10. Image>Add borders, 2 pixels, symmetric, background color #5a6200.
Image>Add borders, 3 pixels, symmetric, foreground color #f9e898.
Image>Add borders, 2 pixels, symmetric, background color #5a6200.
Image>Add borders, 30 pixels, symmetric, foreground color #f9e898.
10. Set your foreground color to a Foreground/Background Gradient, style Rectangular.

11. Activate your Magic Wand Tool 

Click on the last border to select it.
Flood Fill  the selection with your Gradient. the selection with your Gradient.
12. Effects>Plugins>Filters Unlimited 2.0 - Andrew's Filter 48 - Mixing Dots And More Dots, default settings.
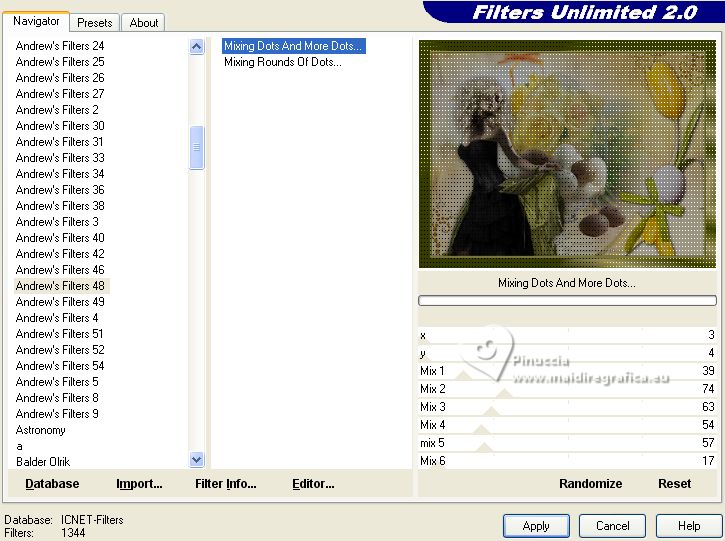
Selections>Select None.
13. Effects>Plugins>Nik Software - Color Efex - Tonal Contrast, default settings.
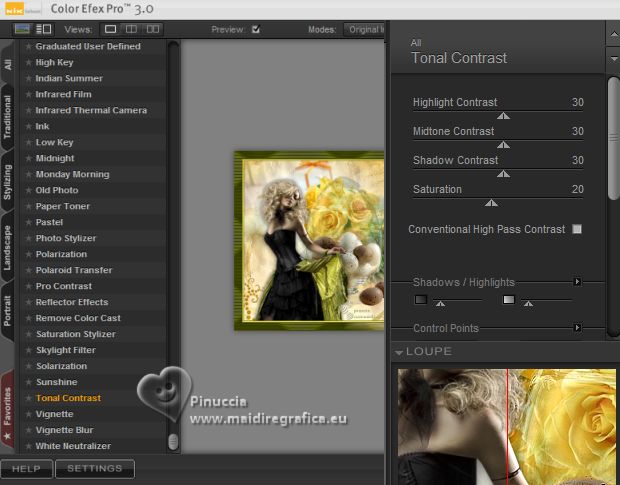
14. Save as jpg.
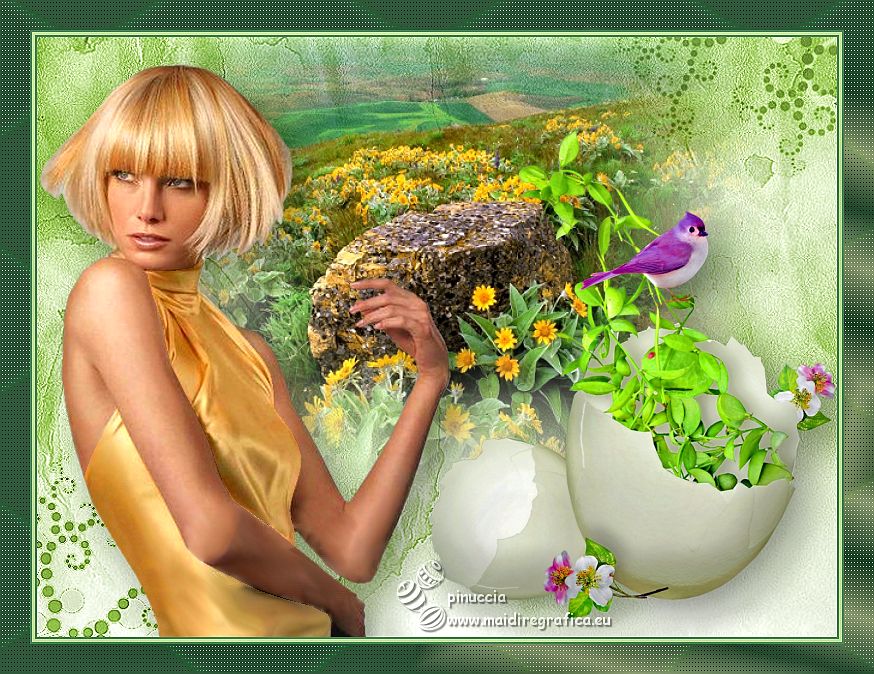

If you have problems or doubts, or you find a not worked link, or only for tell me that you enjoyed this tutorial, write to me.
31 March 2023

|

