|
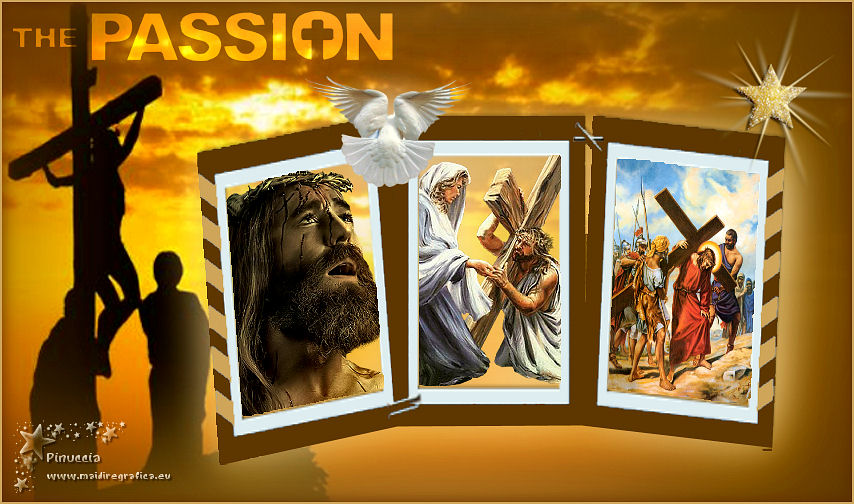
THE PASSION

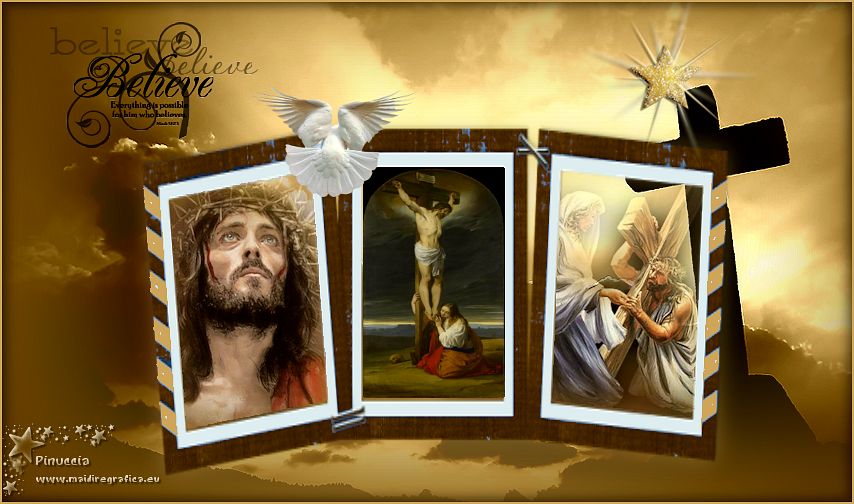
Thanks Gerrie for your invitation to translate your tutorials.

This tutorial was translated with PSP2019 but it can also be made using other versions of PSP.
Since version PSP X4, Image>Mirror was replaced with Image>Flip Horizontal,
and Image>Flip with Image>Flip Vertical, there are some variables.
In versions X5 and X6, the functions have been improved by making available the Objects menu.
In the latest version X7 command Image>Mirror and Image>Flip returned, but with new differences.
See my schedule here
 Italian translation qui Italian translation qui
 French translation here French translation here
 Your versions ici Your versions ici
For this tutorial, you will need:
Material
here
Thanks for the tubes Luz Cristina and Latrina.
(you find here the links to the material authors' sites)
Plugins
consult, if necessary, my filter section here
AAA Filters - Custom here

You can change Blend Modes according to your colors.
In the newest versions of PSP, you don't find the foreground/background gradient (Corel_06_029).
You can use the gradients of the older versions.
The Gradient of CorelX here
1. Choose two colors from your tube.
Set your foreground color to light color, for me #c8a567,
and your background color to dark color, for me #603c01.
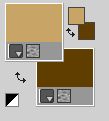
Set your foreground color to a Foreground/Background Gradient, style Sunburst.

2. Open a new transparent image 850 x 500 pixels.
Flood Fill  the transparent image with your Gradient. the transparent image with your Gradient.
3. Open the misted DBK BG MIST-066, cancella il watermark, and go to Edit>Copy.
Go back to your work and go to Edit>Paste as new layer.
4. Effects>Image Effects>Offset.

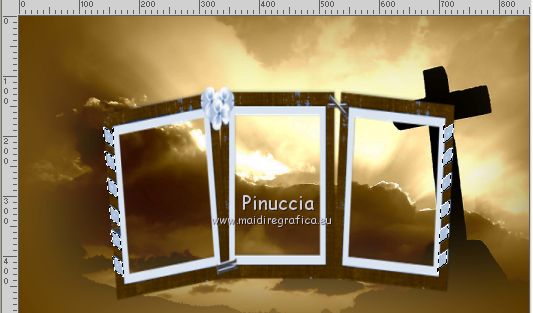
5. Open the tube Frame and go to Edit>Copy.
Go back to your work and go to Edit>Paste as new layer.
6. Effects>Image Effects>Offset.

7. Activate your Color Changer Tool 
and click in the frame's borders with your right mouse button, to use your background color.
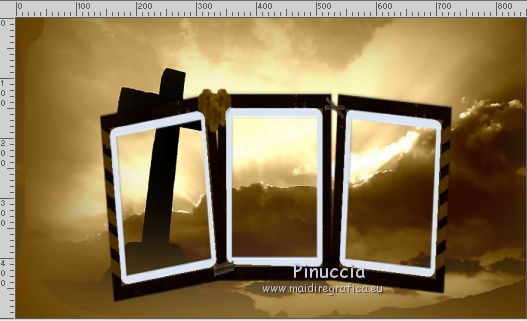
If you have difficulty using this tool,
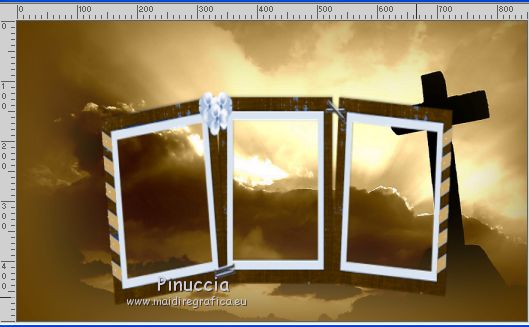
activate your Magic Wand tool  , tolerance +/-30 , tolerance +/-30
and click in the frame's borders to select them.
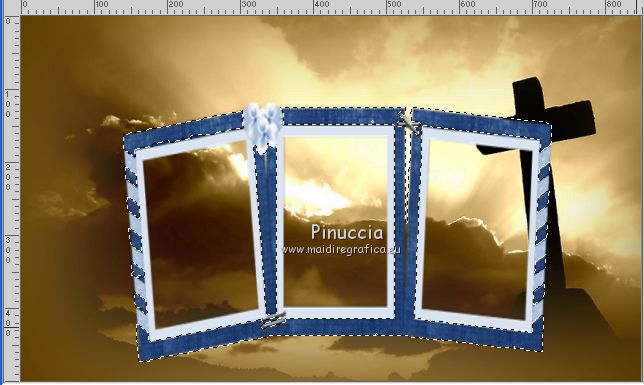
Flood Fill  the selection with your background color. the selection with your background color.
Reduce the tolerance to 10-15 and select the small light parts
Set your foreground color to Color
Flood Fill  the selection with your foreground color. the selection with your foreground color.
8. Activate your Magic Wand Tool  , tolerance 1 , tolerance 1

and click in the first frame to select it.
Selections>Modify>Expand - 3 pixels.
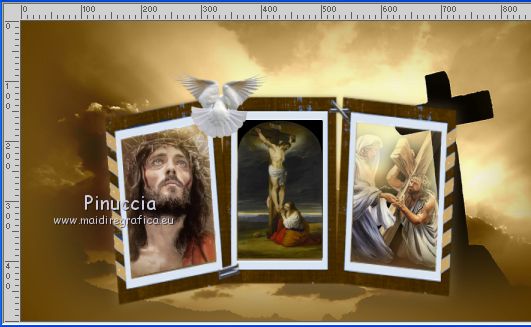
9. Open the tube 4909-luzcristina.
Image>Mirror.
Edit>Copy.
Go back to your work and go to Edit>Paste as new layer.
Image>Resize, 2 times to 80%, resize all layers not checked.
Place  the tube in the center of the selection. the tube in the center of the selection.
Selections>Invert.
Press CANC on the keyboard 
Selections>Select None.
Layers>Merge>Merge Down.
11. Click on the second frame to select it with your Magic Wand Tool  . .
Selections>Modify>Expand - 3 pixels.
Open the image plaatje_Jesus and go to Edit>Copy.
Go back to your work and go to Edit>Paste into Selection.
Selections>Select None.
12. Click on the third frame with your Magic Wand Tool  to select it. to select it.
Selections>Modify>Expand - 3 pixels.
Open the tube healinghands and go to Edit>Copy.
Go back to your work and go to Edit>Paste as new layer.
Image>Resize, 2 times to 80%, resize all layers not checked.
Place  the tube in the selection. the tube in the selection.
Selections>Invert.
Press CANC on the keyboard.
Selections>Select None.
Layers>Merge>Merge Down.
13. Effects>3D Effects>Drop Shadow, color #c8a567.

14. Open the tube Vogel and go to Edit>Copy.
Go back to your work and go to Edit>Paste as new layer.
Move  the tube on the frame, to hide the flowers. the tube on the frame, to hide the flowers.
15. Open the wordart KathrynEstry_WordsofFaith_believe and go to Edit>Copy.
Go back to your work and go to Edit>Paste as new layer.
Move  the wordart to the top left. the wordart to the top left.
16. Open the tube Ster and go to Edit>Copy.
Go back to your work and go to Edit>Paste as new layer.
Move  the tube to the top right. the tube to the top right.
17. Layers>Merge>Merge All.
18. Selections>Select All.
Image>Add borders, 2 pixels, symmetric, foreground color.
19. Effects>3D Effects>Cutout.

20. Layers>New Raster Layer.
Repeat the Cutout Effect, vertical and horizontal -5.

Selections>Select None.
21. Sign your work on a new layer.
Layers>Merge>Merge All.
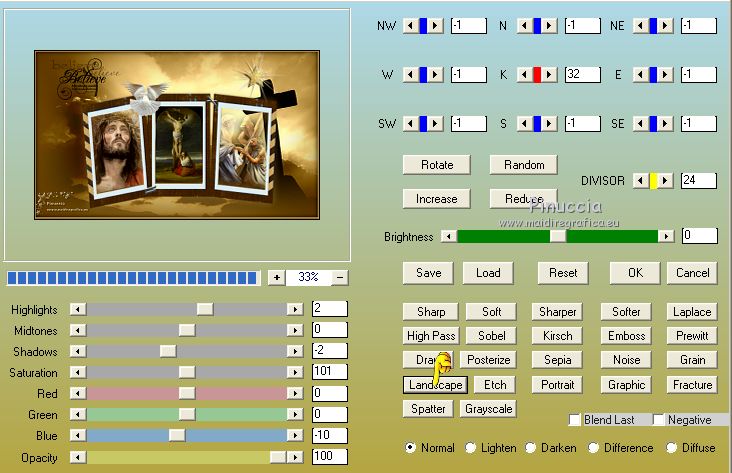
22. Effects>Plugins>AAA Filters - Custom - click on Landscape and ok.
23. Save as jpg.
Version with images found in Internet and tube by Luz Cristina
 Your versions here Your versions here

If you have problems or doubts, or you find a not worked link, or only for tell me that you enjoyed this tutorial, write to me.
15 March 2021
|

