|
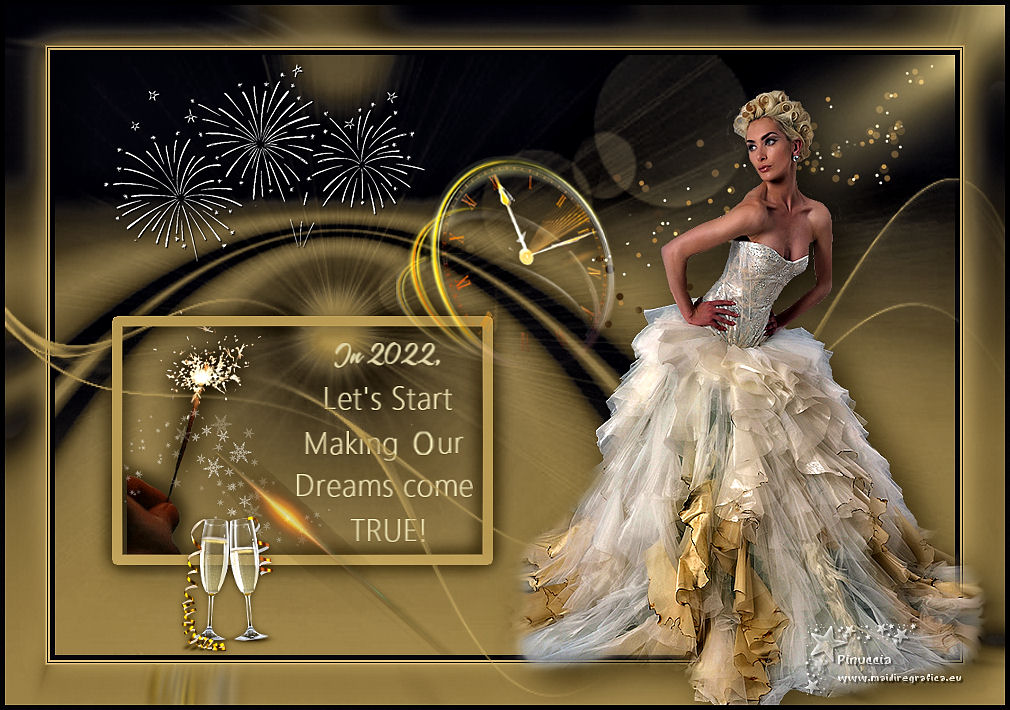
NIEUW JAAR 2022

Thanks Gerrie for your invitation to translate your tutorials.

This tutorial was translated with PSP2020 but it can also be made using other versions of PSP.
Since version PSP X4, Image>Mirror was replaced with Image>Flip Horizontal,
and Image>Flip with Image>Flip Vertical, there are some variables.
In versions X5 and X6, the functions have been improved by making available the Objects menu.
In the latest version X7 command Image>Mirror and Image>Flip returned, but with new differences.
See my schedule here
 Italian translation qui Italian translation qui
 French translation here French translation here
 Your versions ici Your versions ici
For this tutorial, you will need:
Material
here
Thanks for the tube Mara Pontes and for the masks Linda and Ildiko.
(you find here the links to the material authors' sites)
Plugins
consult, if necessary, my filter section here
Nik Software - Color Efex Pro here


You can change Blend Modes according to your colors.
If you want change the colors of your images:
Note the codes of Hue (H) and Saturation (S) of your background color.
Adjust>Hue and Saturation>Colorize and copy the codes in the respective cases.
Open the masks in PSP and minimize them with the rest of the material.
1.Choose two colors from your tube.
Set your foreground color to light color: #ab9155,
and your background color to dark color: #000006.
2. Open a new transparent image 900 x 600 pixels.
Flood Fill  the transparent image with your background color. the transparent image with your background color.
3. Layers>New Raster Layer.
Flood Fill  the layer with your foreground color. the layer with your foreground color.
4. Layers>New Mask layer>From image
Open the menu under the source window and you'll see all the files open.
Select the mask LF-Mask15-24102013.

Layers>Merge>Merge All.
5. Selection Tool 
(no matter the type of selection, because with the custom selection your always get a rectangle)
clic on the Custom Selection 
and set the following settings.

6. Selections>Modify>Select Selection Borders.

Layers>New Raster Layer.
Flood Fill  the selection with your foreground color. the selection with your foreground color.
Selections>Select None.
Effects>3D Effects>Drop Shadow, at your choice.
7. Open the tube Deco_04_sterrtje and go to Edit>Copy.
Go back to your work and go to Edit>Paste as new layer.
Move  the tube to the left side, in the frame. the tube to the left side, in the frame.
Layers>Arrange>Move Down.
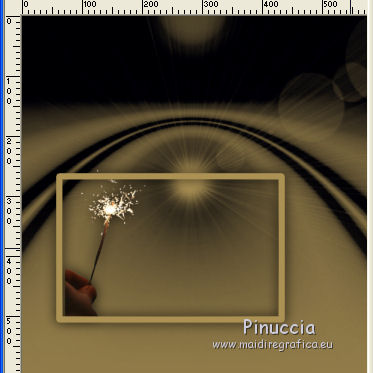
Effects>3D Effects>Drop Shadow, at your choice.
Stay on this layer.
8. Open the tube Deco_06 kleine sterretjes and go to Edit>Copy.
Go back to your work and go to Edit>Paste as new layer.
Move  the tube down, always in the frame. the tube down, always in the frame.
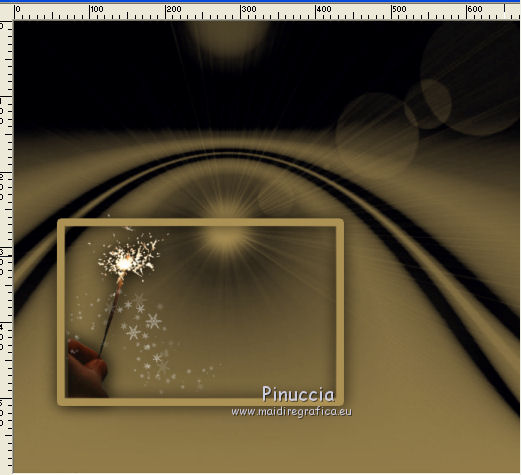
Effects>3D Effects>Drop Shadow, at your choice.
9. Open the tube Deco_5 Tekst and go to Edit>Copy.
Go back to your work and go to Edit>Paste as new layer.
Move  the texte in the frame, to the right side. the texte in the frame, to the right side.
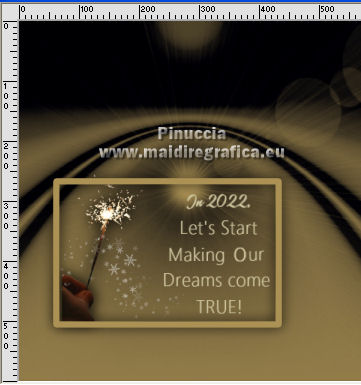
There was a small grammar error in the text.
I corrected it and I added the new text to the material
10. If you use other colors,
activate your Color Changer Tool 
and click with your left button to apply your light color.
Effects>3D Effects>Drop Shadow, at your choice.
11. Close your background layer.

Layers>Merge>Merge visible.
12. Activate your bottom layer and stay on the top layer.

13. Open the tube Deco-01 and go to Edit>Copy.
Go back to your work and go to Edit>Paste as new layer.
Move  the tube to the top right corner. the tube to the top right corner.
14. Open the tube Deco-02 klok
If you use another clock, adjust the size to about 276 x 278 pixels,
or to your liking, but don't make it too small
Edit>Copy.
Go back to your work and go to Edit>Paste as new layer.
Place  the tube correctly in the center. the tube correctly in the center.
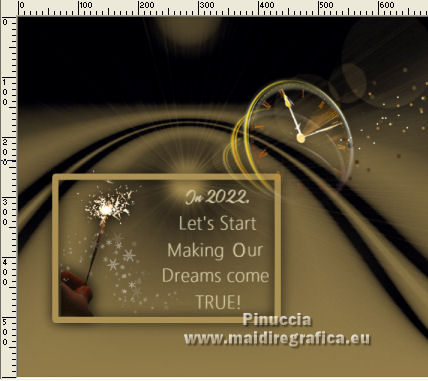
Effects>3D Effects>Drop Shadow, at your choice.
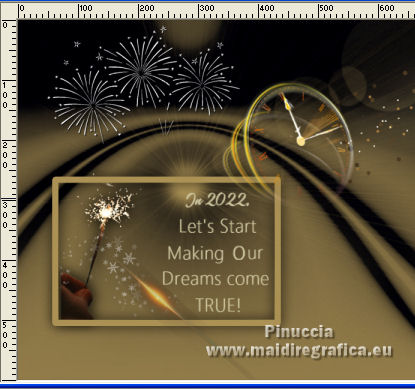
15. Open the tube BA-2021-Image-Decos
Activate the layer Raster 3 and go to Edit>Copy.
Go back to your work and go to Edit>Paste as new layer.
Move  the tube at the upper left. the tube at the upper left.
Effects>3D Effects>Drop Shadow, at your choice.
Activate again the tube and copy the layer Raster 1.
Go back to your work and go to Edit>Paste as new layer.
Place  the tube in the frame. the tube in the frame.
16. Open the tube Deco_03 and go to Edit>Copy.
Go back to your work and go to Edit>Paste as new layer.
Move  the tube at the bottom left, or to your liking. the tube at the bottom left, or to your liking.
Effects>3D Effects>Drop Shadow, at your choice.
17. Layers>Merge>Merge All.
Edit>Copy.
18. Image>Add borders, 5 pixels, symmetric, background color.
Image>Add borders, 2 pixels, symmetric, foreground color.
Image>Add borders, 1 pixel, symmetric, background color.
Image>Add borders, 2 pixels, symmetric, foreground color.
Image>Add borders, 40 pixels, symmetric, color white.
19. Activate your Magic Wand Tool 

and click on the white border to select it.
Edit>Paste into Selection.
20. Adjust>Blur>Radial Blur.

Selections>Invert.
21. Effects>3D Effects>Drop Shadow, foreground color.

Selections>Select None.
22. Calques>Nouveau calque raster.
Flood Fill  the layer with your foreground color. the layer with your foreground color.
23. Layers>New Mask layer>From image
Open the menu under the source window
and select the mask ildiko_create_0013free_mask.

Layers>Merge>Merge Group.
24. Open the woman tube tube2215_mulher_mara_pontes Edit>Copy.
Go back to your work and go to Edit>Paste as new layer.
Image>Mirror.
Move  the tube to the right side. the tube to the right side.
Effects>3D Effects>Drop Shadow, at your choice.
25. Sign your work on a new layer.
26. Image>Add borders, 5 pixels, symmetric, background color.
27. Effects>Plugins>Nik Software - Color Efex Pro - Tonal Contrast and ok.
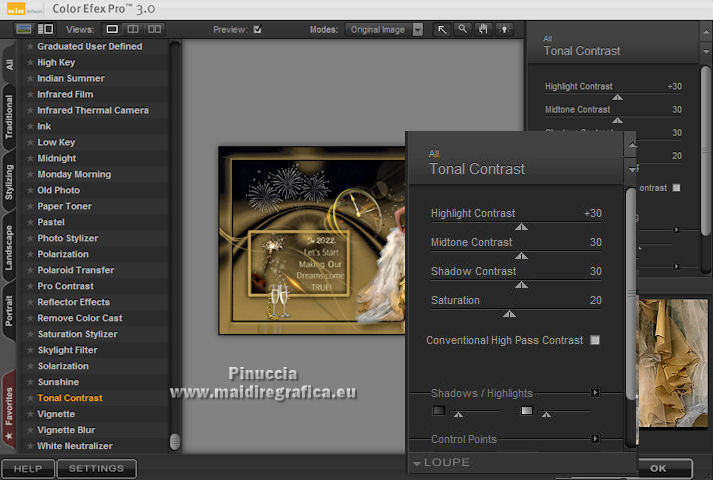
Save as jpg.
Version with tubes by Beatriz and Irene
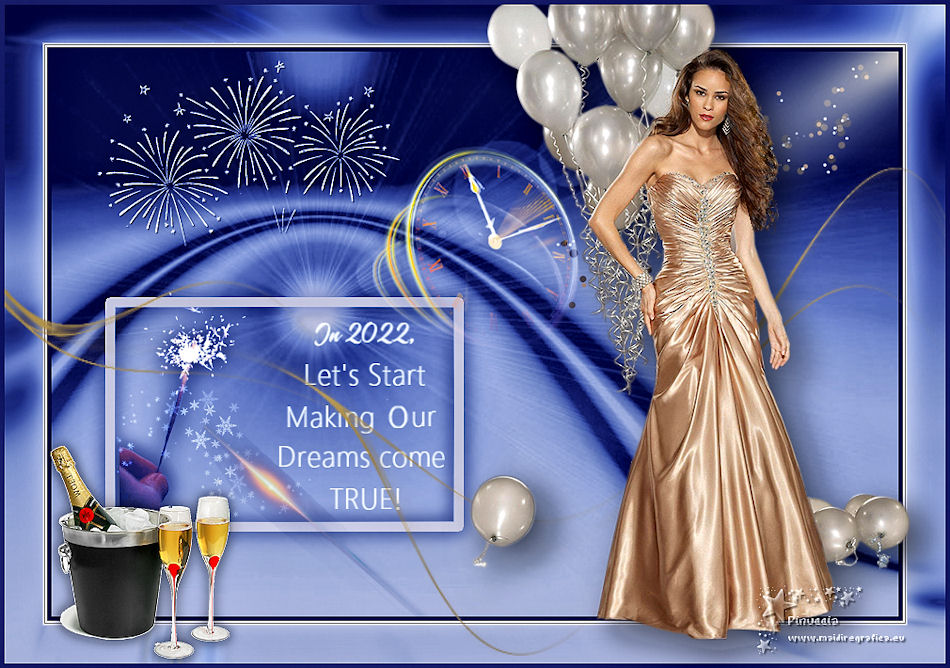
 Your versions here Your versions here
If you have problems or doubts, or you find a not worked link, or only for tell me that you enjoyed this tutorial, write to me.
1 September 2021

|

