|
KERST 2022

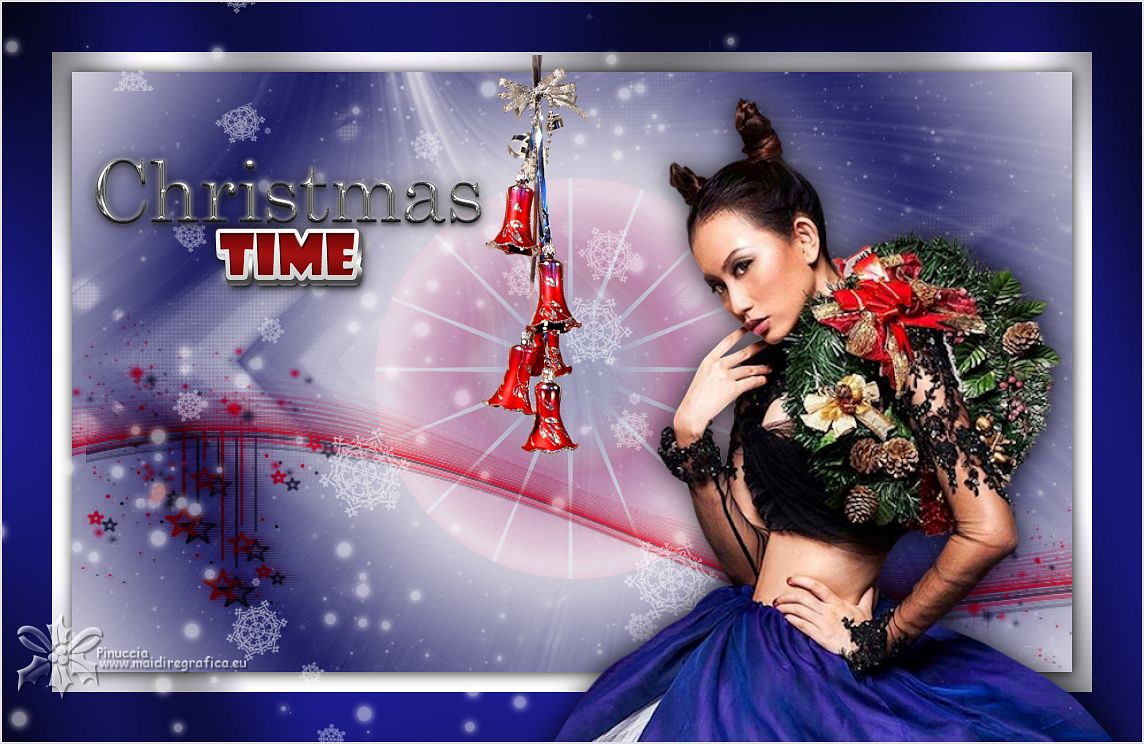
Thanks Gerrie for your invitation to translate your tutorials.

This tutorial was translated with PSP2020 but it can also be made using other versions of PSP.
Since version PSP X4, Image>Mirror was replaced with Image>Flip Horizontal,
and Image>Flip with Image>Flip Vertical, there are some variables.
In versions X5 and X6, the functions have been improved by making available the Objects menu.
In the latest version X7 command Image>Mirror and Image>Flip returned, but with new differences.
See my schedule here
 Italian translation qui Italian translation qui
 French translation here French translation here
 Your versions ici Your versions ici

For this tutorial, you will need:

Thanks for the tube Jeanne and for the masks Beatrice, Narah and Valy.
(you find here the links to the material authors' sites)

consult, if necessary, my filter section here
Filters Unlimited 2.0 here
Andromeda - Star here
Greg's Factory Output vol.II - Pool Shadow here
AAA Filters - Custom here
Filters Greg's Factory Output can be used alone or imported into Filters Unlimited.
(How do, you see here)
If a plugin supplied appears with this icon  it must necessarily be imported into Unlimited it must necessarily be imported into Unlimited

You can change Blend Modes according to your colors.
In the newest versions of PSP, you don't find the foreground/background gradient (Corel_06_029).
You can use the gradients of the older versions.
The Gradient of CorelX here
Open the masks in PSP and minimize them with the rest of the material.
1. Choose two colors from your tube.
Set your foreground color to the light color: #dedce4,
and your background color to the dark color: #12125b.
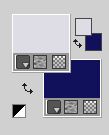
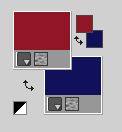
Extra color #911625.
Set your foreground color to a Foreground/Background Gradient, style Sunburst.

2. Open Alpha-Kerst 2022
Window>Duplicate or, on the keyboard, shift+D to make a copy.

Close the original.
The copy, that will be the basis of your work, is not empty,
but contains a selection saved to alpha channel.
Flood Fill  the transparent image with your Gradient. the transparent image with your Gradient.
For my example, I added:
Adjust>Blur>Gaussian Blur, radius 20.

It's up to you to decide whether to follow my example and which setting to use.
3. Layers>New Raster Layer.
Selections>Load/Save Selection>Load Selection from Alpha Channel.
The selection #1 is immediately available. You just have to click Load.

4. Change the gradient's setting and deselect Invert.

Flood Fill  the selection with your Gradient. the selection with your Gradient.
Selections>Select None.
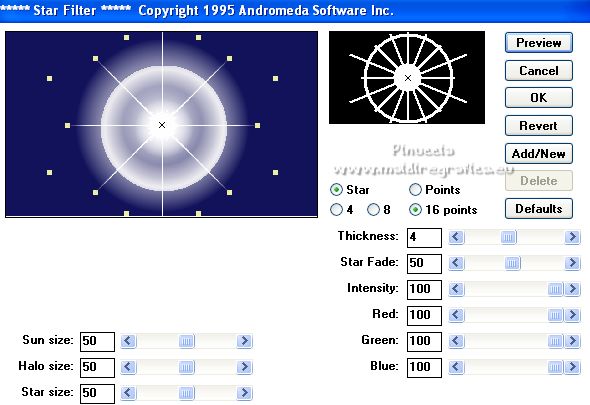
5. Effects>Plugins>Andromeda - Star.
if you want, you can move the figure with the X in the center,
if all is right, click ok.
For my example, I added Adjust>Hue and Saturation>Colorize,
with the codes of the extra color.

6. Change the Blend Mode of this layer to Lighten and reduce the opacity to 50%.
Play with the settings, if you use other colors.
7. Layers>New Raster Layer.
Flood Fill  the layer with a color of your choice. the layer with a color of your choice.
I chose the foreground color.
8. Layers>New Mask layer>From image
Open the menu under the source window and you'll see all the files open.
Select the mask Mask_08_GB_2018.

Layers>Merge>Merge Group.
9. Layers>New Raster Layer.
Flood Fill  the layer with a color of your choice. the layer with a color of your choice.
I chose the foreground color.
10. Layers>New Mask layer>From image
Open the menu under the source window
and select the mask NarahsMasks_1079.

Layers>Merge>Merge Group.
Layers>Duplicate.
Play with the Blend Mode to your liking.
11. Effects>3D Effects>Drop Shadow, color black.

12. Layers>New Raster Layer.
Flood Fill  the layer with a color of your choice. the layer with a color of your choice.
I chose the extra color #911625.
13. Layers>New Mask layer>From image
Open the menu under the source window
and select the mask VSP224.

Layers>Merge>Merge Group.
Change the Blend Mode to Overlay, or according to your colors.
14. Effects>3D Effects>Drop Shadow, color black.

Layers>Duplicate.
Change the Blend Mode to Hard Light or to your liking.
15. Selections>Select All.
Image>Add borders, 20 pixels, symmetric, first foreground color #dedce4.
Image>Add borders, 50 pixels, symmetri, background color.
Selections>Invert.
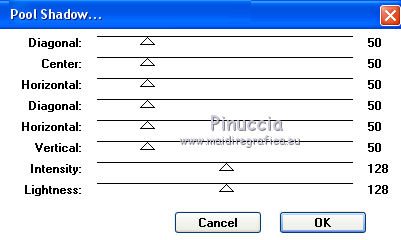
16. Effects>Plugins>Greg's Factory Output vol.II - Pool Shadow, default settings.
Selections>Invert.
17. Effects>3D Effects>Drop Shadow, color black.

Edit>Repeat Shadow.
Selections>Select None.
18. Open the tube Deco_01  and go to Edit>Copy. and go to Edit>Copy.
Go back to your work and go to Edit>Paste as new layer.
Move  the tube a little further to the left. the tube a little further to the left.
Reduce the opacity of this layer to 50%, or to your liking.
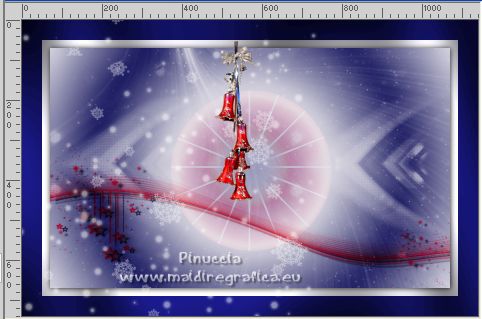
19. Open the tube klokjes  and go to Edit>Copy. and go to Edit>Copy.
Go back to your work and go to Edit>Paste as new layer.
Image>Resize, to 80%, resize all layers not checked.
Move  the tube to the left side. the tube to the left side.
20. Open the woman tube tube_Jeanne_Feestdagen_Christmas_Women_18_09_2022 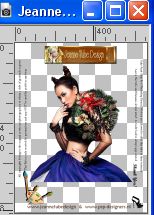
Edit>Copy.
Go back to your work and go to Edit>Paste as new layer.
Image>Resize, to 115%, resize all layers not checked.
Move  the tube to the right side, or to your liking. the tube to the right side, or to your liking.
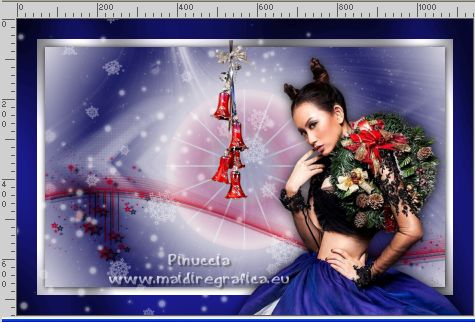
Effects>3D Effects>Drop Shadow, at your choice.
21. Open WordArt ScrapTK-ATP-Christmas  and go to Edit>Copy. and go to Edit>Copy.
Go back to your work and go to Edit>Paste as new layer.
Image>Resize, to 50%, resize all layers not checked.
Move  the tube at the upper left, or to your liking. the tube at the upper left, or to your liking.
Effects>3D Effects>Drop Shadow, at your choice.
22. Sign your work on a new layer.
Image>Add borders, 2 pixels, symmetric, light foreground color #dedce4.
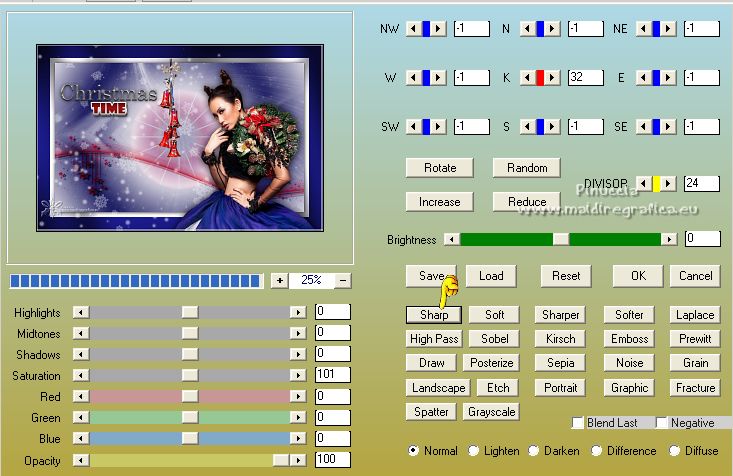
23. Effects>Plugins>AAA Filters - Custom - click on Sharp (or to your liking) and ok.
24. Save as jpg.
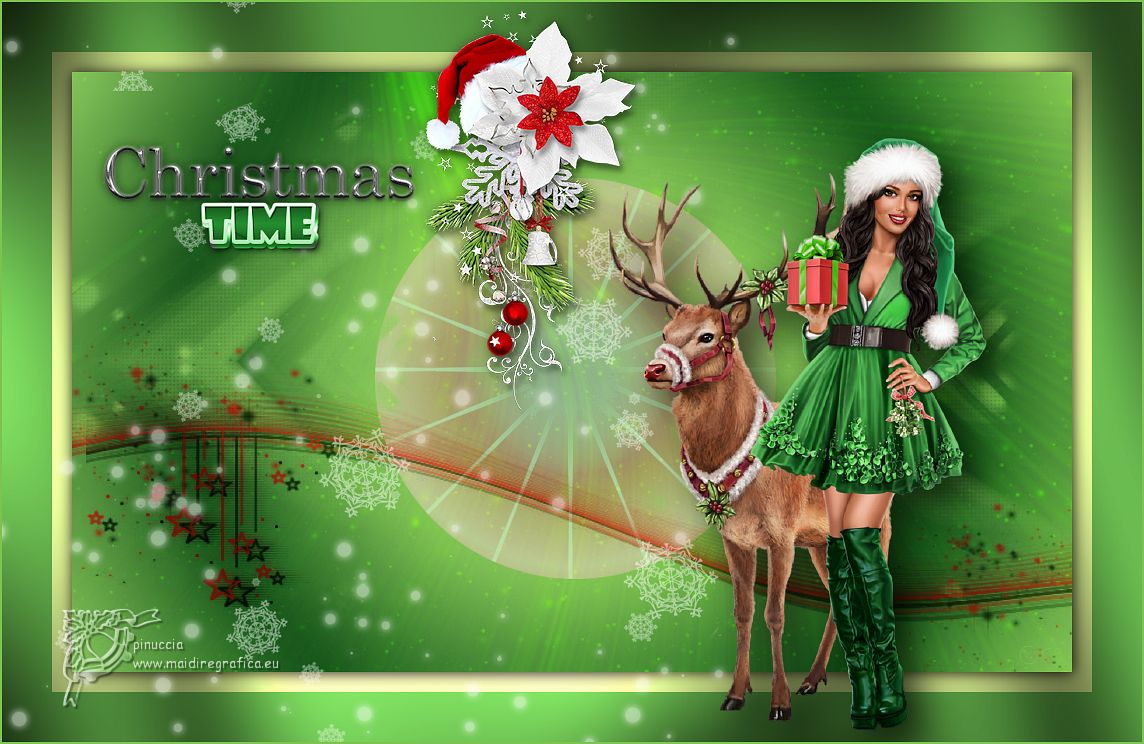
For the tube of this version thanks Cloclo

 Your versions here Your versions here
If you have problems or doubts, or you find a not worked link, or only for tell me that you enjoyed this tutorial, write to me.
8 October 2022

|

