|
KATINKA


Thanks Gerrie for your invitation to translate your tutorials.

This tutorial was created with PSPX2 and translated with PSPX, PSPX2, PSPX3, but it can also be made using other versions of PSP.
Since version PSP X4, Image>Mirror was replaced with Image>Flip Horizontal,
and Image>Flip with Image>Flip Vertical, there are some variables.
In versions X5 and X6, the functions have been improved by making available the Objects menu.
In the latest version X7 command Image>Mirror and Image>Flip returned, but with new differences.
See my schedule here
 Italian translation qui Italian translation qui
 French translation here French translation here
 Your versions ici Your versions ici
For this tutorial, you will need:

(you find here the links to the material authors' sites)

consult, if necessary, my filter section here
Filters Unlimited 2.0 here
&<Kaleidoscope> - @BlueBerry Pie (to import in Unlimited) here
&<Bkg Designer sf10III; - Square Bump (to import in Unlimited) here
Filter Factory Gallery A - Weave here
Artistic - Underpainting here
Nik Software - Color Efex Pro here
Filters Factory Gallery can be used alone or imported into Filters Unlimited.
(How do, you see here)
If a plugin supplied appears with this icon  it must necessarily be imported into Unlimited it must necessarily be imported into Unlimited

You can change Blend Modes according to your colors.
In the newest versions of PSP, you don't find the foreground/background gradient (Corel_06_029).
You can use the gradients of the older versions.
The Gradient of CorelX here

1. Choose two colors of your tube,
Set your foreground color with the light color: for me #c80f1b,
and your background color with the dark color: for me #3f6e40
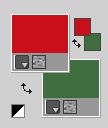
Set your foreground color to a Foreground/Background Gradient, style Rectangular.
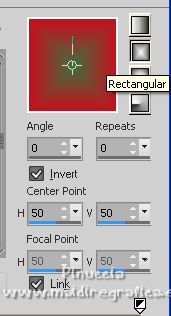
2. Open a new transparent image 900 x 600 pixels.
Flood Fill  the transparent image with your gradient. the transparent image with your gradient.
3. Selections>Select All.
Open the woman tube pspmagnifique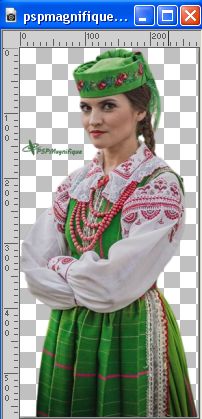
Erase the watermark.
Image>Mirror.
Edit>Copy.
Go Back to your work and go to Edit>Paste into Selection.
Selections>Select None.
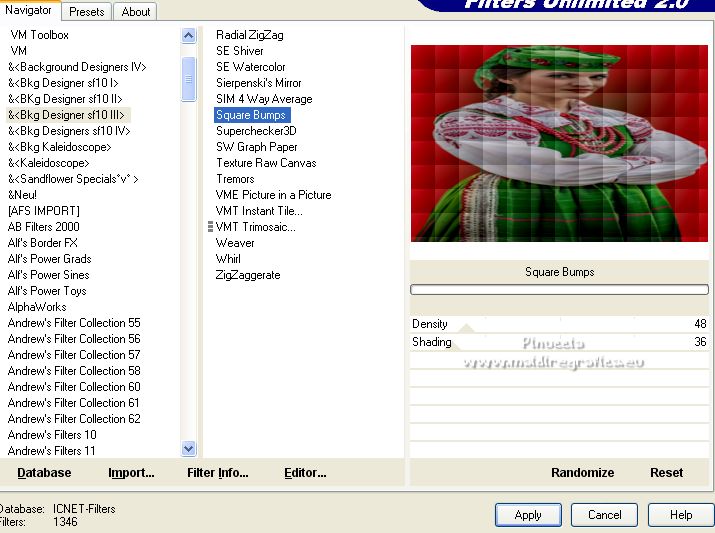
4. Effects>Plugins>Filters Unlimited 2.0 - &>Bkg Designer sf10III> - Square Bumps, default settings.
5. Adjust>Blur>Radial Blur.

6. Layers>Duplicate.
Activate the bottom layer.
Vous positionner sur le calque du bas de la pile.
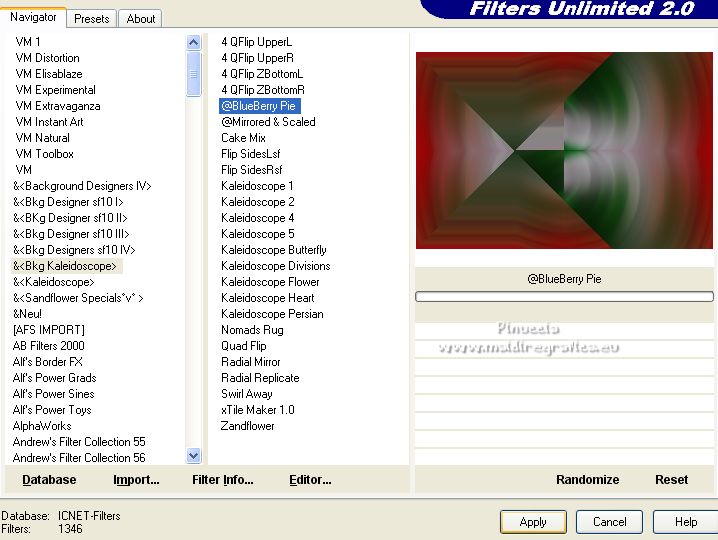
7. Effects>Plugins>Filters Unlimited 2.0 - &>Bkg Kaleidoscope> - @BlueBerry Pie.
8. Activate the top layer.
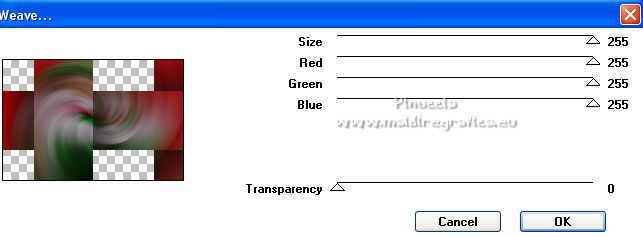
Effects>Plugins>Filter Factory Gallery A - Weave.
9. Close the bottom layer to see better.
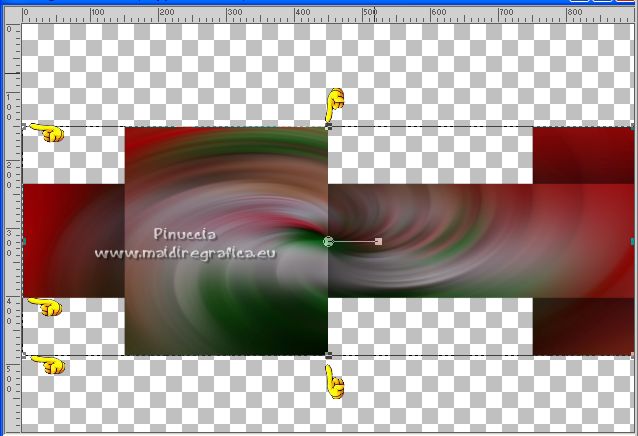
K key to activate your Pick Tool 
Mode Scale 
push the top central node down until 150 pixels,
and the bottom central node up to about 490 pixels
(the red stripe must be at 400 pixels)
M key to deselect the tool.
Open again the bottom layer and stay on the top layer.
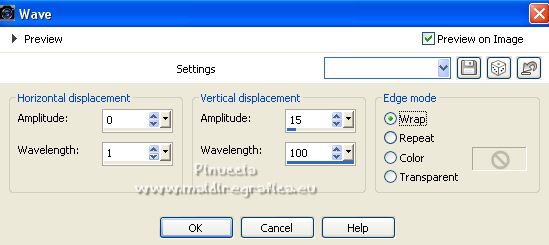
10. Effects>Distortion Effects>Wave.
11. Effects>3D Effects>Drop Shadow, color black.
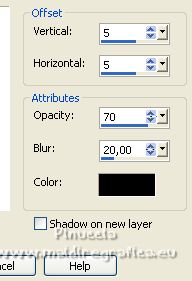
12. Layers>Duplicate.
Image>Resize, to 80%, resize all layers not checked.
Image>Flip.
Activate the layer below of the original
Pick Tool 
and set Position Y to 20,00
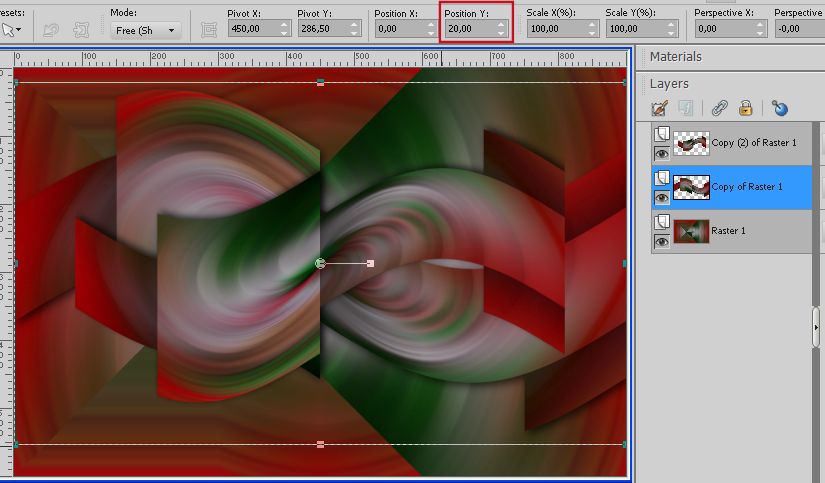
Activate again your top layer.
13. Open Katinka-deco01 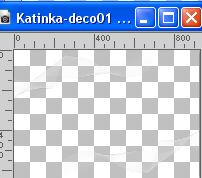
Edit>Copy.
Go back to your work and go to Edit>Paste as new layer.
Reduce the opacity of this layer to 70%, or according to your colors.
14. Open Katinka-deco02 
Edit>Copy.
Go back to your work and go to Edit>Paste as new layer.
Move  the tube down, see my example. the tube down, see my example.
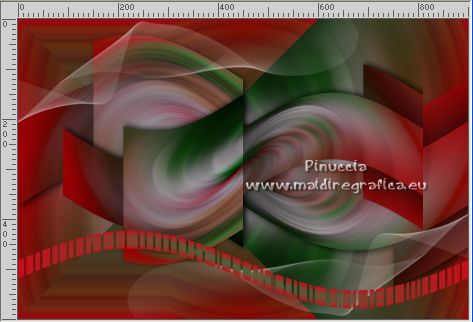
You can colorize with your Color Change Tool 
If you prefer, you can use the deco Katinka-deco03 
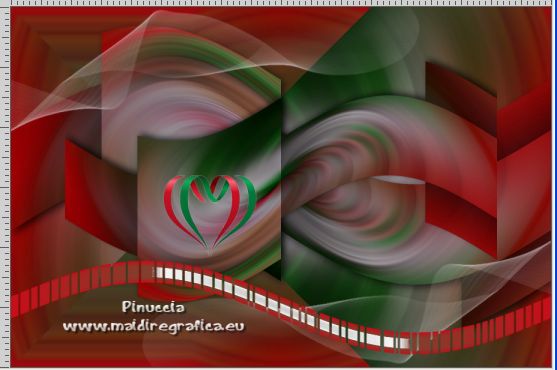
I use this deco in my second version
15. Open Katinka-hart 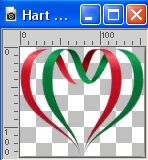
Edit>Copy.
Go back to your work and go to Edit>Paste as new layer.
Move  the tube to the left side, in the middle the tube to the left side, in the middle
Effects>3D Effects>Drop Shadow, at your choice.
16. Activate the woman tube Gerrie 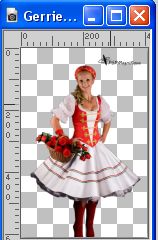
Erase the watermark and go to Edit>Copy.
Go back to your work and go to Edit>Paste as new layer.
Move  the tube to the right side. the tube to the right side.
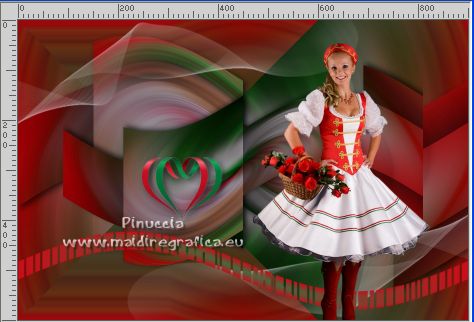
Effects>3D Effects>Drop Shadow, at your choice.
17. Image>Add borders, 1 pixel, symmetric, foreground color #c80f1b.
Image>Add borders, 3 pixels, symnetric, background #3f6e40.
Image>Add borders, 40 pixels, symmetric, foreground color #c80f1b.
18. Activate your Magic Wand Tool 

Click on the last border to select it.
19. Change the settings of your Gradient, style Linear.

Flood Fill  the selection with your gradient. the selection with your gradient.
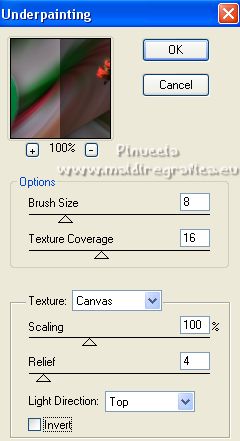
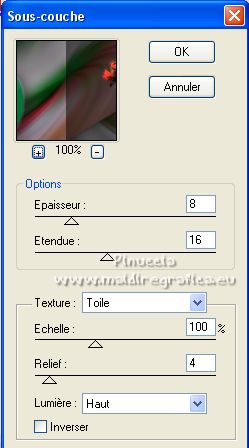
20. Effects>Plugins>Artistic - Underpainting.
If you use the french version of this filter:
Effects>Plugins>Artistiques - Sous-couche
Selections>Invert.
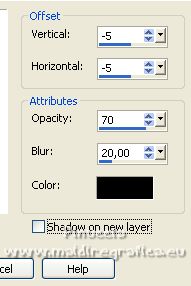
21. Effects>3D Effects>Drop Shadow, color black.

Repeat Drop Shadow, vertical and horizontal -5.
Selections>Select None.
22. Activate your Text Tool  , choose a font; , choose a font;
adapt the size according to your font and your PSP version.

Write Katinka with your background color, or a color to your liking.
Layer>Convert to Raster Layer.
23. Effects>3D Effects>Drop Shadow, at your choice.
Optional: with the same font or an other font, write Hungary
Layers>Convert to Raster Layer.
Effects>3D Effects>Drop Shadow, at your choice.
24. Sign your work on a new layer.
25. Image>Add borders, 1 pixel, symmetric, with a color to your liking.
26. Effects>Plugins>Nik Software - Color Efex Pro - Tonal Contrast.
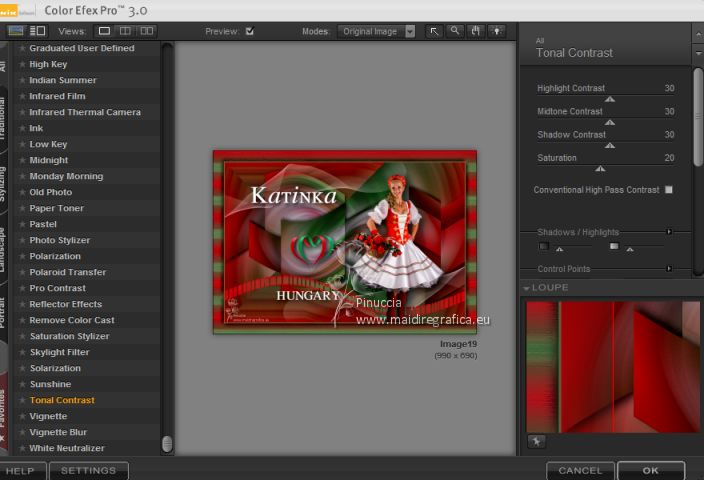
27. Image>Resize, at your choice, resize all layers checked.
Save as jpg.
Version with the supplied tubes
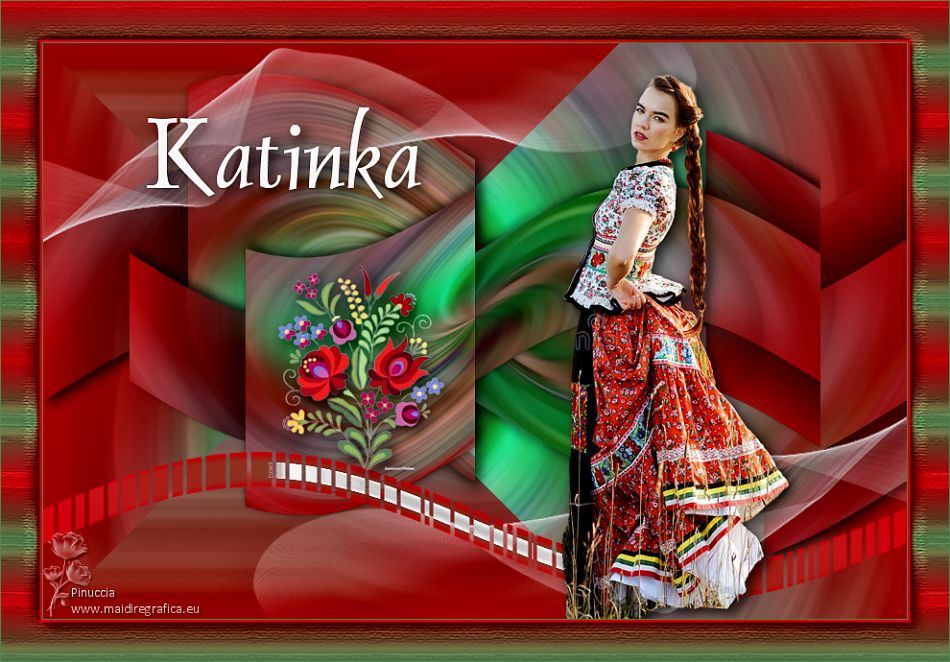
 Your versions here Your versions here

If you have problems or doubts, or you find a not worked link, or only for tell me that you enjoyed this tutorial, write to me.
14 January 2023

|

