|
IMAGINATION

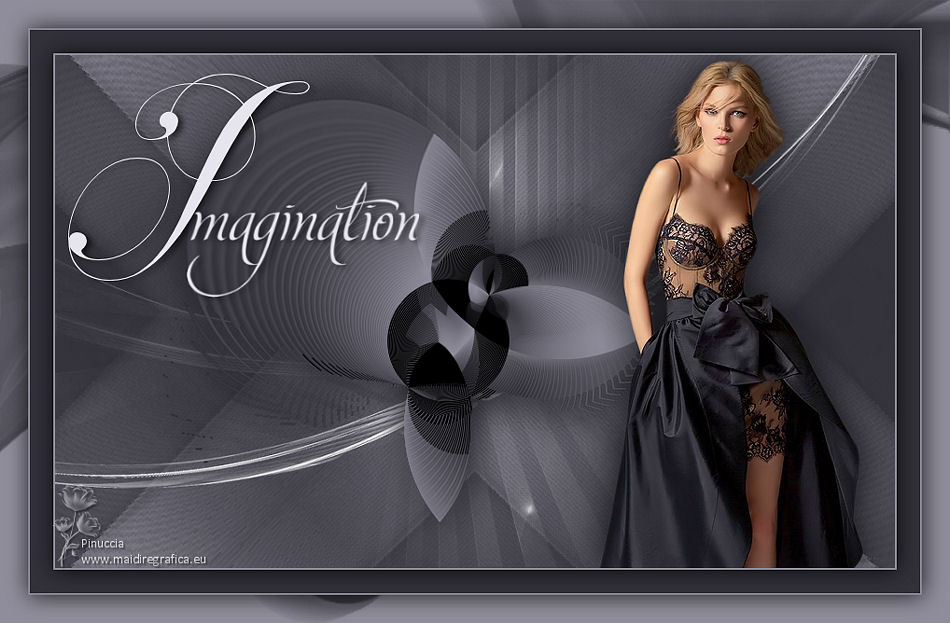
Thanks Gerrie for your invitation to translate your tutorials.

This tutorial was translated with PSP2020 but it can also be made using other versions of PSP.
Since version PSP X4, Image>Mirror was replaced with Image>Flip Horizontal,
and Image>Flip with Image>Flip Vertical, there are some variables.
In versions X5 and X6, the functions have been improved by making available the Objects menu.
In the latest version X7 command Image>Mirror and Image>Flip returned, but with new differences.
See my schedule here
 Italian translation qui Italian translation qui
 French translation here French translation here
 Your versions ici Your versions ici
For this tutorial, you will need:
Material
here
Thanks for the tube Beatriz and for a mask Mary LBDM.
(you find here the links to the material authors' sites)
Plugins
consult, if necessary, my filter section here
Filters Unlimited 2.0 here
&<Bkg Kaleidoscope> - Kaleidoscope 2 (to import in Unlimited) here
&<Bkg Designer sf10III> - SW Hollow Dot (to import in Unlimited) here
Flaming Pear - Flexify 2 here
Mehdi - Sorting Tiles here
AAA Filters - Custom here

You can change Blend Modes according to your colors.
In the newest versions of PSP, you don't find the foreground/background gradient (Corel_06_029).
You can use the gradients of the older versions.
The Gradient of CorelX here
Open the masks in PSP and minimize them with the rest of the material.
1. Choose two colors from your tube.
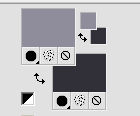
Set your foreground color to light color, for me #8f8d9b,
and your background color to dark color, for me #323139.
2. Open a new transparent image 900 x 550 pixels.
Flood Fill  the transparent image with your background color. the transparent image with your background color.
Layers>New Raster Layer.
Flood Fill  the layer with your foreground color. the layer with your foreground color.
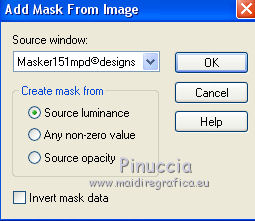
3. Layers>New Mask layer>From image
Open the menu under the source window and you'll see all the files open.
Select the mask Masker151mpd©designs.
Layers>Merge>Merge All.
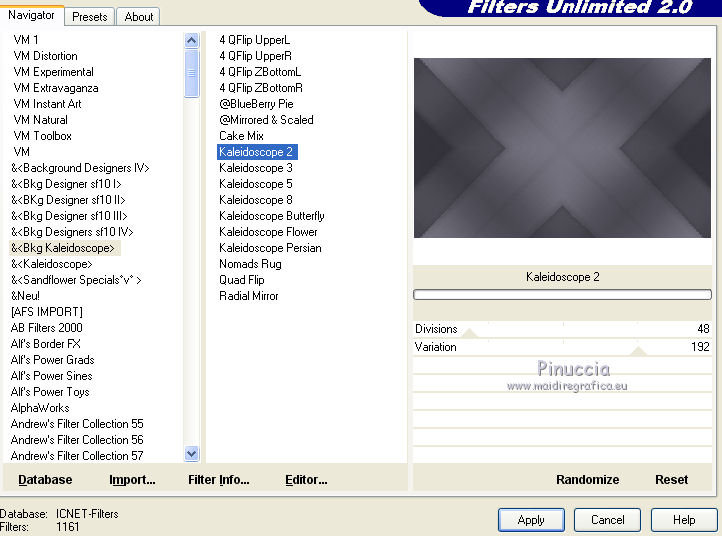
4. Effects>Plugins>Filters Unlimited 2.0 - &<Bkg Kaleidoscope> - Kaleidoscope 2, default settings.
5. Set your foreground color to white.
Layers>New Raster Layer.
Flood Fill  the layer with color white (or a color at your choice). the layer with color white (or a color at your choice).
5. Layers>New Mask layer>From image
Open the menu under the source window
and select the mask lbdm-masque-116.
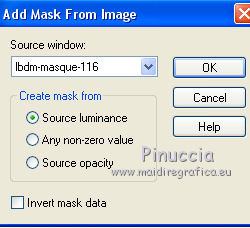
Layers>Merge>Merge Group.
6. Set again your foreground color to the light color.

Set your foreground color to a Foreground/Background Gradient, style Sunburst.
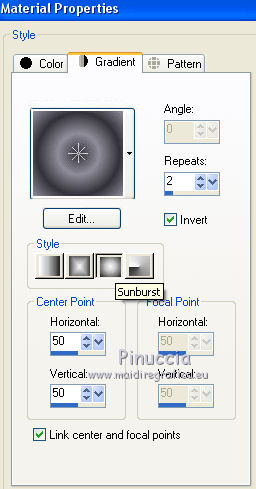
Calques>Nouveau calque raster.
Flood Fill  the layer with your Gradient. the layer with your Gradient.
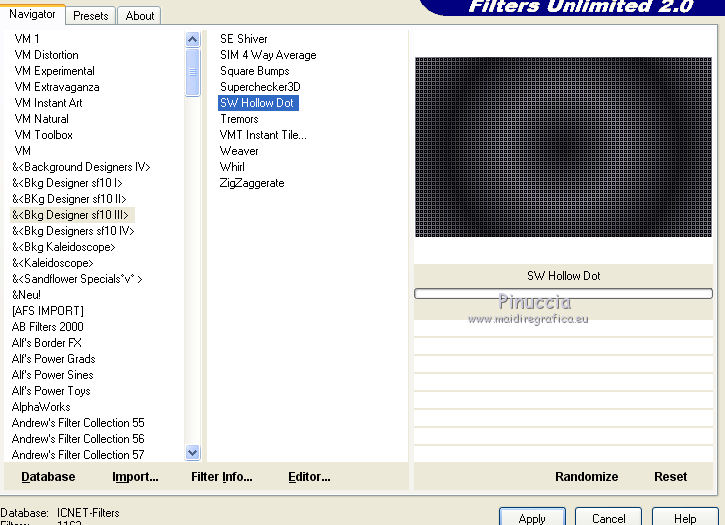
7. Effects>Plugins>Filters Unlimited 2.0 - &<Bkg Designer sf10III> - SW Hollow Dot.
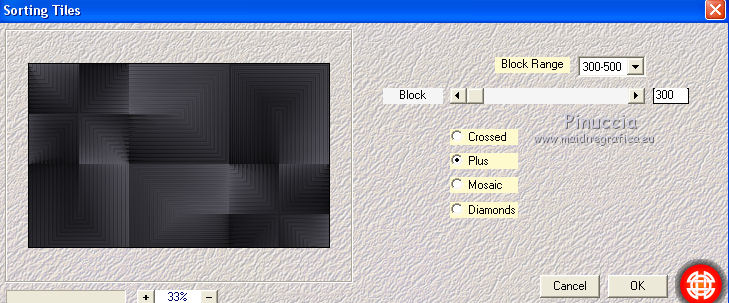
8. Effects>Plugins>Mehdi - Sorting Tiles.
9. Effects>Plugins>Flaming Pear - Flexify 2
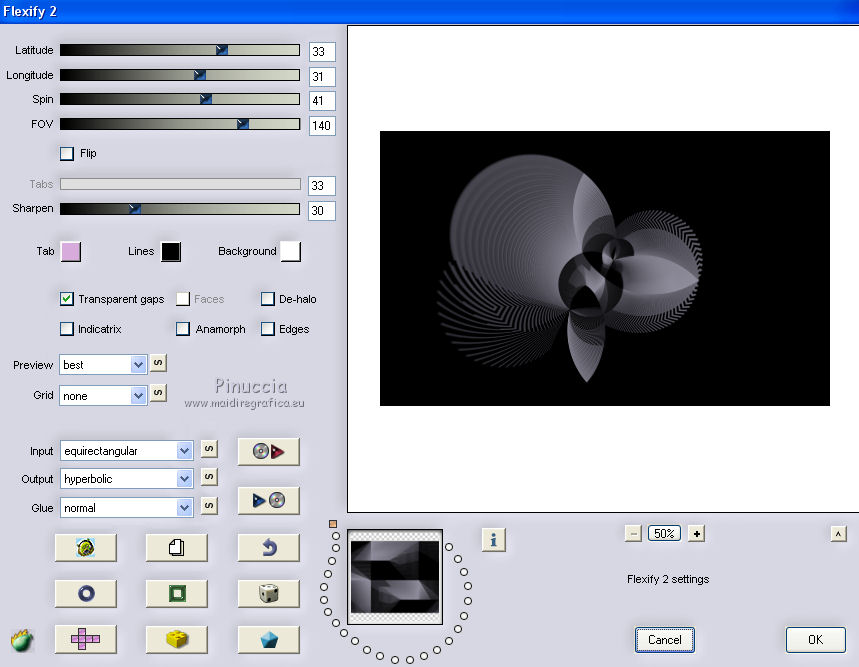
10. Activate your Magic Wand Tool 

and click on the black part to select it.
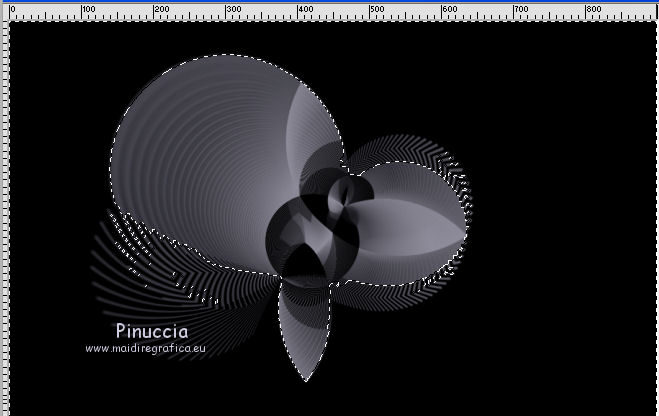
Press CANC on the keyboard 
Selections>Select None.
11. Layers>Duplicate.
Activate the layer below.
Adjust>Blur>Gaussian Blur - radius 15.

12. Activate the layer above.
Layers>Merge>Merge down.
If you like, you can flip the element (Image>Flip).
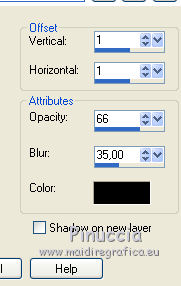
13. Effects>3D Effects>Drop Shadow, color black #000000
(or at your choice)
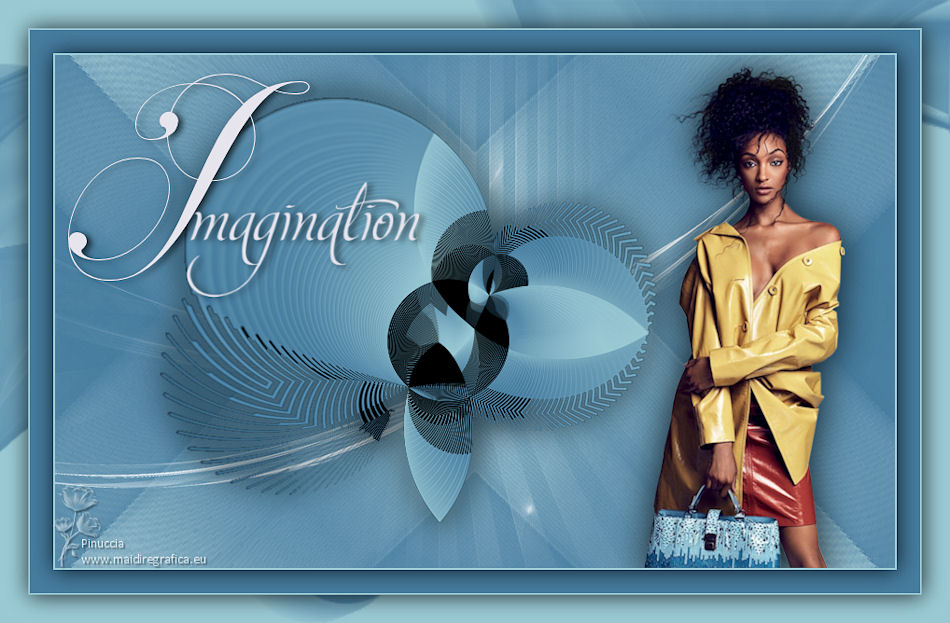
14. Open the woman tube by Beatriz and go to Edit>Copy.
Go back to your work and go to Edit>Paste as new layer.
Image>Resize, to 80%, resize all layers not checked.
Move  the tube to the right side. the tube to the right side.
Effects>3D Effects>Drop Shadow, at your choice.
15. Image>Add borders, 2 pixels, symmetric, foreground color.
Selections>Select All.
Image>Add borders, 25 pixels, symmetric, background color.
16. Effects>3D Effects>Drop Shadow, color black.
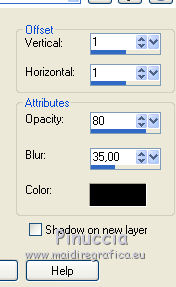
Selections>Select None.
17. Image>Add borders, 2 pixels, symmetric, foreground color.
Image>Add borders, 30 pixels, symmetric, background color.
18. Activate your Magic Wand Tool 

and click on the last border to select it.
Layers>New Raster Layer.
Set your foreground color to Color.
Flood Fill  the selection with your foreground color. the selection with your foreground color.
19. Layers>New Mask layer>From image
Open the menu under the source window
and select the mask grsab_youandme2.
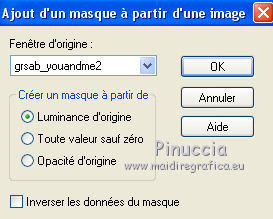
Calques>Fusionner>Tous.
Selections>Invert.
20. Effects>3D Effects>Drop Shadow, color black.

Selections>Select None.
21. Open the Wordart Imagination and go to Edit>Copy.
Go back to your work and go to Edit>Paste as new layer.
Move  the wordart to the left side. the wordart to the left side.
Effects>3D Effects>Drop Shadow, color black.
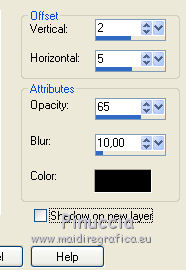
22. Layers>Merge>Merge All.
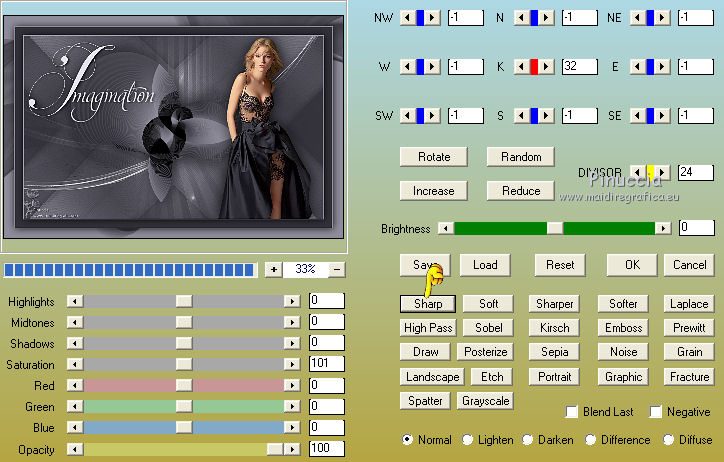
23. Effects>Plugins>AAA Filters - Custom - click on Sharp (ou at your choice) and ok.
24. Sign your work on a new layer.
Image>Resize, at your choice, resize all layers checked.
Save as jpg.
Version with tube by Criss.
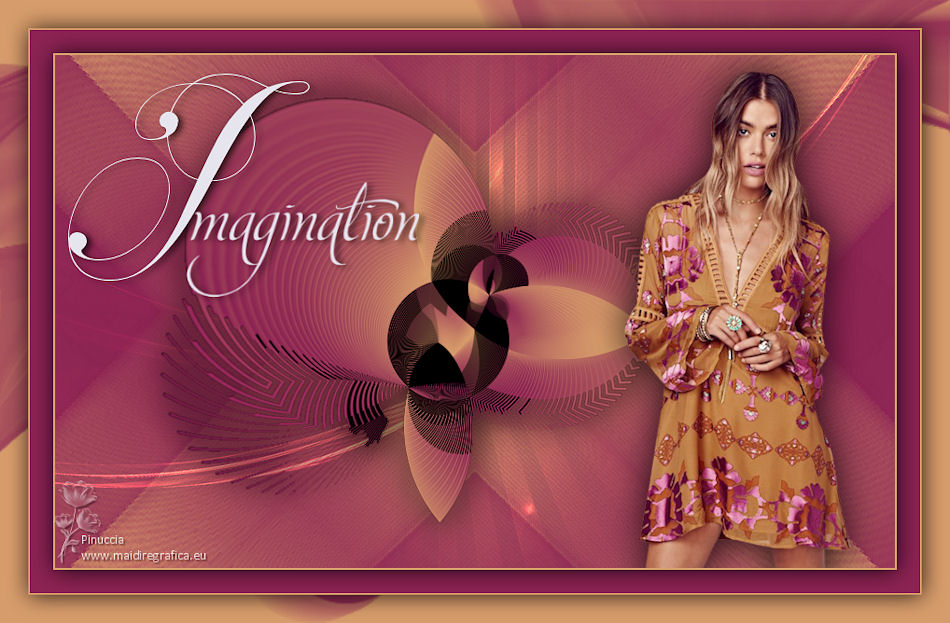
Version with tube by Beatriz
 Your versions here Your versions here

If you have problems or doubts, or you find a not worked link, or only for tell me that you enjoyed this tutorial, write to me.
11 July 2021
|

