|
HAPPY 2021

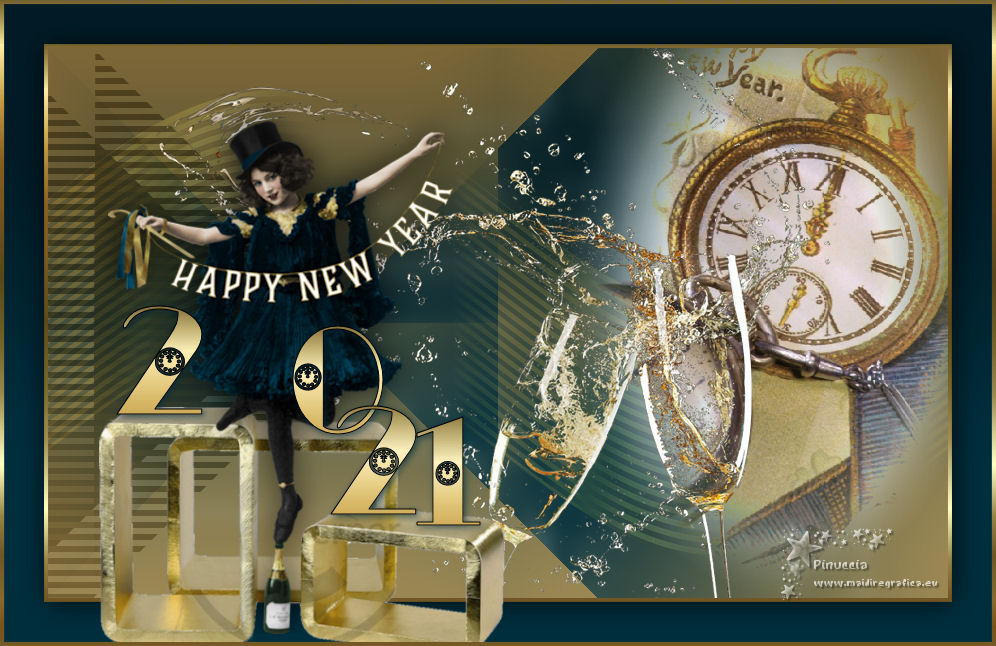
Thanks Gerrie for your invitation to translate your tutorials.

This tutorial was translated with PSP2020 but it can also be made using other versions of PSP.
Since version PSP X4, Image>Mirror was replaced with Image>Flip Horizontal,
and Image>Flip with Image>Flip Vertical, there are some variables.
In versions X5 and X6, the functions have been improved by making available the Objects menu.
In the latest version X7 command Image>Mirror and Image>Flip returned, but with new differences.
See my schedule here
 Italian translation qui Italian translation qui
 French translation here French translation here
 Your versions ici Your versions ici
For this tutorial, you will need:
Material
here
Thanks for the tubes Donna, @Edwige, Mod_Article.
(you find here the links to the material authors' sites)
Plugins
consult, if necessary, my filter section here
Filters Unlimited 2.0 here
Toadies - What are you here
Simple - Pizza Slice Mirror here
DSB Flux - Linear Transmission here
Nik Software - Color Efex Pro here
Filters Toadies and Simple can be used alone or imported into Filters Unlimited.
(How do, you see here)
If a plugin supplied appears with this icon  it must necessarily be imported into Unlimited it must necessarily be imported into Unlimited



You can change Blend Modes according to your colors.
In the newest versions of PSP, you don't find the foreground/background gradient (Corel_06_029).
You can use the gradients of the older versions.
The Gradient of CorelX here
If you want change the colors of your images:
Note the codes of Hue (H) and Saturation (S) of your background color.
Adjust>Hue and Saturation>Colorize and copy the codes in the respective cases.
Open the pattern Texturadorada in PSP and minimize it with the rest of the material.
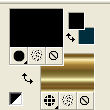
1. Set your foreground color to light color #ad9257,
and your background color to dark color #002e3d.
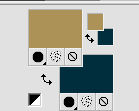
Set your foreground color to a Foreground/Background Gradient, style Linear.

2. Open a new transparent image 900 x 550 pixels.
Flood Fill  the transparent image with your Gradient. the transparent image with your Gradient.
3. Open the tube Champagne and go to Edit>Copy.
Go back to your work and go to Edit>Paste as new layer.
4. Layers>Merge>Merge All.
5. Effects>Image Effects>Seamless Tiling.

6. Adjust>Blur>Gaussian Blur - radius 10

7. Effects>Plugins>Toadies - What are you
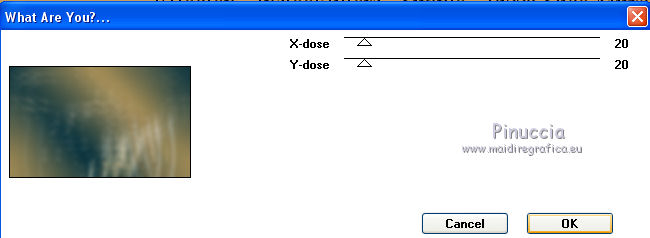
8. Effects>Plugins>Simple - Pizza Slice Mirror.
9. Activate your Freehand Selection Tool  , point to point, , point to point,

Make a selection as below
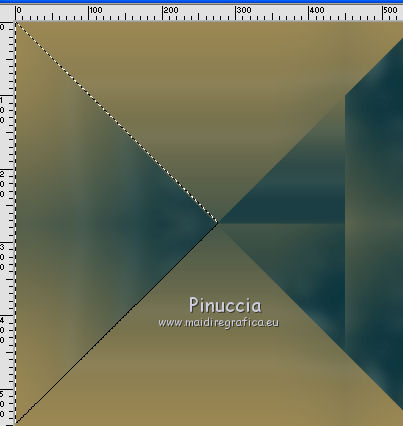
Selections>Promote Selection to Layer.
Selections>Select None.
10. Effects>Plugins>DSB Flux - Linear Transmission.
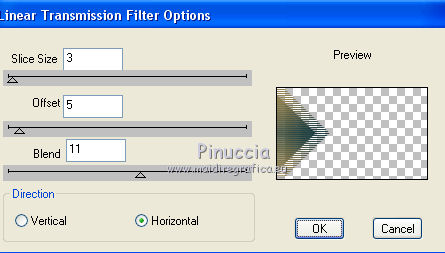
Change the Blend Mode of this layer to Multiply,
and reduce the opacity to 61% (or according to your colors).

11. Open Deco_1 and go to Edit>Copy.
Go back to your work and go to Edit>Paste as new layer.
Layers>Arrange>Move Down.
Change the Blend Mode of this layer to Soft Light,
and reduce the opacity to 70% (or according to your colors)

12. Activate the top layer.
Open the tube mod_article2424238_7 and go to Edit>Copy.
Go back to your work and go to Edit>Paste as new layer.
Move  the tube at the upper right, see my example. the tube at the upper right, see my example.
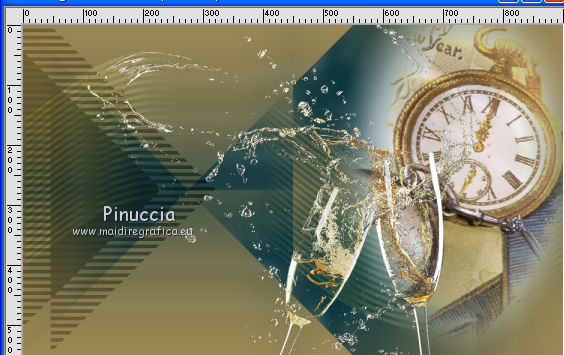
13. Activate again the tube Champagne and go to Edit>Copy.
Go back to your work and go to Edit>Paste as new layer.
Image>Resize, 1 time to 80% and 1 time to 90%, resize all layers not checked.
Move  the tube a bit higher, as below the tube a bit higher, as below
14. Image>Add borders, 4 pixels, symmetric, color black.
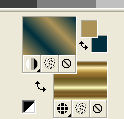
15. Set your background color to Pattern
look for and select the pattern Texturadorada.
Activate your Magic Wand Tool 

and click in the border to select it.
Flood Fill  the selection with the golden pattern. the selection with the golden pattern.
Selections>Select None.
16. Image>Add borders, 40 pixels, symmetric, background color.
Select this border with your Magic Wand Tool 
Selections>Invert.
17. Effects>3D Effects>Drop Shadow, color black.

Selections>Select None.
18. Open the tube @edwige_noel or 601, erase the watermark and go to Edit>Copy.
Go back to your work and go to Edit>Paste as new layer.
Move  the tube at the bottom left. the tube at the bottom left.
19. Open the tube Lady On_blauw and go to Edit>Copy.
Go back to your work and go to Edit>Paste as new layer.
Image>Resize, to 90%, resize all layers not checked.
Place  the tube as below. the tube as below.
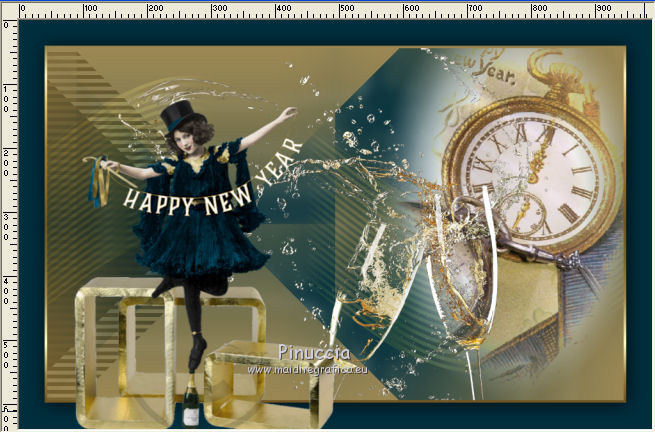
Effects>3D Effects>Drop Shadow, at your choice.
20. Set your foreground color to black.
Activate your Text Tool  , ,
font ACI-New Year, stroke width 1
adapt the size according to your PSP version

Write the number 2
Layers>Convert to Raster Layer.
21. Effects>3D Effects>Drop Shadow, background color.

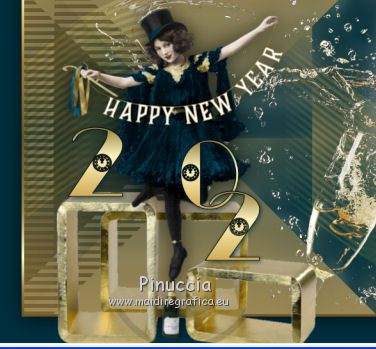
Place  the number as you like, or see my example. the number as you like, or see my example.
22. Write the number 0.
Layers>Convert to Raster Layer.
Effects>3D Effects>Drop Shadow, same settings.
Place  the number as you like, or see my example. the number as you like, or see my example.
23. Activate the layer of number 2.
Layers>Duplicate.
Layers>Arrange>Bring to Top.
Place  the number as you like, or see my example. the number as you like, or see my example.
24. Write the number 1.
Layers>Convert to Raster Layer.
Effects>3D Effects>Drop Shadow, same settings.
Place  the number as you like, or see my example. the number as you like, or see my example.
25. Sign your work on a new layer.
26. Image>Add borders, 4 pixels, symmetric, color black.
Select this border with your Magic Wand Tool 
Flood Fill  the selection with the background golden pattern. the selection with the background golden pattern.
Selections>Select None.
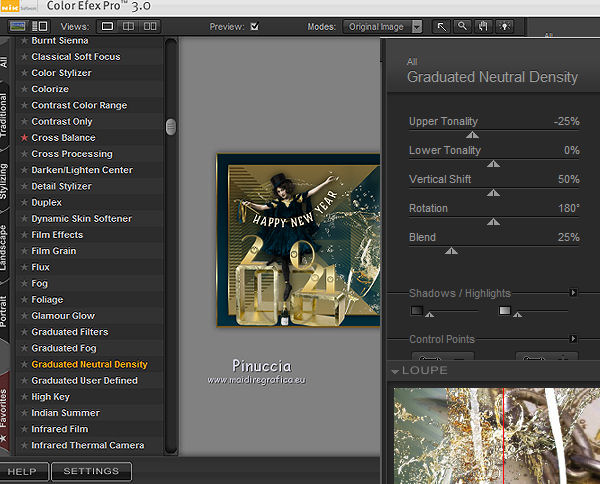
27. Effects>Plugins>Nik Software - Color Efex Pro
Select Graduated Neutral Density and ok.
28. Save as jpg.
Version with tube by Maryse
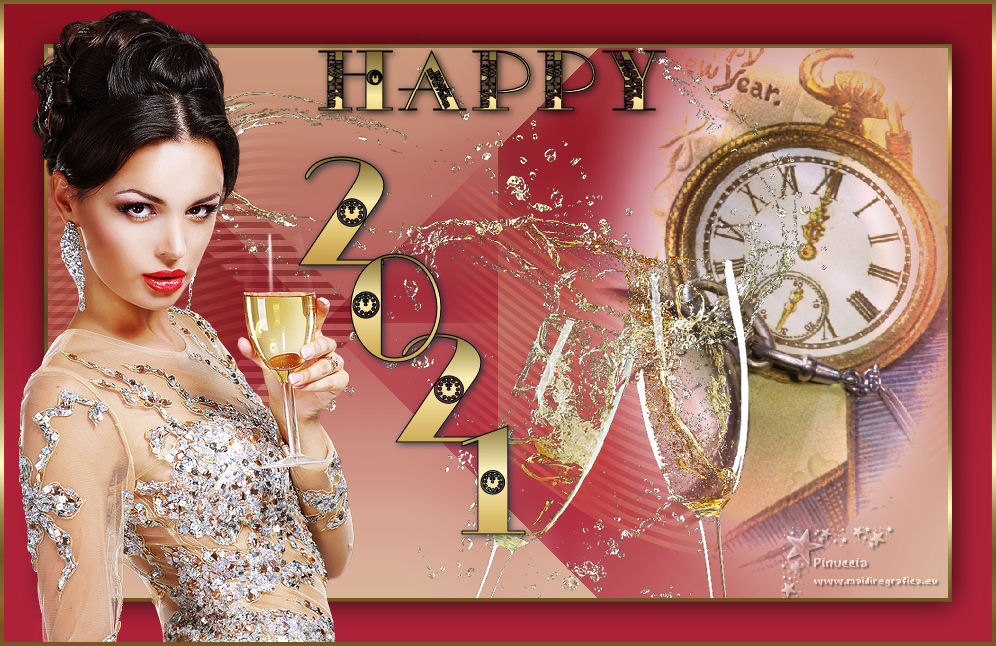
 Your versions here Your versions here

If you have problems or doubts, or you find a not worked link, or only for tell me that you enjoyed this tutorial, write to me.
22 October 2020
|

