|
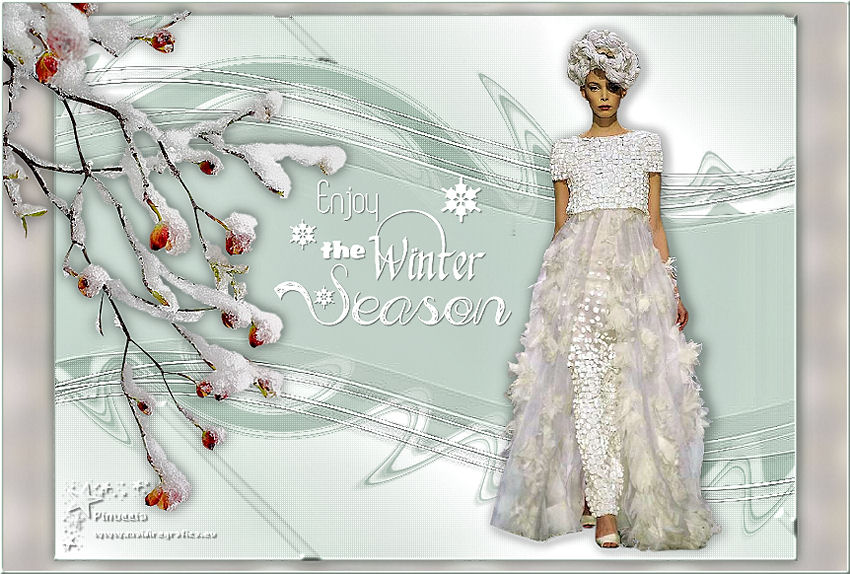
ENJOY THE WINTER SEASON

Thanks Gerrie for your invitation to translate your tutorials.

This tutorial was translated with PSP2020 but it can also be made using other versions of PSP.
Since version PSP X4, Image>Mirror was replaced with Image>Flip Horizontal,
and Image>Flip with Image>Flip Vertical, there are some variables.
In versions X5 and X6, the functions have been improved by making available the Objects menu.
In the latest version X7 command Image>Mirror and Image>Flip returned, but with new differences.
See my schedule here
 Italian translation qui Italian translation qui
 French translation here French translation here
 Your versions ici Your versions ici
For this tutorial, you will need:
Material
here
Thanks for the tubes Guismo and Mary, for the mask @nn_tdstudio and for the wordart Ri@
(you find here the links to the material authors' sites)
Plugins
consult, if necessary, my filter section here
Filters Unlimited 2.0 here
FM Tile Tools - Blend Emboss here
Penta.com - Color dot here
Nik Software - Color Efex Pro here
Filters Penta.com can be used alone or imported into Filters Unlimited.
(How do, you see here)
If a plugin supplied appears with this icon  it must necessarily be imported into Unlimited it must necessarily be imported into Unlimited

You can change Blend Modes according to your colors.
In the newest versions of PSP, you don't find the foreground/background gradient (Corel_06_029).
You can use the gradients of the older versions.
The Gradient of CorelX here
Open the mask in PSP et minimize it with the rest of the material.
1. Choose two colors from your tube.
Set your foreground color to light color, for me #ffffff,
and your background color to dark color, for me #d3e1d8.
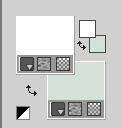
Set your foreground color to a Foreground/Background Gradient, style Linear.

2. Open a new transparent image 750 x 550 pixels
Flood Fill  the transparent image with your Gradient. the transparent image with your Gradient.
3. Effects>Plugins>Penta.com - Color Dot, default settings.

4. Layers>New Raster Layer.
Flood Fill  the layer with your background color. the layer with your background color.
5. Layers>New Mask layer>From image
Open the menu under the source window and you'll see all the files open.
Select the mask @nn_200610_mask_016_tdstudio

Layers>Merge>Merge Group.
6. Effects>Plugins>FM Tile Tools - Blend Emboss, default settings.

Layers>Duplicate.
7. Activate the layer below of the original (Group-Raster 2)
Effects>Distortion Effects>Rimpeling.

8. Change the Blend Mode of this layer to Multiply, or other, according to your colors.
9. Activate the top layer.
Effects>Edge Effects>Enhance.
10. Effects>3D Effects>Drop Shadow, color black.

11. Open the tube of the woman by Mary.
Image>Resize, 550 pixels height.
Erase the watermark and go to Edit>Copy.
Go back to your work and go to Edit>Paste as new layer.
Move  the tube to the right side. the tube to the right side.
Effects>3D Effects>Drop Shadow, at your choice.
12. Image>Add borders, 3 pixels, symmetric, background color.
Activate your Magic Wand Tool 

Click in the border to select it.
13. Effects>3D Effects>Inner Bevel.

Selections>Select None.
14. Image>Add borders, symmetric not checked, color white.

Select this border with your Magic Wand Tool 
15. Effects>Reflection Effects>Pattern

16. Adjust>Blur>Gaussian Blur - radius 10.

Selections>Invert.
17. Effects>3D Effects>Drop Shadow, color black.

Selections>Select None.
Sign your work on a new layer.
18. Open the tube calguisseanduccan311901 and go to Edit>Copy.
Go back to your work and go to Edit>Paste as new layer.
Image>Resize, to 80%, resize all layers not checked.
Move  the tube in the corner at the upper left. the tube in the corner at the upper left.
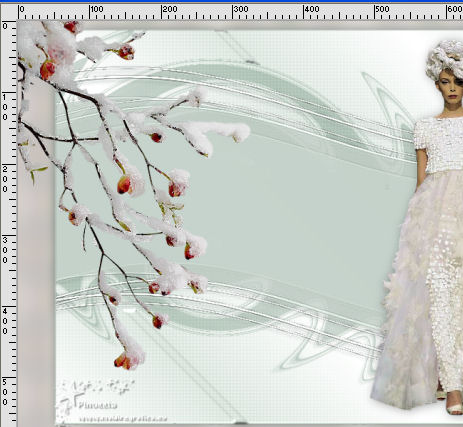
Effects>3D Effects>Drop Shadow, at your choice.
19. Open WordArt tekst-417-enjoy the winter season-Ri@ nd go to Edit>Copy.
Go back to your work and go to Edit>Paste as new layer.
Image>Resize, to 80%, resize all layers not checked.
Place  the tube at your choice, or see my example. the tube at your choice, or see my example.
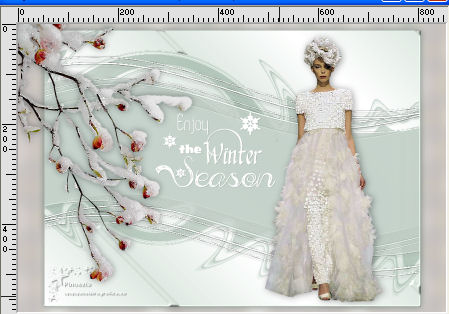
Effects>3D Effects>Drop Shadow, color black.

20. Image>Add borders, 3 pixels, symmetric, color white.
Activate your Magic Wand Tool 

and click in the border to select it.
Flood Fill  the selection with your background color. the selection with your background color.
Effects>3D Effects>Inner Bevel, same settings.

Selections>Select None.
21. Effects>Plugins>Nik Software - Color Efex Pro - Tonal Contrast.
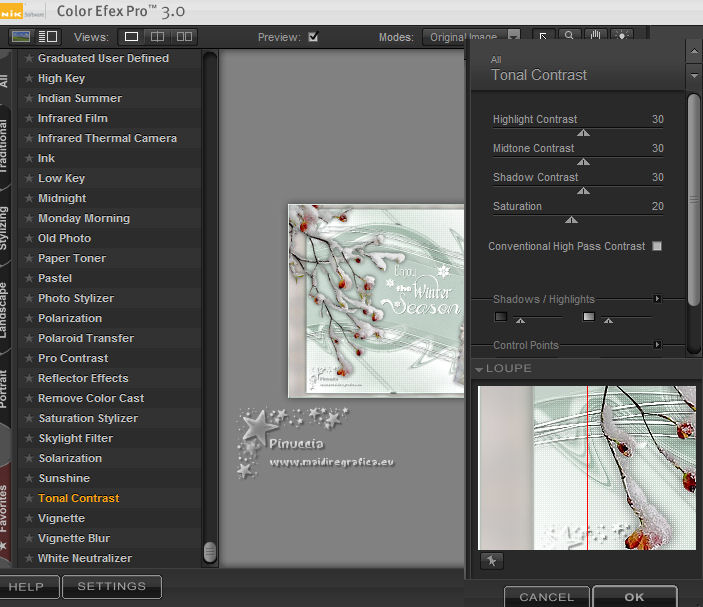
22. Image>Resize, 800 pixels width, resize all layers checked.
Save as jpg
Version with tubes by Luz Cristina and Anna.br

 Your versions here Your versions here

If you have problems or doubts, or you find a not worked link, or only for tell me that you enjoyed this tutorial, write to me.
6 January 2021
|

