|
ELEGANCE

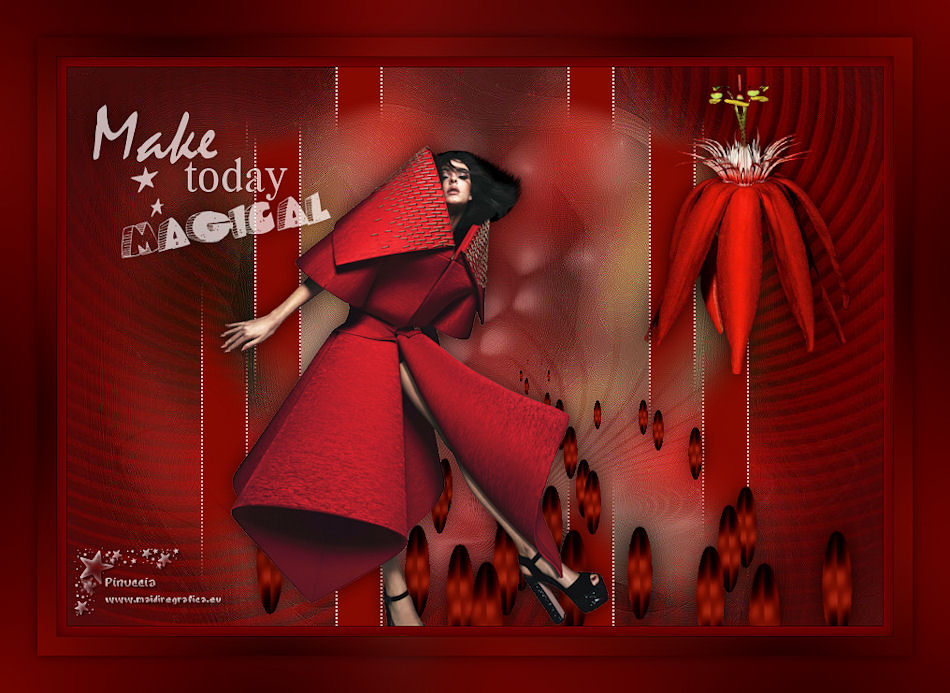
Thanks Gerrie for your invitation to translate your tutorials.

This tutorial was translated with PSP2020 but it can also be made using other versions of PSP.
Since version PSP X4, Image>Mirror was replaced with Image>Flip Horizontal,
and Image>Flip with Image>Flip Vertical, there are some variables.
In versions X5 and X6, the functions have been improved by making available the Objects menu.
In the latest version X7 command Image>Mirror and Image>Flip returned, but with new differences.
See my schedule here
 Italian translation qui Italian translation qui
 French translation here French translation here
 Your versions ici Your versions ici
For this tutorial, you will need:
Material
here
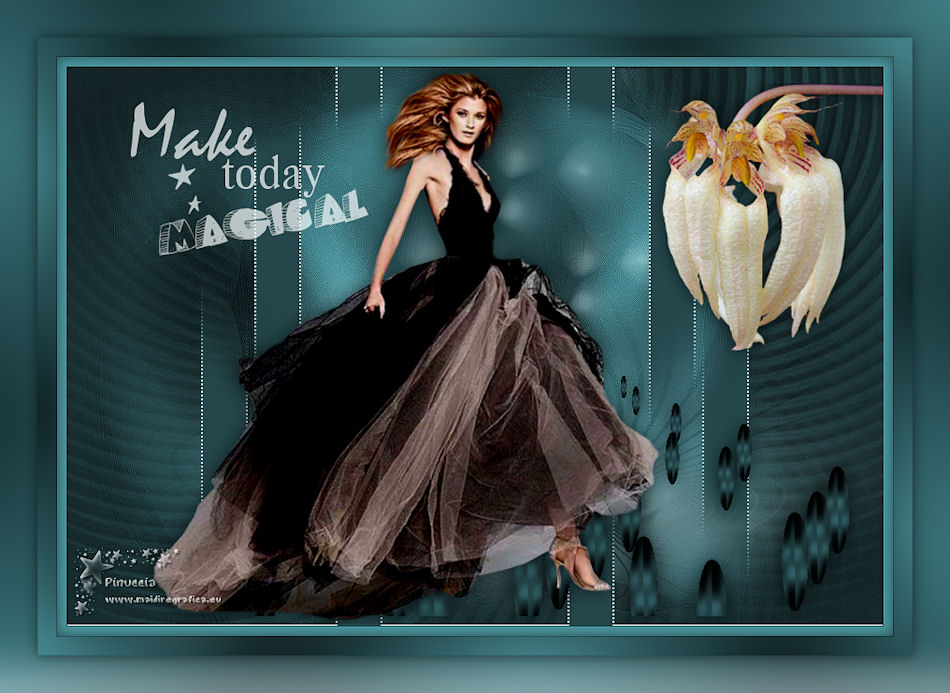
Thanks for the tubes thanks Cady,Jhanna, Rya and for the mask Mary LBDM.
(you find here the links to the material authors' sites)
Plugins
consult, if necessary, my filter section here
AAA Filters - Custom here
Mura's Meister - Copies here
Filters Unlimited 2.0 here
AFS IMPORT - sqborder2 here
Filters AFS IMPORT can be used alone or imported into Filters Unlimited.
(How do, you see here)
If a plugin supplied appears with this icon  it must necessarily be imported into Unlimited it must necessarily be imported into Unlimited

You can change Blend Modes according to your colors.
In the newest versions of PSP, you don't find the foreground/background gradient (Corel_06_029).
You can use the gradients of the older versions.
The Gradient of CorelX here
Open the Mask in PSP and minimize it with the rest of the material.
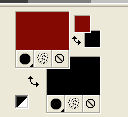
1. Set your foreground color to #840c04,
and your background color to #ffffff.
2. Open Alpha_Elegance.
Window>Duplicate or, on the keyboard, shift+D to make a copy.

Close the original.
The copy, that will be the basis of your work, is not empty,
but contains a selection saved to alpha channel.
3. Selections>Select All.
Open the background image JHanna-109 bground and go to Edit>Copy.
Go back to your work and go to Edit>Paste into Selection.
Selections>Select None.
4. Layers>New Raster Layer.
Flood Fill  the layer with your background color #ffffff (or a color at your choice). the layer with your background color #ffffff (or a color at your choice).
5. Layers>New Mask layer>From image
Open the menu under the source window and you'll see all the files open.
Select the mask lbdm-masque-100.

Layers>Merge>Merge Group.
Change the Blend Mode of this layer to Soft Light, or according to your colors.
6. Layers>New Raster Layer.
Selections>Load/Save Selection>Load Selection from Alpha Channel.
The selection #1 is immediately available. You just have to click Load.

Flood Fill  the selection with your foreground color the selection with your foreground color
7. Effects>Plugins>AFS IMPORT - sqborder2.
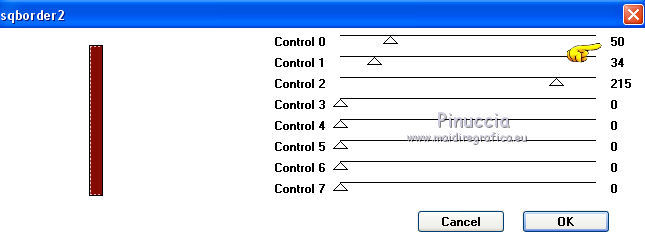
Selections>Select None.
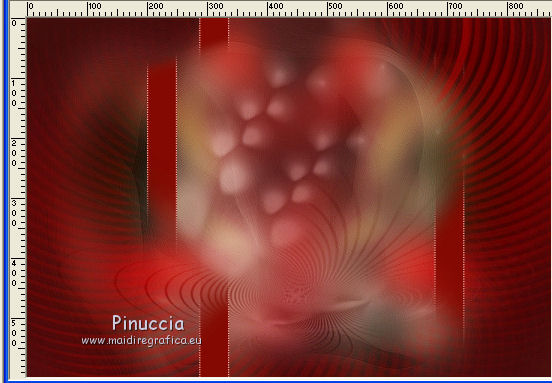
8. Effects>Image Effects>Seamless Tiling.

Edit>Repeat Seamless Tiling.
Result
9. Layers>Duplicate.
Image>Mirror.
10. Open Element_01 and go to Edit>Copy.
Go back to your work and go to Edit>Paste as new layer.
If you are using other colors, colorize with your Color Changer Tool 
11. Effects>Plugins>Mura's Meister - Copies
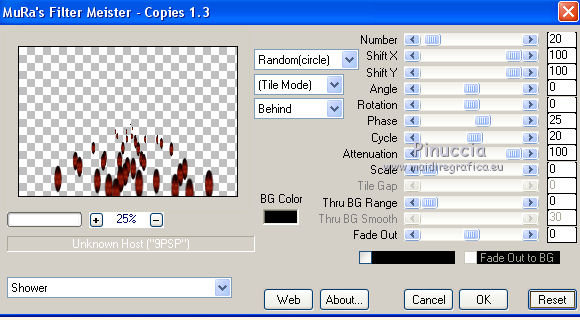
the result of this effect is Random. This is why it cannot be the same as mine.
If you want to change the result, click on the preview window until you see the one you prefer.
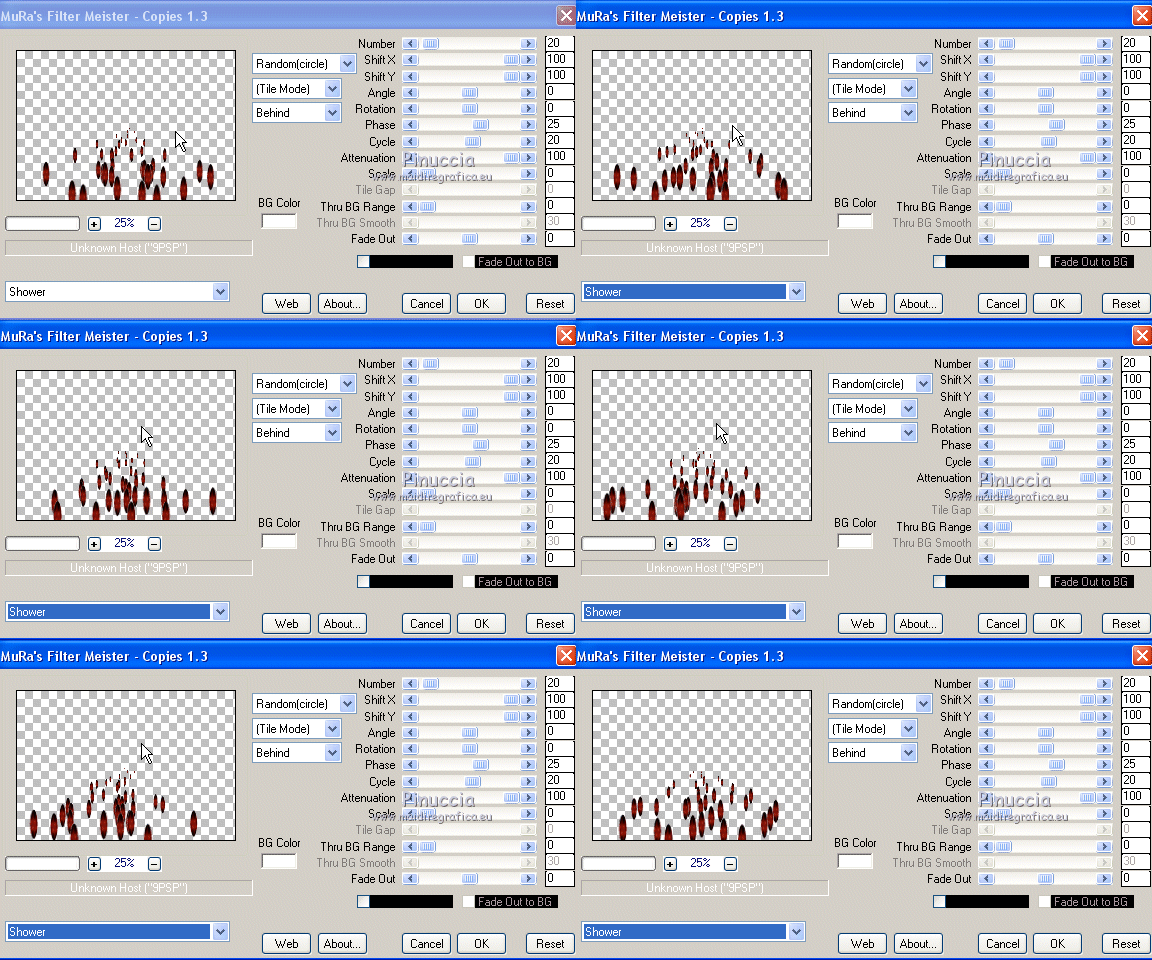
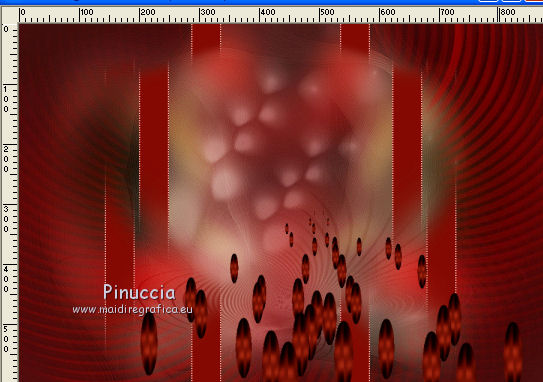
12. Move  the image at the bottom right. the image at the bottom right.
13. Effects>3D Effects>Drop Shadow, at your choice.
14. Open the flower tube and go to Edit>Copy.
Go back to your work and go to Edit>Paste as new layer.
Move  the tube at the upper right. the tube at the upper right.
Effects>3D Effects>Drop Shadow, at your choice.
15. Open the woman tube by Cady, erase the watermark and go to Edit>Copy.
Go back to your work and go to Edit>Paste as new layer.
Move  the tube to the center of the image, see my example. the tube to the center of the image, see my example.
Effects>3D Effects>Drop Shadow, at your choice.
16. Open the text 540-make today magical Ri@ and go to Edit>Copy.
Go back to your work and go to Edit>Paste as new layer.
Image>Resize, to 70%, resize all layers not checked.
Move  the text at the upper left. the text at the upper left.
Reduce the opacity of this layer to 70%.
If it is necessary, you can colorize.
Effects>3D Effects>Drop Shadow, at your choice.
17. Keep your foreground color to #840c04
and set your background color to black #000000.

Set your foreground color to a Foreground/Background Gradient, style Linear.

18. Image>Add borders, 1 pixel, symmetric, color #000000.
Image>Add borders, 10 pixels, symmetric, color #720107.
Image>Add borders, 1 pixel, symmetric, color #000000.
Image>Add borders, 20 pixels, symmetric, color #720107.
19. Activate your Magic Wand Tool 

Click on the last border to select it.
Flood Fill  the selection with your Gradient. the selection with your Gradient.
20. Adjust>Blur>Gaussian Blur - radius 30.

21. Effects>3D Effects>Drop Shadow, color black.

Selections>Select None.
22. Edit>Copy.
Image>Add borders, 40 pixels, symmetric, whatever color.
Select this border with your Magic Wand Tool  , same settings , same settings
Edit>Paste into Selection.
23. Adjust>Blur>Gaussian Blur - radius 30.

25. Selections>Invert.
Effects>3D Effects>Drop Shadow, same settings.
Selections>Select None.
26. Sign your work on a new layer.
Layers>Merge>Merge All.
27. Effects>Plugins>AAA Filters - Custom - click on Sharp and ok.
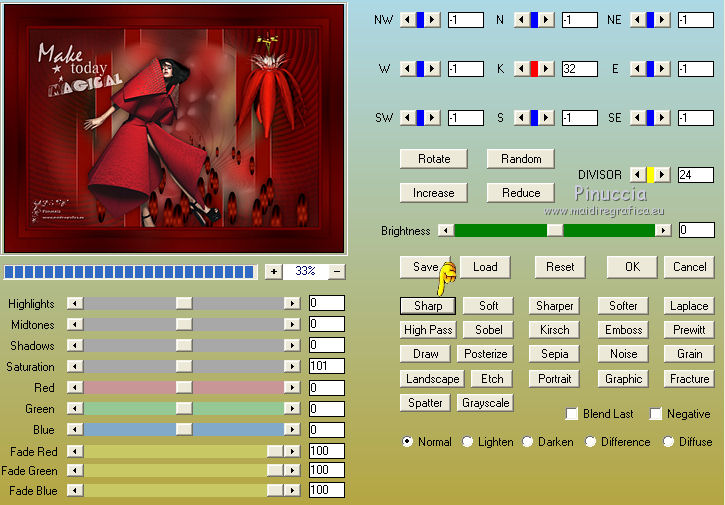
Save as jpg.
Version with tube by Luz Cristina
 Your versions here Your versions here

If you have problems or doubts, or you find a not worked link, or only for tell me that you enjoyed this tutorial, write to me.
29 April 2021
|

