|
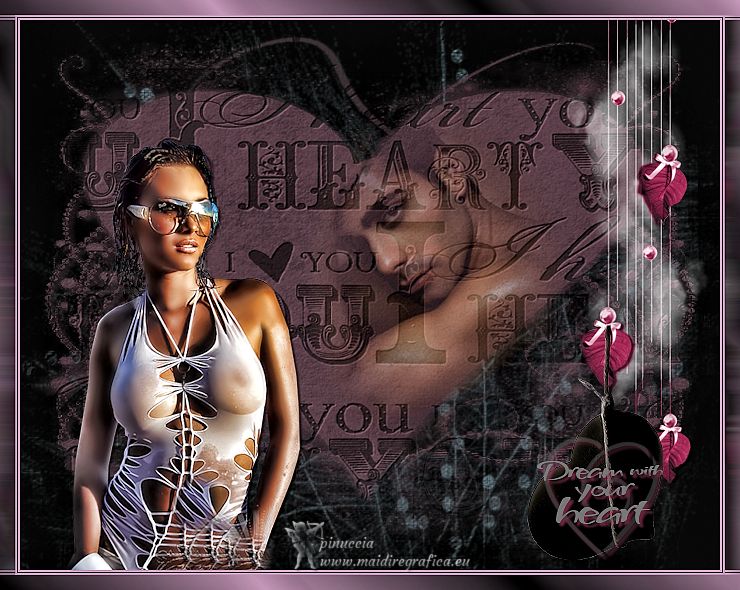
DREAM WITH YOUR HEART


Thanks Gerrie for your invitation to translate your tutorials.

This tutorial was created with PSPX2 and translated with PSPX, PSPX2, PSPX3, but it can also be made using other versions of PSP.
Since version PSP X4, Image>Mirror was replaced with Image>Flip Horizontal,
and Image>Flip with Image>Flip Vertical, there are some variables.
In versions X5 and X6, the functions have been improved by making available the Objects menu.
In the latest version X7 command Image>Mirror and Image>Flip returned, but with new differences.
See my schedule here
 Italian translation qui Italian translation qui
 French translation here French translation here
 Your versions ici Your versions ici
For this tutorial, you will need:

Per i tubes grazie Nikita, Exclusive SDT, Silke
(you find here the links to the material authors' sites)

consult, if necessary, my filter section here
Filters Unlimited 2.0 here
Graphics Plus - Cross Shadow here
FM Tile Tools - Blend Emboss here
Nik Software - Color Efex Pro here
Filters Graphics Plus can be used alone or imported into Filters Unlimited.
(How do, you see here)
If a plugin supplied appears with this icon  it must necessarily be imported into Unlimited it must necessarily be imported into Unlimited

You can change Blend Modes according to your colors.
In the newest versions of PSP, you don't find the foreground/background gradient (Corel_06_029).
You can use the gradients of the older versions.
The Gradient of CorelX here

Open the masks in PSP and minimize them with the rest of the material.
1. Choose two colors of your tube,
Set your foreground color with the light color: for me #7b0815,
and your background color with the dark color: for me #000000.
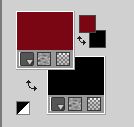
2. Open a new transparent image 700 x 550 pixels.
Flood Fill  the transparent image with your dark background color. the transparent image with your dark background color.
3. Selections>Select All.
Layers>New Raster Layer.
4. Open the image papier1 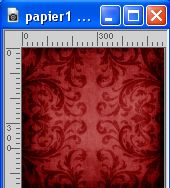
Edit>Copy.
Go back to your work and go to Edit>Paste into Selection.
Selections>Select None.
5. Layers>New Mask layer>From image
Open the menu under the source window and you'll see all the files open.
Select the mask masque315.
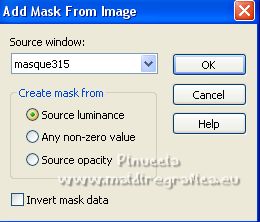
Layers>Merge>Merge Group.
6. Effects>Plugins>FM Tile Tools - Blend Emboss, default settings.

7. Selections>Select All.
Layers>New Raster Layer.
Open the paper 3 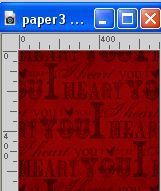
Edit>Copy.
Go back to your work and go to Edit>Paste into Selection.
Selections>Select None.
8. Layers>New Mask layer>From image
Open the menu under the source window
and select the mask 003.
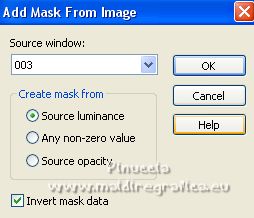
Layers>Merge>Merge Group.
9. Effects>Plugins>FM Tile Tools - Blend Emboss, default settings.

10. Open the face tube 1220640097_femmes 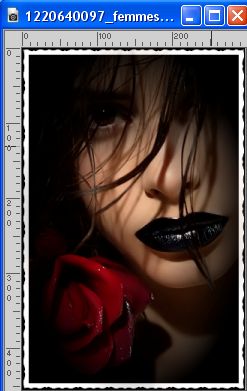
Image>Resize, 350 pixels hight, resize all layers checked.
Edit>Copy.
Go back to your work and go to Edit>Paste as new layer.
Place  the tube in the heart. the tube in the heart.
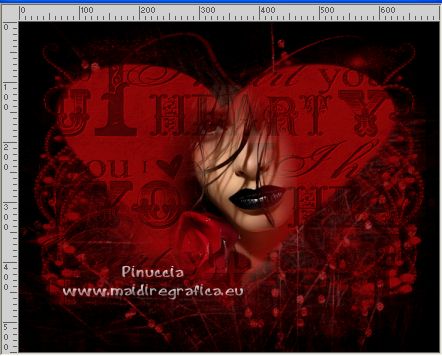
11. Open the tube 3317_Man_12_10_09_sdt 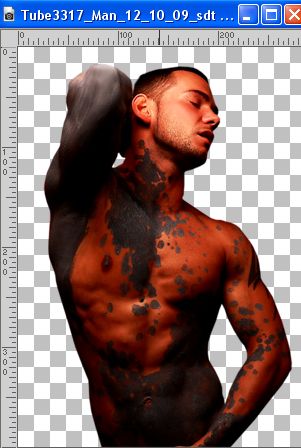
Image>Resize, 400 pixels hight, resize all layers checked.
Edit>Copy.
Go back to your work and go to Edit>Paste as new layer.
Place  the tube to the left. the tube to the left.
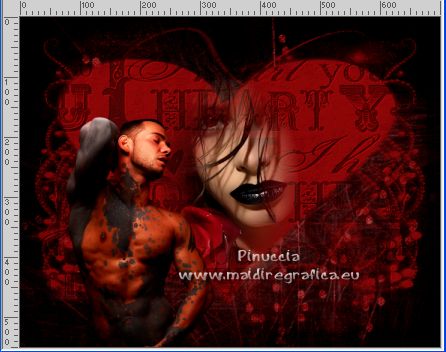
12. Effects>3D Effects>Drop shadow, at your choice.
13. Open the tube Valentine's Day elementy3.psp 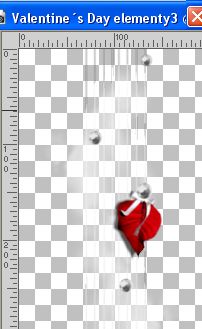
Image>Resize, 500 pixels hight, resize all layers checked.
Edit>Copy.
Go back to your work and go to Edit>Paste as new layer.
Place  the tube to the right. the tube to the right.
Reduce the opacity of this layer to 96%.
14. Open the tube SKF_Heart254.06 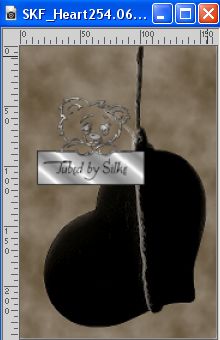
Image>Resize, 244 pixels hight, resize all layers checked.
Edit>Copy.
Go back to your work and go to Edit>Paste as new layer.
Place  the tube to your liking. the tube to your liking.
15. Open the wordart blb-wordart 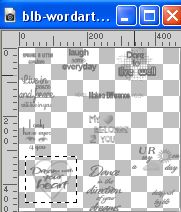
the wordart is selected, but if you want, you may use another text.
Edit>Copy.
Go back to your work and go to Edit>Paste as new layer.
Place  the tube to your liking. the tube to your liking.
16. Effects>3D Effects>Drop Shadow, red foreground color.
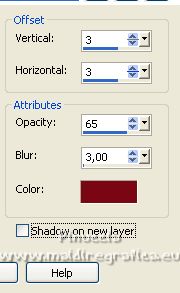
17. Sign your work on a new layer.
18. Image>Add borders, 2 pixels, symmetric, foreground color #7b0815.
Image>Add borders, 1 pixel, symmetric, background color #000000.
Image>Add borders, 2 pixels, symmetric, foreground color #7b0815.
Image>Add borders, 15 pixels, symmetric, background color #000000.
19. Activate your Magic Wand Tool 

and click in the last border to select it.
20. Set your foreground color to a Foreground/Background Gradient, style Linear.
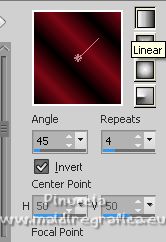
Flood Fill  the selection with your Gradient. the selection with your Gradient.
21. Effects>Distortion Effects>Wind - from right, strength 100.
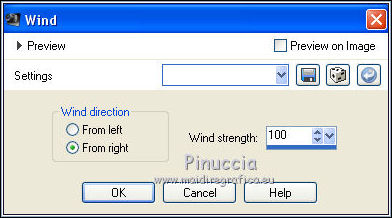
Repeat the Effect, this time from left

Selections>Select None.
22. Effects>Plugins>Nik Software - Color Efex Pro - Tonal Contrast.
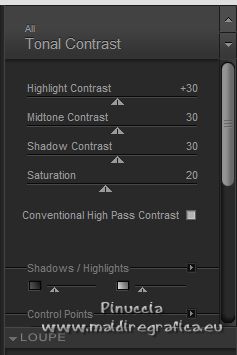
Save as jpg.
For the tubes of this version thanks Guismo and Aclis

If you have problems or doubts, or you find a not worked link, or only for tell me that you enjoyed this tutorial, write to me.
10 February 2023

|

