|
DAY OF LOVE

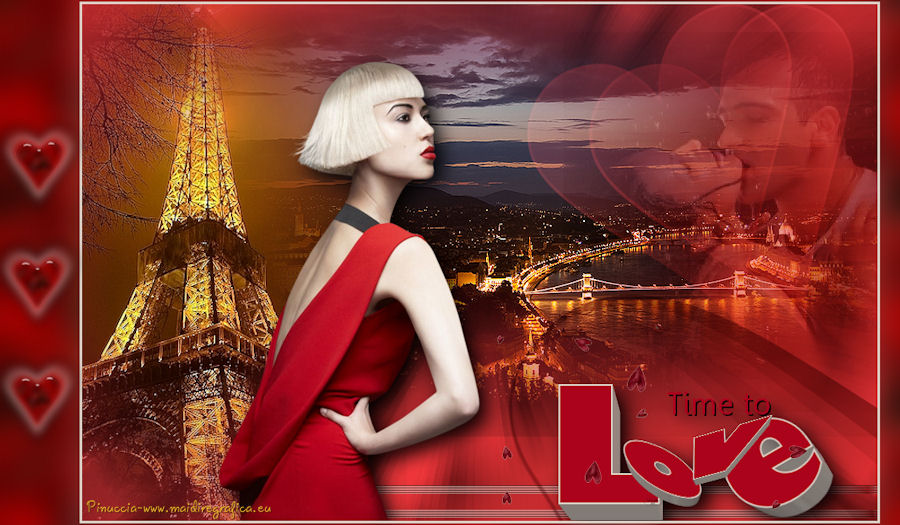
Thanks Gerrie for your invitation to translate your tutorials.

This tutorial was translated with PSP14 but it can also be made using other versions of PSP.
Since version PSP X4, Image>Mirror was replaced with Image>Flip Horizontal,
and Image>Flip with Image>Flip Vertical, there are some variables.
In versions X5 and X6, the functions have been improved by making available the Objects menu.
In the latest version X7 command Image>Mirror and Image>Flip returned, but with new differences.
See my schedule here
 Italian translation qui Italian translation qui
 French translation here French translation here
 Your versions ici Your versions ici

For this tutorial, you will need:

For the tubes thanks Luna.
The wordart is by Gerrie.
(you find here the links to the material authors' sites)

consult, if necessary, my filter section here
Filters Unlimited 2.0 here
VM Texture - Four centers here
Vm Stylize - Zoom blurhere
Toadies - What are you here
Filters VM Texture, Toadies and VM Stylize can be used alone or imported into Filters Unlimited.
(How do, you see here)
If a plugin supplied appears with this icon  it must necessarily be imported into Unlimited it must necessarily be imported into Unlimited

You can change Blend Modes according to your colors.
In the newest versions of PSP, you don't find the foreground/background gradient (Corel_06_029).
You can use the gradients of the older versions.
The Gradient of CorelX here
1. Set your foreground color to #f7383c,
and your background color to #6e1315.
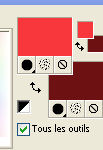
Set your foreground color to a Foreground/Background Gradient, style Radial.

2. Open a new transparent image 1000 x 650 pixels.
Flood Fill  the transparent image with your Gradient. the transparent image with your Gradient.
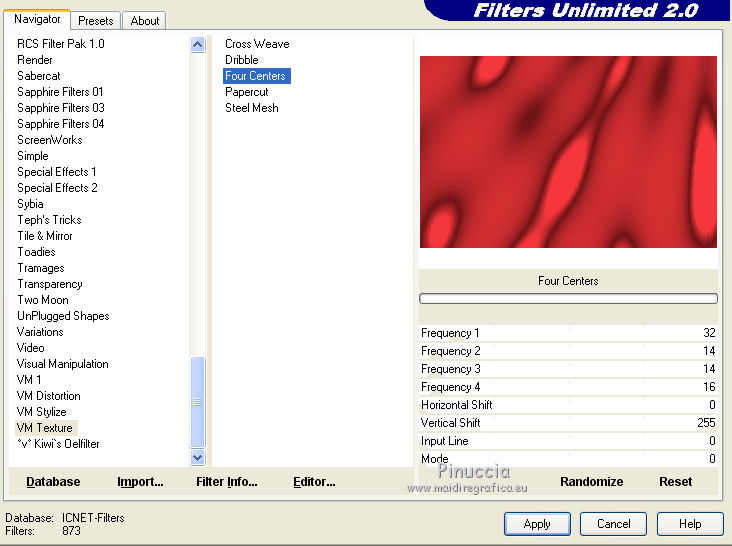
3. Effects>Plugins>Filters Unlimited 2.0 - VM Texture - Four Centers, default settings.
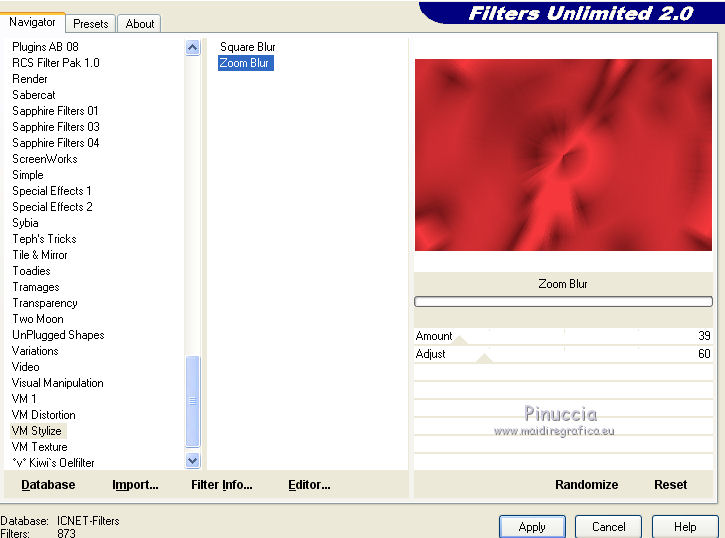
4. Effects>Plugins>Filters Unlimited 2.0 - VM Stylize - Zoom Blur, default settings.
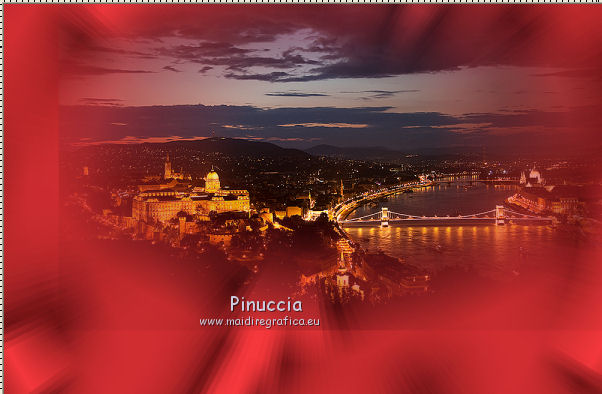
5. Open the tube lunapaisagem5103 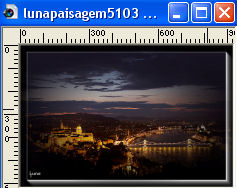
Edit>Copy
Go back to your work and go to Edit>Paste as new layer.
Move  the tube at the upper right. the tube at the upper right.
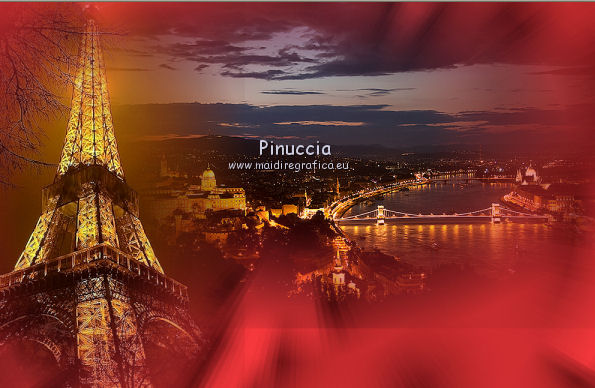
5. Open the tube lunapaisagem374 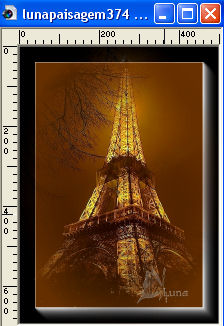
Edit>Copy
Go back to your work and go to Edit>Paste as new layer.
Image>Resize, to 110%, resize all layers not checked.
Move  the tube to the left side. the tube to the left side.
6. Open a new transparent image 350 x 450 pixels.
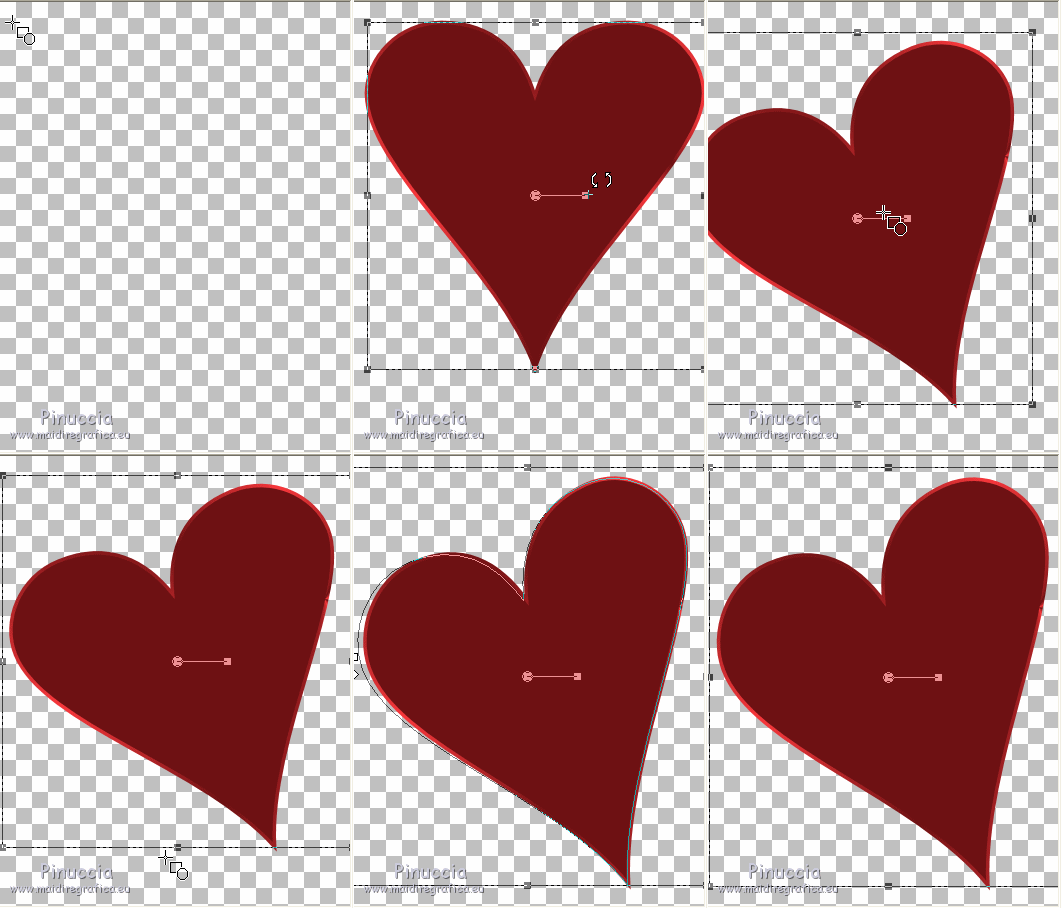
Activate your Preset Shape Tool 
Choose and select a form heart, size 4 pixels, style ligne
scegli e seleziona una forma cuore, larghezza 4 pixels, line style +Solid.

Draw a heart and use the tool's nodes to rotate the shape lightly,
and to fit the size of the image.
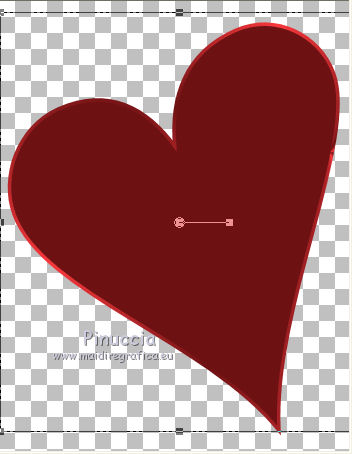
Layers>Convert in Raster Layer.
Edit>Copy.
Go back to your work and go to Edit>Paste as new layer.
Move  the heart to the top right, the heart to the top right,
not too close to the edge.
Effects>PluginsToadies - What are you.
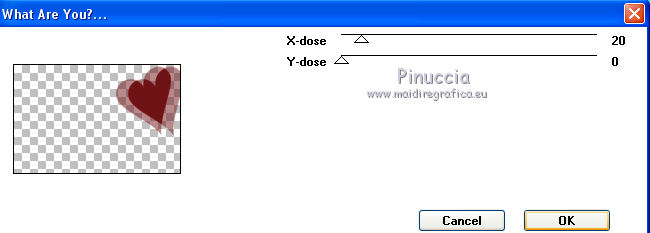
Change the Blend Mode of this layer to Screen.
If necessary, reduce the opacity according to your color.
For my example, I reduced to 70%.
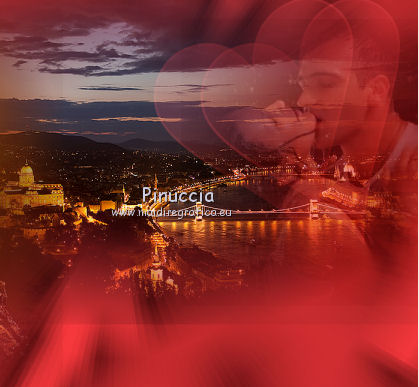
7. Open the tube lunacasal019 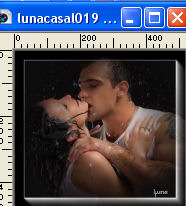
Edit>Copy
Go back to your work and go to Edit>Paste as new layer.
Move  the tube in the heart. the tube in the heart.
Change the Blend Mode of this layer to Soft Light.
8. Open the tube Element 1 
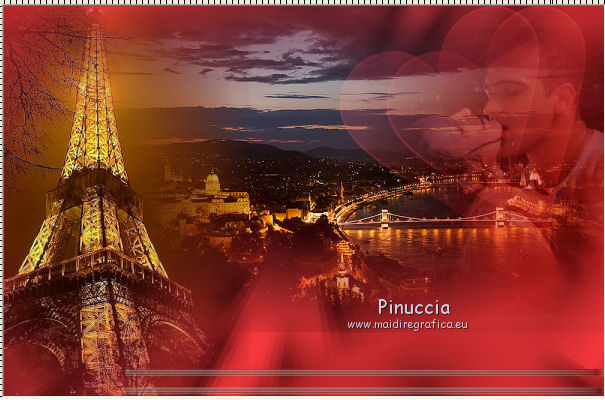
Edit>Copy
Go back to your work and go to Edit>Paste as new layer.
Move  the tube down to the right, the tube down to the right,
levaing only the two stripes visible.
9. Open the tube Alies 743-woman red dress-09012012 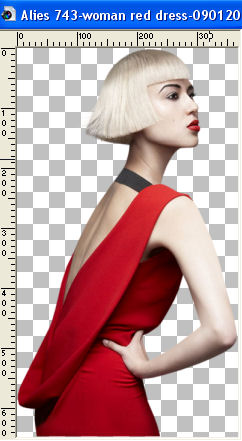
Edit>Copy
Go back to your work and go to Edit>Paste as new layer.
Image>Resize, to 90%, resize all layer not checked.
Move  the tube down to the end of Element 1. the tube down to the end of Element 1.
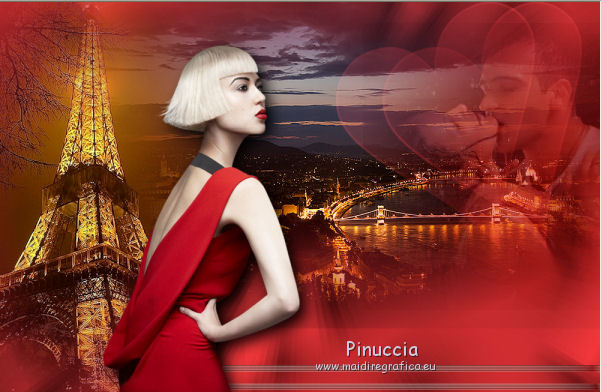
Effects>3D Effects>Drop Shadow, at your choice.
10. Open the wordart pspmagnifiquegerrie1 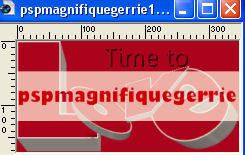
Edit>Copy
Go back to your work and go to Edit>Paste as new layer.
Move  the wordart at the bottom right. the wordart at the bottom right.
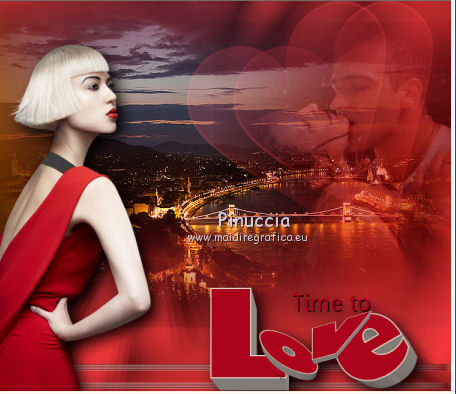
Effects>3D Effects>Drop shadow, at your choice.
11. Open the tube A-liya_BT_Feb2011_el17 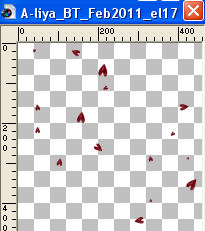
Edit>Copy
Go back to your work and go to Edit>Paste as new layer.
Image>Resize, to 90%, resize all layers not checked.
Move  the tube down, over the border. the tube down, over the border.

12. Open Activer Element2 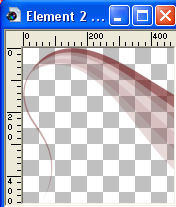
Edit>Copy
Go back to your work and go to Edit>Paste as new layer.
Move  the tube at the bottom right. the tube at the bottom right.
Change the Blend Mode of this layer to Multiply.
For my example I reduced the opacity to 70%,
and I moved this layer under the previous element.
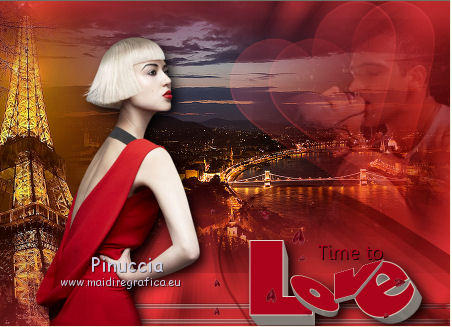
13. Image>Add borders, 3 pixels, symmetric, color #e1d6cc.

Image>Add borders, symmetric not checked, background color #6e1315.

Activate your Magic Wand Tool 

Click in the last border to select it.
Activate the pattern 1A  and minimize it. and minimize it.
Set your foreground color to Pattern,
look for the image under the Open Images Category and select it with these settings.

Flood Fill  the selection with your pattern. the selection with your pattern.
Adjust>Blur>Gaussian Blur, radius 20.

Selections>Select None.
14. Open the tube hartjes 
Edit>Copy
Go back to your work and go to Edit>Paste as new layer.
Move  the tube to the left side, on the border. the tube to the left side, on the border.
15. Layers>Merge>Merge All.
Sign your work and save as jpg.
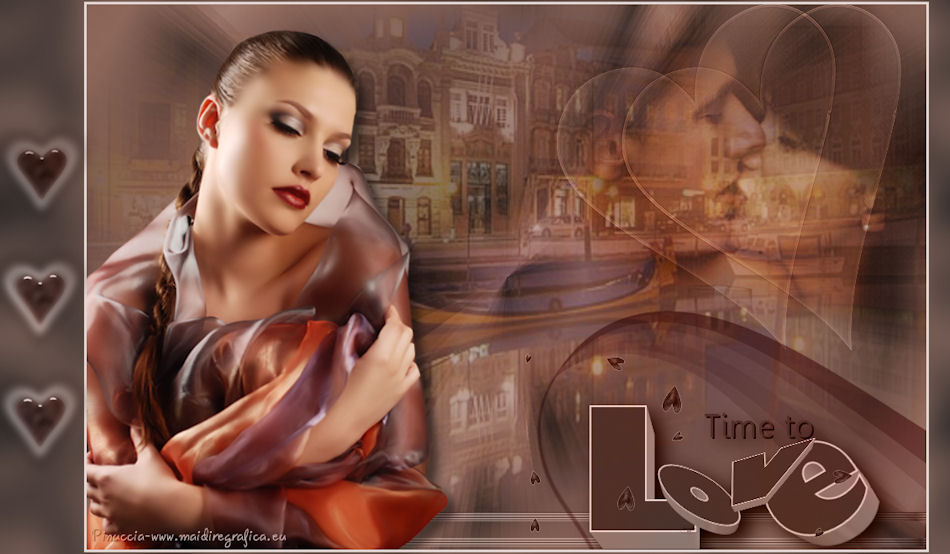
For the tubes of this version thanks Natascha and Gina

If you have problems or doubts, or you find a not worked link, or only for tell me that you enjoyed this tutorial, write to me.
1 February 2023

|

