|
DANCE TO THE MUSIC

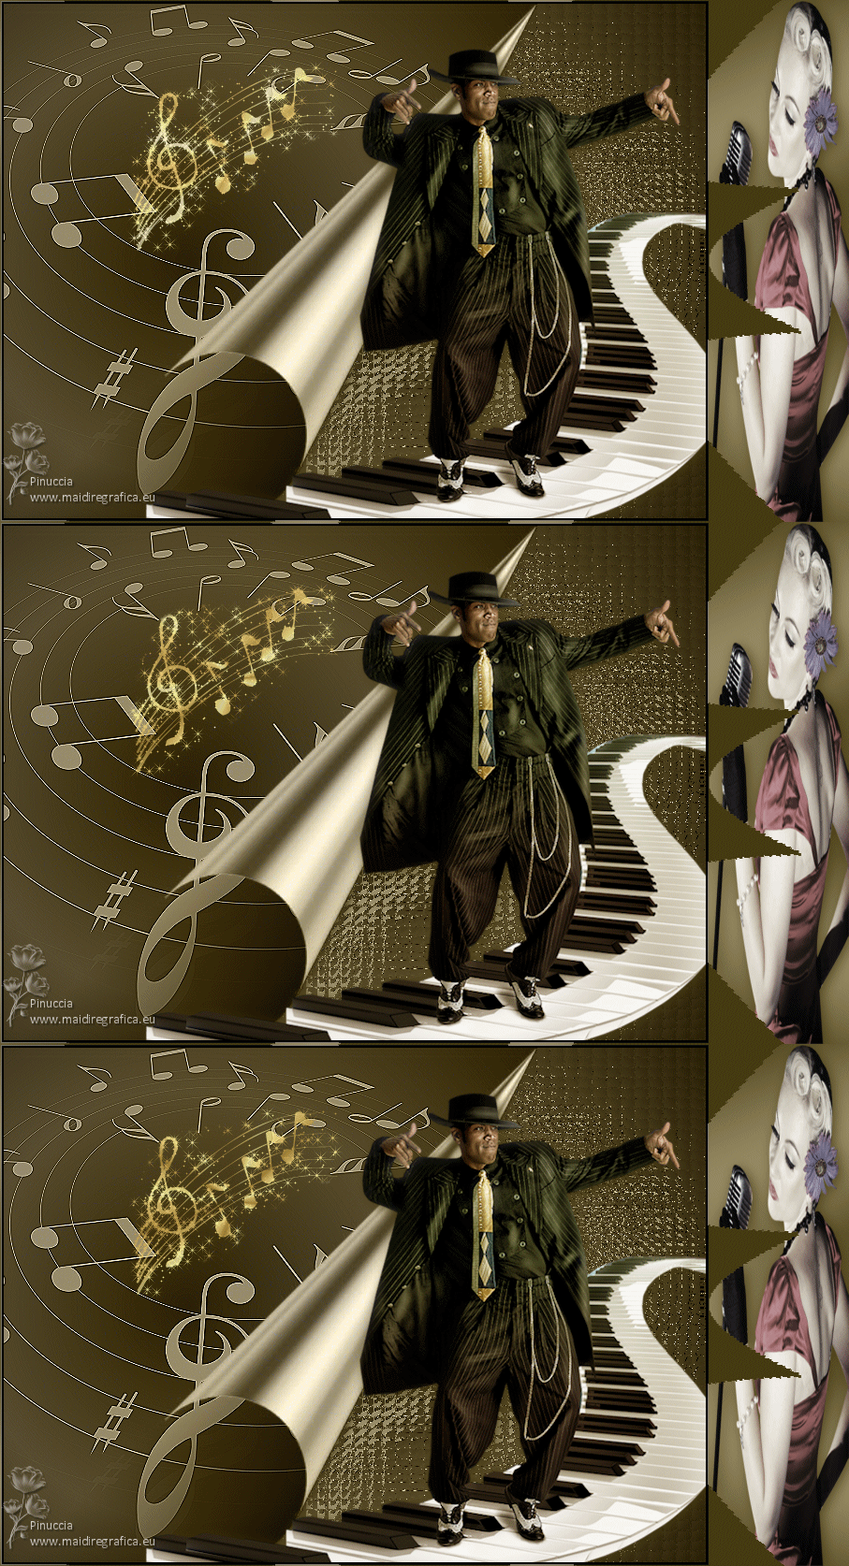
Thanks Gerrie for your invitation to translate your tutorials.

This tutorial was created with PSP2020 and translated with PSPX9, but it can also be made using other versions of PSP.
Since version PSP X4, Image>Mirror was replaced with Image>Flip Horizontal,
and Image>Flip with Image>Flip Vertical, there are some variables.
In versions X5 and X6, the functions have been improved by making available the Objects menu.
In the latest version X7 command Image>Mirror and Image>Flip returned, but with new differences.
See my schedule here
 Italian translation qui Italian translation qui
 French translation here French translation here
 Your versions ici Your versions ici
For this tutorial, you will need:

Thanks for the tubes Renée, Kris and for the mask Adita.
Elements from the scrapkit Miz_DecadantSteampunk2
The rest of the material is by Gerrie.
(you find here the links to the material authors' sites)

consult, if necessary, my filter section here
Filters Unlimited 2.0 here
&<Bkg Designer sf10I> - Center Mirror (to import in Unlimited) here
Animation Shop here

You can change Blend Modes according to your colors.
In the newest versions of PSP, you don't find the foreground/background gradient (Corel_06_029).
You can use the gradients of the older versions.
The Gradient of CorelX here

Open the mask in PSP and minimize it with the rest of the material.
1. Open your tubes and on everyone:
Adjust>Sharpness>Unsharp Mask.

2. Set your foreground color to a light color: #988c66,
and your background color to a dark color: #463a11.
3. Open a new transparent image 750 x 550 pixels.
Flood Fill  the transparent image with your foreground color. the transparent image with your foreground color.
4. Set your foreground color to a Foreground/Background Gradient, style Sunburst.

5. Layers>New Raster Layer.
Flood Fill  the layer with your gradient. the layer with your gradient.
6. Layers>New Mask layer>From image
Open the menu under the source window and you'll see all the files open.
Select the mask music-clipart

Layers>Merge>Merge Group.
For my example I change the Blend Mode of this layer to Multiply.
7. Layers>Merge>Merge All.
Effects>Edge Effects>Enhance.
8. Edit>Copy
9. Effects>Texture Effects>Mosaic - Glass.

10. Edit>Paste as new layer (the image of step 8 is still in memory).
11. Effects>Plugins>Filters Unlimited 2.0 - Special Effects 2 - Paper Roll 1, default settings.
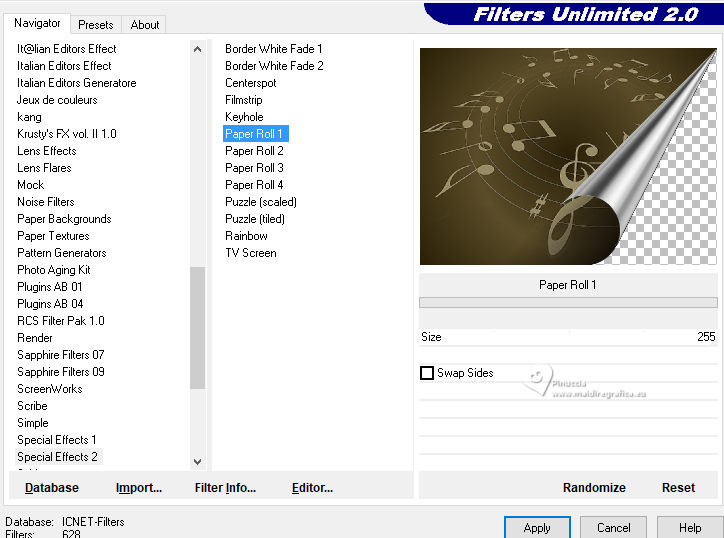
Change the Blend Mode of this layer to Luminance (legacy).
12. Effects>Image Effects>Offset.

13. Effects>3D Effects>Drop Shadow, background color.

14. Open the tube Dorien_Piano_Dancer 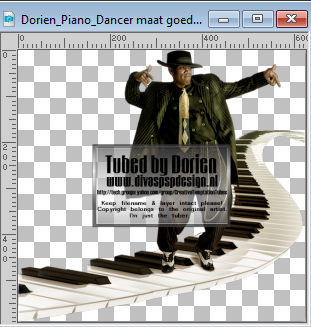
Edit>Copy.
Go back to your work and go to Edit>Paste as new layer.
Move  the tube down. the tube down.
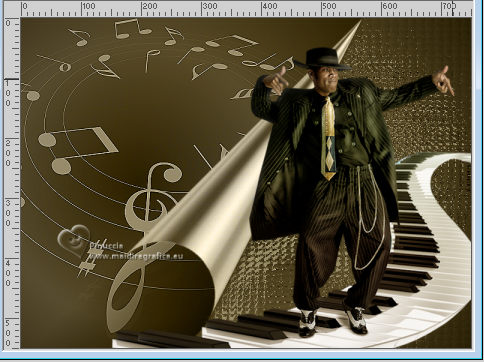
15. Effects>3D Effects>Drop Shadow, background color.

16. Image>Add borders, 3 pixels, symmetric, color black.
Image>Add borders, symmetric not checked, background color.

17. Activate your Magic Wand Tool  , tolerance 1 , tolerance 1

and click in the last border to select it.
18. Layers>New Raster Layer.
Flood Fill  the layer with your gradient the layer with your gradient  . .
19. Effects>Plugins>Filters Unlimited 2.0 - &<Bkg Designer sf10I> - Center Mirror, default settings.
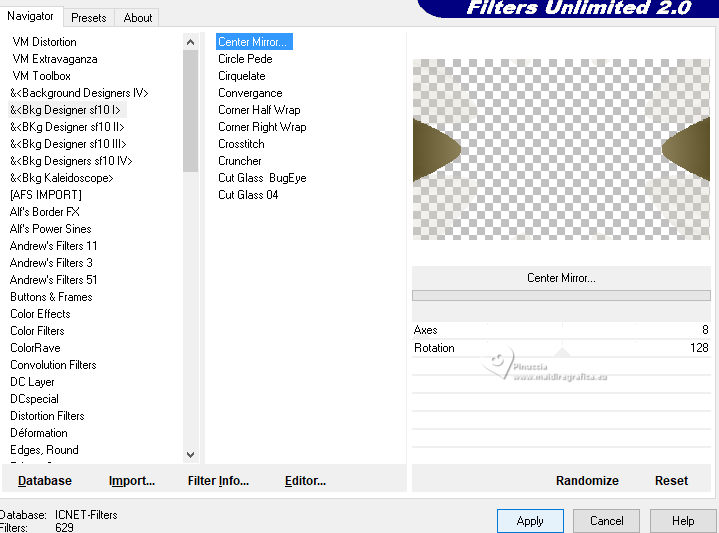
Selections>Select None.
20. Activate your Magic Wand Tool  , tolerance 17 , tolerance 17

and click in the right round part to select it,
if necessary, click many times to select all.
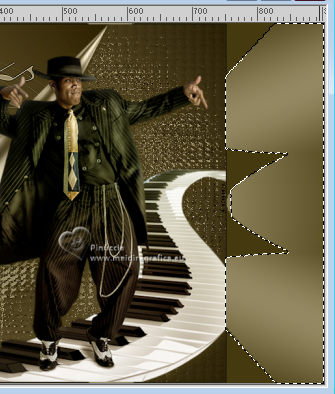
21. Layers>New Raster Layer.
Open the tube kTs_31FGU08 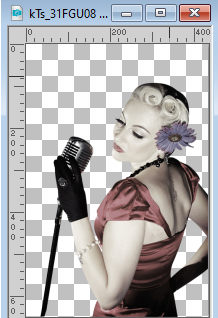
Edit>Copy.
Go back to your work and go to Edit>Paste into Selection.
Selections>Select None.
22. Effects>3D Effects>Drop Shadow, at your choice.
23. Sign your work on a new layer.
24. Layers>Merge>Merge All.
Edit>Copy.
25. Open Animation Shop and go to Edit>Paste>Paste as new image.
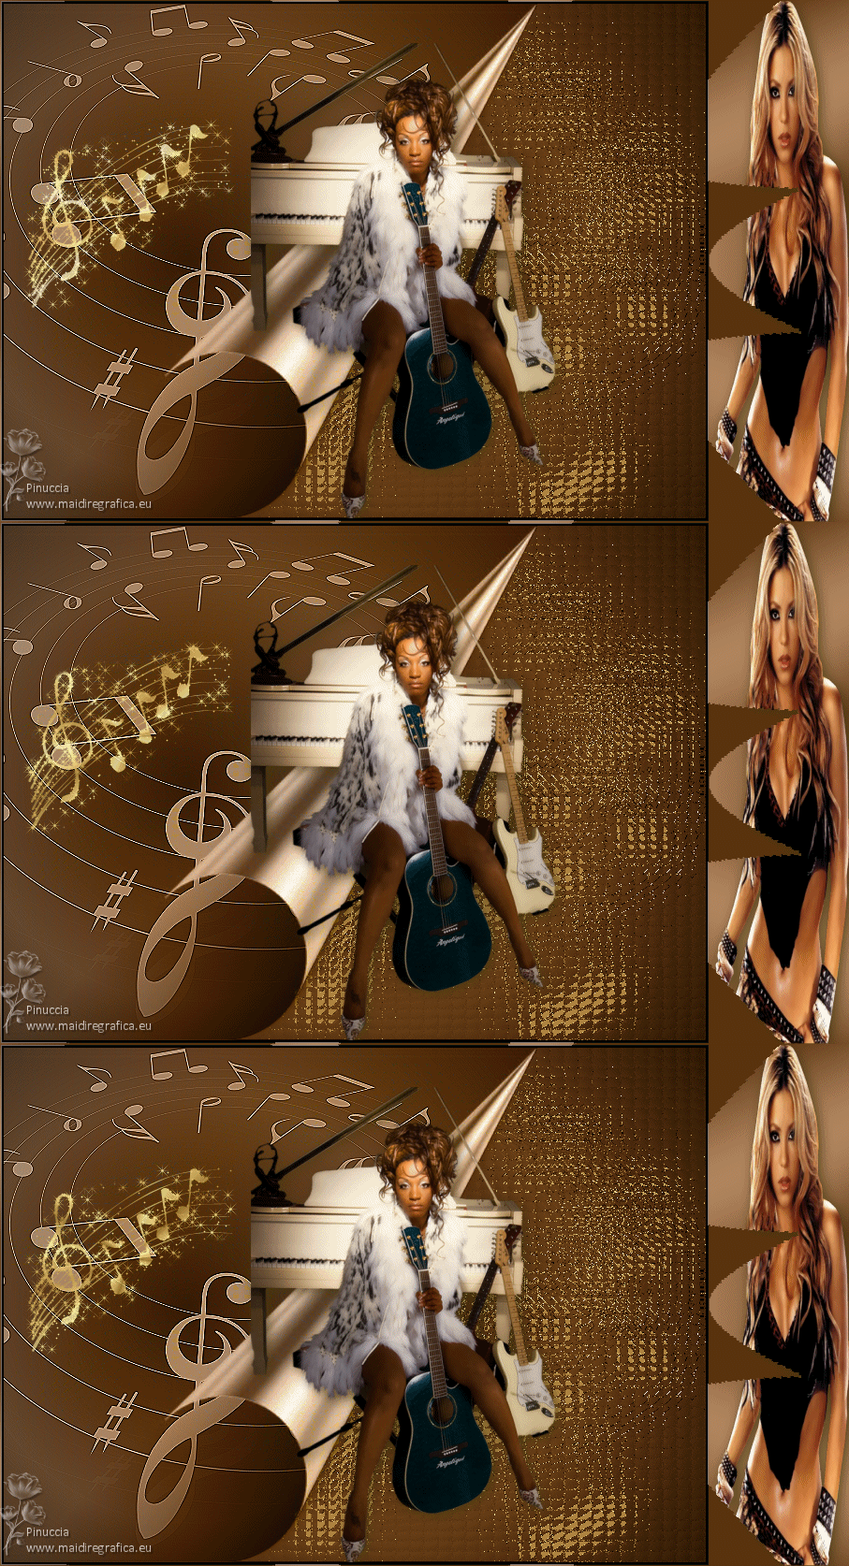
Edit>Duplicate and repeat to get an animation composed by 3 frames.
Click on the first frame to select it and go to Edit>Select All.
26. Open the animation BlingSparkleNotesGold_G_PTR 
Delete the blue frame, and also this animation will have 3 frames.
27. Edit>Select All.
Edit>Copy.
28. Activate your work and go to Edit>Paste>Paste in the selected frame.
Place the animation to your liking.
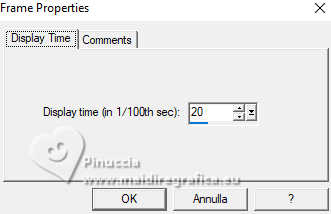
29. Animation>Frame Proprierties and set to 20.
30. Check your result clicking on View Animation 
and save as gif.
For the main tube thanks DBK Katrina; the second tube is not signed.

If you have problems or doubts, or you find a not worked link, or only for tell me that you enjoyed this tutorial, write to me.
28 October 2023

|

