|
DAGDROMEN
 DAY DREAMING DAY DREAMING

Thanks Gerrie for your invitation to translate your tutorials.

This tutorial was created with PSPX2 and translated with PSPX, PSPX2, PSPX3, but it can also be made using other versions of PSP.
Since version PSP X4, Image>Mirror was replaced with Image>Flip Horizontal,
and Image>Flip with Image>Flip Vertical, there are some variables.
In versions X5 and X6, the functions have been improved by making available the Objects menu.
In the latest version X7 command Image>Mirror and Image>Flip returned, but with new differences.
See my schedule here
 Italian translation qui Italian translation qui
 French translation here French translation here
 Your versions ici Your versions ici
For this tutorial, you will need:

For the tubes thanks Dragonblue, Nettis and Guismo
(you find here the links to the material authors' sites)

You can change Blend Modes according to your colors.

Open the mask in PSP and minimize it with the rest of the material.
1. Open the template redhots 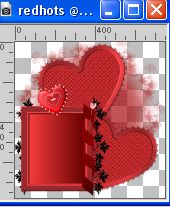
This will be the basis of your work.
2. Close all the layers: Layers>View>None.
Layers>New Raster Layer.
Layers>Arrange>Send to Bottom.
3. Selections>Select All.
Open the paper Missy_iheartyou_paper3 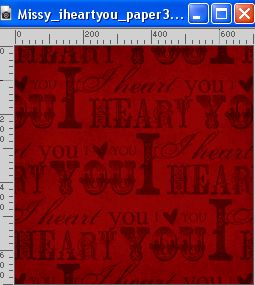
Edit>Copy.
Go back to your work and go to Edit>Paste into Selection.
Selections>Select None.
4. Layers>New Mask layer>From image
Open the menu under the source window and you'll see all the files open.
Select the mask Vix_Mask361

Layers>Merge>Merge group.
5. Image>Resize, to 110%, resize all layers not checked.
6. Effects>3D Effects>Drop shadow, color black.

7. Open the layer mask
8. Open and activate the layer Fusionné 1
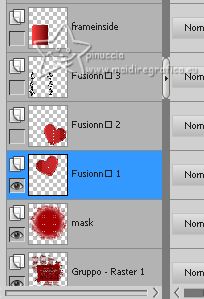
9. Selections>Select All.
Selections>Float.
Selections>Defloat.
10. Open the tube Mist_Gothic_HollyPlasticSorrow 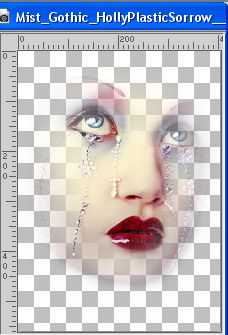
Edit>Copy.
Go back to your work and go to Edit>Paste into Selection.
Selections>Select None.
11. Open and activate the next layer Fusionné 2
Selections>Select All.
Selections>Float.
Selections>Defloat.
12. Open the tube 965325 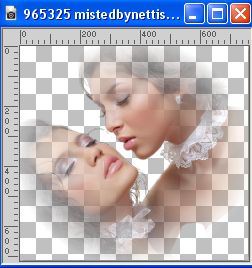
Edit>Copy.
Go back to your work and go to Edit>Paste into Selection.
Selections>Select None.
13. Leave the next layer closed.
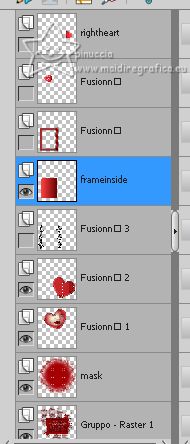
Open and activate the layer frameinside
14. Open the tube cal_guis_04_09_2008_st_amour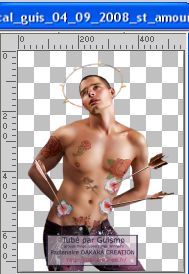
Image>Resize, to 450 pixels high.
Edit>Copy.
Go back to your work and go to Edit>Paste as new layer.
Place  the tube in the frame. the tube in the frame.
Layers>Arrange>Move Up.
15. Open the layer of the frame.
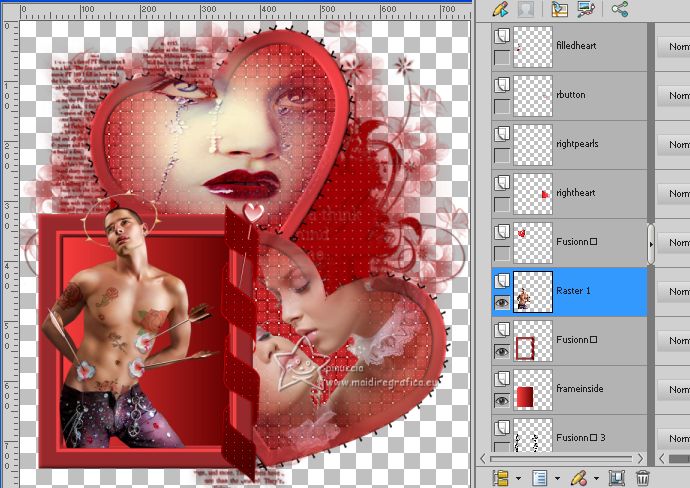
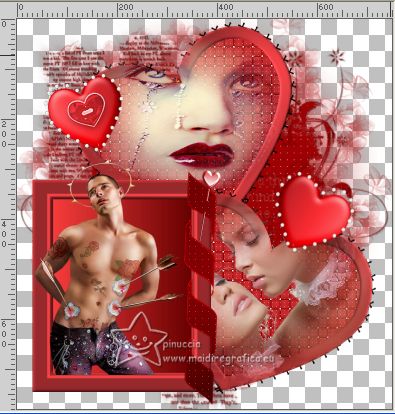
16. Decorate the work to your liking;
for my example I used the layers of hearts.
17. If you want, open th second scrap lovehearts 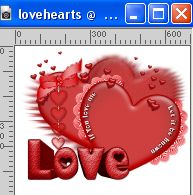
Use the elements you prefer to complete your work.
For my example, I used the series of hearts.
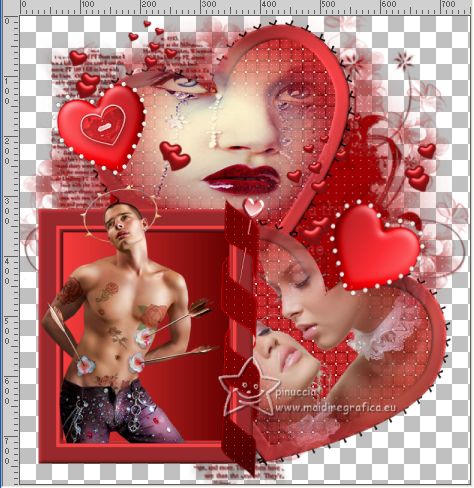
18. Sign your work on a new layer.
Layers>Merge>Merge visible.
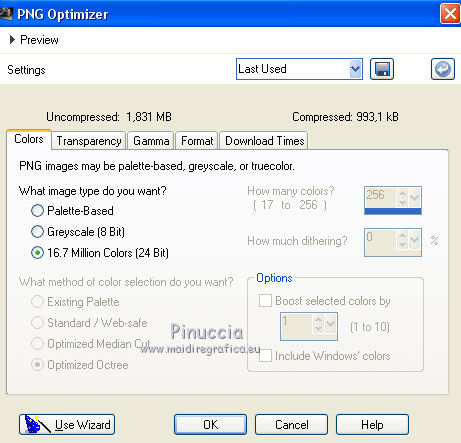
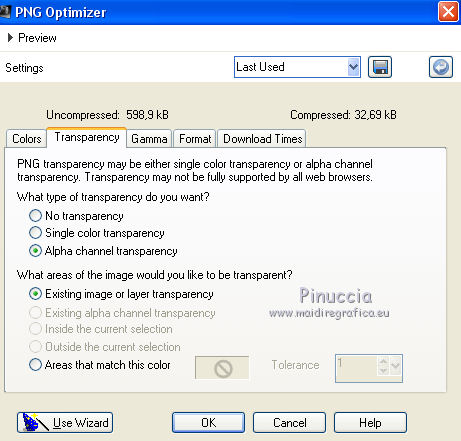
Save in png format, to preserve the transparency of the background.
File>Export>Png Optimizer
For the tubes of this version thanks Maryse and Guismo


If you have problems or doubts, or you find a not worked link, or only for tell me that you enjoyed this tutorial, write to me.
10 February 2023

|
 DAY DREAMING
