|
CHAPLIN

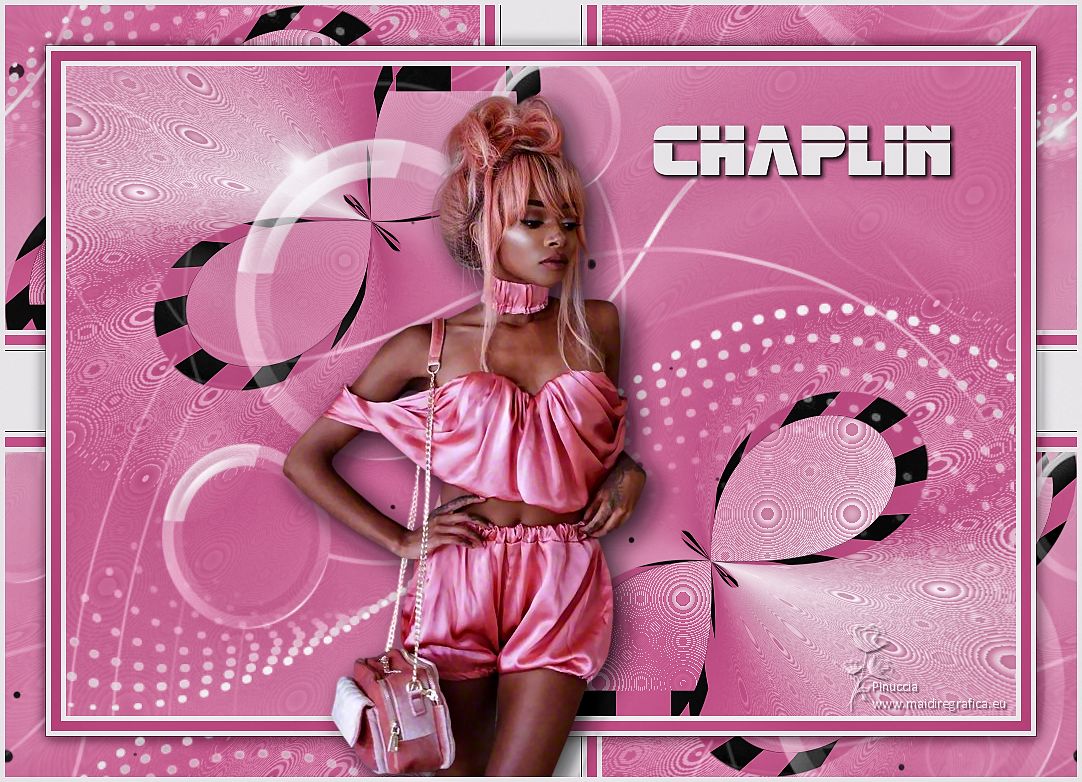
Thanks Gerrie for your invitation to translate your tutorials.

This tutorial was translated with PSP2020 but it can also be made using other versions of PSP.
Since version PSP X4, Image>Mirror was replaced with Image>Flip Horizontal,
and Image>Flip with Image>Flip Vertical, there are some variables.
In versions X5 and X6, the functions have been improved by making available the Objects menu.
In the latest version X7 command Image>Mirror and Image>Flip returned, but with new differences.
See my schedule here
 Italian translation qui Italian translation qui
 French translation here French translation here
 Your versions ici Your versions ici
For this tutorial, you will need:
Material
here
Thanks for the tube Syl and for the masks Franie Margot and Narah.
(you find here the links to the material authors' sites)
Plugins
consult, if necessary, my filter section here
Filters Unlimited 2.0 here
Mehdi - Sorting Tiles here
Tramages - Cirquelate here
Simple - Half Wrap here
L&K's - L&K's Pia here
Flaming Pear - Flexify here
Nik Software - Color Efex Pro here
Filters Tramages and Simple can be used alone or imported into Filters Unlimited.
(How do, you see here)
If a plugin supplied appears with this icon  it must necessarily be imported into Unlimited it must necessarily be imported into Unlimited

You can change Blend Modes according to your colors.
In the newest versions of PSP, you don't find the foreground/background gradient (Corel_06_029).
You can use the gradients of the older versions.
The Gradient of CorelX here
Open the font and minimize it. You will find it in the list of available fonts when you need it.
With new operating systems this is no longer possible.
To use a font, you need to copy it to the Windows Fonts folder.

Open the masks in PSP and minimize them with the rest of the materiel.
1. Set your foreground color with a light color of your tube: #edebee,
and your background color with a dark color : #cb6b99.
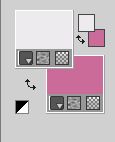
Set your foreground color to a Foreground/Background Gradient, style Radial.

2. Open a new transparent image 900 x 600 pixels.
Flood Fill  the transparent image with your Gradient. the transparent image with your Gradient.
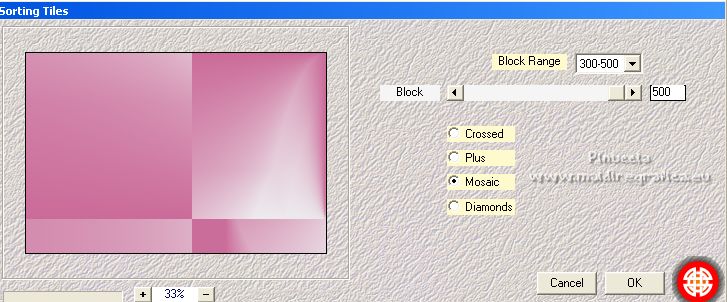
3. Effects>Plugins>Mehdi - Sorting Tiles.
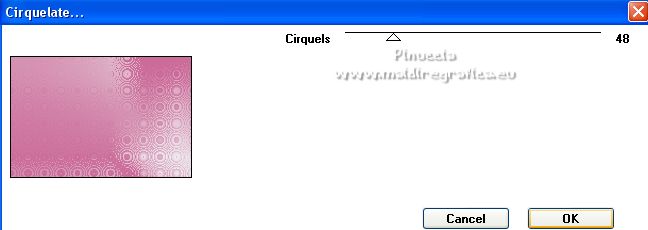
4. Effects>Plugins>Tramages - Cirquelate.
5. Image>Add borders, 25 pixels, symmetric, with a different color.
Activate your Magic Wand Tool 

Click in the border to select it.
Flood Fill  with a color at your choice; with a color at your choice;
for my example I used my background color.
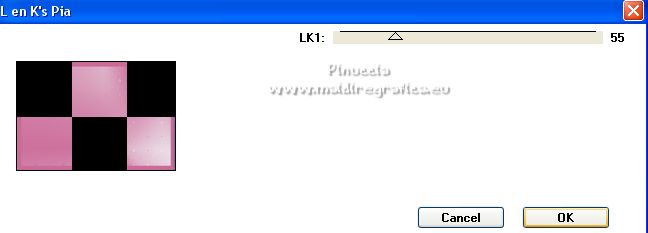
6. Effects>Plugins>L&K's - L&K's Pia.
Selections>Select None.
7. Layers>Duplicate.
Image>Free Rotate - 90 degrees to right.

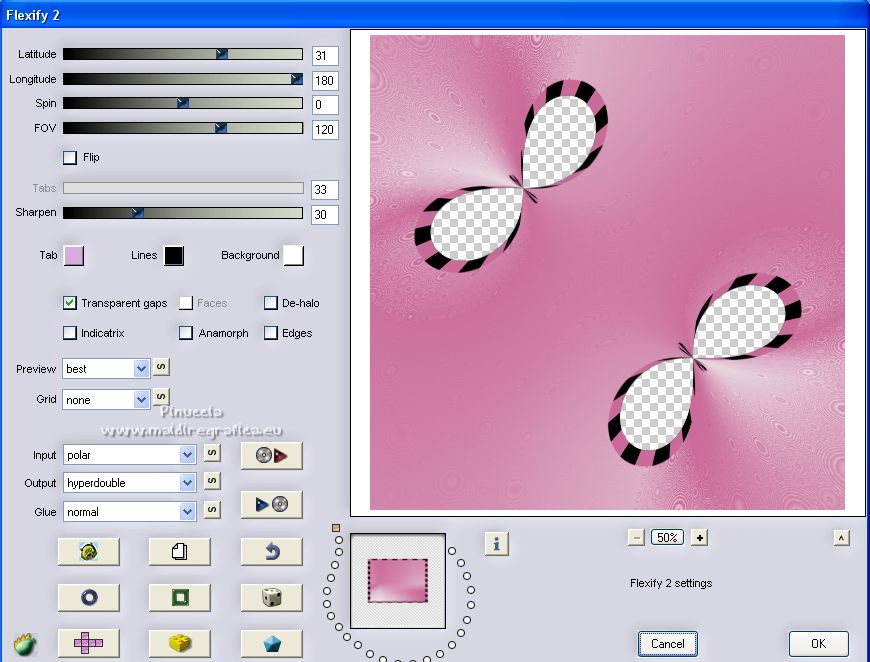
8. Effects>Plugins>Flaming Pear - Flexify 2.
9. Open the tube Deco_01 and go to Edit>Copy.
Go back to your work and go to Edit>Paste as new layer.
Don't move it.
10. Layers>New Raster Layer.
Flood Fill  the layer with a color at your choice; the layer with a color at your choice;
for my example I used my foreground color.
11. Layers>New Mask layer>From image
Open the menu under the source window and you'll see all the files open.
Select the mask masque-511-franiemargot.

Layers>Merge>Merge Group.
12. Layers>New Raster Layer.
Flood Fill  the layer with a color at your choice; the layer with a color at your choice;
for my example I used my foreground color.
13. Layers>New Mask layer>From image
Open the menu under the source window
and select the mask NarahsMasks_1560.

Layers>Merge>Merge Group.
14. Image>Add borders, 5 pixels, symmetric, foreground color.
Image>Add borders, 10 pixels, symmetric, background color.
Image>Add borders, 5 pixels, symmetric, foreground color.
Image>Add borders, 1 pixel, symmetric, color black.
Image>Add borders, 40 pixels, symmetric, foreground color.
15. Activate your Magic Wand Tool 

Click on the last border to select it.
16. Effects>Plugins>Simple - Half Wrap.
This effect works without window; result.
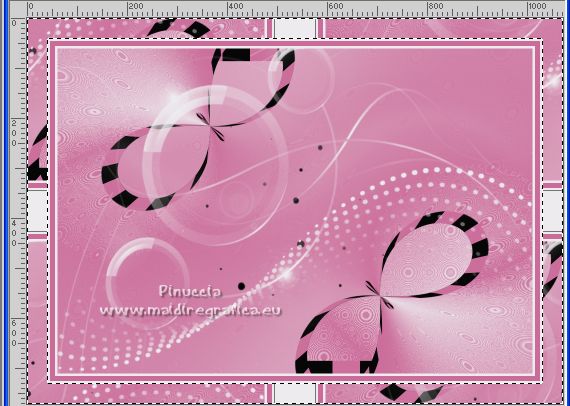
Selections>Invert.
17. Effects>3D Effects>Drop Shadow, color black.

Selections>Select None.
18. Open the woman tube, erase the watermark and go to Edit>Copy.
Go back to your work and go to Edit>Paste as new layer.
Place  correctly the tube. correctly the tube.
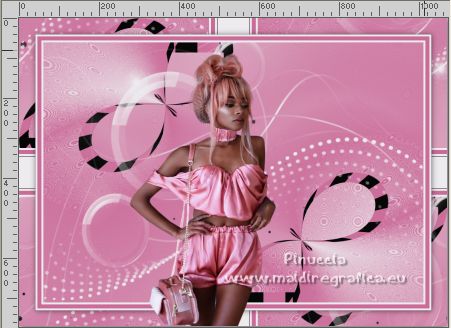
Effects>3D Effects>Drop Shadow, at your choice.
19. Activate your Text Tool  , font Retronoid , font Retronoid
adapt the size according to your text and your PSP version.
background color according to your work;
for my example I used the light color #edebee

Layers>Convert in Calque Raster.
20. Effects>3D Effects>Drop Shadow, at your choice.
Layers>Duplicate.
21. Sign your work on a new layer.
22. Image>Add borders, 5 pixels, symmetric, light color #edebee.
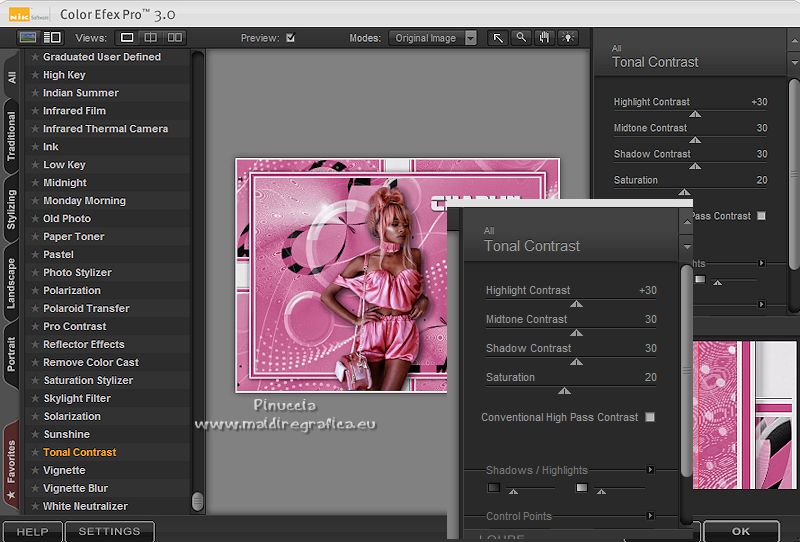
23. Effects>Plugins>Nik Software - Color Efex Pro - Tonal Contrast.
24. Save as jpg.
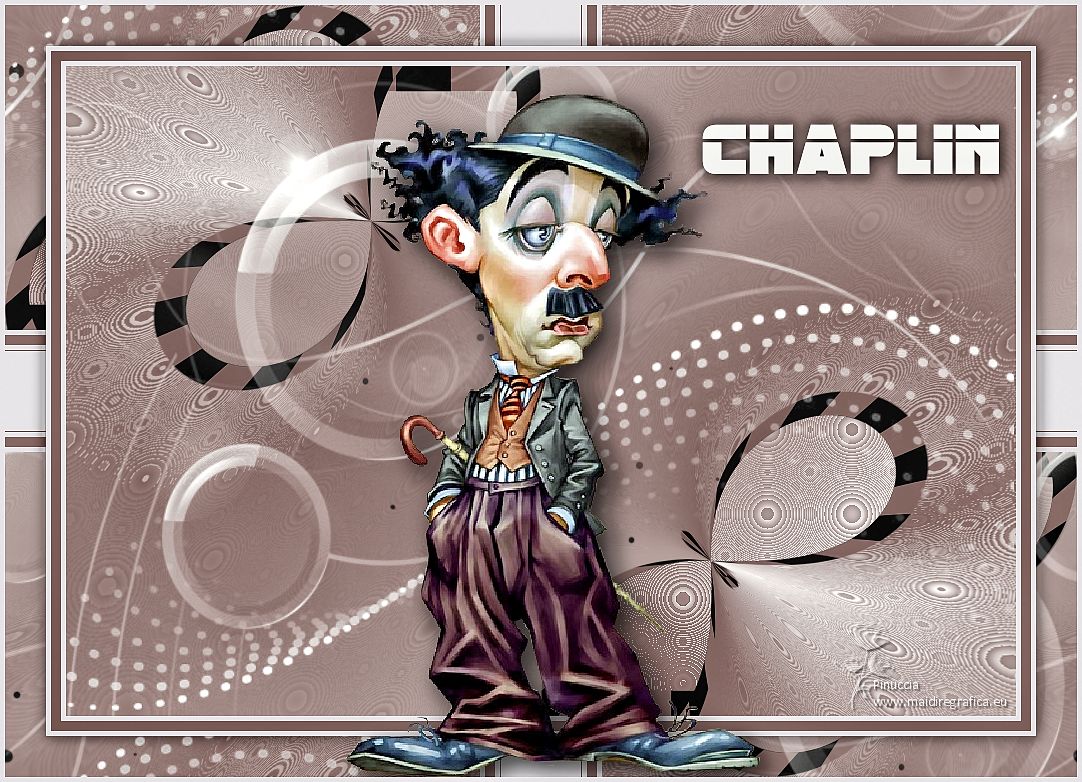
For the tube of this version thanks Odette
 Your versions here Your versions here

If you have problems or doubts, or you find a not worked link, or only for tell me that you enjoyed this tutorial, write to me.
28 August 2022

|

