|
EASTER IS COMING

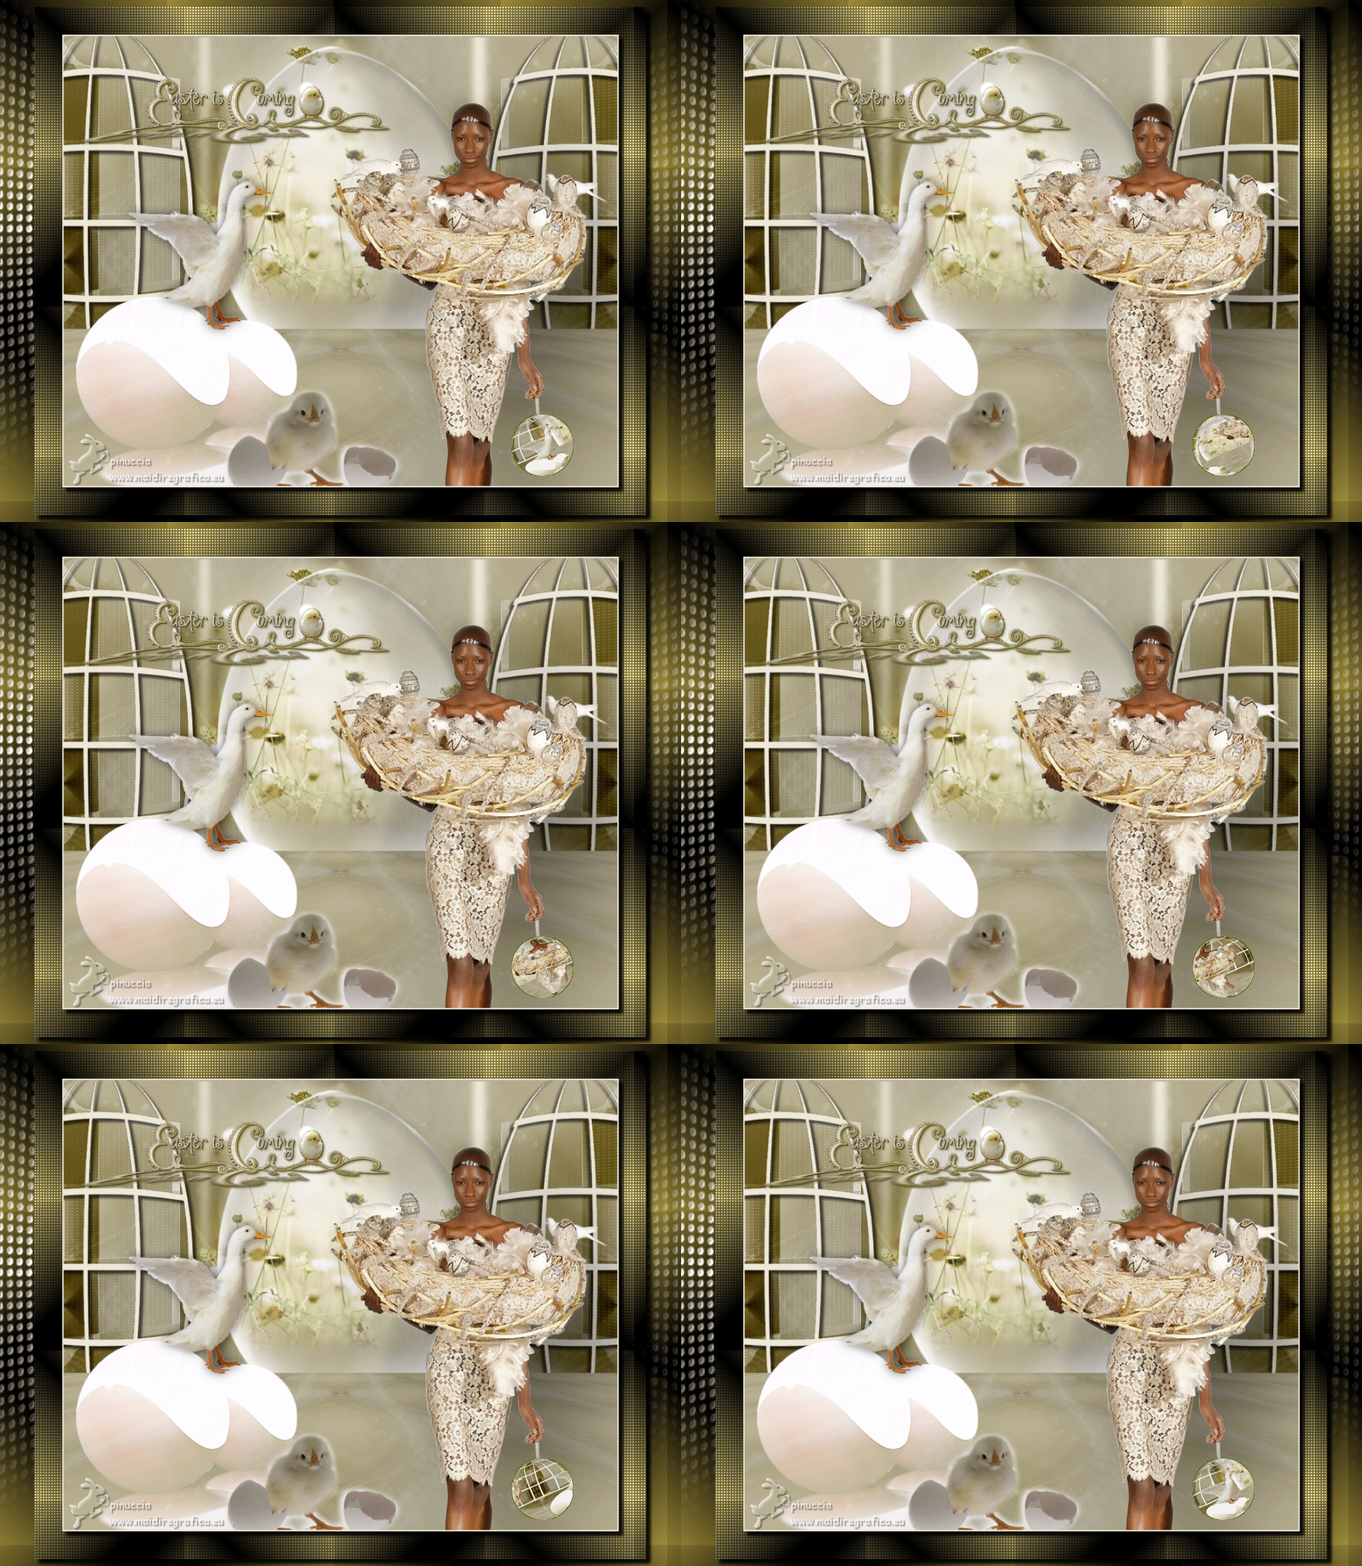
Thanks Gerrie for your invitation to translate your tutorials.

This tutorial was created with PSP16 and translated with PSP07 but it can also be made using other versions of PSP.
Since version PSP X4, Image>Mirror was replaced with Image>Flip Horizontal,
and Image>Flip with Image>Flip Vertical, there are some variables.
In versions X5 and X6, the functions have been improved by making available the Objects menu.
In the latest version X7 command Image>Mirror and Image>Flip returned, but with new differences.
See my schedule here
 Italian translation qui Italian translation qui
 French translation here French translation here
 Your versions ici Your versions ici

For this tutorial, you will need:

Thanks for the tubes Guismo, Claudia Viza, Matou, Athenais, and for the mask Adita.
The wordart is by Gerrie.
(you find here the links to the material authors' sites)

consult, if necessary, my filter section here
Filters Unlimited 2.0 here
Mura's Meister - Perspective Tiling here
Filter Factory Gallery G - Glass Pyramids here
Filter Factory Gallery C - The Grid here
AFS Import - sqborder 2 here
Ulead Effects - Gif-X2 here
Filters Greg's Factory Output can be used alone or imported into Filters Unlimited.
(How do, you see here)
If a plugin supplied appears with this icon  it must necessarily be imported into Unlimited it must necessarily be imported into Unlimited
Animation Shop here

You can change Blend Modes according to your colors.
Copy the preset Emboss 3 in the Presets Folder.
Copy the selection in the Selections Folder.
Open the mask in PSP and minimize it with the rest of the material
(except the animation that you'll use in Animation Shop).
1. Set your foreground color to #eee8da,
and your background color to #8d7c33.

2. Open the background image Achtergrond werkel 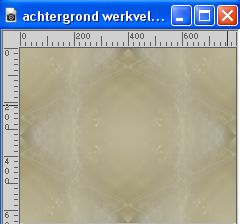 . .
This image will be the basis of your work.
If you use other colors, colorize the image
with the codes of Hue and Saturation of you background color.

In newer versions, finding these values is a bit more complicated:
open the color palette and click on Slider,
in the menu that opens select HSL Slider
Compared to older versions of the PSP, the Hue is always slightly different,
almost always higher.

In any case, in the instructions relating to the Colorize Effect,
it is always suggested to adjust the settings according to the color you want to obtain.
3. Layers>Duplicate.
Effects>Plugins>Mura's Meister - Perspective Tiling.
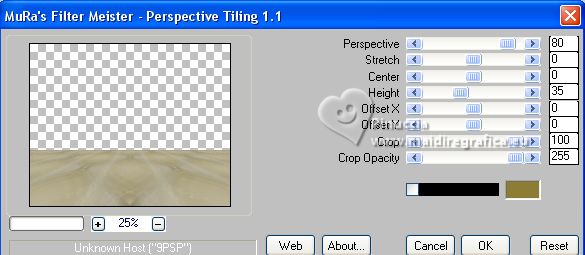
4. Open the tube calguismistchampetre28022012 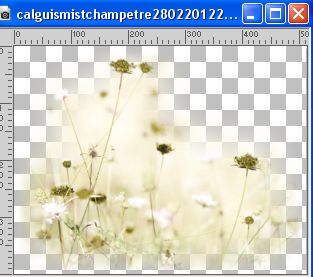
Edit>Copy.
Go back to your work and go to Edit>Paste as new layer.
Move  the tube up in the center. the tube up in the center.
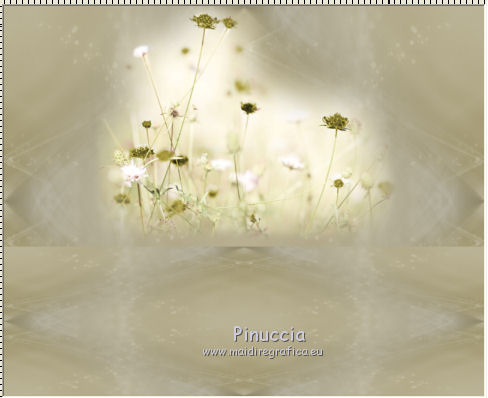
5. Effects>3D Effects>Drop Shadow, background color #8d7c33.

Layers>Arrange>Move Down.
6. Layers>New Raster Layer.
Selections>Load/Save Selection>Load Selection from Disk.
Look for and load the selection Ger sel 9D.

Flood Fill  the selections with your foreground color #eee8da. the selections with your foreground color #eee8da.
Selections>Select None.
Move  the layer a bit to the right. the layer a bit to the right.
7. Change the Blend Mode of this layer to Overlay.

8. Open the tube Bubble-sh 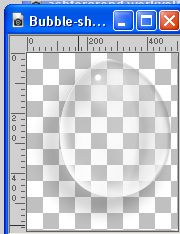
Edit>Copy.
Go back to your work and go to Edit>Paste as new layer.
Move  the tube a bit to the left. the tube a bit to the left.

9. Open element1 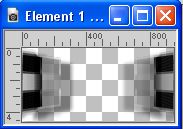
Edit>Copy.
Go back to your work and go to Edit>Paste as new layer.
Move  the tube up against the border. the tube up against the border.

10. Activate the top layer, Copy of Raster 1 (to work better).
Layers>New Raster Layer.
Effects>Plugins>Filters Unlimited 2.0 - Filter Factory Gallery C - The Grid.
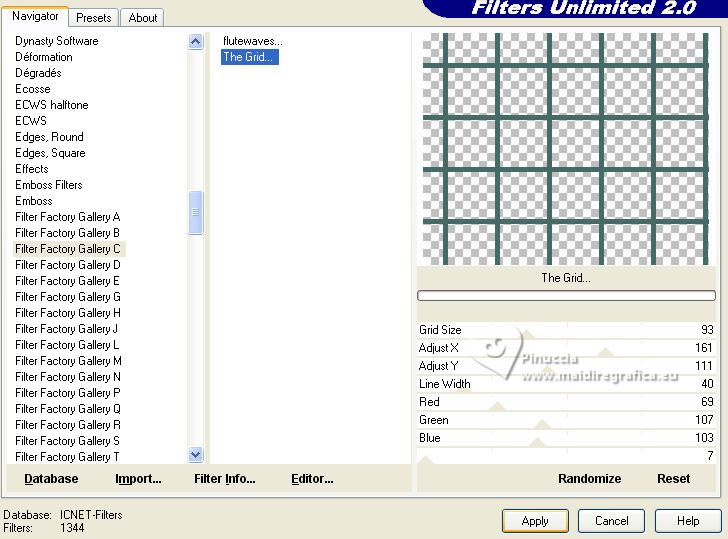
11. Activate your Magic Wand Tool 
and click in the green border to select it.
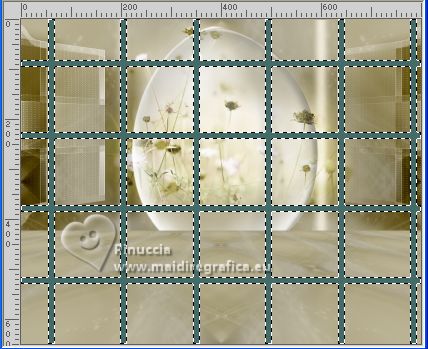
Press CANC on the keyboard 
Flood Fill  the selection with your foreground color #eee8da. the selection with your foreground color #eee8da.
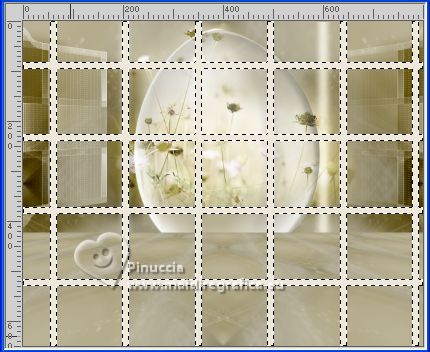
Selections>Select None.
Layers>Arrange>Move Down.
Move  the grid up and to the left, as below the grid up and to the left, as below
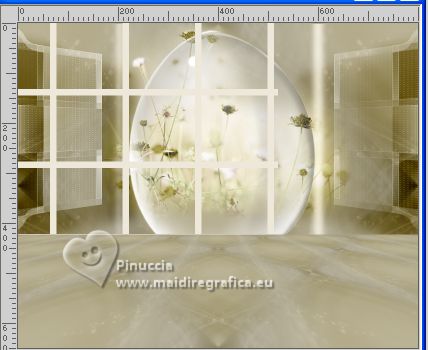
Activate your Selection Tool  , rectangle, or point to point, at your choice, , rectangle, or point to point, at your choice,
and select the small parts of the grid on the right.
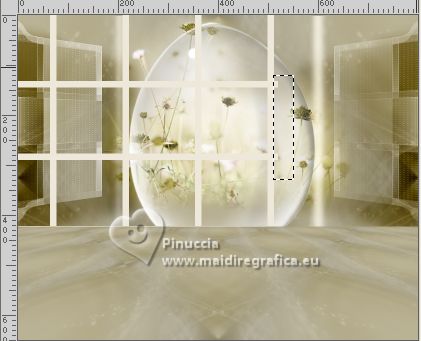
Press CANC on the keyboard.
Selections>Select None.
12. Effects>Geometric Effects>Circle.

Image>Resize, 1 time to 80%, and 1 time to 95%, resize all layers not checked.
Move  the grid up and to the left, as in my example. the grid up and to the left, as in my example.
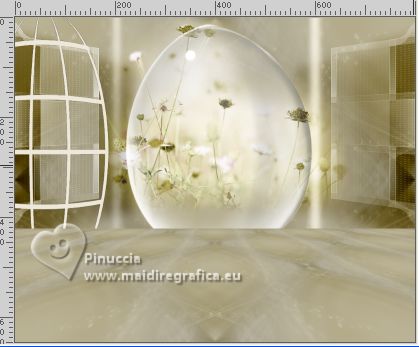
Effects>3D Effects>Drop Shadow, color black.


13. Layers>Duplicate.
Image>Mirror.
Layers>Merge>Merge Down.
14. Activate your top layer.
Open the tube tubeclaudiaviza-mujer1401 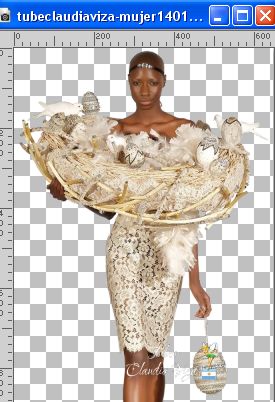
Edit>Copy.
Go back to your work and go to Edit>Paste as new layer.
Image>Resize, 2 times to 80%, resize all layers not checked.
Adjust>Sharpness>Unsharp mask.
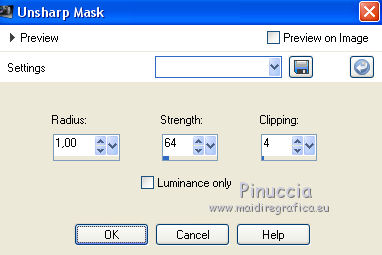
Layers>Duplicate.
Layers>Merge>Merge Down.
Move  the tube to the right. the tube to the right.
attention: before applying the drop shadow
and only if you want to realize the final animation:
Activate your Free Hand Tool 
and select the bag
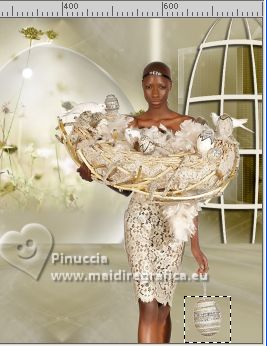
Press CANC on the keyboard.
Selections>Select None.
Effects>3D Effects>Drop Shadow, at your choice.
15. Open the tube boule-athe deze maat is goed 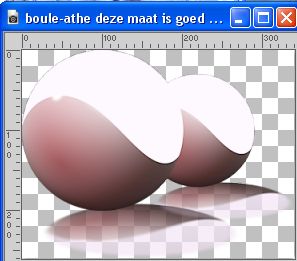
("deze maat is goed" means that the tube already has the correct size)
Edit>Copy.
Go back to your work and go to Edit>Paste as new layer.
Adjust>Sharpness>Unsharp Mask.

Image>Resize, to 110%, resize all layers not checked.
Move  the tube at the bottom left. the tube at the bottom left.
Effects>3D Effects>Drop Shadow, at your choice.
Change the Blend Mode of this layer to Screen.
16. Open the tube Gans 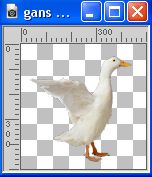
Edit>Copy.
Go back to your work and go to Edit>Paste as new layer.
Image>Resize, 3 times to 80%, resize all layers not checked.
Place  the tube to your liking, or see my example. the tube to your liking, or see my example.
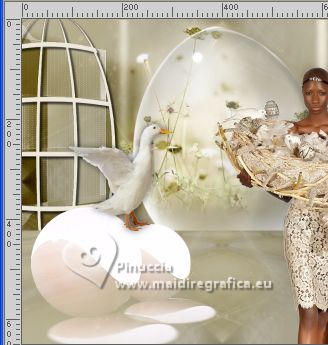
Effects>3D Effects>Drop Shadow, at your choice.
17. Open the tube @matou Animal StuffTube 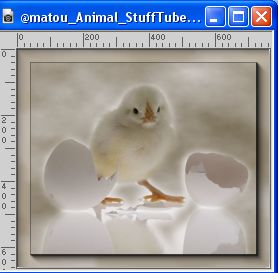
Image>Resize, 300 pixels width, resize all layers checked.
Edit>Copy.
Go back to your work and go to Edit>Paste as new layer.
Move  the tube to the left. the tube to the left.
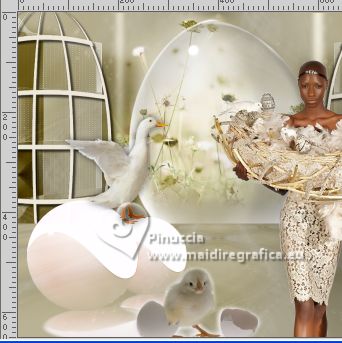
Layers>Duplicate.
Layers>Merge>Merge Down.
18. If you use other tubes, to attach the animation:
open the tube lijnstijl 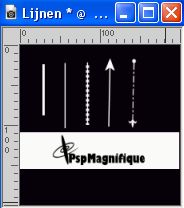
Edit>Copy.
Go back to your work and go to Edit>Paste as new layer.
Move  the tube to your liking. the tube to your liking.
19. Image>Add borders, 2 pixels, symmetric, foreground color #eee8da.
Image>Add borders, 40 pixels, symmetric, background color #8d7c33.
Activate your Magic Wand Tool 

and click in the last border to select it.
20. Effects>Plugins>Filters Unlimited 2.0 - AFS IMPORT - sqborder2, default settings.
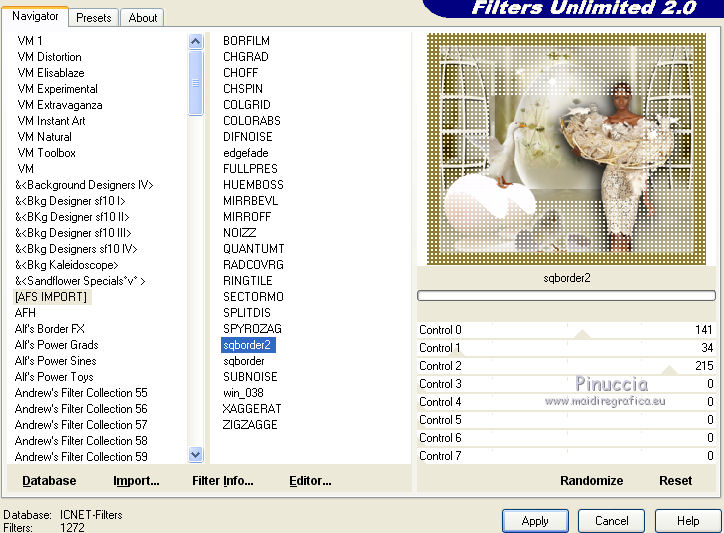
21. Effects>Plugins>Filter Factory Gallery G - Glass Pyramids, default settings.

Selections>Invert.
22. Effects>3D Effects>Drop Shadow, color black.

Edit>Repeat Drop Shadow.
Selections>Select None.
23. Image>Add borders, symmetric not checked, background colors #8d7c33.

Activate your Magic Wand Tool  , tolerance and feather 0, , tolerance and feather 0,
and click in the border to select it.
24. Effects>Plugins>Filters Unlimited 2.0 - Filter Factory Gallery G - Glass Pyramids, same settings.
Keep selected.
25. Layers>New Raster Layer.
Flood Fill  the layers with your foreground color #eee8da. the layers with your foreground color #eee8da.
Layers>New Mask layer>From image
Open the menu under the source window and you'll see all the files open.
Select the mask aditascreations mask60.

Layers>Merge>Merge Group.
26. Effects>User Defined Filter - select the preset Emboss 3 and ok.

Selections>Invert.
27. Effects>3D Effects>Drop shadow, color black.

Edit>Repeat Drop Shadow.
Selections>Select None.
28. Open the wordart PSP Magnifique Gerrie 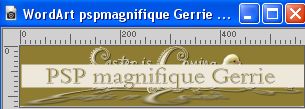
Edit>Copy.
Go back to your work and go to Edit>Paste as new layer.
Image>Resize, 80%, resize all layers not checked.
Place  the wordart up, or to your liking. the wordart up, or to your liking.
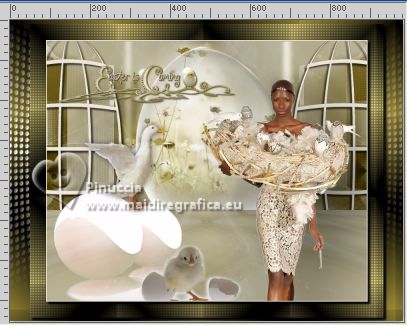
29. Effects>3D Effects>Drop Shadow, background color #8d7c33.

Layers>Duplicate.
Layers>Merge>Merge Down.
30. Sign your work on a new layer.
Layers>Merge>Merge All.
****
If you want realize your animation, don't merge the layers,
and activate your bottom layer, Merged.
If you don't need these explanations, go to the point 31.
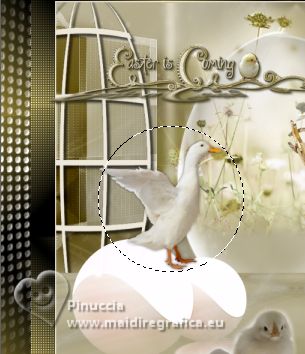
Activate your Selection Tool  , circle, , circle,

and draw a circle about 200 x 200 pixels, as below.
Edit>Copy.
Selections>Select None.
Edit>Paste as new image.
Effects>Plugins>Ulead Effects - Gif-X 2.0.
click on Map3D with these settings
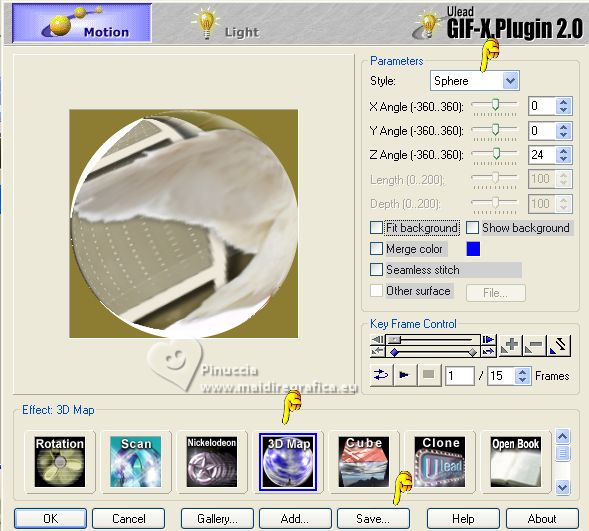
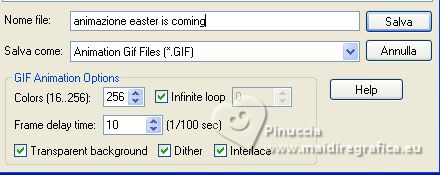
Click on Save and save the animation in your folder.
Go back to your work and go to Layers>Merge>Merge All.
*****
31. Edit>Copy.
Open Animation Shop and go to Edit>Paste>Paste as a new animation.
32. Edit>Duplicate and repeat until you have an animation composed by 15 frames.
Click on the first frame to select it and go to Edit>Select All.
33. Open the animation animatie Bal  , also composed by 15 frames. , also composed by 15 frames.
Animation>Resize animation - 70 pixels width.
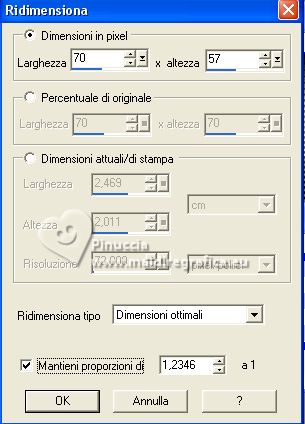
Edit>Select All.
Edit>Copy.
Activate your work and go to Edit>Paste>Paste in the selected frame.
Place the animation in the wide space of the woman tube
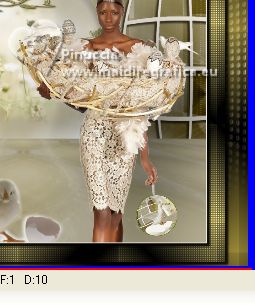
Check the result clicking on View animation 
and save as gif.
 Your versions here Your versions here

If you have problems or doubts, or you find a not worked link, or only for tell me that you enjoyed this tutorial, write to me.
28 March 2023

|

