This tutorial is created using PSP X but it can also be made with other PSP version.
In PSP X4 and X5, there are some variables.
An important difference concerne the options Image>Miroir and Image>Flip.
See my schedule here
I have written also a french version here
The original italian version here
TalaNat translated this tutorial on russian language.
Her translation here
Grazie Natalia 
Material here
For the tubes, thanks Gabry.
For the mask, thanks Verocreation.
Filtres:
if you have a doubt about plugins, see my section plugins here
Filters Unlimited 2.0 qui
Two Moon qui
Eye Candy 3.1 - Glow qui
Graphics Plus - Emboss qui
Alien Skin Eye Candy 5 Impact - Perspective Shadow qui
Alien Skin Xenofex 2.0 - Constellation qui
Filters Two Moon and Graphics Plus can be used alone or imported into Filters Unlimited.
(How do, you see here)
If a plugin supplied appears with this icon  it must necessarily be imported into Unlimited
Animation Shop qui
Your versions here
Thank you very much

Open the font and minimize. You'll find it in the list of fonts available when you need it.
With the most recent o.s., this is no longer possible.
To use a font, you must copy it into the Fonts folder in Windows.
Copy the preset Emboss 3 in the Preset folder.
Open the mask in PSP and minimize it.
1. Set your Foreground color to #5f9ef5,
and set your Background color to #000314.
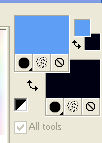
Set your Foreground color to Gradient, style Sunburst
(in the most recent versions of PSP Corel_06_029).

2. Open a new transparent image of 900 x 600 pixels.
Flood fill  the transparent image with gradient.
3. Adjust>Blur>Gaussian blur - radius 20.

4. Layers>New Raster Layer.
Selections>Select All.
Open the Gabry tube Gabry-mist55, and go to Edit>Copy.
Back to your tag and go to Edit>Paste into Selection.
Selections>Select None.
5. Effects>Image Effects>Seamless Tiling, standard.

6. Again Effects>Image Effects>Seamless Tiling.

you seem to not see the differences, but this step will affect the results of the next effects
7. Effects>Reflection Effects>Kaleidoscope.

8. Effects>Distortion Effects>Polar Coordinates.

Blend mode Screen, opacity 50%.
9. Effects>Artistic Effects>Enamel - color #396da4.

10. Layers>New Raster Layer.
Selections>Select All.
Edit Past into selection (the tube is still in memory).
Select>Select None.
11. Layers>Duplicate.
Activate the under layer.
Effets>User Defined Filter.
Select the preset Emboss 6 and ok.

Activate the top layer.
Blend mode to Luminance (Legacy).
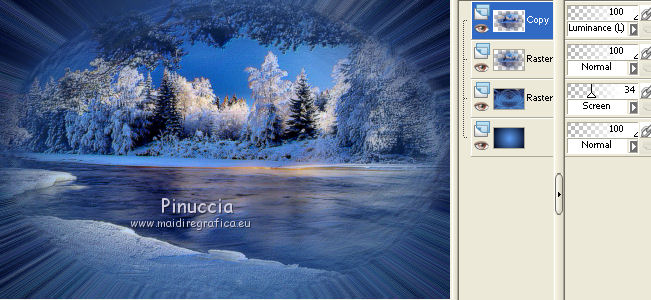
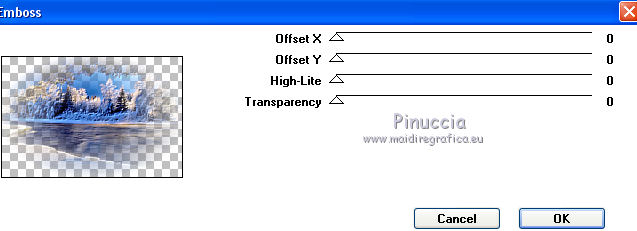
Effecs>Plugins>Graphics Plus - Emboss.
12. Set your foreground color with white color #ffffff.
Layers>New Raster Layer.
Fill with white color.
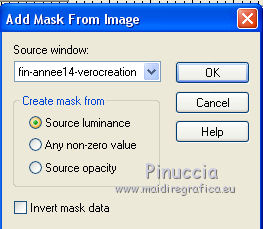
13. Layers>New Mask Layer>From Image.
Open the menu under Source window and you'll see the list of open files.
Load the mask fin-annee14-verocreation.
Effects>Edge Effects>Enhance more.
Layers>Merge>Merge Group.
Move  the mask on the right side.
14. Layers>Duplicate.
Active the under layer.
Effects>User defined filter - select Emboss 6 and ok.
Blend mode to Soft Light.
Activate the top layer.
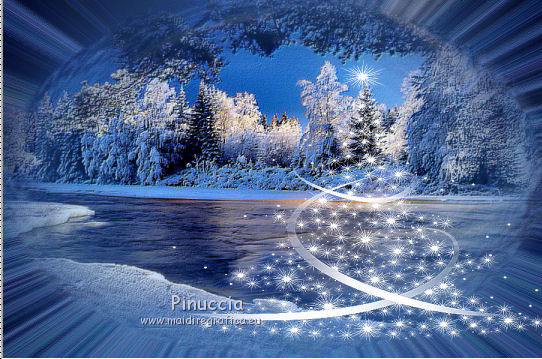
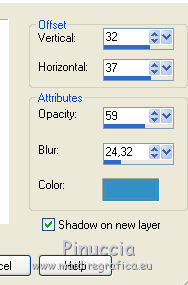
Effects>3D Effects>Drop Shadow - color #3390c5,
shadow on new layer selected.
Blend mode of the shadow layer on Screen.
15. Activate the top layer
Open the Gabry tube Gabry-woman 570 and go to Edit>Copy.
Back to you tag and go to Edit>Past as New Layer.
Move the tube on the left side.
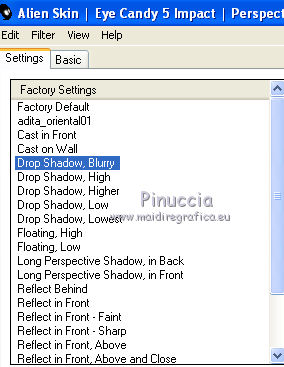
Effects>Plugins>Alien Skin Eye Candy 5 Impact - Perspective Shadow.
Select the preset preset Drop Shadow Blurry and ok.
16. Activate the Text tool  , font QTMerry Script.

Write your text with background color.
Layers>Convert to Raster Layer.
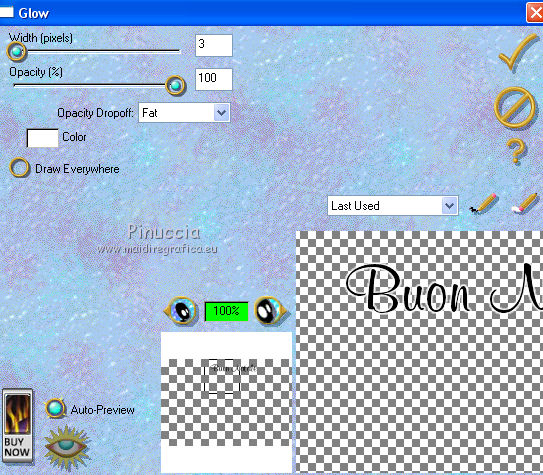
17. Effects>Plugins>Eye Candy 3.1. - Glow.
Effects>3D Effects>Drop Shadow, color black.

18. Sign your work.
Again set the foreground color on #5f9ef5.
Change the Gradient on Style Linear.

20. Image>Add Borders - symmetric - 1 pixel, color black.
Image>Add Borders - symmetric - 25 pixels, color white.
Select this border with magic wand 
and fill with the gradient.
Selections>Invert.
21. Effects>3D Effects>Outer bevel.

Selections>Invert.
Selections>Promote selection to layer.
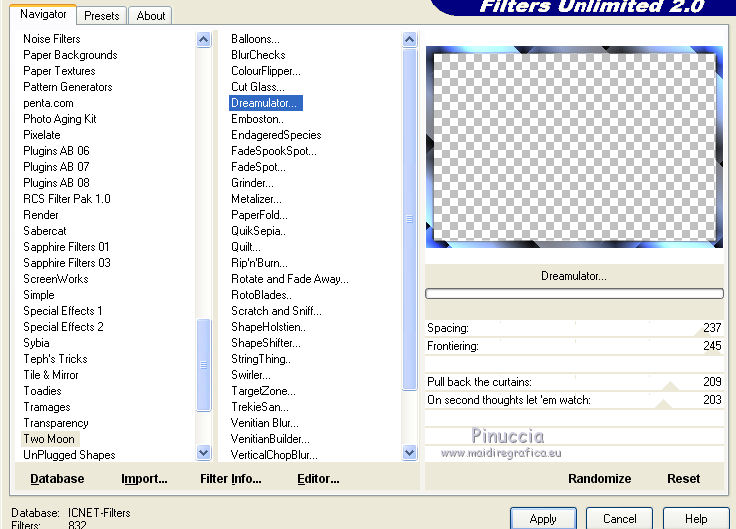
22. Effects>Plugins>Filters Unlimited 2.0 - Two Moon - Dreambulator, standard.
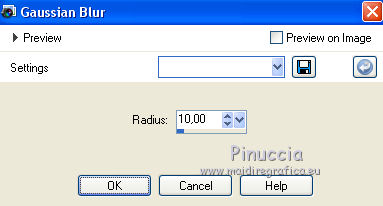
23. Adjust>Blur - Gaussian blur - radius 10.
24. Effects>Arts Media Effects>Brush Strokes - #396da5.

25. Effets>User Defined Filter - Emboss 6.
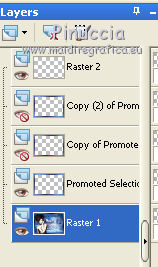
26. Layers>Duplicate - 2 times.
Active the second copy layer.
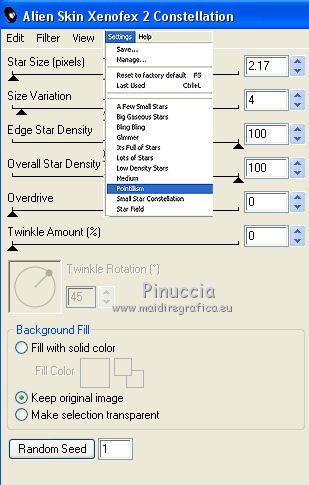
Effects>Plugins>Alien Skin Xenofex 2.0 - Constellation
Settings: Pointillism
Activate the under layer of the first copy.
Effects>Plugins>Alien Skin Xenofex 2.0 - Constellation, clic one time on Random Seed and ok.
Activate the under layer of the original.
Effects>Plugins>Alien Skin Xenofex 2.0 - Constellation, clic on Random Seed and ok.
Selections>Select None.
27. To add a little border:
Activate the background layer.
Layers>Promote background layer.
Selections>Selections All.
Image>Canvas Size - 954 x 654 pixels.

28. Selections>Invert.
Layers>New Raster Layer.
Layers>Arrange>Bring to top.
Flood fill with background color.
Selections>Select None.
Close the copies layers.
Edit>Copy Special>Copy Merged.
Open Animation Shop and go to Edit>Paste>Paste as new animation.
Go back to Psp.
Close the original layer and open the first copy layer.
Edit>Copy Special>Copy Merged.
Go back to Animaton Shop and go to Edit>Paste>Paste after current frame.
Again in PSP.
Close the layer of first copy and open the level of second copy.
Edit>Copy Special>Copy Merged.
Go back to Animaton Shop and go to Edit>Paste>Paste after current frame.
Check the result clicking Preview  and save as gif.
For this exemple I used tubes by Maryse and Irene.

If you have problems or doubt, or you find a not worked link, or only for tell me that you enjoyed this tutorial, write to me.
5 December 2013