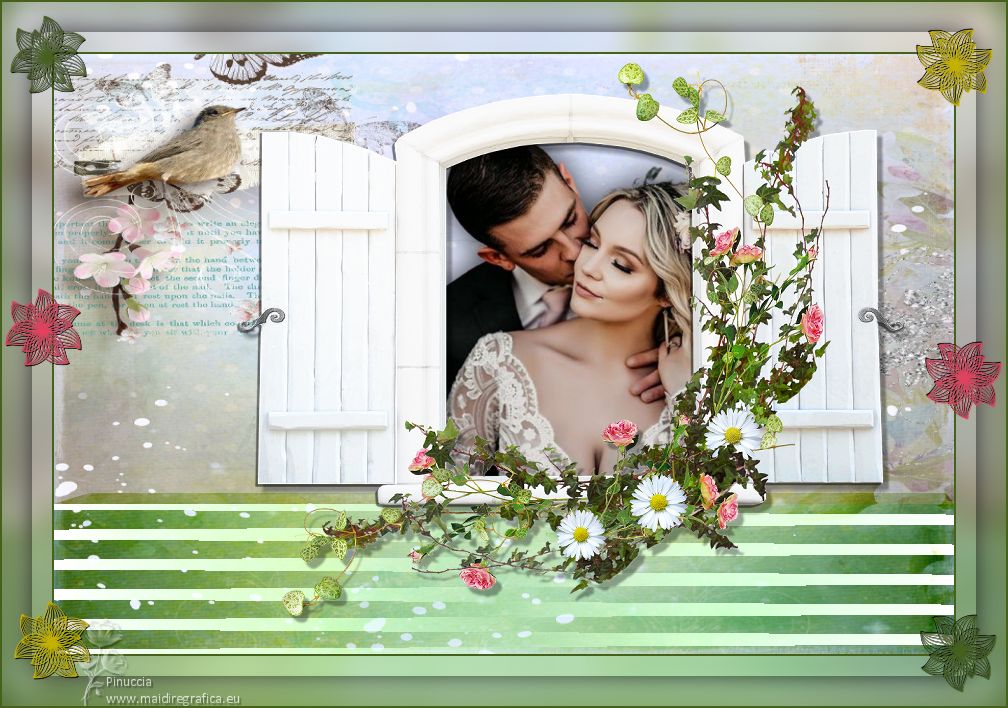
|
TOP VINTAGE VALENTINE


This tutorial was translated with PSPX7 but it can also be made using other versions of PSP.
Since version PSP X4, Image>Mirror was replaced with Image>Flip Horizontal,
and Image>Flip with Image>Flip Vertical, there are some variables.
In versions X5 and X6, the functions have been improved by making available the Objects menu.
In the latest version X7 command Image>Mirror and Image>Flip returned, but with new differences.
See my schedule here
 French translation here French translation here
 Your versions ici Your versions ici
For this tutorial, you will need:

333-vmtubes by Vera Mendez
martad_VintageWinter_pp(8)
window with flowers
Adorno_marco_43V_nines
(you find here the links to the material authors' sites)

consult, if necessary, my filter section here
Filters Unlimited 2.0 here
Alf's Power Sines - 2cosine Grads here
Alien Skin Eye Candy 5 Impact - Extrude here
Filters Alf's Power Sines can be used alone or imported into Filters Unlimited.
(How do, you see here)
If a plugin supplied appears with this icon  it must necessarily be imported into Unlimited it must necessarily be imported into Unlimited

You can change Blend Modes according to your colors.

1. Set your foreground color to #45611b.
2. Open a new transparent image 900 x 600 pixels.
3. Selections>Select All.
Open martad_VintageWinter 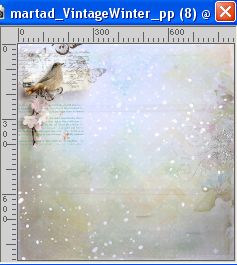
Edit>Copy.
Go back to your work and go to Edit>Paste into Selection.
Selections>Select None.
4. Selection Tool 
(no matter the type of selection, because with the custom selection your always get a rectangle)
clic on the Custom Selection 
and set the following settings.
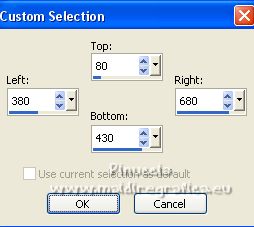
Selections>Promote Selection to Layer.
Keep selected.
5. Open the tube 333-vmtubes 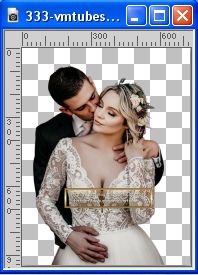
Edit>Copy.
Go back to your work and go to Edit>Paste as new layer.
Image>Resize, 2 times to 80%, resize all layers checked.
6. Place  rightly the tube as below. rightly the tube as below.
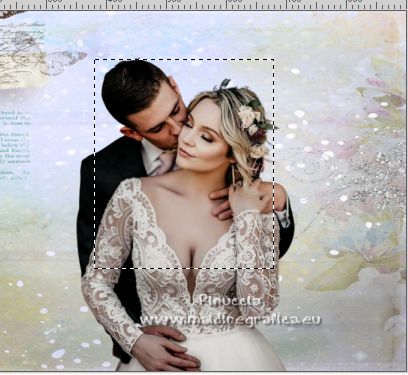
7. Selections>Invert.
Press CANC on the keyboard 
Selections>Select None, and you'll get this
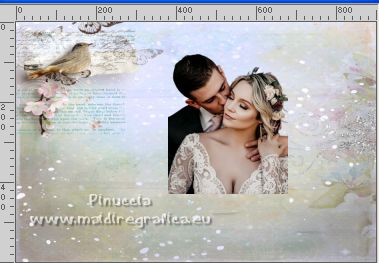
8. Effects>3D Effects>Drop Shadow, color #000000.

9. Open window with flowers 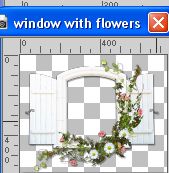
Edit>Copy.
Go back to your work and go to Edit>Paste as new layer.
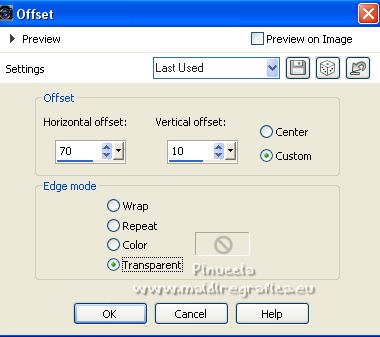
10. Effects>Image Effects>Offset.
11. Activate again your background layer, Raster 1.
Custom Selection 
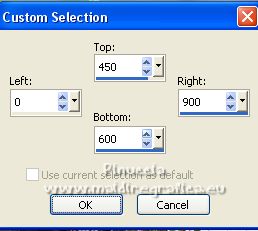
Selections>Promote Selection to Layer.
12. Effects>Plugins>Filters Unlimited 2.0 - Alf's Power Sines - 2cosine Grads
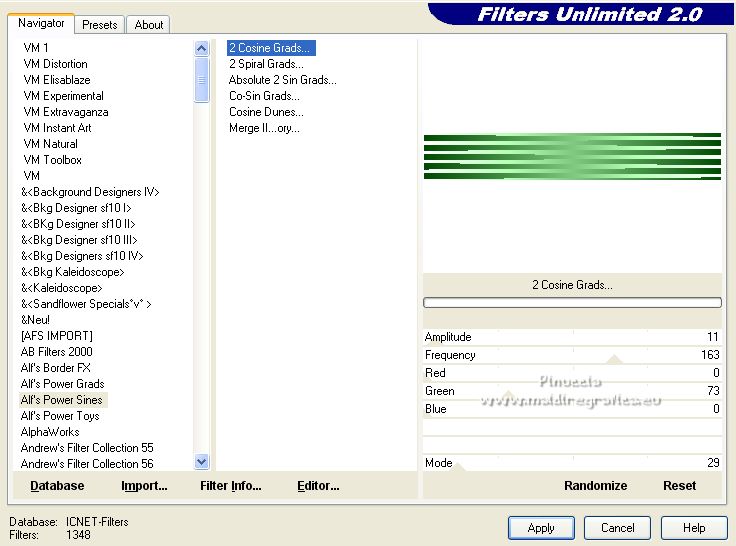
Selections>Select None.
13. Effects>Plugins>Alien Skin Eye Candy 5 Impact - Extrude.
the two colors: foreground color #45611b.
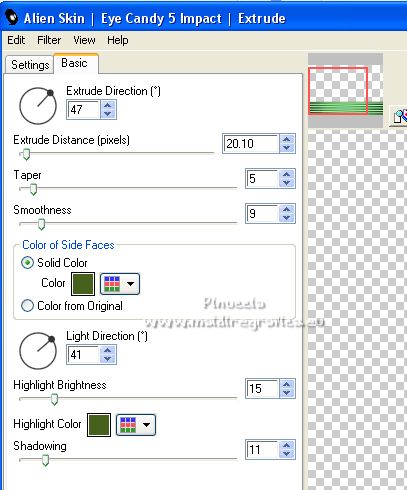
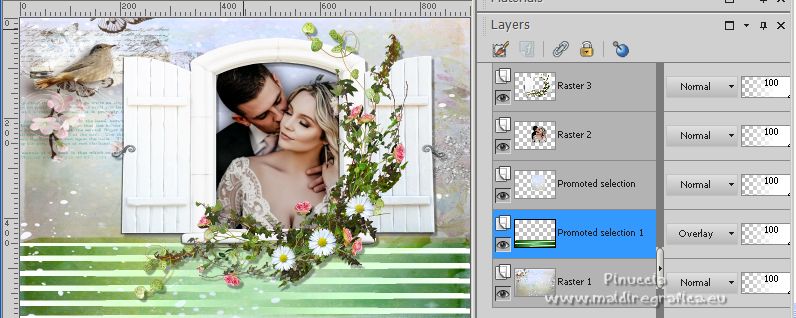
14. Change the Blend Mode of this layer to Overlay.
15. Layers>Merge>Merge All
16. Image>Add borders, 2 pixels, symmetric, foreground color #45611b.
Image>Add borders, 50 pixels, symmetric, color #ffffff.
17. Selections>Select All.
Selections>Modify>Contract - 50 pixels.
Edit>Copy
18. Selections>Invert.
Edit>Paste into Selection.
19. Adjust>Blur>Gaussian Blur - radius 15.

20. Selections>Invert.
Selections>Modify>Expand - 20 pixels.
21. Effects>3D Effects>Drop Shadow, same settings.

Selections>Select None.
22. Open Adorno_marco_43V_nines 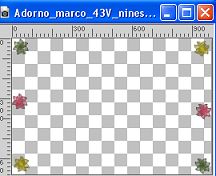
Edit>Copy.
Go back to your work and go to Edit>Paste as new layer.
23. Sign your work on a new layer.
Add, if you want, the author and translator's watermarks.
24. Layers>Merge>Merge All.
25. Image>Add borders, 2 pixels, symmetric, foreground color #45611b.
26. Save as jpg.
For the tube of this version thanks Beatriz.
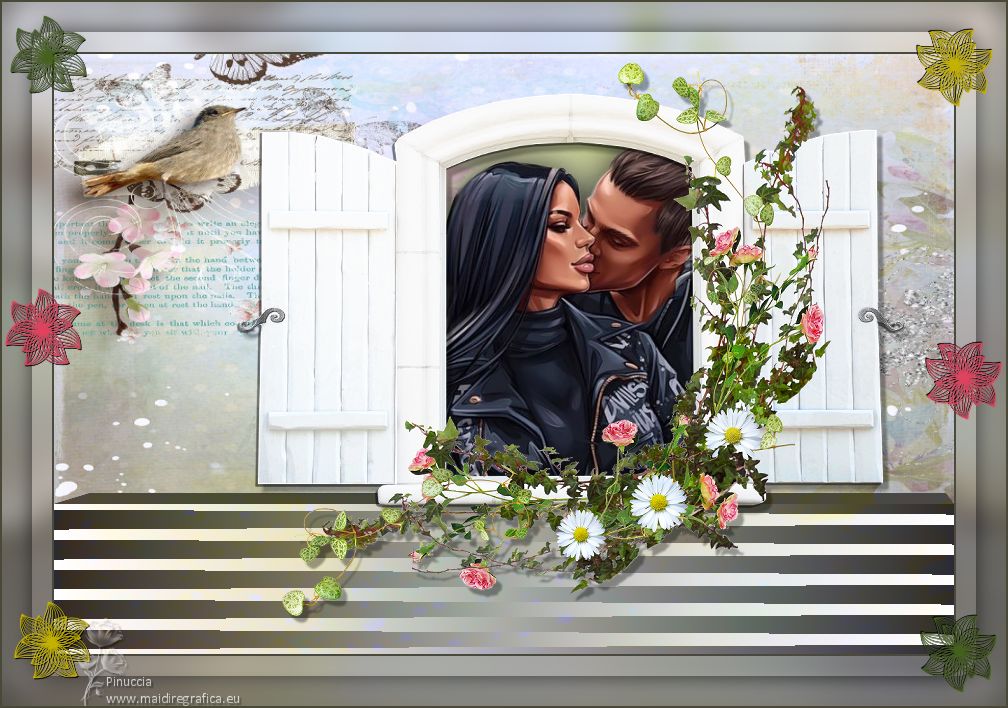
 Your versions here Your versions here

If you have problems or doubts, or you find a not worked link, or only for tell me that you enjoyed this tutorial, write to me.
19 January 2023

|

