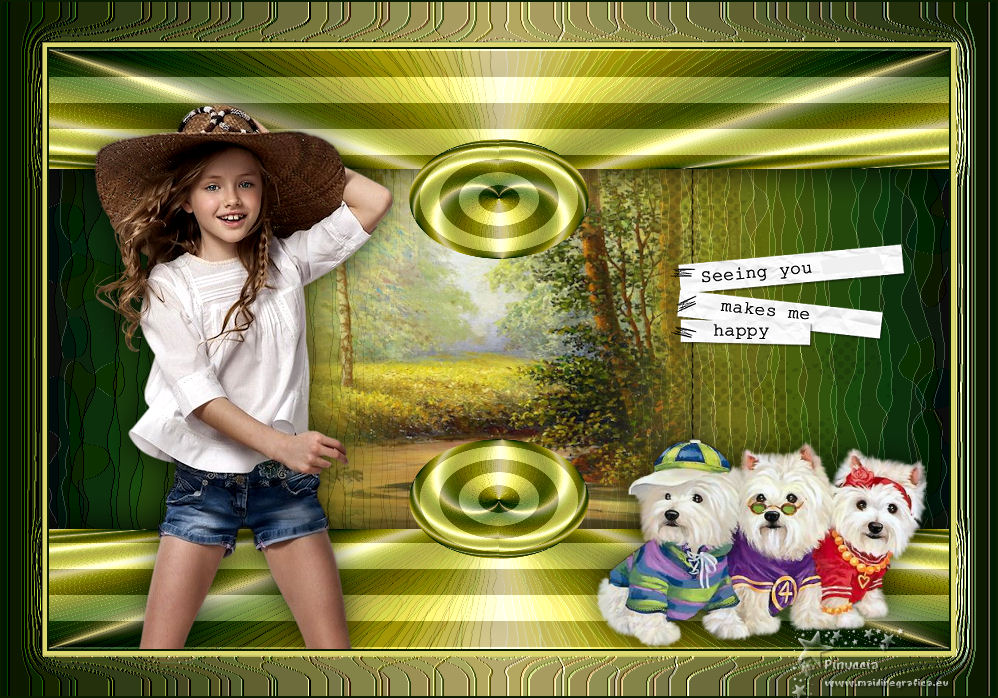
|
TOP SPIRITS


This tutorial was translated with PSPX7 but it can also be made using other versions of PSP.
Since version PSP X4, Image>Mirror was replaced with Image>Flip Horizontal,
and Image>Flip with Image>Flip Vertical, there are some variables.
In versions X5 and X6, the functions have been improved by making available the Objects menu.
In the latest version X7 command Image>Mirror and Image>Flip returned, but with new differences.
See my schedule here
 French translation here French translation here
 Your versions ici Your versions ici
For this tutorial, you will need:
Material
here
Tube 2225-girl-LB TUBES
Misted_paisage_image10_Rooskes
Tube freespirits
texto 003_thismomentsvol1
(you find here the links to the material authors' sites)
Plugins
consult, if necessary, my filter section here
Virtual Painter 4 here
Carolaine and Sensibility - CS-HLines here
Mura's Meister - Perspective Tiling here

You can change Blend Modes according to your colors.
In the newest versions of PSP, you don't find the foreground/background gradient (Corel_06_029).
You can use the gradients of the older versions.
The Gradient of CorelX here
Copy the preset Emboss 3 in the Presets Folder.
1. Open a new transparent image 900 x 600 pixels.
2. Set your foreground color to #0a1c00,
and your background color to #bbb06e.
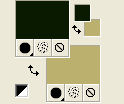
Set your foreground color to a Foreground/Background Gradient, style Linear.
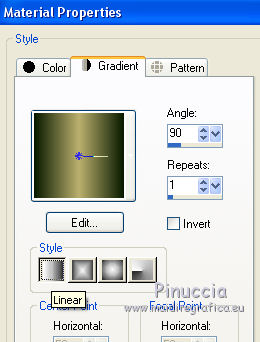
Flood Fill  the transparent image with your Gradient. the transparent image with your Gradient.
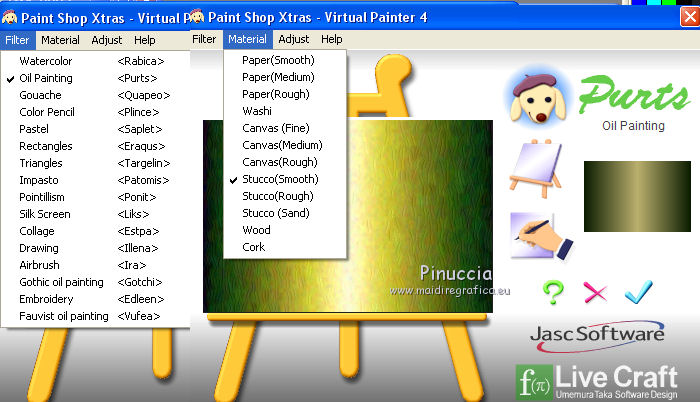
3. Effects>Plugins>Virtual Painter 4
Filter: Oil Painting - Material: Stucco (Smooth)
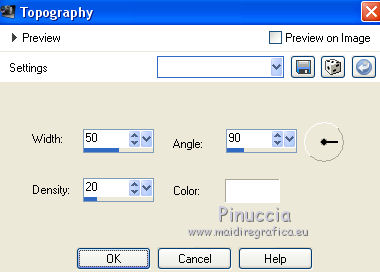
4. Effects>Artistic Effects>Topography, color #ffffff.
5. Layers>Duplicate.
Effects>Image Effects>Seamless Tiling, Side by Side.

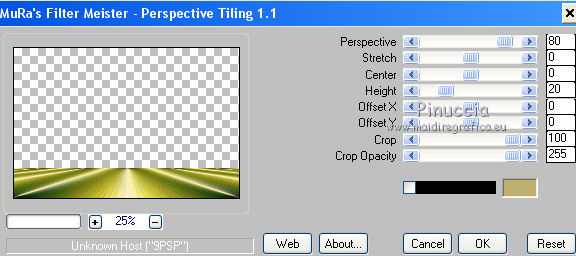
6. Effects>Plugins>Mura's Meister - Perspective Tiling.
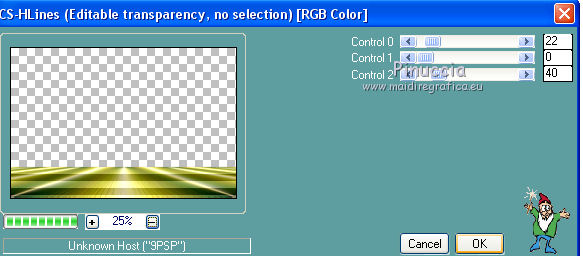
7. Effects>Plugins>Carolaine and Sensibility - CS-HLines.
8. Layers>Duplicate.
Image>Flip.
9. Layers>Duplicate.
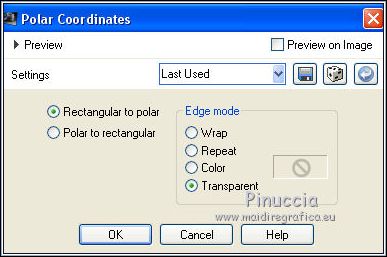
Effects>Distortion Effects>Polar Coordinates.
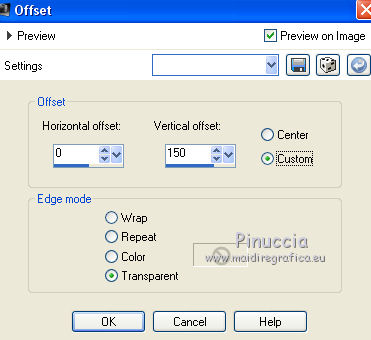
10. Effects>Image Effects>Offset.
11. Layers>Duplicate.
Image>Flip.
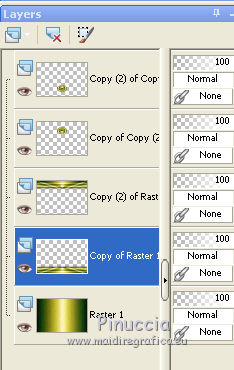
12. Activate the layer of the "floor"
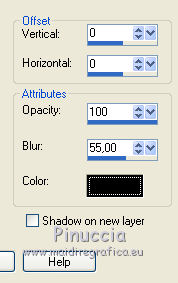
Effects>3D Effects>Drop Shadow, color #000000.
Activate the layer above of the copy.
Edit>Repeat Drop Shadow.
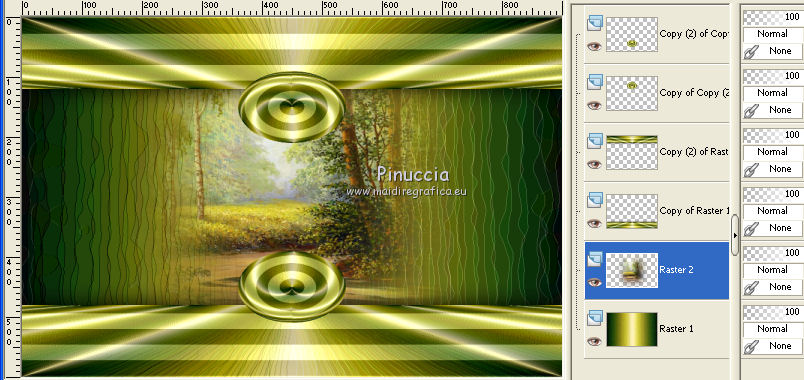
13. Open the misted paisaje_image1O de Rooskes and go to Edit>Copy.
Go back to your work and go to Edit>Paste as new layer.
Image>Resize, 2 times to 80%, resize all layers not checked.
14. Move this layer over the background layer.
15. Open texto 003_thismomentsvol1 and go to Edit>Copy.
Go back to your work and go to Edit>Paste as new layer.
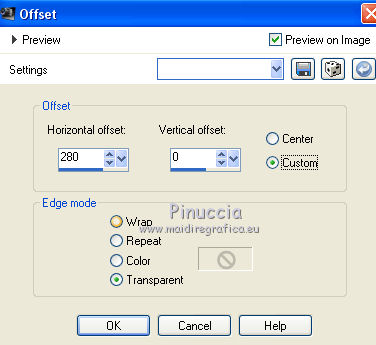
16. Effects>Image Effects>Offset.
17. Keep this layer over the landscape's layer.
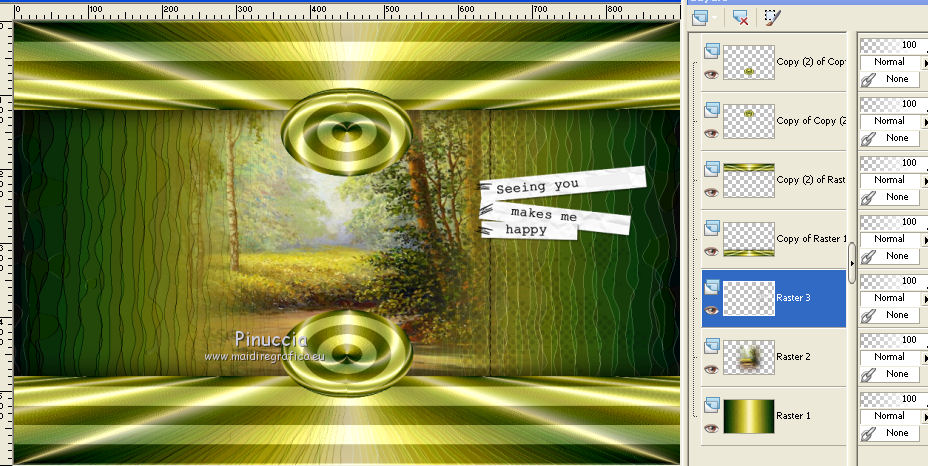
18. Activate the top layer.
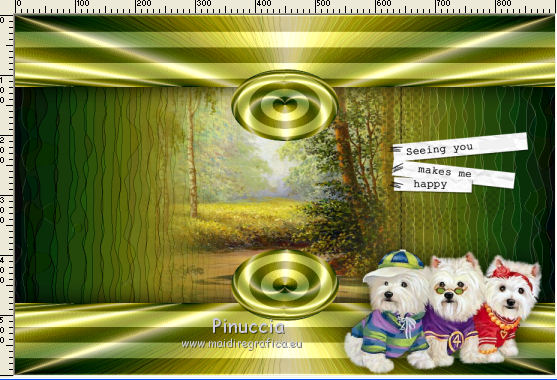
Open the tube freespirits and go to Edit>Copy.
Go back to your work and go to Edit>Paste as new layer.
Move  the tube to the right side. the tube to the right side.
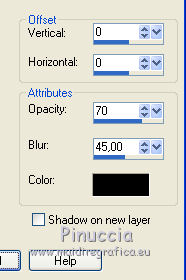
19. Effects>3D Effects>Drop Shadow, color #000000.
20. Open the tube 2225-girl-LB TUBES and go to Edit>Copy.
Go back to your work and go to Edit>Paste as new layer.
Image>Resize, to 80%, resize all layers not checked.
Image>Mirror.
Move  the tube to the left side. the tube to the left side.
21. Effects>3D Effects>Drop Shadow, same settings.

22. Adjust>Brightness and Contrast>Brightness and Contrast.
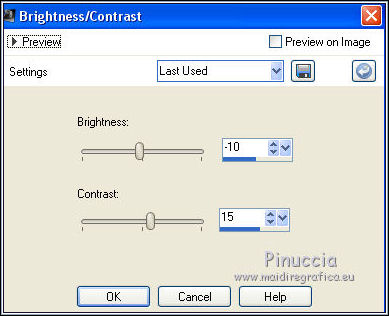
23. Layers>Merge>Merge All.
24. Image>Add borders, 2 pixels, symmetric, foreground color #0a1c00.
Image>Add borders, 5 pixels, symmetric, color #ded870.
Image>Add borders, 40 pixels, symmetric, color #ffffff.
25. Activate your Magic Wand Tool 
and click on the last border to select it.
Flood Fill  the selection with your Gradient. the selection with your Gradient.
26. Effects>Artistic Effects>Topography, same settings.

27. Effects>User Defined Filter - select the preset Emboss 3 and ok.

Selections>Select None.
28. Image>Add borders, 2 pixels, symmetric, foreground color #0a1c00.
29. Sign your work and save as jpg.
Version with tubes by LisaT, Cal and Lana
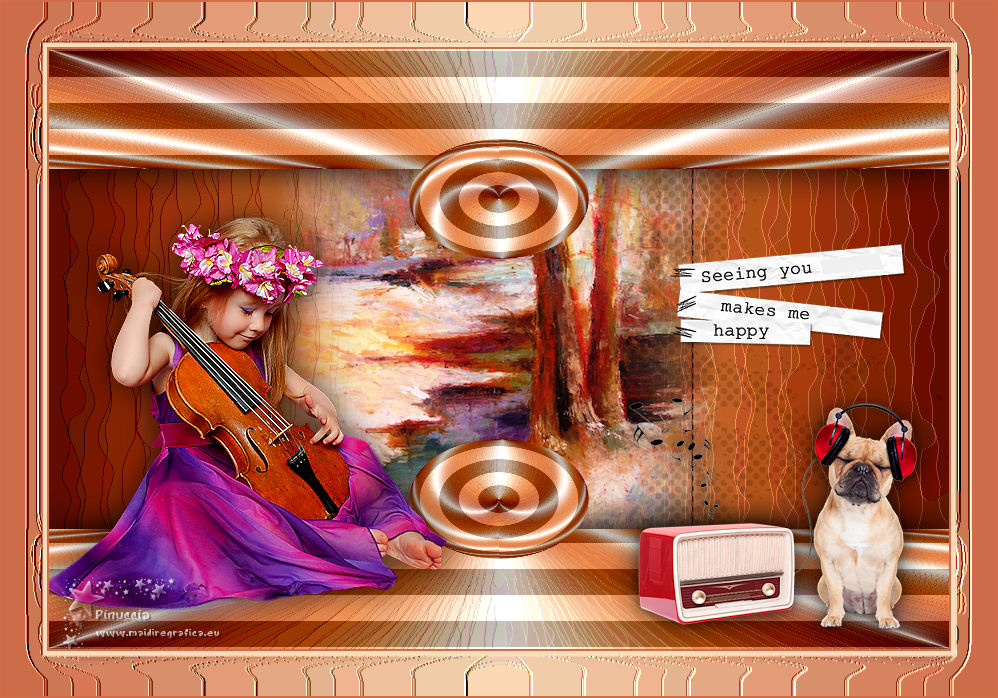
 Your versions here Your versions here

If you have problems or doubts, or you find a not worked link, or only for tell me that you enjoyed this tutorial, write to me.
27 July 2021
|

