|
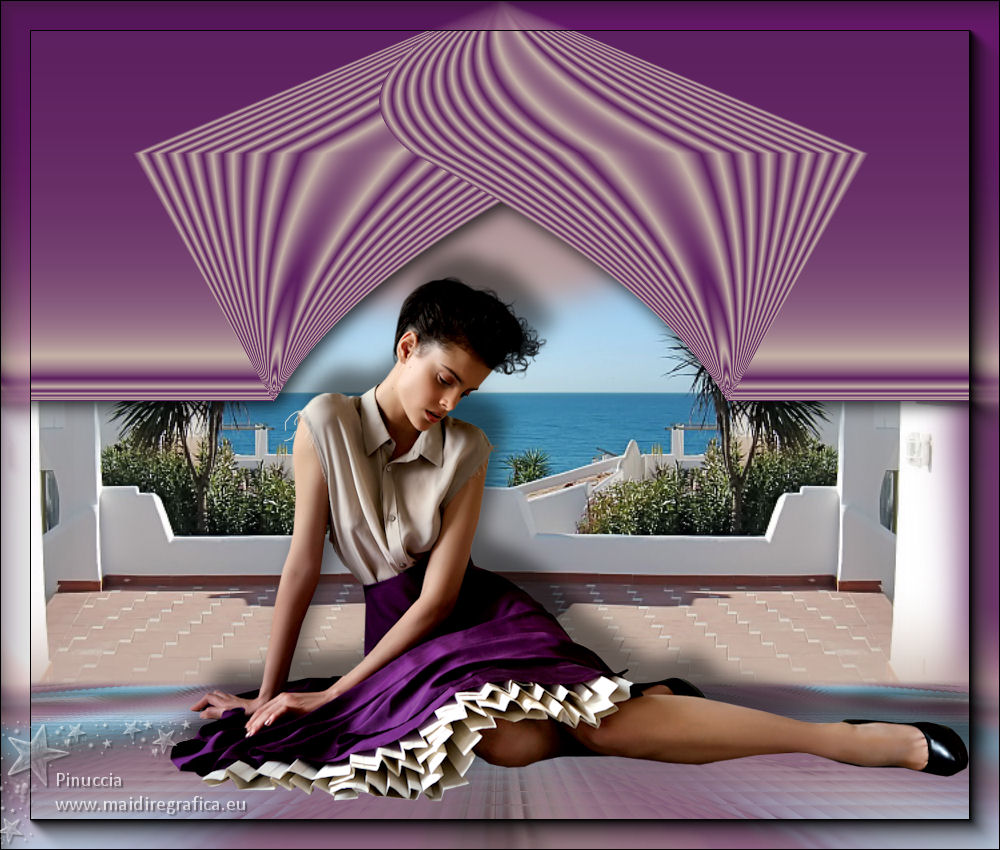
TOP JADE


This tutorial was translated with PSPX7 but it can also be made using other versions of PSP.
Since version PSP X4, Image>Mirror was replaced with Image>Flip Horizontal,
and Image>Flip with Image>Flip Vertical, there are some variables.
In versions X5 and X6, the functions have been improved by making available the Objects menu.
In the latest version X7 command Image>Mirror and Image>Flip returned, but with new differences.
See my schedule here
 French translation here French translation here
 Your versions ici Your versions ici
For this tutorial, you will need:
Material
here
Tube calguisSweetBeaty05082014 by Guismo
Tube Grisi_Misted_Land_33
(you find here the links to the material authors' sites)
Plugins
consult, if necessary, my filter section here
AAA Frames - Foto Frame here
Mura's Meister - Perspective Tiling here

You can change Blend Modes according to your colors.
In the newest versions of PSP, you don't find the foreground/background gradient (Corel_06_029).
You can use the gradients of the older versions.
The Gradient of CorelX here
1. Open a new transparent image 1000 x 700 pixels.
2. Set your foreground color to #c6b4a8,
and your background color to #5c1e5f.

Set your foreground color to a Foreground/Background Gradient, style Sunburst.

Flood Fill  the transparent image with your Gradient. the transparent image with your Gradient.
3. Activate your Pick Tool 
Mode Shear 
pull the bottom right knot to the left

until the bottom left corner

4. Layers>Duplicate.
Image>Mirror.
5. Layers>Merge>Merge visible.
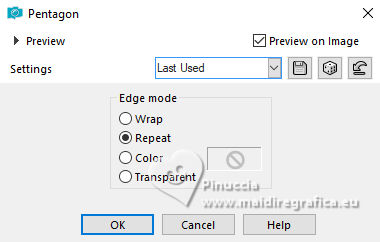
6. Effects>Geometric Effects>Pentagon
7. Activate your Pick Tool 
Mode Scale 
pull the bottom central node up until 400 pixels.

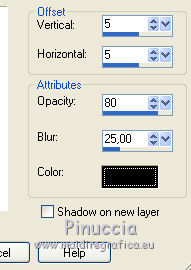
8. Effects>3D Effects>Drop Shadow, color black.
9. Change the settings of your Gradient
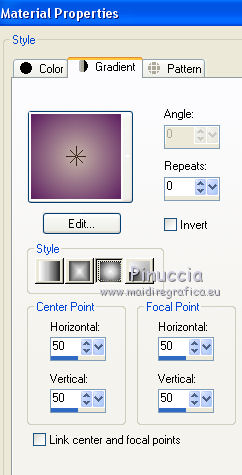
Layers>New Raster Layer.
Layers>Arrange>Send to Bottom.
Flood Fill  the layer with your Gradient. the layer with your Gradient.
10. Open the tube Grisi_Misted_Land_333 and go to Edit>Copy.
Go back to your work and go to Edit>Paste as new layer.
Image>Mirror.
Move  the tube at the bottom left. the tube at the bottom left.
11. Effects>Reflection Effects>Rotating Mirror.

12. Layers>Merge>Merge visible.
13. Layers>Duplicate.
Activate the layer below of the original.
14. Layers>New Mask layer>From image
Open the menu under the source window and you'll see all the files open.
Select the mask mask-fadesuave.
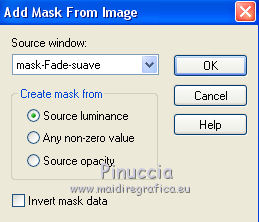
Layers>Merge>Merge Group.
15. Activate the layer above of the copy.
Effects>Image Effects>Seamless Tiling, default settings.

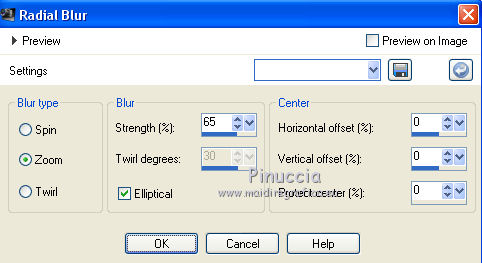
16. Adjust>Blur>Radial Blur.
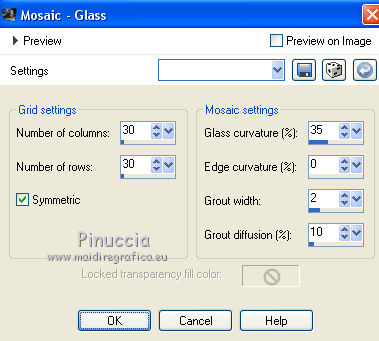
17. Effects>Texture Effects>Glass Mosaic
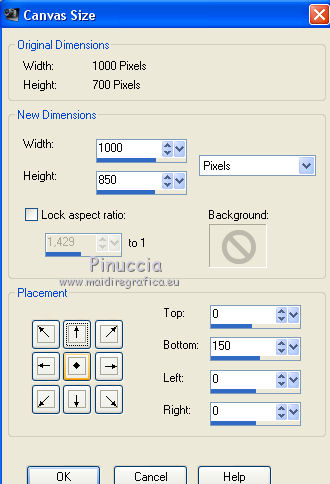
18. Image>Canvas Size - 1000 x 850 pixels.
19. Effects>Plugins>Mura's Meister - Perspective Tiling.

20. Activate your Magic Wand Tool 

click on the transparent part to select it.
Press 5 fois CANC sur le clavier 
21. Layers>New Raster Layer.
Layers>Arrange>Send to bottom.
Set your foreground color to Color.
Flood Fill  the layer with your foreground color #c6b4a8. the layer with your foreground color #c6b4a8.
22. Layers>Merge>Merge visible.
23. Effects>Plugins>AAA Frames - Foto Frame.

24. Open the tube calguisSweetBeauty and go to Edit>Copy.
Go back to your work and go to Edit>Paste as new layer.
Image>Resize, 1 time to 80% and 1 time to 90%, resize all layers not checked.
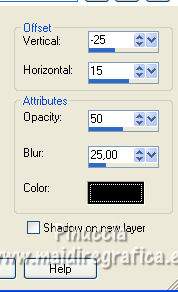
25. Effects>3D Effects>Drop Shadow, color black.
26. Signer your work on a new layer.
Layers>Merge>Merge All and save as jpg.
Version with tubes by Beatriz and Mina
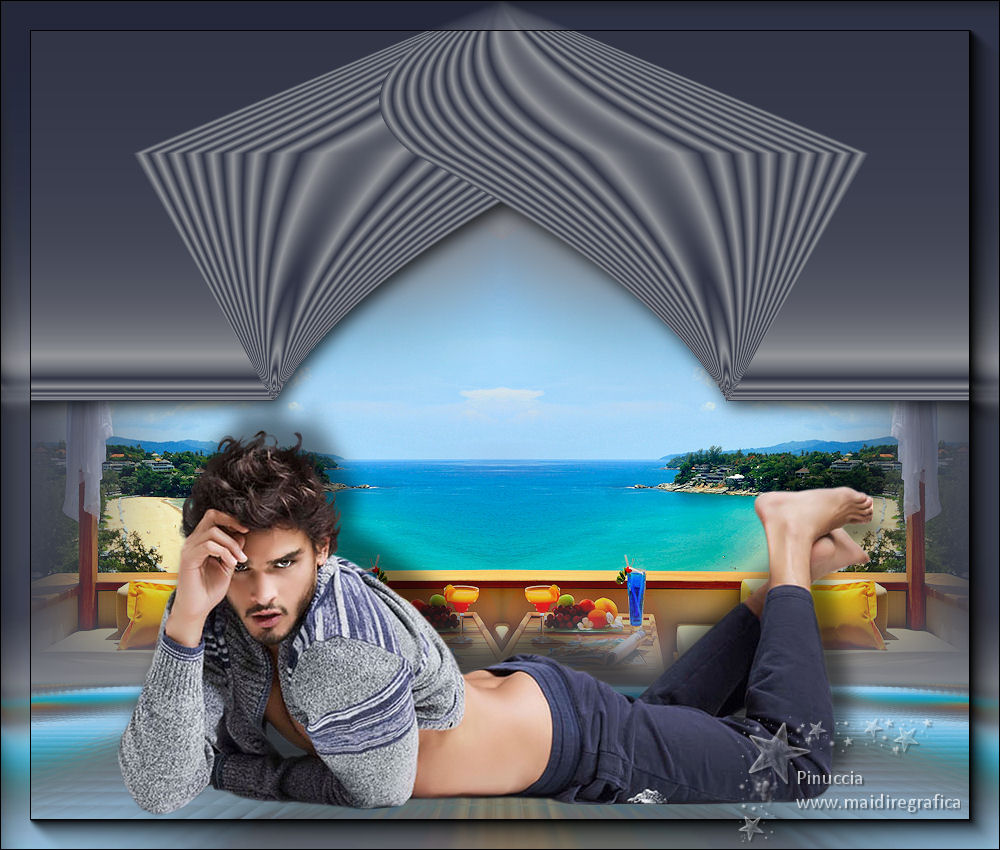
 Your versions here Your versions here

If you have problems or doubts, or you find a not worked link, or only for tell me that you enjoyed this tutorial, write to me.
9 Septembre 2021

|

