|
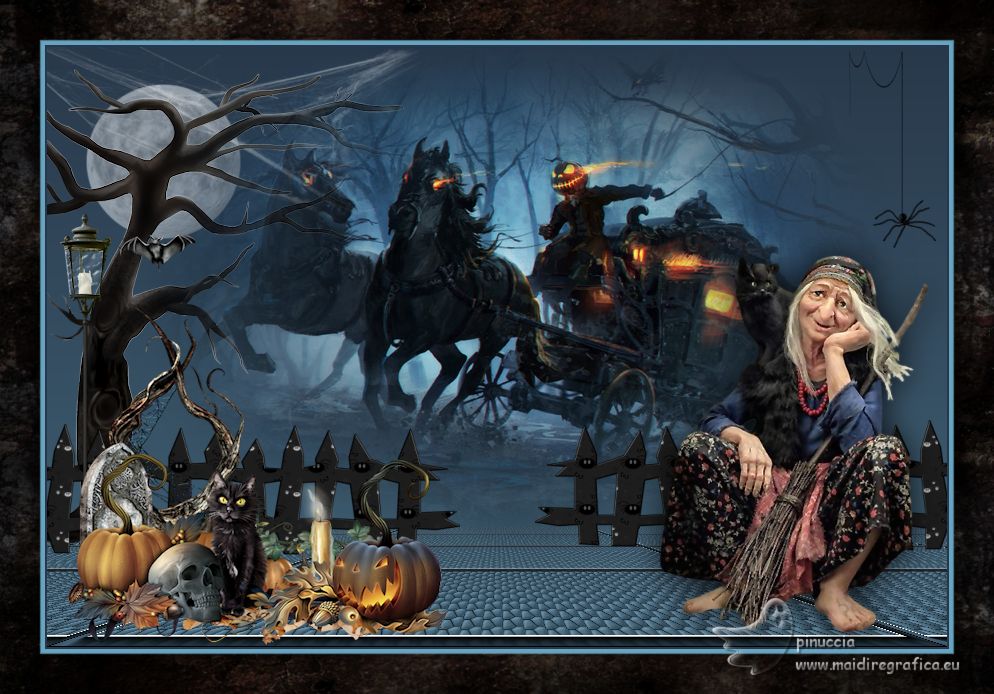
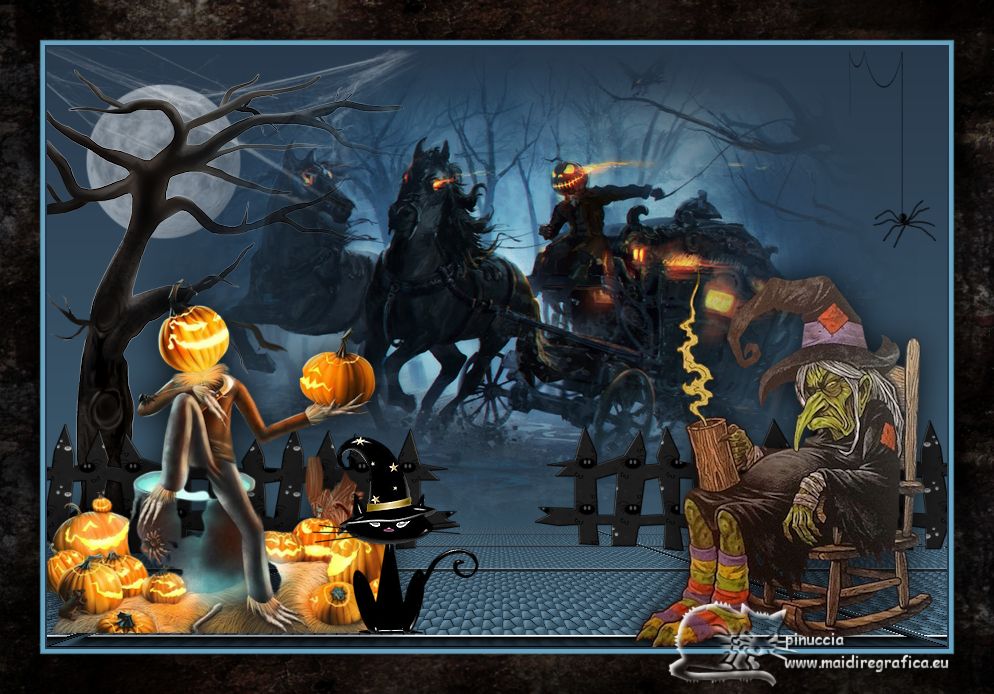
TOP HAUNTED NIGHT


This tutorial was translated with PSPX7 but it can also be made using other versions of PSP.
Since version PSP X4, Image>Mirror was replaced with Image>Flip Horizontal,
and Image>Flip with Image>Flip Vertical, there are some variables.
In versions X5 and X6, the functions have been improved by making available the Objects menu.
In the latest version X7 command Image>Mirror and Image>Flip returned, but with new differences.
See my schedule here
 French translation here French translation here
 Your versions ici Your versions ici

For this tutorial, you will need:

wieskes tube 1648
Halloween_Evil-Carriage_misted_Silvie_06.11.2020
HauntedNight by Belscrap
GolF_Desings_Jenny_Nightmare_Elements (36)
Golf_Desings_Jenny_Nightmare_Elements(15)
GolF_Desings_Jenny_Nightmare_Elements (24)
GolF_Desings_Jenny_Nightmare_Elements (31)
Bs15-Araña by Belscrap
PalvinkaDesigns_HautedAvenue_paper (4)
(you find here the links to the material authors' sites)

consult, if necessary, my filter section here
Mura's Meister - Perspective Tiling here
AAA Frames - Foto Frame here

You can change Blend Modes according to your colors.
In the newest versions of PSP, you don't find the foreground/background gradient (Corel_06_029).
You can use the gradients of the older versions.
The Gradient of CorelX here
1. Open a new transparent image 900 x 600 pixels.
2. Set your foreground color to #416276
and your background color to #28384a.

Set your foreground color to a Foreground/Background Gradient, style Linear.

Flood Fill  the transparent image with your Gradient. the transparent image with your Gradient.
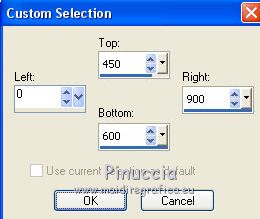
3. Selection Tool 
(no matter the type of selection, because with the custom selection your always get a rectangle)
clic on the Custom Selection 
and set the following settings.
Selections>Promote Selection to Layer.
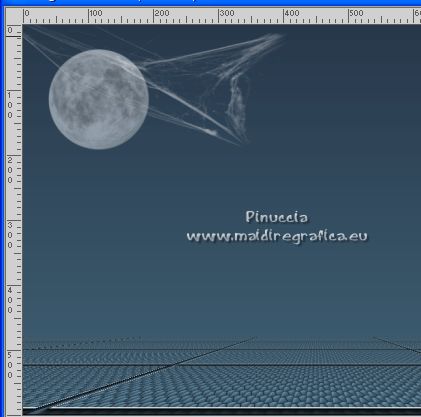
4. Effects>Texture Effects>Tiles, color #ffffff.

Selections>Select None.
5. Effects>Plugins>AAA Frames - Foto Frame.

6. Effects>Plugins>Mura's Meister - Perspective Tiling.

7. Open the tube GolF_Desings_Jenny_Nightmare_Elements (36) and go to Edit>Copy.
Go back to your work and go to Edit>Paste as new layer.
Move  the tube at the upper left. the tube at the upper left.
Reduce the opacity of this layer to 50%.
8. Open the tube Golf_Desings_Jenny_Nightmare_Elements(15) and go to Edit>Copy.
Go back to your work and go to Edit>Paste as new layer.
Image>Mirror.
Move  the tube at the upper left. the tube at the upper left.
Reduce the opacity of this layer to 50%.
9. Open the tube GolF_Desings_Jenny_Nightmare_Elements (24 ) and go to Edit>Copy.
Go back to your work and go to Edit>Paste as new layer.
Image>Resize, to 80%, resize all layers not checked.
Move  the tube to the left side. the tube to the left side.
Reduce the opacity to 50%.
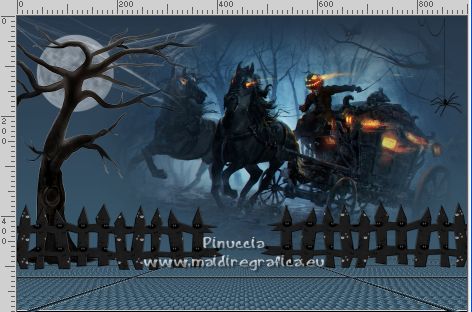
10. Open Halloween_Evil-Carriage_misted_Silvie_06.11.2020 and go to Edit>Copy.
Go back to your work and go to Edit>Paste as new layer.
Place  correctly the tube. correctly the tube.
11. Open GolF_Desings_Jenny_Nightmare_Elements (31) and go to Edit>Copy.
Go back to your work and go to Edit>Paste as new layer.
12. Effects>Image Effects>Offset.

13. Open Bs15-Araña and go to Edit>Copy.
Go back to your work and go to Edit>Paste as new layer.
Move  the tube at the upper right. the tube at the upper right.
14. Open the tube wieskes tube 1648, erase the watermark and go to Edit>Copy.
Go back to your work and go to Edit>Paste as new layer.
Move  the tube at the bottom right. the tube at the bottom right.
15. Effects>3D Effects>Drop Shadow, color #000000.

16. Open the tube HauntedNight by Belscrap and go to Edit>Copy.
Go back to your work and go to Edit>Paste as new layer.
Image>Resize, 2 times to 80%, resize all layers not checked.
Move  the tube at the bottom left. the tube at the bottom left.

17. Layers>Merge>Merge All.
18. Image>Add borders, 2 pixels, symmetric, background color #28384a.
Image>Add borders, 5 pixels, symmetric, color #66a4c1.
Image>Add borders, 40 pixels, symmetric, color #ffffff.
19. Activate your MAgic Wand Tool 
and click in the white border to select it.
20. Open the tube PalvinkaDesigns_HautedAvenue_paper (4) and go to Edit>Copy.
Go back to your work and go to Edit>Paste into Selection.
22. Selections>Invert.
Effects>3D Effects>Drop Shadow, same settings.

Selections>Select None.
23. Sign your work and save as jpg.
For the tubes of this version thanks Wieskes and Naise M.
 Your versions here Your versions here

If you have problems or doubts, or you find a not worked link, or only for tell me that you enjoyed this tutorial, write to me.
6 October 2022

|

