|
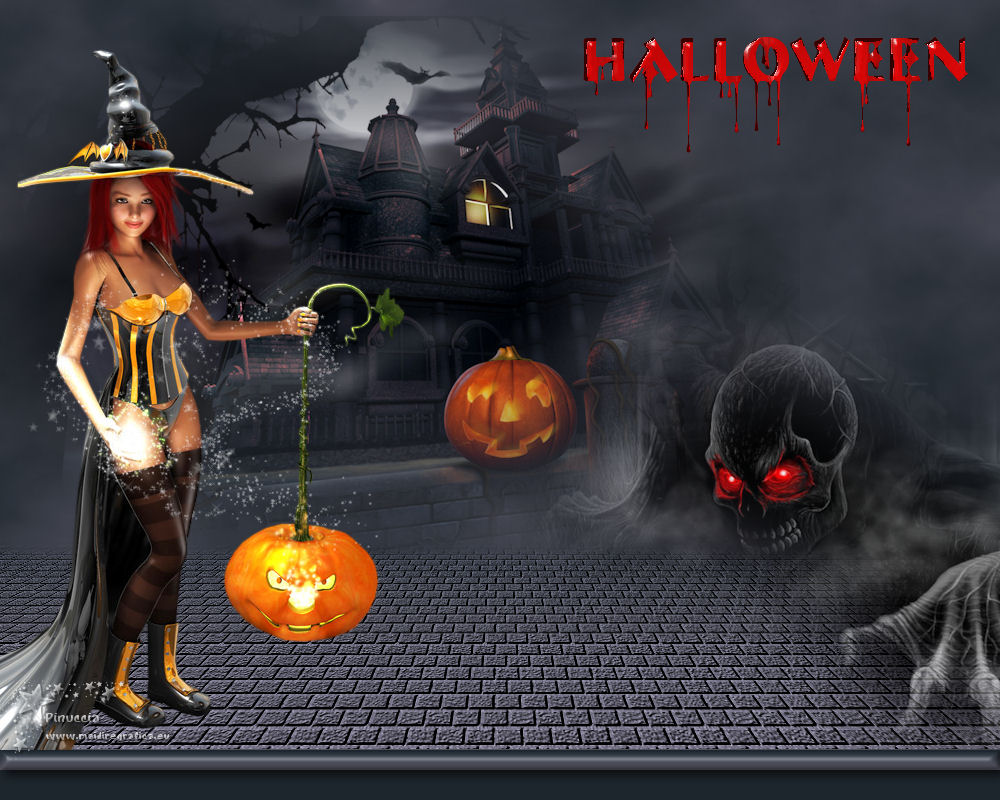
TOP HALLOWEEN


This tutorial was translated with PSPX7 but it can also be made using other versions of PSP.
Since version PSP X4, Image>Mirror was replaced with Image>Flip Horizontal,
and Image>Flip with Image>Flip Vertical, there are some variables.
In versions X5 and X6, the functions have been improved by making available the Objects menu.
In the latest version X7 command Image>Mirror and Image>Flip returned, but with new differences.
See my schedule here
 French translation here French translation here
 Your versions ici Your versions ici
For this tutorial, you will need:
Material
here
Tube calguisghost by Guismo
Tube Halloween-Castle1289 by K@rine
Tube calguishappyhalloween02102011 by Guismo
Tube 259-halloween
(you find here the links to the material authors' sites)
Plugins
consult, if necessary, my filter section here
Mura's Meister - Cloud here
Mura's Meister - Perspective Tiling here

You can change Blend Modes according to your colors.
In the newest versions of PSP, you don't find the foreground/background gradient (Corel_06_029).
You can use the gradients of the older versions.
The Gradient of CorelX here
Copy the Texture in the Textures Folder.
Open the mask in PSP and minimize it with the rest of the material.
1. Open a new transparent image 1000 x 700 pixels.
2. Set your foreground color to #1d262d,
and your background color to #555360.

3. Effects>Plugins>Mura's Meister - Cloud, par défaut.

Remember that this filter works with the colors of your material palette,
but it keeps in memory the first setting used after the the opening of Psp.
So, if you have already used the plugin, press Reset to be sure to have your colors.
The result of this effects is random, so it won't be the same as mine.
If you want to change the appearance of the clouds, click on the preview window,
until you'll see the result you like better.
4. Apply 4 times a mask to soften the bord: for me
Layers>New Mask layer>From image
Open the menu under the source window and you'll see all the files open.
Select the mask mask-fadesuave .
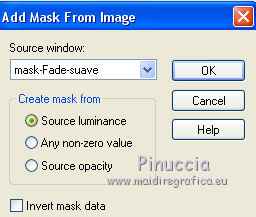
Layers>Duplicate, 3 times to apply the mask 4 times.
Layers>Merge>Merge Group.
5. Invert the colors of your palette:
foreground #555360,
background #1d262d.

Set your foreground color to a Foreground/Background Gradient, style Linear.
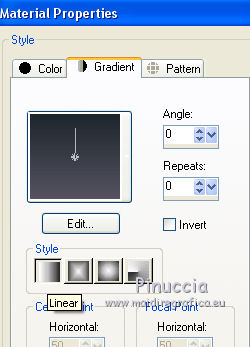
Layers>New Raster Layer.
Flood Fill  the layer with your gradient. the layer with your gradient.
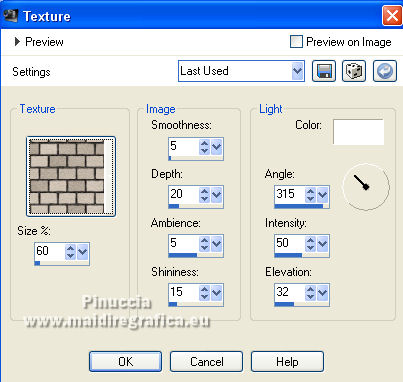
6. Effects>Texture Effects>Texture - select the texture ladrillo.
7. Effects>Plugins>Mura's Meister - Perspective Tiling.

8. Activate your Magic Wand Tool 
and click in the transparent part to select it.
Selections>Modify>Progressivité inférieure/extérieure.
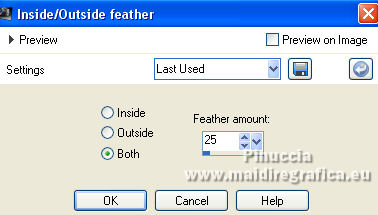
9. Press 6 times CANC on the keyboard 
Selections>Select None.
10. Open the tube calguisghost and go to Edit>Copy.
Go back to your work and go to Edit>Paste as new layer.
Image>Resize, 2 times to 80%, resize all layers not checked.
Image>Mirror.
Move  the tube at the bottom right. the tube at the bottom right.
11. Open the tube Hallowee-Castle and go to Edit>Copy.
Go back to your work and go to Edit>Paste as new layer.
Move  the tube to the left side. the tube to the left side.
12. Open the tube calguis happyhalloween and go to Edit>Copy.
Go back to your work and go to Edit>Paste as new layer.
Image>Mirror.
Move  also this tube to the left side. also this tube to the left side.
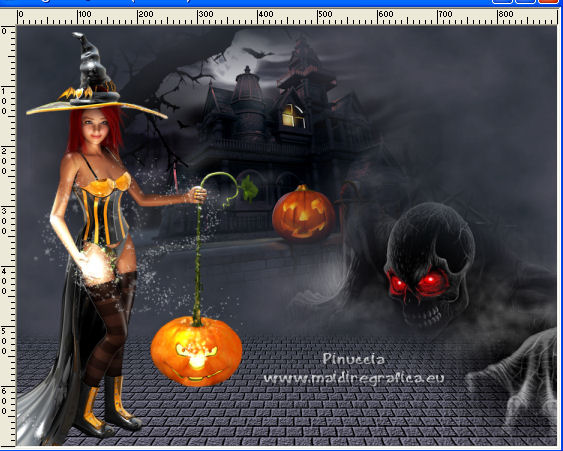
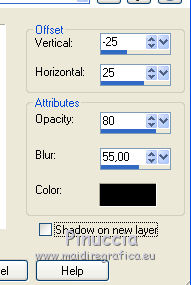
13. Effects>3D Effects>Drop Shadow, color black.
14. Open the tube 259-halloween and go to Edit>Copy.
Go back to your work and go to Edit>Paste as new layer.
Move  the tube at the upper right. the tube at the upper right.
15. Layers>Merge>Merge visible.
16. Image>Canvas Size - 1000 x 800 pixels.
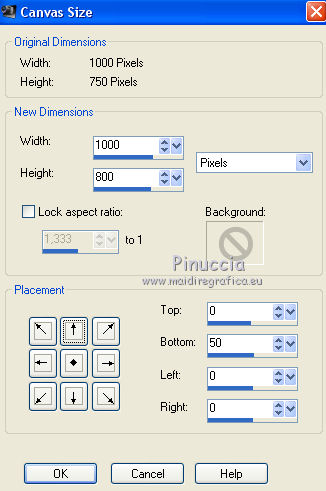
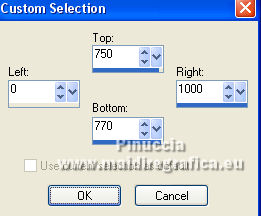
17. Selection Tool 
(no matter the type of selection, because with the custom selection your always get a rectangle)
clic on the Custom Selection 
and set the following settings.
18. Layers>New Raster Layer.
Flood Fill  the selection with your Gradient. the selection with your Gradient.
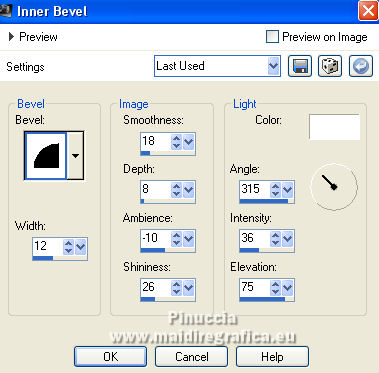
19. Effects>3D Effects>Inner Bevel.
Selections>Select None.
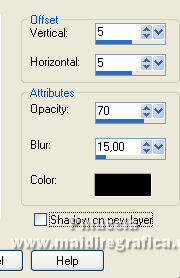
20. Effects>3D Effects>Drop Shadow, color black.
21. Layers>New Raster Layer.
Layers>Arrange>Send to Bottom.
Flood Fill  the layer with your background color #1d262d. the layer with your background color #1d262d.
22. Sign your work on a new layer.
Layers>Merge>Merge All and save as jpg.
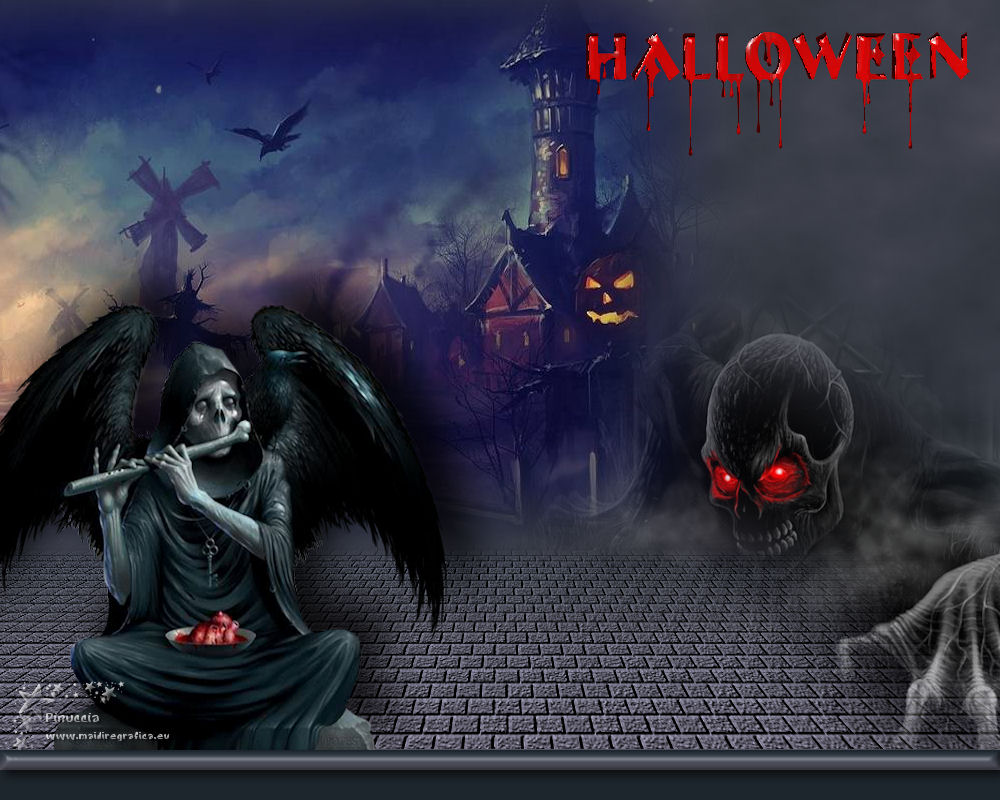
Version with tube by Criss (the misted is mine)
 Your versions here Your versions here

If you have problems or doubts, or you find a not worked link, or only for tell me that you enjoyed this tutorial, write to me.
7 October 2021

|

