|
TOP ENAMORADA


This tutorial was translated with PSPX7 but it can also be made using other versions of PSP.
Since version PSP X4, Image>Mirror was replaced with Image>Flip Horizontal,
and Image>Flip with Image>Flip Vertical, there are some variables.
In versions X5 and X6, the functions have been improved by making available the Objects menu.
In the latest version X7 command Image>Mirror and Image>Flip returned, but with new differences.
See my schedule here
 French translation here French translation here
 Your versions ici Your versions ici
For this tutorial, you will need:

Tube 3871 - woman - LB TUBES
Tube 3790-Maxi Iglesias - LB TUBES
Misted CAL-2647-041018
Misted_Roses_0n_A_Page_RM
Texto Enamorada_nines
(you find here the links to the material authors' sites)

consult, if necessary, my filter section here
Filters Unlimited 2.0 here
Mura's Meister - Copies here
Mura's Meister - Perspective Tiling here
VM Instant Art - Tripolis here
Tramages - Pool Shadow here
Filters VM Instant Art and Tramages can be used alone or imported into Filters Unlimited.
(How do, you see here)
If a plugin supplied appears with this icon  it must necessarily be imported into Unlimited it must necessarily be imported into Unlimited

You can change Blend Modes according to your colors.
In the newest versions of PSP, you don't find the foreground/background gradient (Corel_06_029).
You can use the gradients of the older versions.
The Gradient of CorelX here

Copy the texture gold2 in the Textures Fonder.
Open the mask in PSP and minimize it with the rest of the material.
Placer la texture gold2 dans le dossier Textures.
Ouvrir le masque dans PSP et le minimiser avec le reste du matériel.
1. Open a new transparent image 1000 x 700 pixels.
2. Set your foreground color to #d4b5b3,
and your background color to #bf7465.
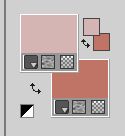
Set your foreground color to a Foreground/Background Gradient, style Sunburst.
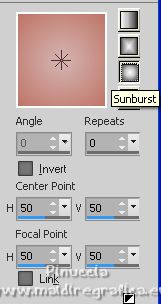
Flood Fill  the transparent image with your gradient. the transparent image with your gradient.
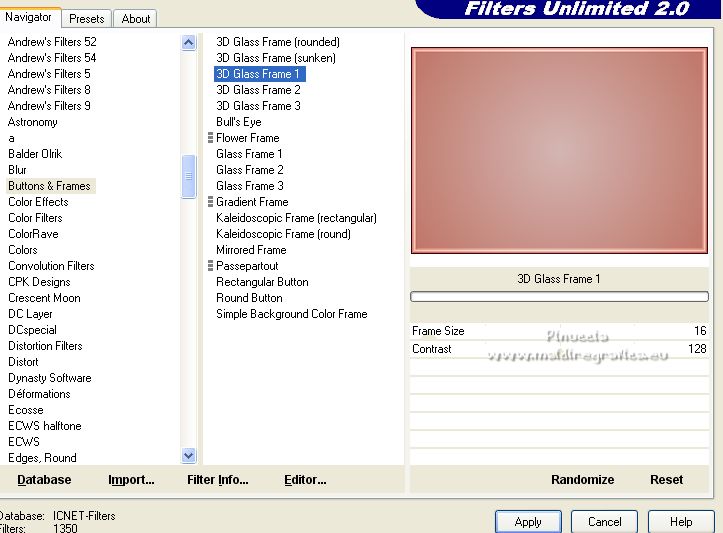
3. Effects>Plugins>Filters Unlimited 2.0 - Buttons & Frames - 3D Glass Frame 1.
4. Activate your Magic Wand Tool 
and click in the centre of the image to select it.
Set the tolerance to 20 pixels and click twice or more to select well.
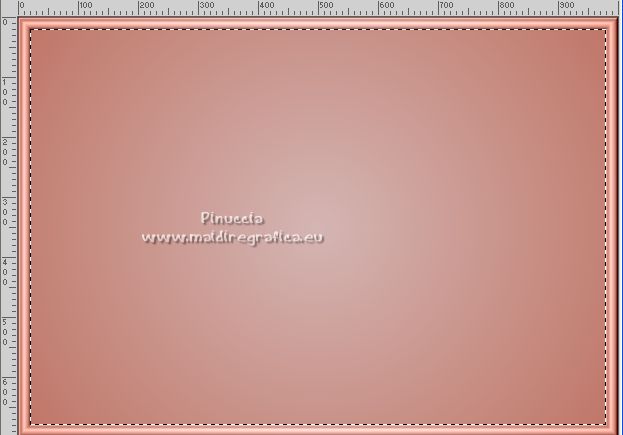
Press CANC on the keyboard 
Selections>Select None.
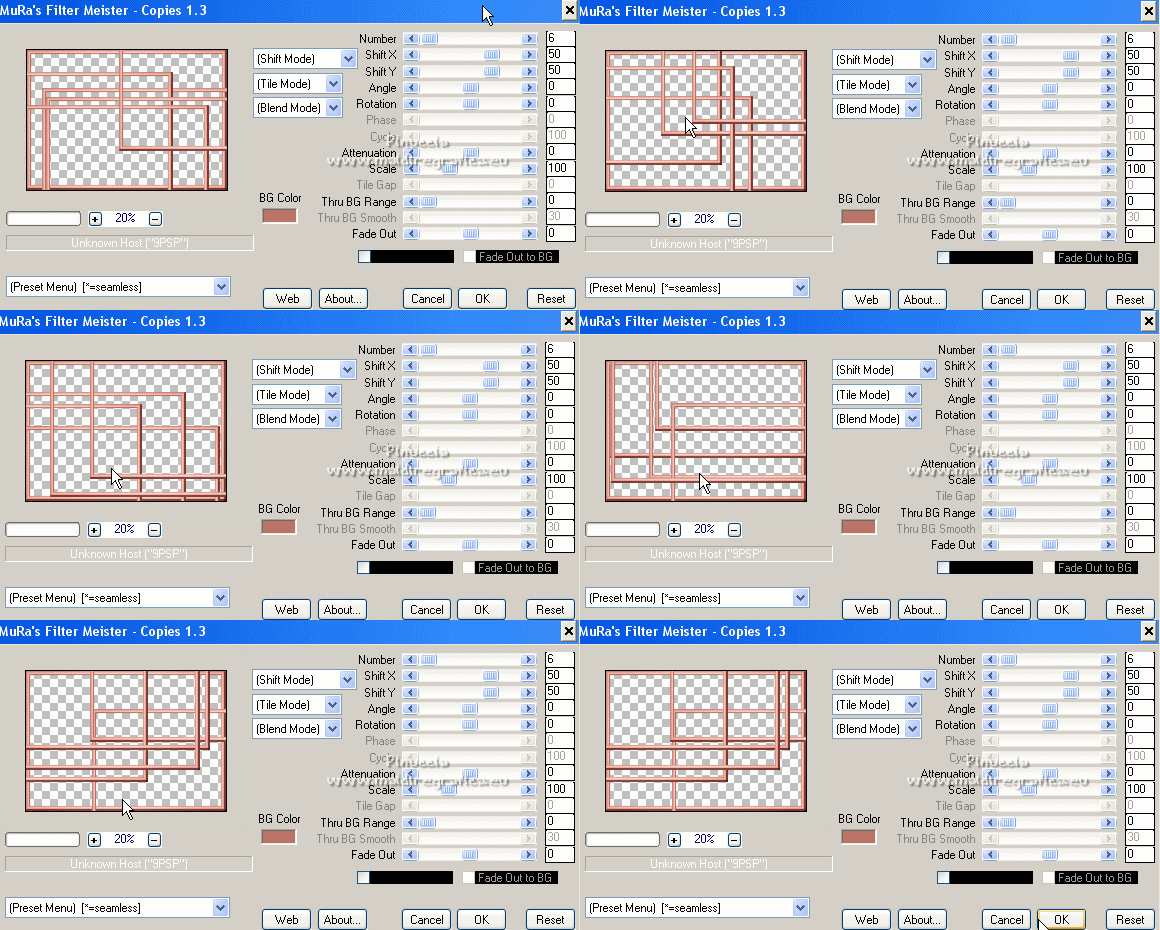
5. Effects>Plugins>Mura's Meister - Copies.
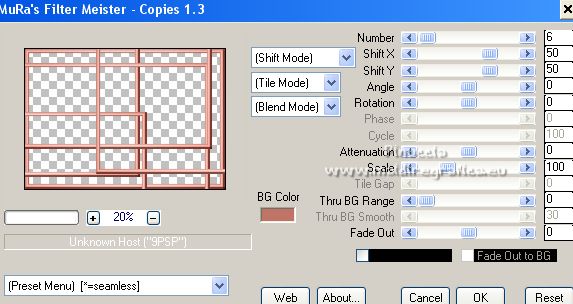
the result of this effect is random, so it won't be the same as mine.
You can change it by clicking on the preview window until you see the one you prefer.
See the final tag of my english translation and my second version uner the tutorial.
6. Effects>Reflection Effects>Rotating Mirror.

7. Layers>New Raster Layer.
Layers>Arrange>Move down.
Flood fill  the layer with your gradient. the layer with your gradient.
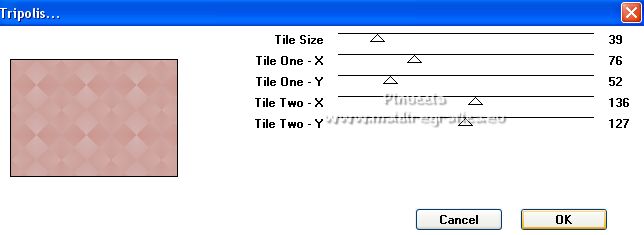
8. Effects>Plugins>VM Instant Art - Tripolis.
9. Activate your bottom layer.
Layers>Merge>Merge Down.
10. Layers>Duplicate.
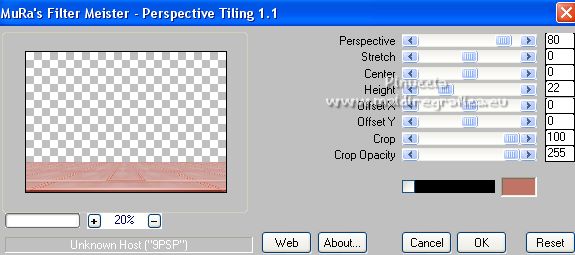
Effects>Plugins>Mura's Meister - Perspective Tiling.
11. Activate your bottom layer.
Activate your Magic Wand Tool 
and click on the upper right part to select it.
depending on the result of the Copies filter,
the frame may not be exactly like mine
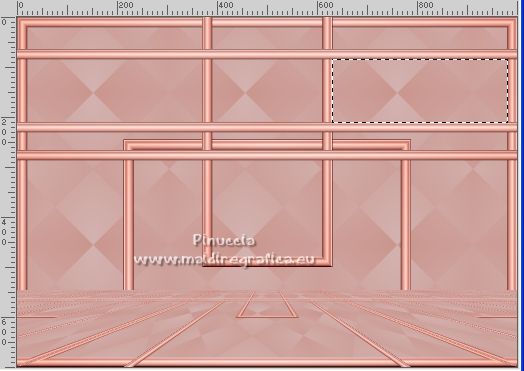
in my english translation
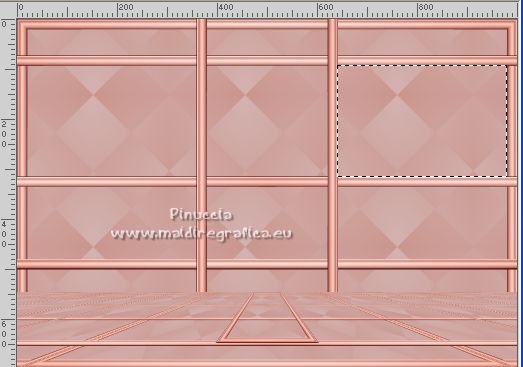
Selections>Promote Selection to Layer.
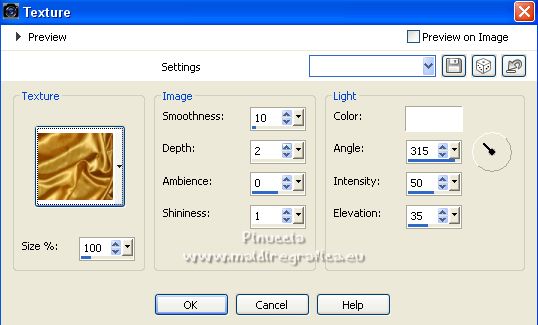
12. Effetcs>Texture Effects>Texture - select the texture gold2.
13. Open the tube Misted_Roses_0n_A_Page_RM 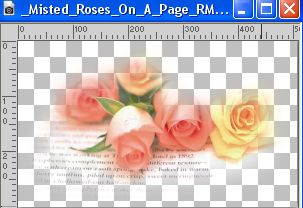
Edit>Copy.
Go back to your work and go to Edit>Paste as new layer.
Image>Resize, to 80%, resize all layers not checked.
Place  the tube on the selection. the tube on the selection.
14. Selections>Invert.
Press CANC on the keyboard.
Selections>Select None.
15. Layers>Merge>Merge Down.
Adjust>Sharpness>Sharpen More.
16. Layers>Duplicate.
Image>Mirror.
17. Activate again your background layer.
Select the bottom left part with your Magic Wand Tool 
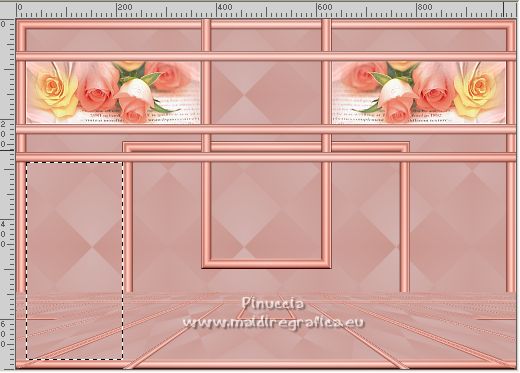
in my english translation
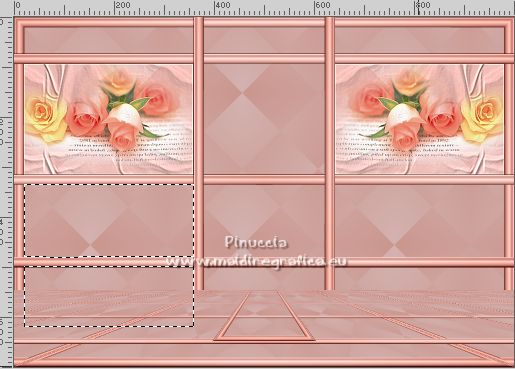
18. Layers>New Raster Layer.
Open the tube CAL-2647-041018 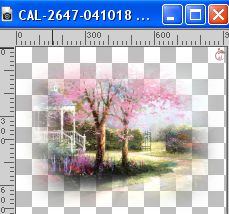
Erase the watermark and go to Edit>Copy.
Go back to your work and go to Edit>Paste into Selection.
Selections>Select None.
19. Layers>Duplicate.
Image>Mirror.
It may happen, as in my second version, that the frame takes up the entire width of the canvas.
In this case this will not be necessary
20. Open the tube 3790-Maxi Iglesias - LB TUBES 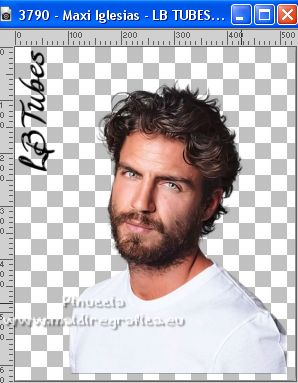
Erase the watermark and go to Edit>Copy.
Go back to your work and go to Edit>Paste as new layer.
Don't move the tube; the result of the mask changes depending on the position of the tube
21. Layers>New Mask layer>From image
Open the menu under the source window and you'll see all the files open.
Select the mask mask.ket.
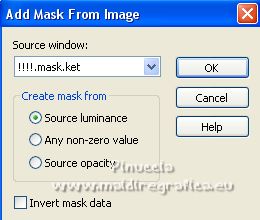
Layers>Merge>Merge Group.
22. Effects>Image Effects>Offset.
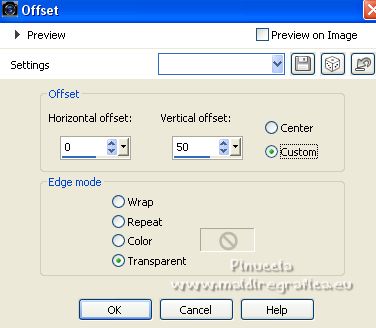
Reduce the opacity of this layer to 50%.
23. Activate your top layer.
Open the tube Tube 3871 - woman - LB TUBES 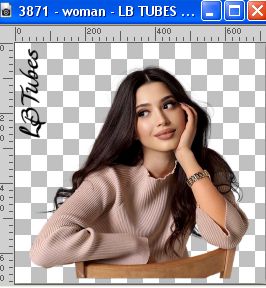
Erase the watermark and go to Edit>Copy.
Go back to your work and go to Edit>Paste as new layer.
Image>Resize, to 80%, resize all layers not checked.
Move  the tube at the bottom right. the tube at the bottom right.
24. Effects>3D Effects>Drop Shadow, color #000000.

25. Open the texte Texto Enamorada_nines 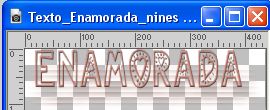
Edit>Copy.
Go back to your work and go to Edit>Paste as new layer.
Move  the text at the bottom left. the text at the bottom left.
26. Sign your work on a new layer.
Add, if you want, the author and the translator's watermarks.
27. Layers>Merge>Merge All.
28. Image>Add borders, 2 pixels, symmetric, background color #bf7465.
Image>Add borders, 5 pixels, symmetric, foreground color #d4b5b3.
Image>Add borders, 10 pixels, symmetric, color #f5dc89.
Activate your Magic Wand Tool  , tolerance and feather 0, , tolerance and feather 0,
and click in the last border to select it.
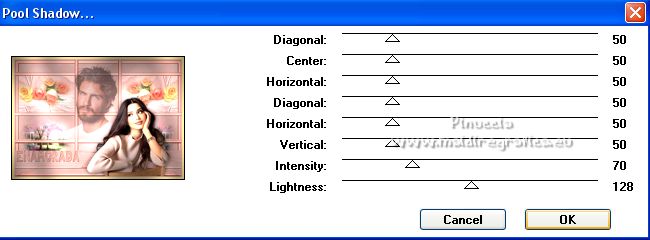
29. Effects>Plugins>Tramages - Pool Shadow.
30. Image>Add borders, 40 pixels, symmetric, background color #bf7465.
31. Selections>Select All.
Selections>Modify>Contract - 20 pixels.
32. Effecs>3D Effects>Drop Shadow, color #000000.

Selections>Select None.
33. Image>Resize, to 90%, resize all layers checked.
Save as jpg.
For the tubes of this version thanks Maryse and Jewel.
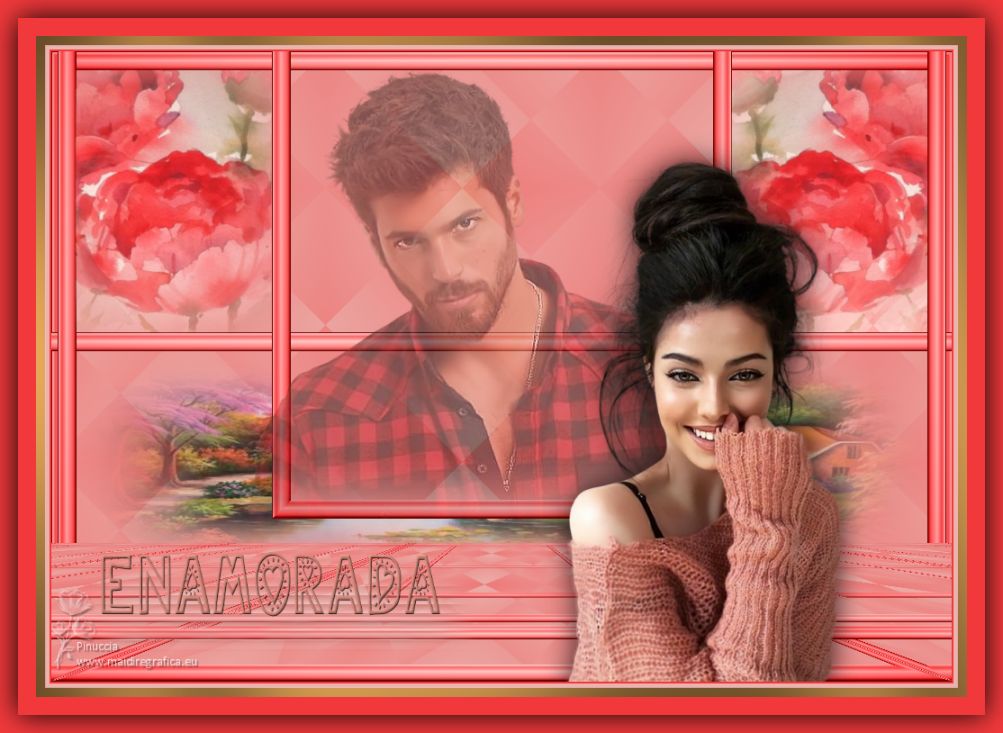
For the tubes of this version thanks Maryse; the misted are mine.
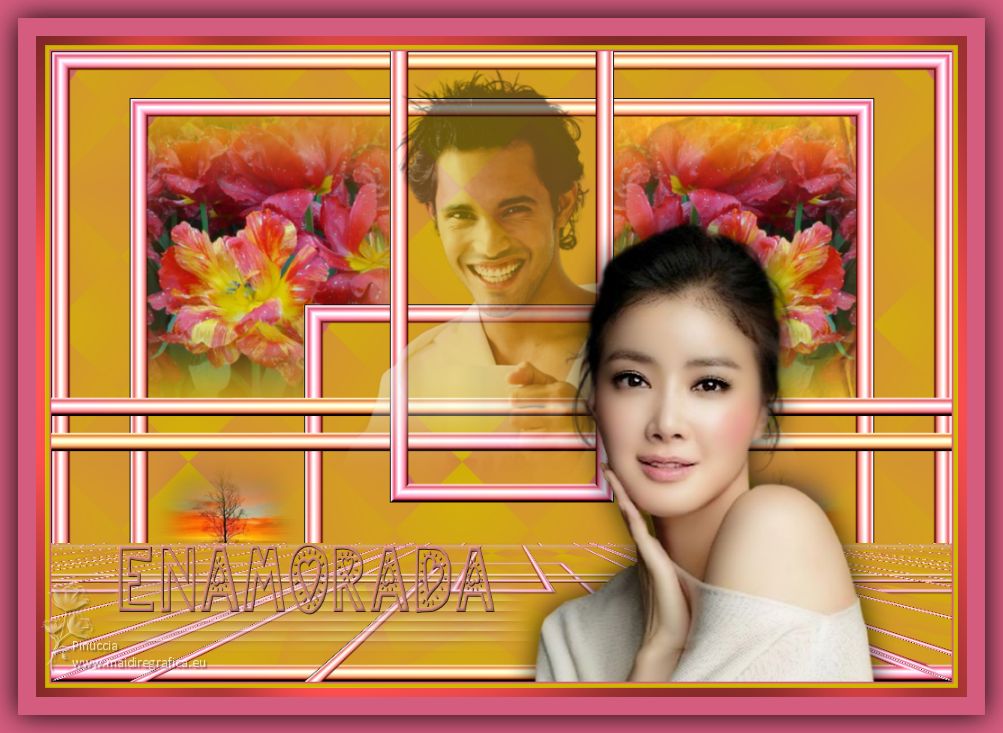
 Your versions here Your versions here

If you have problems or doubts, or you find a not worked link, or only for tell me that you enjoyed this tutorial, write to me.
20 January 2023

|


