Home |
Home |

Mappa sito |
Mappa sito |
Tutorial |
Tutorial |
Tut tecnici |
Tut tecnici |
Links-Banner |
Links-Banner |
Regali-Award |
Regali-Award |
Informatica |
Informatica |
Archivio |
Archivio |
Mail |
Mail |
Privacy policy |
Privacy policy |
Novità |
Novità |
Home |
Home |
Mappa sito |
Mappa sito |
Tutorial |
Tutorial |
Tut tecnici |
Tut tecnici |
Links-Banner |
Links-Banner |
Regali-Award |
Regali-Award |
Informatica |
Informatica |
Archivio |
Archivio |
Mail |
Mail |
Privacy policy |
Privacy policy |
Novità |
Novità |
|
TOP ECUESTRE  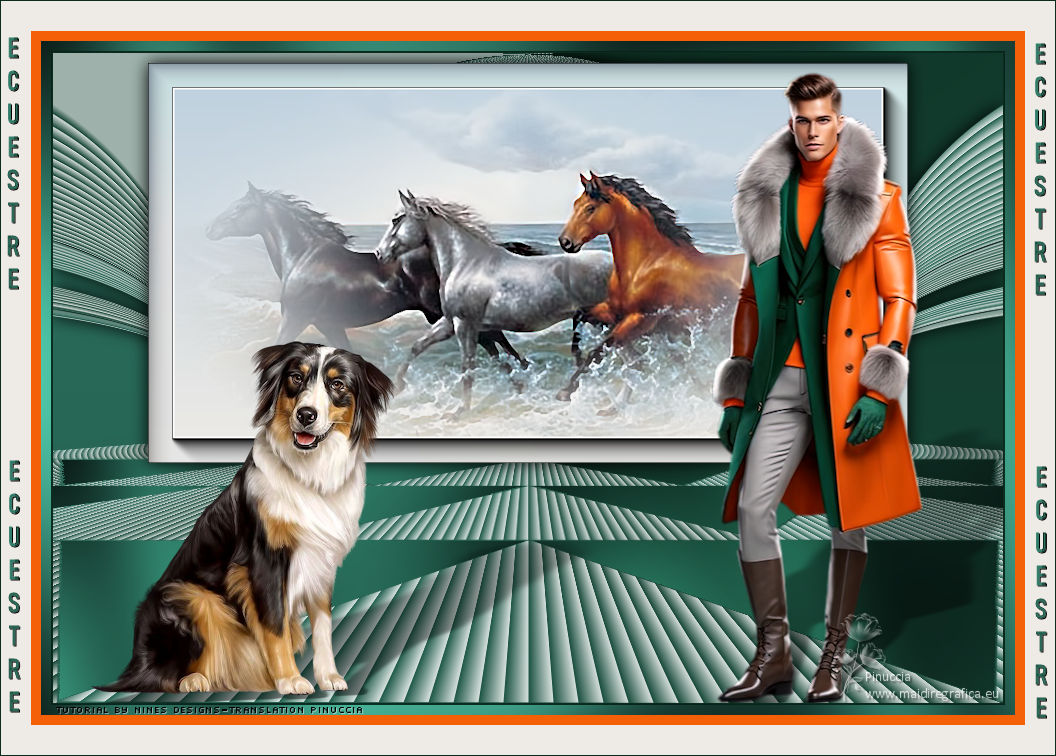 
This tutorial was translated with PSPX9 and PSP2020, but it can also be made using other versions of PSP.  consult, if necessary, my filter section here Filters Unlimited 2.0 here AAA Frames - Foto Frame here Tramages - Pool Shadow here Mura's Meister - Perspective Tiling here Alien Skin Eye Candy 5 Impact - Perspective Shadow here Filters Tramages can be used alone or imported into Filters Unlimited. (How do, you see here) If a plugin supplied appears with this icon  it must necessarily be imported into Unlimited it must necessarily be imported into Unlimited You can change Blend Modes according to your colors. In the newest versions of PSP, you don't find the foreground/background gradient (Corel_06_029). You can use the gradients of the older versions. The Gradient of CorelX here  Copy the Selection in the Selections Folder. 1. Open a new transparent image 950 x 650 pixels. Set your foreground color to #eeebe6, and your background color to #bccfde. 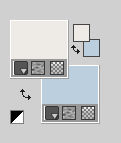 2. Set your foreground color to a Foreground/Background Gradient, style Linear. 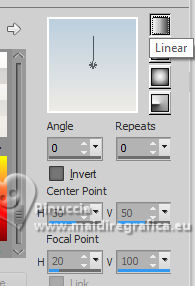 Flood Fill  the transparent image with your Gradient. the transparent image with your Gradient.3. Open the tube misted 200_animabelle_tubes_animaux 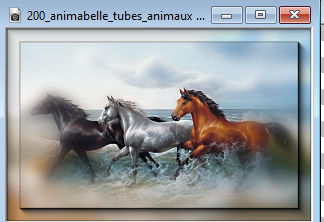 Edit>Copy. Go back to your work and go to Edit>Paste as new layer. 4. Layers>Merge>Merge visible. 5. Effects>Plugins>AAA Frames - Foto Frame. 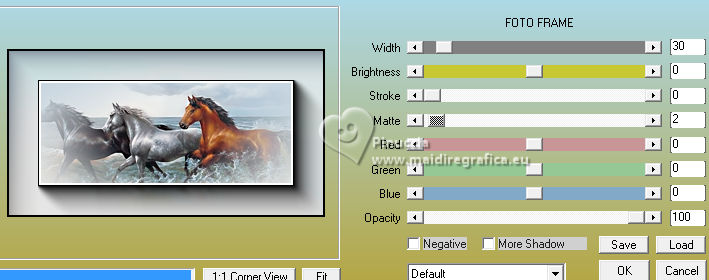 6. Image>Resize, to 80%, resize all layers not checked. 7. Effects>3D Effects>Drop Shadow, color black #000000. 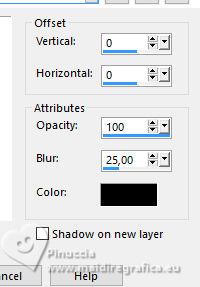 8. Effects>Image Effects>Offset. 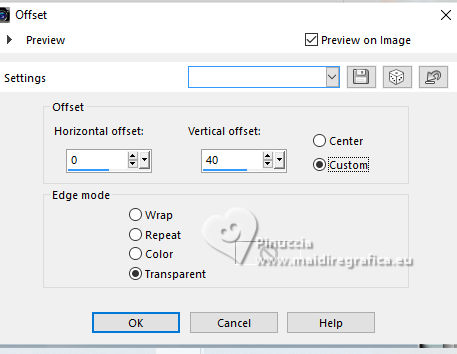 9. Image>Canvas Size - 950 x 650 pixels. 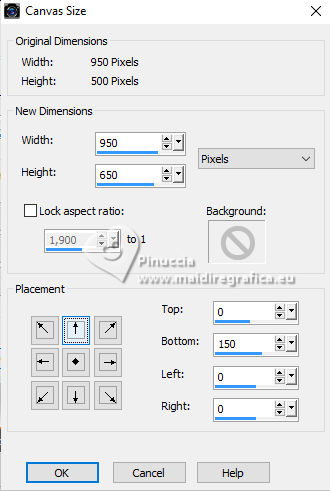 10. Set your foreground color to #0a2b1e, and your background color to #317c69. 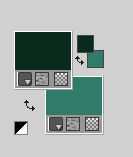 Set your foreground color to a Foreground/Background Gradient, style Radial. 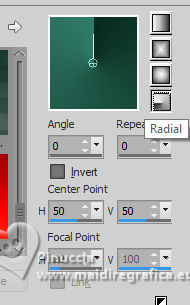 Layers>New Raster Layer. Layers>Arrange>Send to Bottom Flood Fill the layer with your Gradient.11. Selections>Load/Save Selection>Load Selection from Disk. Look for and load the selection sel.ecuestre.nines 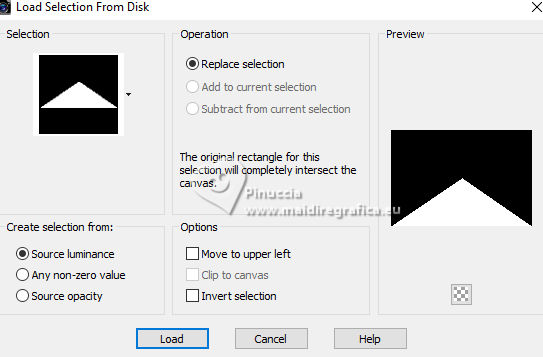 Selections>Promote Selection to Layer. 12. Effects>Texture Effects>Blinds, color #ffffff. 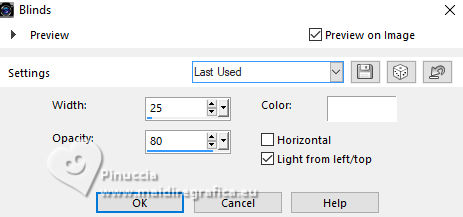 Selections>Select None. 13. Effects>Plugins>Mura's Meister - Perspective Tiling. 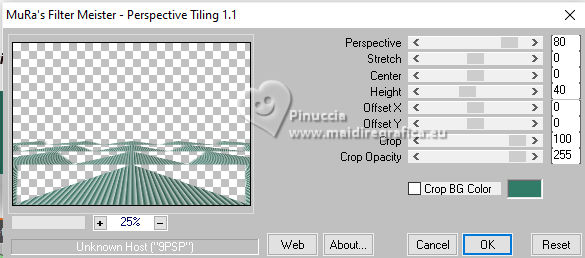 14. Layers>Duplicate, and close this layer for a moment. Activate the layer below of the original. Activate your Magic Wand Tool  and click in the transparent zones to select them. 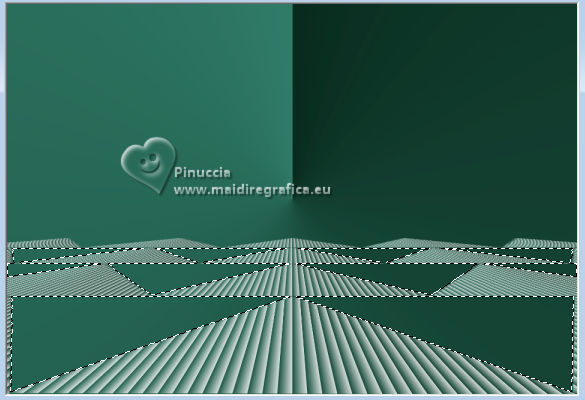 15. Activate your bottom layer, Raster 1. Effects>Plugins>Tramages - Pool Shadow, default settings - 2 times. 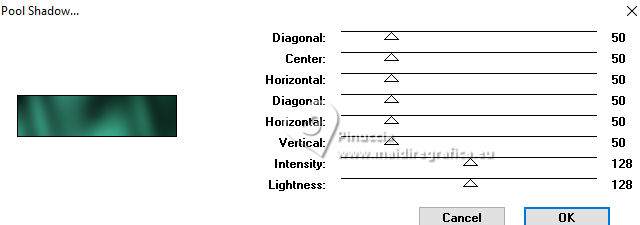 Selections>Select None. 16. Effects>3D Effects>Drop Shadow, color black #000000. 17. Open and activate the closed layer. Image>Mirror>Mirror Vertical (Image>Flip). 18. Effects>Geometric Effects>Circle. 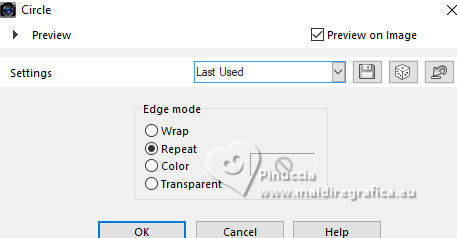 19. Effects>3D Effects>Drop Shadow, color black #000000. 20. Open the tube KamilTube-926 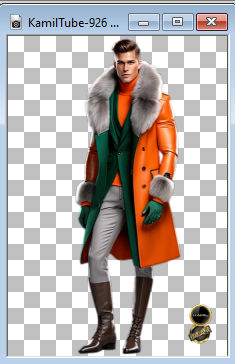 Erase the watermark and go to Edit>Copy. Go back to your work and go to Edit>Paste as new layer. Image>Resize, to 80%, resize all layers not checked. 21. Effects>Plugins>Alien Skin Eye Candy 5 Impact - Perspective Shadow. 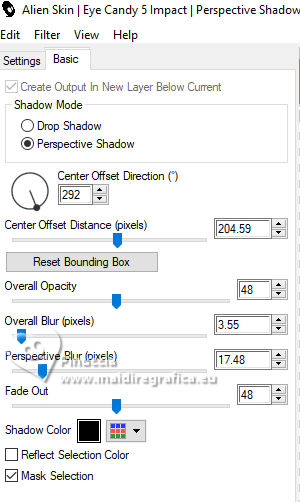 If necessary, use the Filter's tool o adapt the shadow to your tube 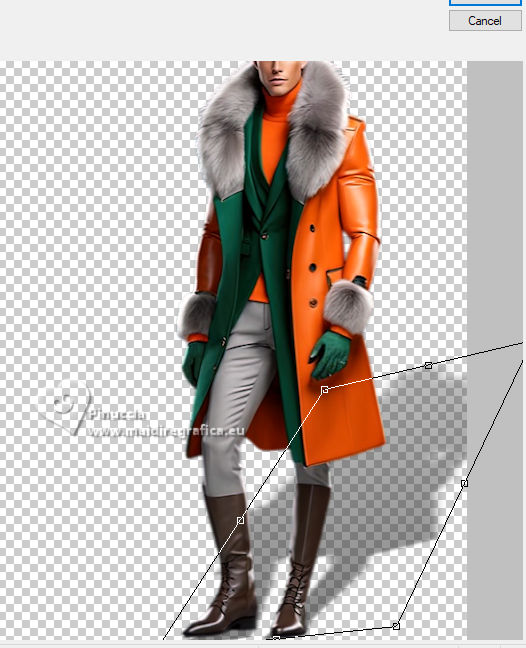 22. Open dessin_chien21_tine_03.2022-561 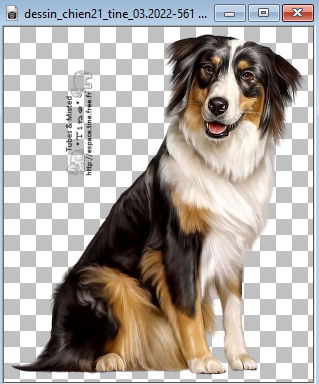 Erase the watermark and go to Edit>Copy. Go back to your work and go to Edit>Paste as new layer. Image>Resize, to 50%, resize all layers not checked. 23. Effects>Modules Externes>Alien Skin Eye Candy 5 Impact - Perspective Shadow. 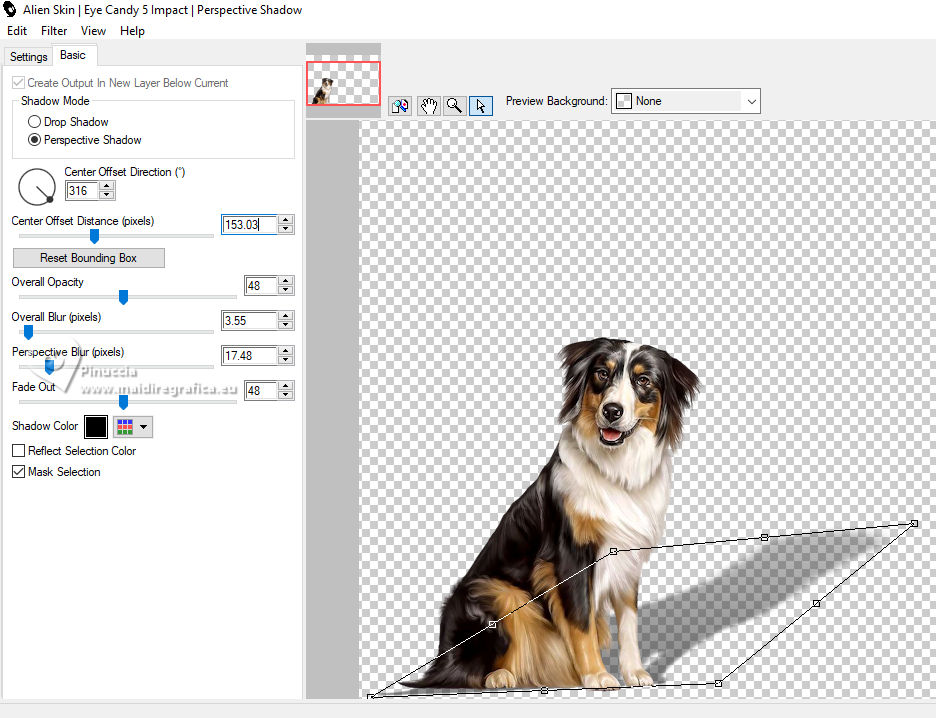 24. Sign your work on a new layer. Add the author's and the translator's watermarks. 25. Image>Add borders, 2 pixels, symmetric, color #0a2b1e. Image>Add borders, 10 pixels, symmetric, color #317c69. 26. Activate your Magic Wand Tool and click on the last border to select it. Effects>Plugins>Tramages - Pool Shadow, default settings 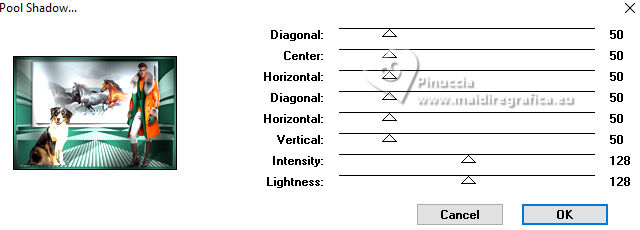 Selections>Select None. 27. Image>Add borders, 10 pixels, symmetric, color #f36007. Image>Add borders, 30 pixels, symmetric, color #eeebe6. 28. Open Texto_Ecuestre_nines  Edit>Copy. Go back to your work and go to Edit>Paste as new layer. 29. Layers>Merge>Merge All. 30. Image>Add borders, 1 pixel, symmetric, color #0a2b1e. Save as jpg. For the tubes of this version thanks Suizabella and Colybrix. 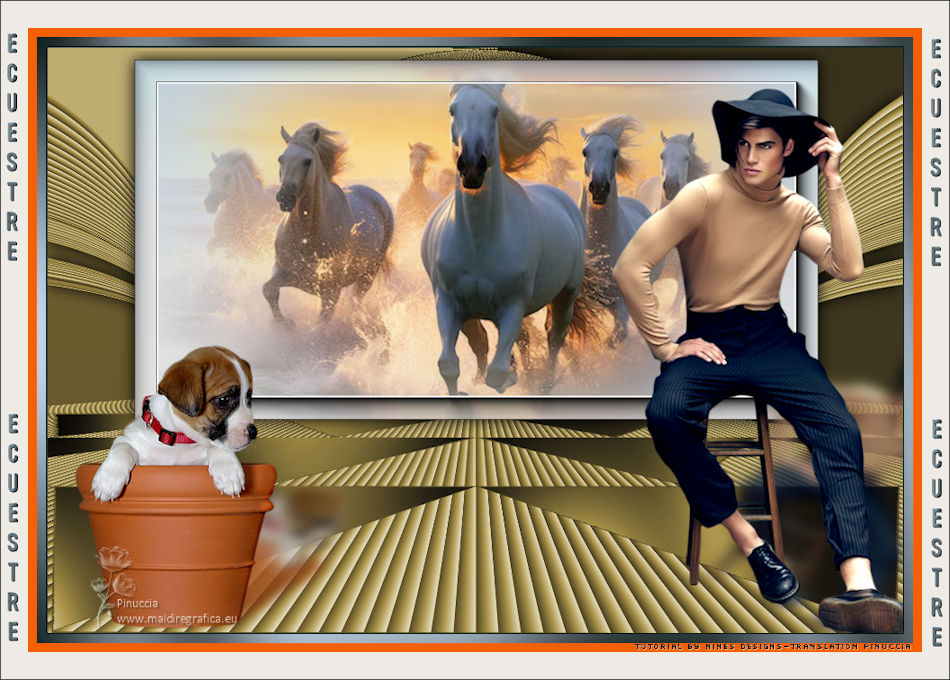  Your versions here Your versions here If you have problems or doubts, or you find a not worked link, or only for tell me that you enjoyed this tutorial, write to me. 25 July 2024 |


 French translation
  Your versions