Home |
Home |

Mappa sito |
Mappa sito |
Tutorial |
Tutorial |
Tut tecnici |
Tut tecnici |
Links-Banner |
Links-Banner |
Regali-Award |
Regali-Award |
Informatica |
Informatica |
Archivio |
Archivio |
Mail |
Mail |
Privacy policy |
Privacy policy |
Novità |
Novità |
Home |
Home |
Mappa sito |
Mappa sito |
Tutorial |
Tutorial |
Tut tecnici |
Tut tecnici |
Links-Banner |
Links-Banner |
Regali-Award |
Regali-Award |
Informatica |
Informatica |
Archivio |
Archivio |
Mail |
Mail |
Privacy policy |
Privacy policy |
Novità |
Novità |
|
TOP ARIADNA  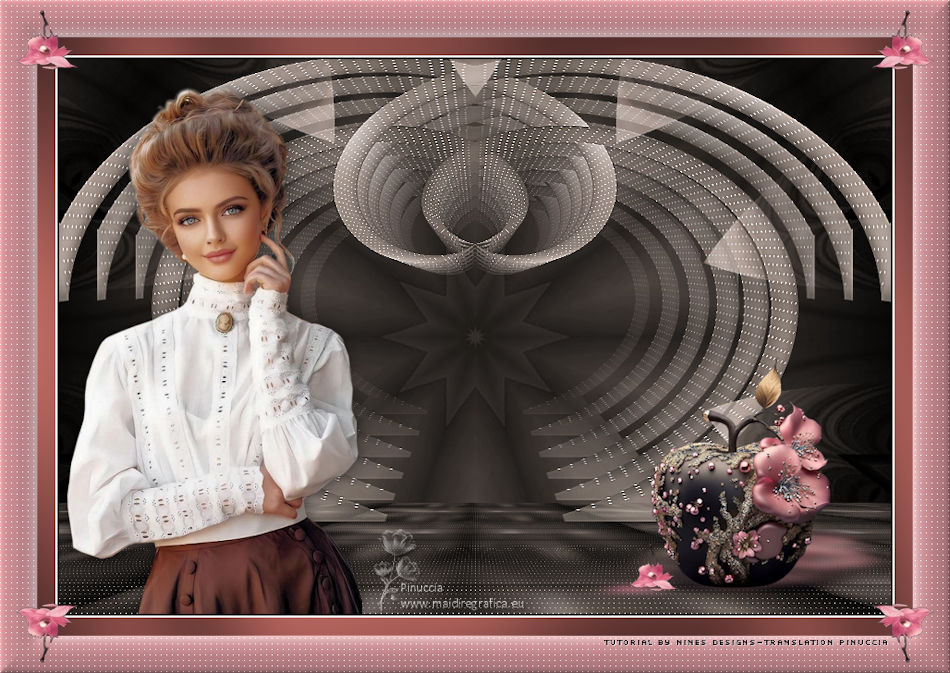 
This tutorial was translated with PSPX9 and PSP2020, but it can also be made using other versions of PSP.  consult, if necessary, my filter section here Filters Unlimited 2.0 here Mura's Meister - Copies here Mura's Meister - Perspective Tiling here Alien Skin Eye Candy 5 Impact - Perspective Shadow here Tramages - Pool Shadow here Filters Tramages can be used alone or imported into Filters Unlimited. (How do, you see here) If a plugin supplied appears with this icon  it must necessarily be imported into Unlimited it must necessarily be imported into Unlimited You can change Blend Modes according to your colors. In the newest versions of PSP, you don't find the foreground/background gradient (Corel_06_029). You can use the gradients of the older versions. The Gradient of CorelX here  1. Open a new transparent image 900 x 600 pixels. 2. Selections>Selectionner tout. Open the background image imagen fondo_FM02 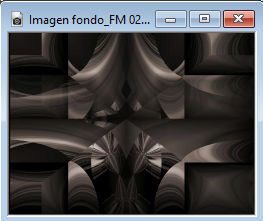 Edit>Copy. Go back to your work and go to Edit>Paste into Selection. Selections>Select None. 3. Selection Tool  (no matter the type of selection, because with the custom selection your always get a rectangle) clic on the Custom Selection  and set the following settings. 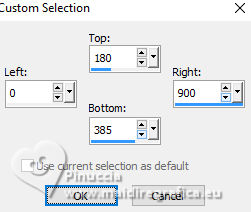 Selections>Promote Selection to Layer. 4. Adjust>Blur>Gaussian Blur - radius 15.  5. Effects>Plugins>AP Lines - Lines SilverLining. 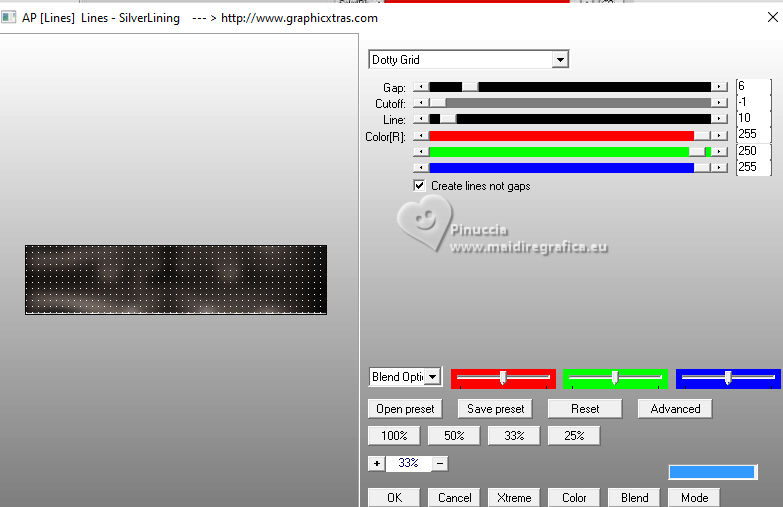 6. Selections>Modifier>Contracter - 40 pixels. Effects>3D Effects>Drop Shadow, color #000000. 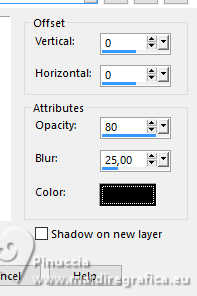 7. Selections>Invert. Selections>Promote Selection to Layer. Selections>Select None. 8. Effects>Geometric Effects>Skew.  9. Layers>Duplicate. Image>Mirror>Mirror Horizontal. Layers>Merge>Merge Down. 10. Effects>Distortion Effects>Polar Coordinates. 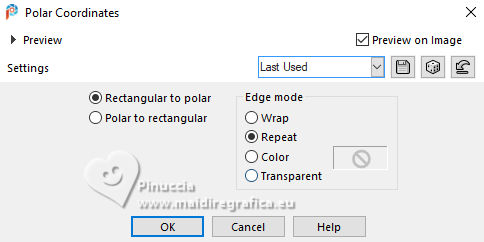 11. Change the Blend Mode of this layer to Screen. Layers>Duplicate. Layers>Merge>Merge Down. 12. Effects>Plugins>Mura's Meister - Copies Attention, in this case BG color is important: set the color black #000000 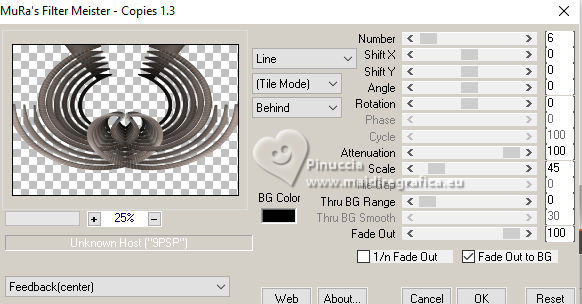 13. Image>Mirror>Mirror Vertical (Image>Flip). 14. Effects>Image Effects>Offset 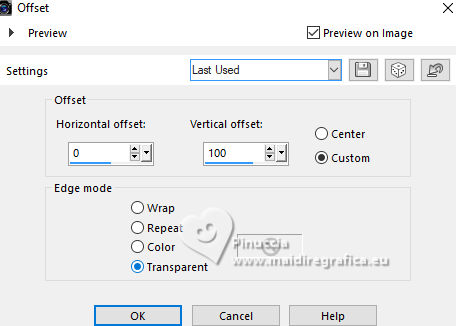 Adjust>Sharpness>Sharpen More. 15. Activate the layer Promoted Selection (the second layer from the bottom). Effects>Modules Externes>Mura's Meister - Perspective Tiling. 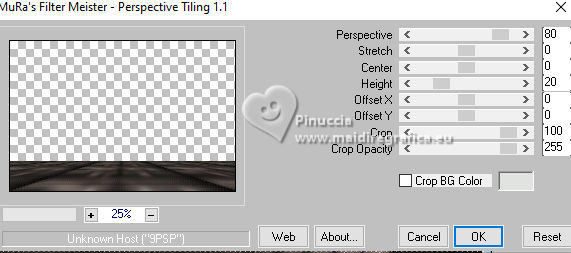 16. Activate your bottom layer, Raster 1. Effects>Reflection Effects>Kaleidoscope. 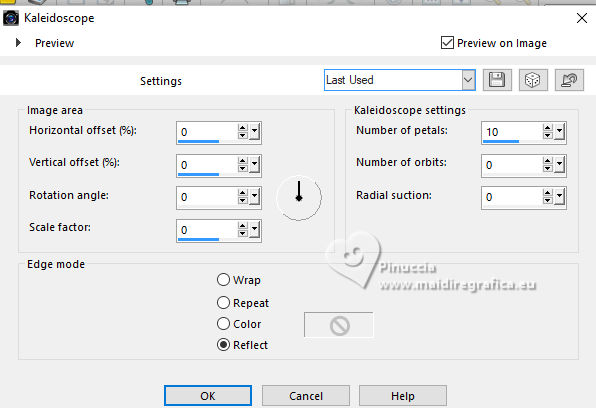 17. Activate your top layer. Open the tube LD-model-1371 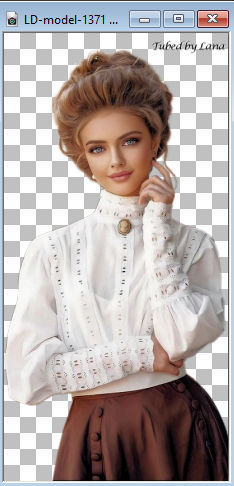 Erase the watermark and to to Édition>Copier. Go back to your work and go to Edit>Paste as new layer. Image>Resize, 80%, resize all layers not checked. Move  the tube to the left. the tube to the left.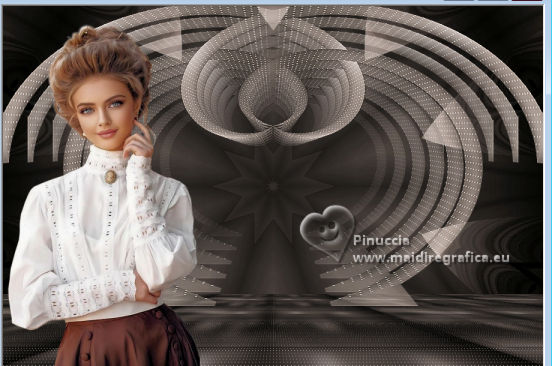 18. Effects>3D Effects>Drop Shadow, color #000000. 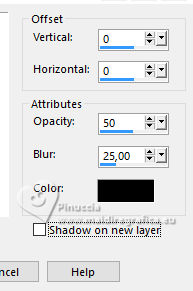 19. Open the tube 3925-Déco-LB TUBES  Erase the watermark and to to Édition>Copier. Go back to your work and go to Edit>Paste as new layer. Image>Resize, 80%, resize all layers not checked. Move the tube at the bottom right.20. Effects>Plugins>Alien Skin Eye Candy 5 Impact - Perspective Shadow 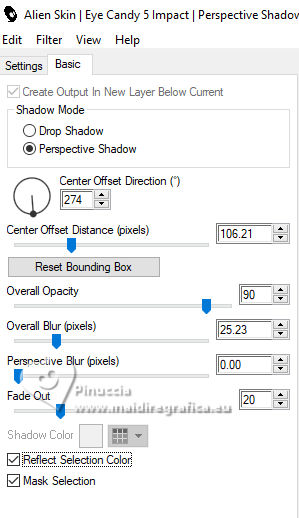 If necessary, use the Filter Tool to adapt the shadow to your tube. 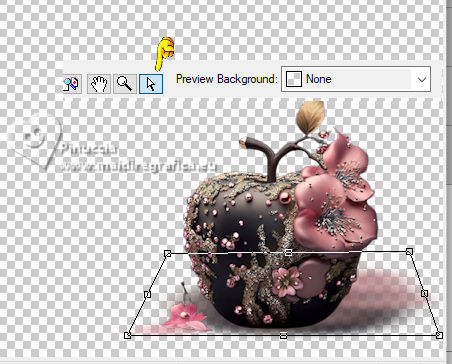 21. Sign your work. Add the author's and translator's watermarks. 22. Layers>Merge>Merge All. 23. Image>Add borders, 2 pixels, symmetric, color #000000 Image>Add borders, 2 pixels, symmetric, color #ffffff. Image>Add borders, 20 pixels, symmetric, color #723f3b. 24. Activate your Magic Wand Tool  and click in the last border to select it. 25. Effects>Plugins>Tramages - Pool Shadow. 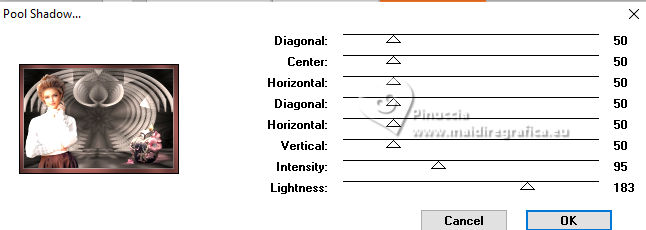 Selections>Select None. 26. Image>Add borders, 40 pixels, symmetric, color #ae7a7e. Select this bord with your Magic Wand Tool 27. Effects>Plugins>AP Lines - Lines SilverLining, same settings 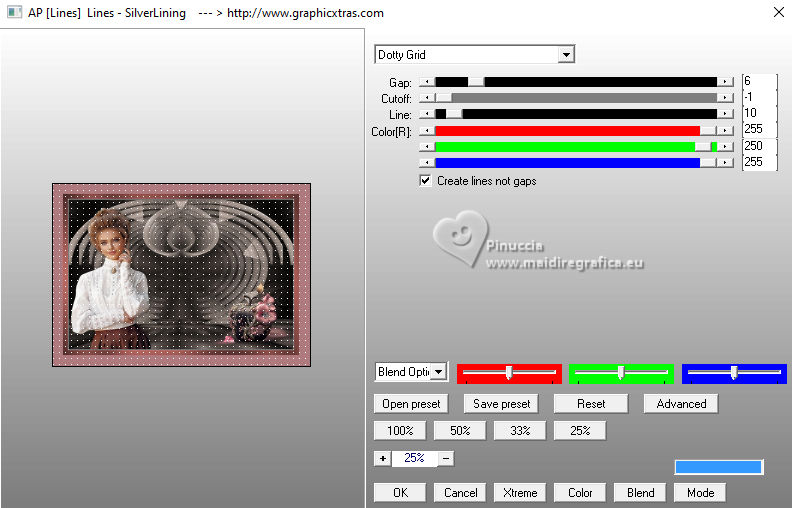 28. Effects>3D Effects>Inner Bevel. 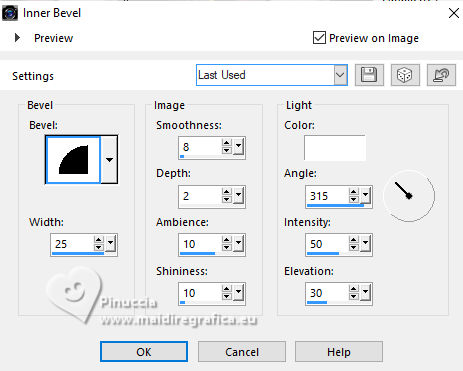 29. Selections>Invert. Effects>3D Effects>Drop Shadow, color #ffffff. 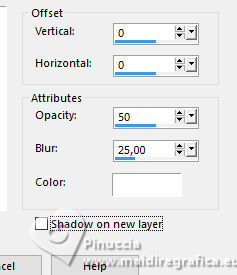 Edit>Repeat Drop Shadow. Selections>Select None. 30. Open the tube Adorno_cuadro_528_nines 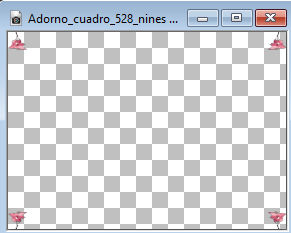 Edit>Copy. Go back to your work and go to Edit>Paste as new layer. 31. Layers>Merge>Merge All and save as jpg. For the tube of this version thanks Kamil.   Your versions here Your versions here If you have problems or doubts, or you find a not worked link, or only for tell me that you enjoyed this tutorial, write to me. 25 July 2024 |


 French translation
  Your versions